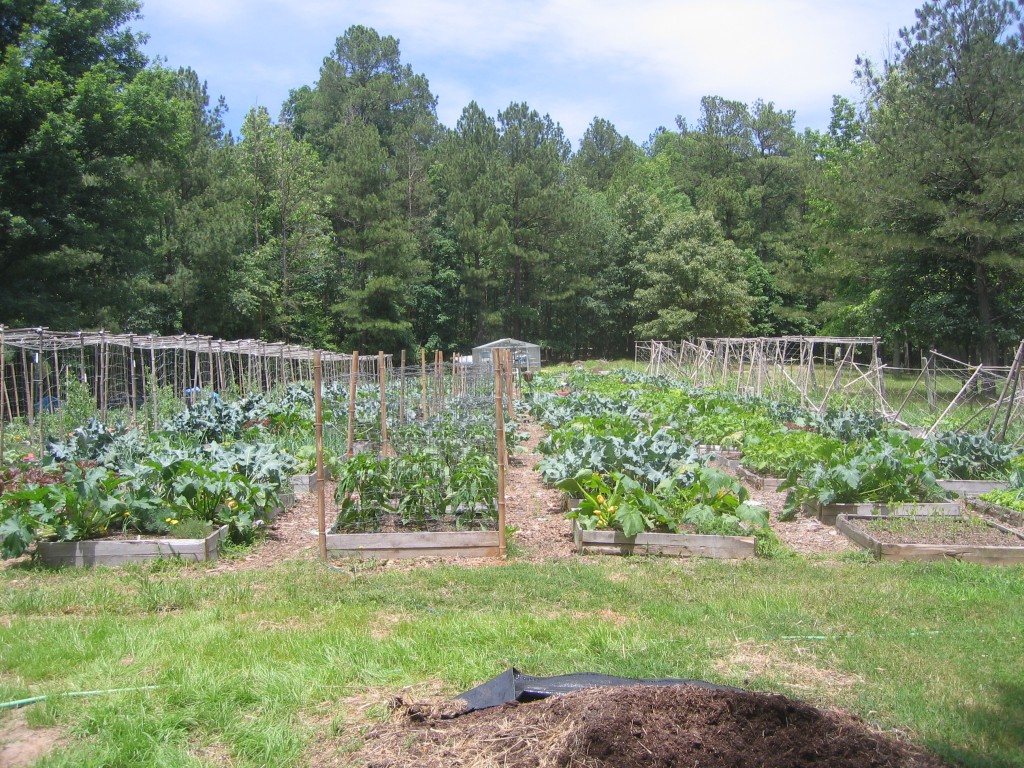
Welcome to Round River Farms! The garden is built on the “square-foot” system. Each box has several different vegetables growing in it. In the back, near the middle, is the greenhouse where all the seedlings were born. One of my first jobs is to fix the broken trellises on the right.
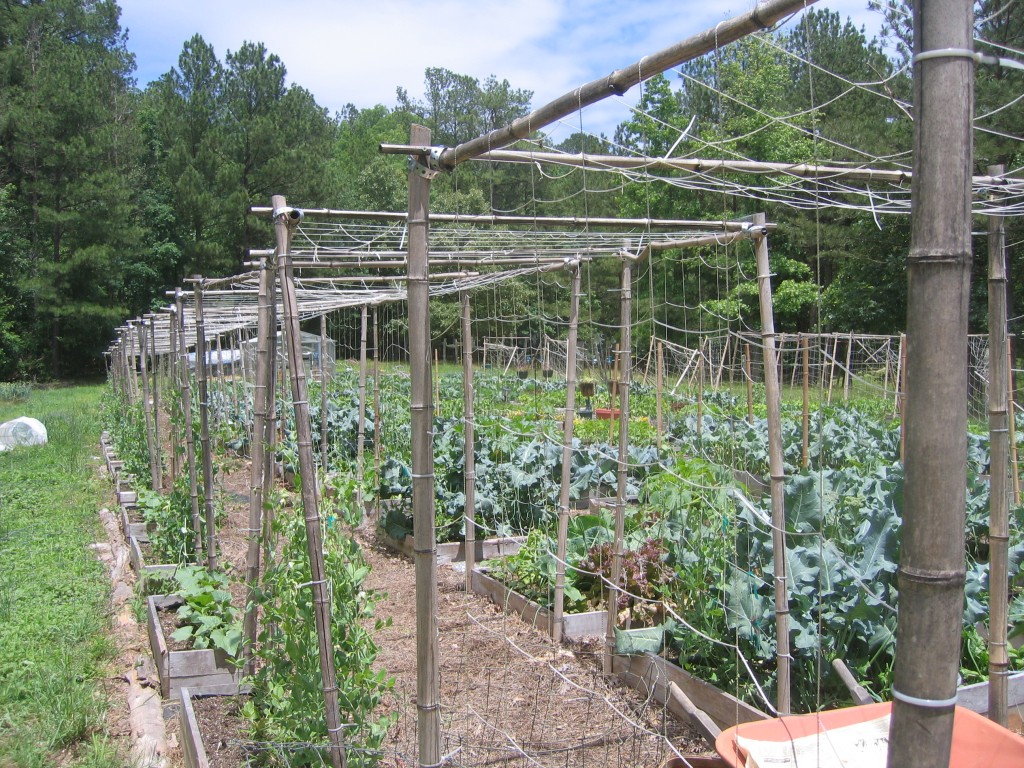
This is what the trellises are supposed to look like. They’re made out of bamboo. Eventually, when the peas and tomatoes have climbed up them, I think they’ll make a really cool tunnel – perfect for a romantic interlude.
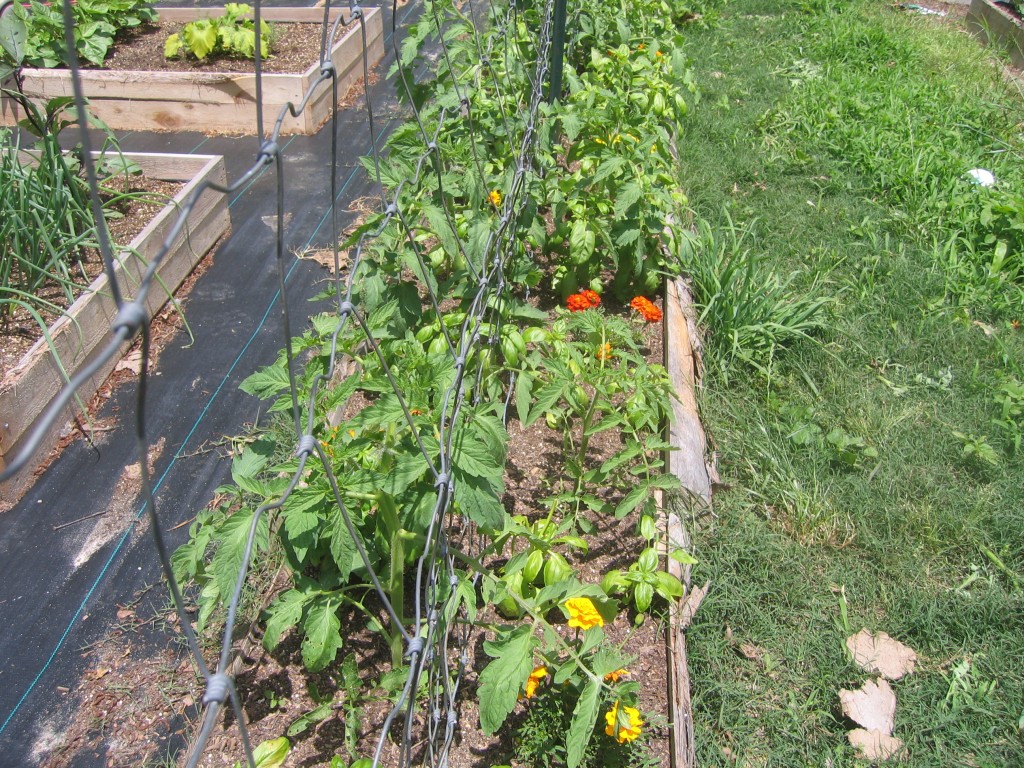
A typical garden box- tomato plants, basil, and marigolds. We also are growing squash, cucumber, eggplant, lettuces, dill, sage, lemon balm, onions, soybeans, collards, potatoes, and probably some other vegetables I forgot.
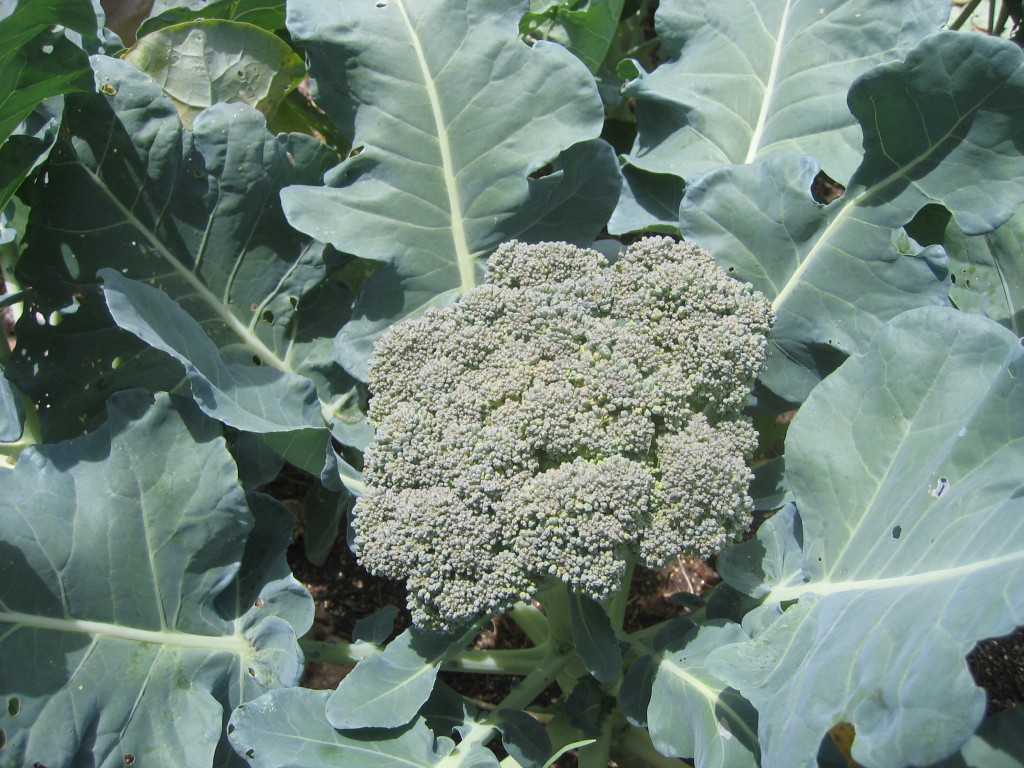
This is some broccoli I planted several months during my interview. It’s proof that I must have at least a little green thumb in my blood.
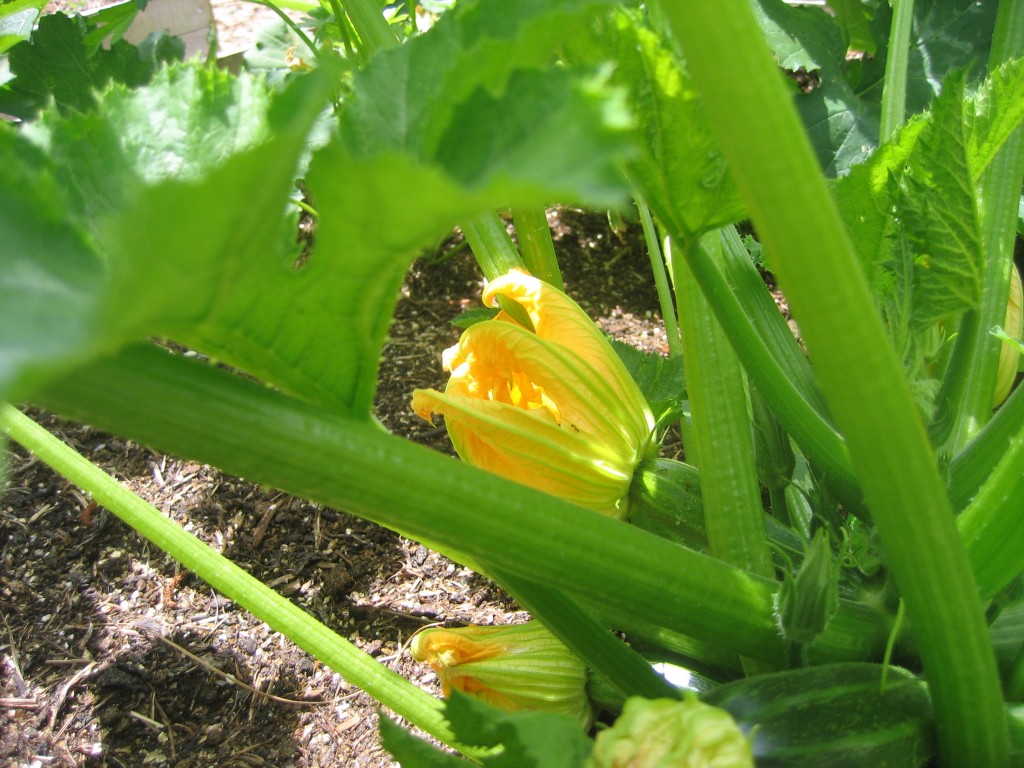
A squash blossom. At the bottom you can see the blossom growing into a cucumber.
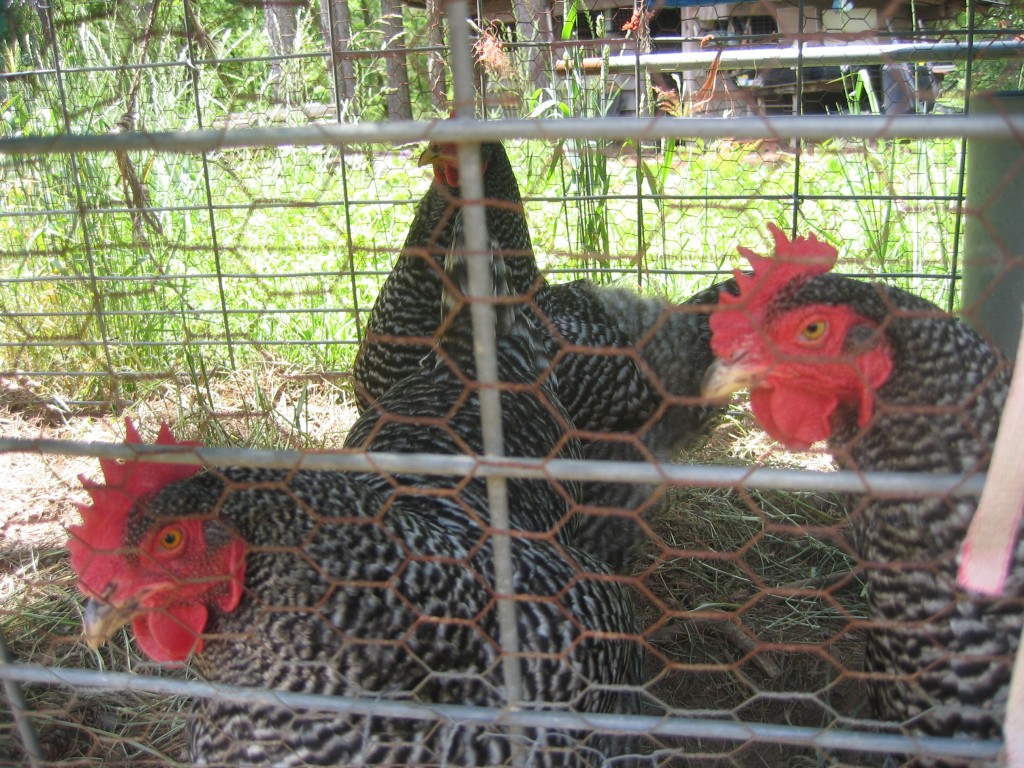
My chicken friends.
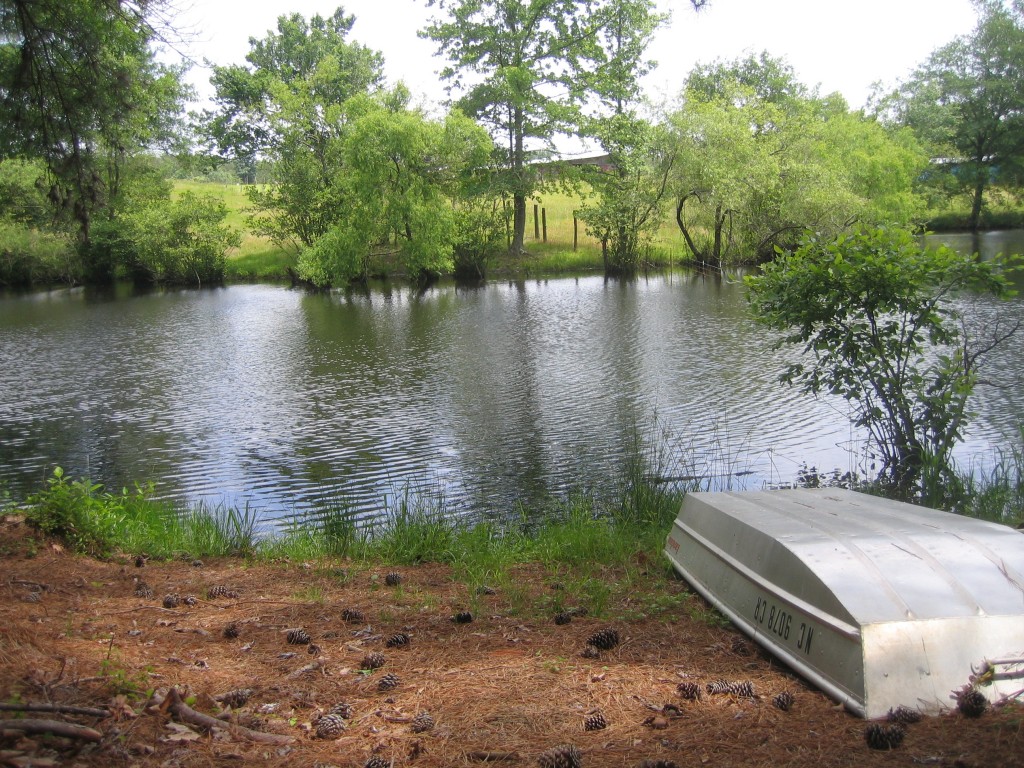
The pond across from the garden. Very Zennish, isn’t it?
Posted 16 years ago at 8:03 pm. Add a comment
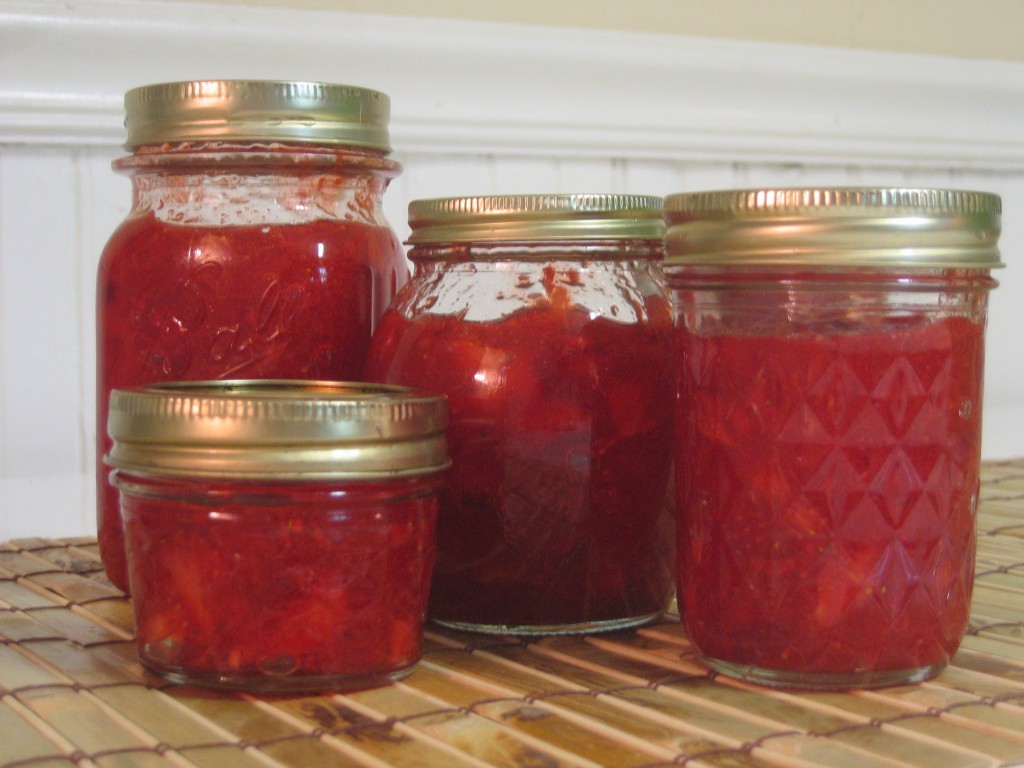
I’ve always loved home-canned goods. When I was growing up, my mom stacked shelves full of them in the basement. Whenever I had to go down there, I would stop for a few moments and gaze at the sunset colored wall – the dusky yellow corn next to the subdued green beans, burnished orange carrots, and the mottled red salsas. My favorite was the jams. In the murky light of the basement, they glowed like buried treasure.
So, when strawberry season suddenly blossomed, I decided it was time to go pick those jewels…
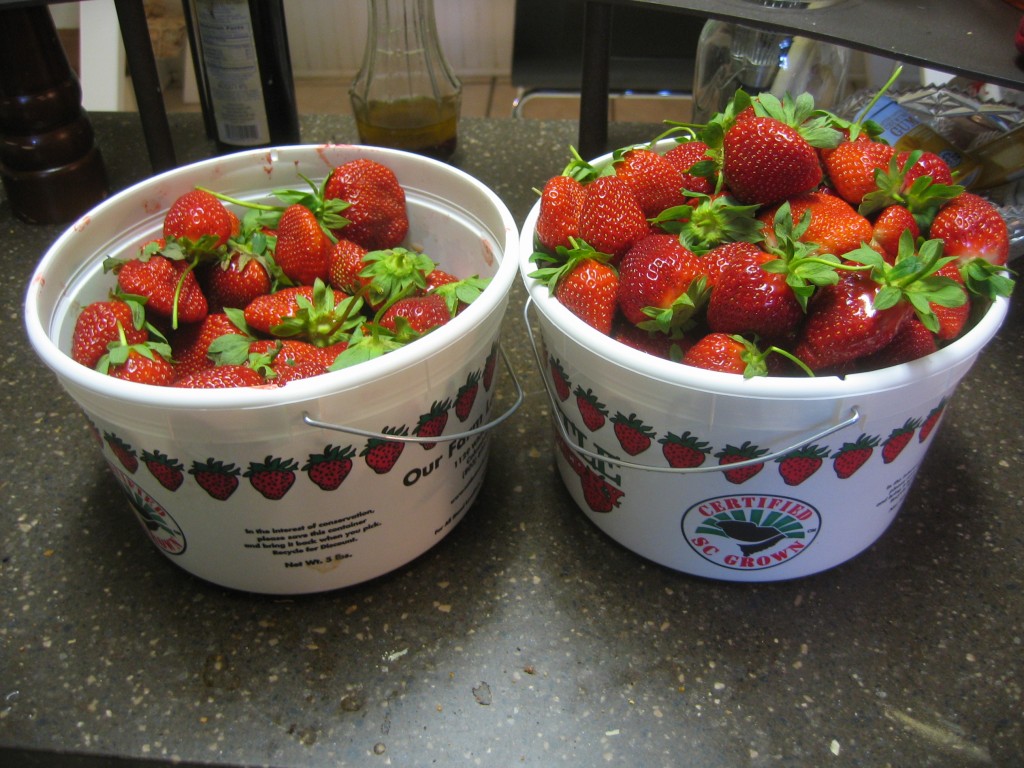
This was my first time making jam. I expected it to be much harder, or at least more sweat inducing, than it actually was. That’s the great thing about freezer jam. Because it is preserved in the freezer, there’s no fuss with water baths and sealing jar lids. Just smoosh the berries (which is a very rewarding activity in itself), boil water with the pectin, then mix them together and freeze. How easy is that?
Too easy. With my first batch successfully setting on the counter, you’d think I’d be content for the day and go to bed. But no. There is a greed that befalls jam-jewel makers – well, this one at least. I couldn’t stop thinking of all the little extras I could add to my jam. Think of all the things strawberries pair well with and then imagine that in a jam. Strawberries with rhubarb. Strawberries with cinnamon. Strawberries with coconut. Strawberries with lime. All’s I can say is, it’s a good thing I didn’t pick that many strawberries, or else I’d have a freezer full of just jam right now.
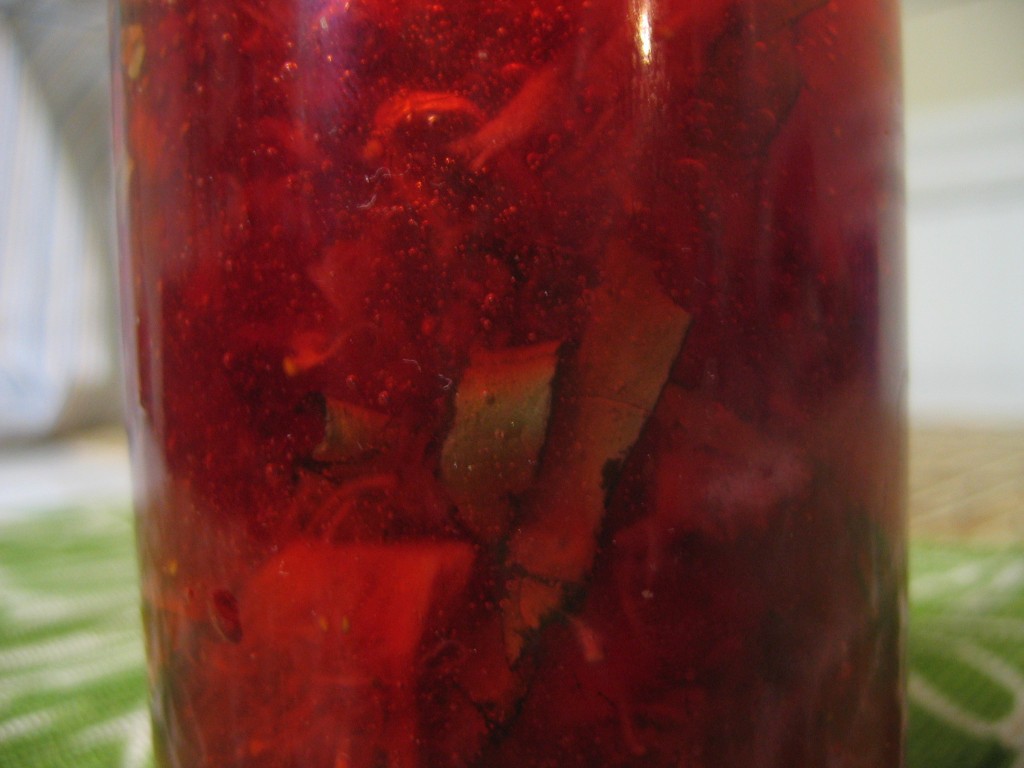
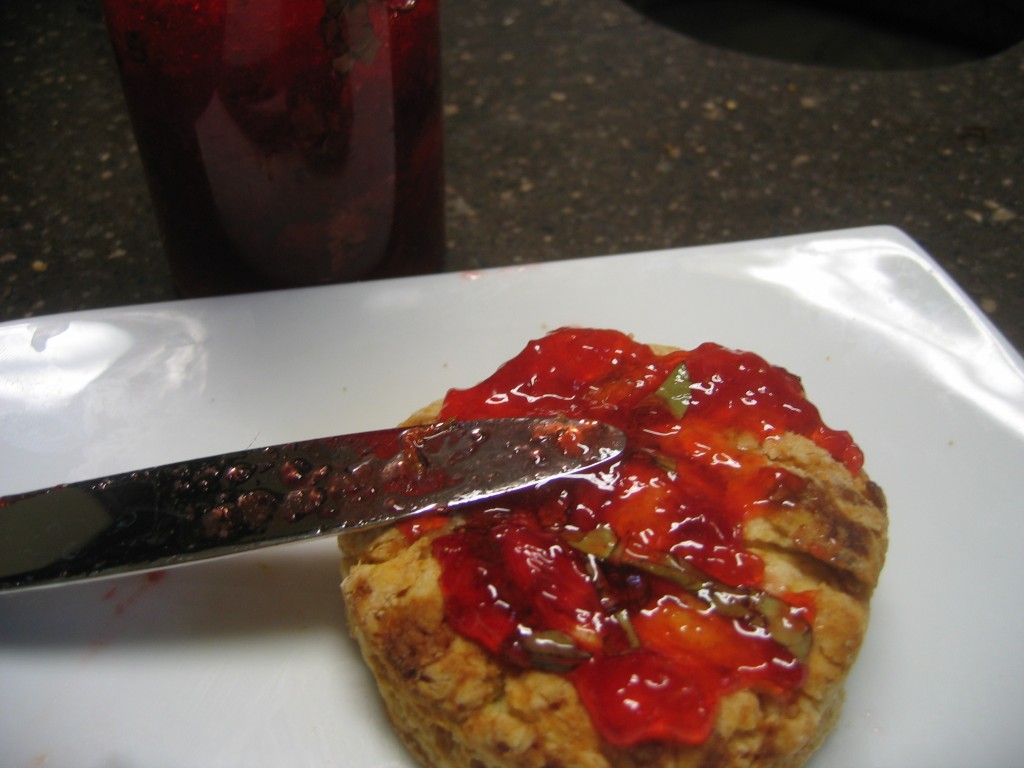
In the end, I decided on a strawberry basil jam. I’d first tried this combination last summer in a strawberry watermelon basil salad that was refreshing but not overpowering. The basil added a slightly savory element to the otherwise sweet salad. I hoped the same would be true of my sugar laden jam. Due to the chopping method (chiffonade) the basil comes out in long green ribbons that twirl through the red jam like streamers, which I love.
Someday, when I’m lucky enough to have unlimited freezer space, I’d still like to try some of the other flavor combinations I mentioned. Especially the strawberry lime. In an effort to reduce the effect of the green eyed jam monster, I’ve decided in advance what flavor combinations I’d like to try in my other jams: cinnamon peach, apricot amaretto, and cherry balsamic.
Canning is a hopeful venture. Stirring a bowl of simmering fruit links me with all the cooks of times past who poured their hope for the future into jars. Like the ant in Aesop’s fable, they prepared for the winter while the hot sun still shone on their shoulders. The winter filled them with neither dread nor lassitude. In the winter, they could provide abundantly for their family as well as unexpected guests. They could look at a sky pregnant with snow and not despair.
While for me canning is less of a necessity than a hobby, I nevertheless felt like I was tapping into some of the pent up hope of generations before me. So often when I see trouble brewing, I cut my losses and move on. But canning reminded me that in the face of an uncertain future, there are things worth preserving – whether a bucket of scandalously red strawberries or a handful of bruised beliefs. Knowing that winters will come, whether the kind that bring snow or the kind that bring a heavy heart, canning embodies the hope that I will be able to meet it when it comes.
Hope is a thing with jar lids.
Gary Verdict: I had the strawberry basil jam on my waffle a few minutes ago, and it’s the first thing that’s made me consider not using maple syrup all the time.
Recipe
(taken from the SureJell insert)
2 pints strawberries (about 4 cups)
4 cups sugar
8-10 basil leaves (optional)
3/4 cup water
1 package SureJell
Wash and rinse containers with tight fitting lids. Hull the strawberries.
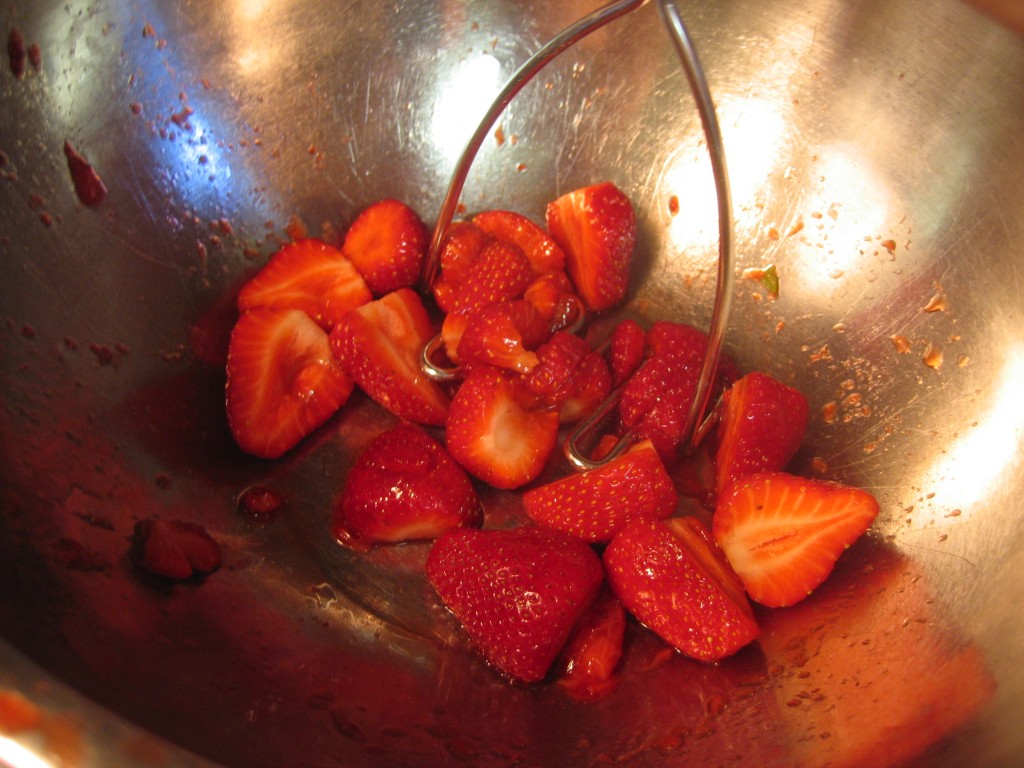
Then crush them using a potato masher. If you like chunkier jam, leave some almost whole berries. You should end up with 2 cups of crushed strawberries and juice. Use only exactly two cups in the recipe.Save the extra for something else- like strawberry shortcake! If making Strawberry Basil Jam, chiffonade basil leaves- stack 3-4 leaves and roll lengthwise, then chop stem to tip. It should make little ribbons of basil. To the strawberries, add the sugar and basil . Mix well. Let the mixture stand for 10 minutes.
Meanwhile, bring the water and SureJell to a boil, stirring constantly. Boil for 1 minute, still stirring. Remove from heat.
Stir the SureJell mixture into the strawberry mixture. Stir until the sugar is dissolved (when you can’t feel the sugar grains scraping the sides of the bowl)- about 3 minutes.
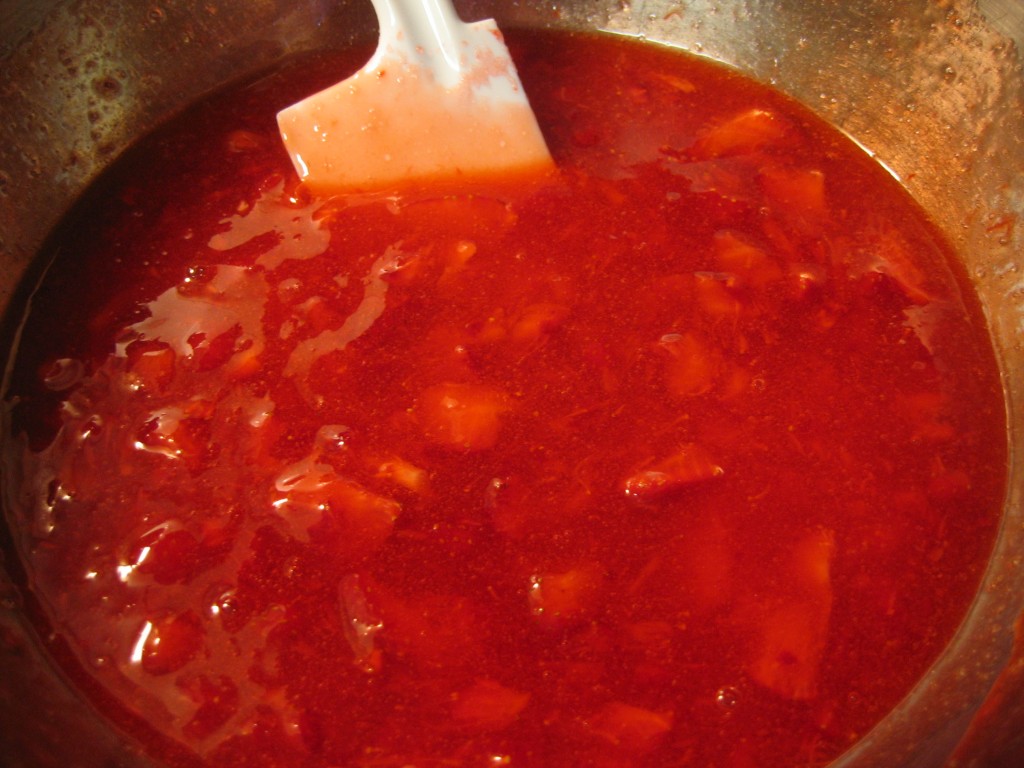
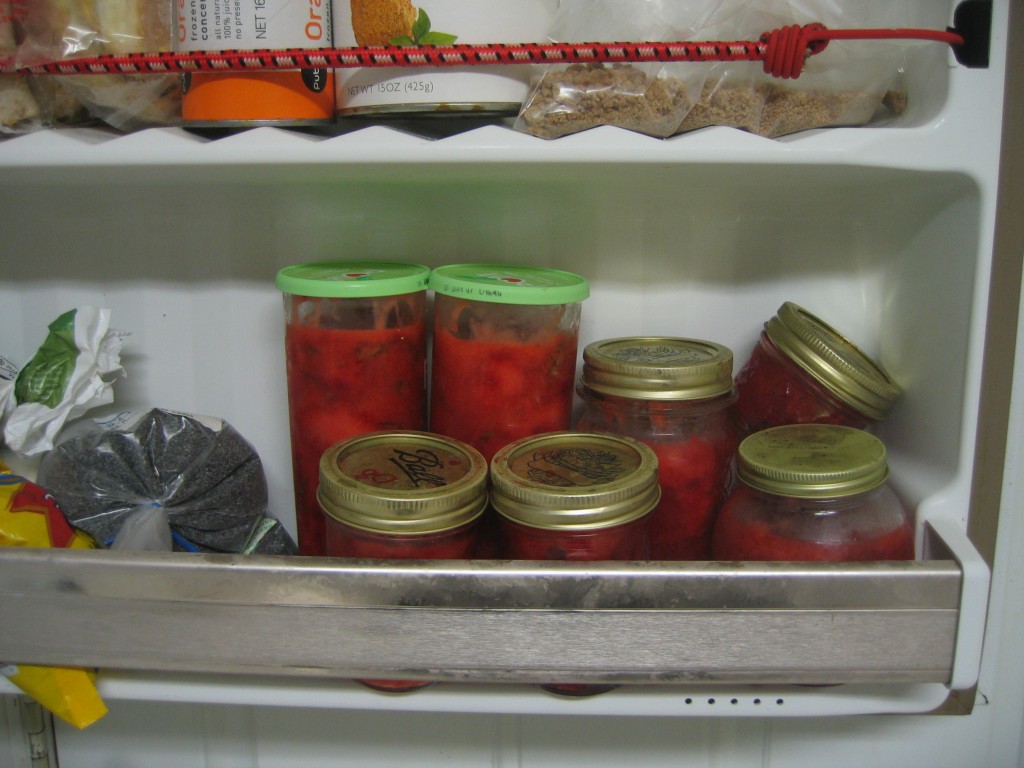
Pour the mixture into the prepared containers, leaving about 1/2 inch of space to allow for expansion during freezing. Cover. Let stand at room temperature for 24 hours until set.
Refrigerate up to 3 weeks. Or store in the freezer for up to a year.
Posted 16 years ago at 8:09 am. Add a comment
Recipe:
Ingredients:
- 4 eggs
- 1/2 cup sugar
- 1 (15 ounce) can pumpkin
- 1/2 cup coconut oil
- 3 cups all-purpose flour
- 2 teaspoons baking soda
- 2 teaspoons baking powder
- 1 teaspoon ground cinnamon
- 1 teaspoon salt
- 2 cups semisweet chocolate chips
Directions:
- Preheat oven to 400 degrees F (200 degrees C). Lightly grease two 12 cup muffin pans, or line with paper baking cups.
- Beat the eggs in a large bowl, and mix in the sugar, pumpkin and oil.
- In a medium bowl, mix the flour, baking soda, baking powder, cinnamon and salt. Blend into the egg and pumpkin mixture. Fold in the chocolate chips. Transfer to the muffin pans.
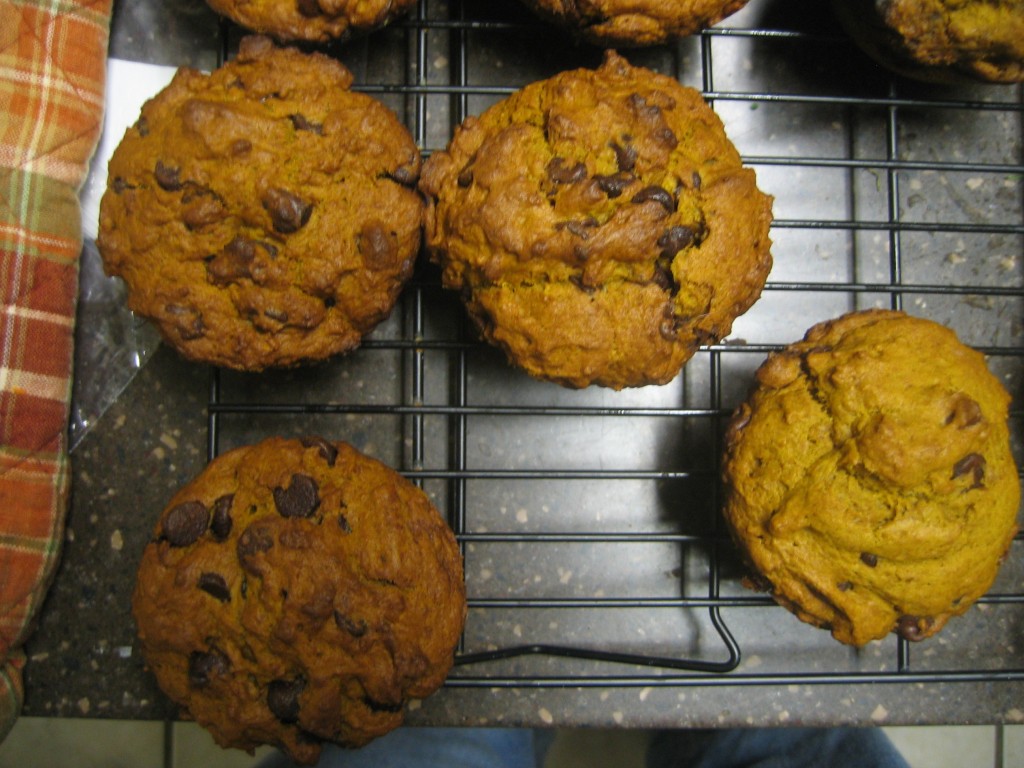
- Bake in the preheated oven 15 to 20 minutes, or until a toothpick inserted in the center comes out clean. Remove muffins from pans, and cool on a wire rack.
My Thoughts:
These muffins tasted like that weird feeling you get when you run into a good school friend on summer break at the beach. All of your experiences with that friend occur in the context of studying, coffee shops, and sneakers. You almost don’t recognize her now, sprawled on a beach towel in a bathing suit.
This is how I felt about pumpkin…in May. I’m fond of pumpkin, but all of my dealings with the fregetable (is it a fruit or a vegetable? I never know..) have been in the chillier months. It is the one food I have probably always eaten in season without meaning to. Whether its in a bread, a soup, or a pie, pumpkin has always occurred in the context of burrowing in blankets, the great indoors, and mittens. So, to eat my pumpkin muffin, after being forced out of my sweltering kitchen onto the slightly less sweltering front porch with nary a mitten in sight, was disconcerting.
Once I recovered from my surprise, however, the pumpkin chip muffin and I got on quite well. They were blissful right out of the oven. (What muffins aren’t?) The next day they were even better, as the flavors had melded. And there was no danger of the chocolate chips burning my tongue. We ate them as quick snacks or as breakfast. They are quite good toasted with a pat of butter.
I tried a couple new things in this recipe. I used coconut oil instead of canola or vegetable oil. I used rapadura (whole cane sugar) instead of white sugar. I’m generally not one to try to make dessert easier on a guilty conscience. If you’re going to have a cookie, make it the best cookie you’ve ever had. So just what’s with the coconut oil and rapawhata? For now, let it be known that I made the substitution on the basis of health and taste. More detail belongs in the next post, which is still in the oven…
Gary Verdict:
I never counted the number of muffins left throughout the week, out of fear of being disappointed. As I suspected, they were gone much sooner than they should have been. I like chocolate, and muffins. And these were very good.
Posted 16 years, 1 month ago at 5:03 pm. 1 comment


