You are currently browsing the archives for January, 2011.
 Continuing in the tradition of my family, Mr. Quotidian and I celebrated our anniversary over a period of several days. I quite like that unintentional tradition. Relationships like marriage take time to unfold… what’s wrong with letting the celebration unfold in a similarly leisurely fashion?
Since both of us were busy on our actual anniversary, we simply read our vows aloud again as we sat on the couch after dinner. Because our vows were more than just private promises we made, I posted them on Facebook and here on my blog, in an effort to display them in full view of our family and friends. While marriage in this culture is conducted privately, it is still a public institution. For all the ways the internet has detracted from personal life, I have come to be grateful for the easily available public forum it gives.
Continue Reading…
Posted 14 years, 4 months ago at 7:23 am. 2 comments

I Jana, take you Gary,
To by my husband from this day forward,
To join with you and share all that is to come
In youth and in old age,
In strength and in weakness,
In happiness and in apathy,
In wholeness and in brokenness,
In faith and in doubt,
In expectation and in disappointment.
Forsaking all others, I will love and cherish you
Until death parts us.
Posted 14 years, 4 months ago at 8:40 pm. Add a comment
 Pot roasts are old standbys that, depending on how the cooking was at your house growing up, either makes you have to wipe a little Pavlovian drool from your lips or leaves you in a cold sweat and reaching for the delivery menu. I’m thankful to have grown up in a home where pot roasts were of the drool inspiring variety. They were always made the same: an assortment of vegetables layered in the bottom of the pot to soak up all the juices from the roast laying on top. For as much as I agree with the philosophy of not cooking your veggies to death, I must admit that there is something magical that happens when you stew carrots, potatoes, and onions for six hours in beef drippings.
It has taken me a long time to get comfortable cooking meat. Not because of any past dietary principles (I’ve always been quite the omnivore), but simply because I was intimidated. I stuck with plain ground beef for a long time– all through college, post college, and probably my first year of marriage. Ground beef is the one cut of meat I remember helping my mom with while growing up. It was frequently my job to brown the beef for whatever other dinner applications it was destined for. I felt confident in knowing how ground beef worked. Throw it in the pan, break it up with a wooden spoon, and cook until it’s all the same color. No confusing steps like “sear till a crust forms,” “slice across the grain,” or “carve.” Unlike other cuts of beef that might turn raw in the middle if you looked at them wrong, it was easy to tell when ground beef was done. Even once I was a more confident cook and could roast a whole chicken with the rest of ‘em, I still had a mental block against any other cuts of beef. So it wasn’t until I’d gone in with a friend and bought a side of beef from a farmer friend that I really began cooking steaks and roasts on an actual stove or oven. I’ve studied the cookbooks, watched the YouTube videos, and scrutinized the how-to charts while broiling, sauteing, roasting, searing, and grilling my way through a quarter of a cow.
And so other cuts of beef are no longer as intimidating as they once seemed. Like any skill, it takes time, patience, attention to detail, and multiple tries to get it down. That and a willingness to swallow your pride, take the platter from the table, and put the roast back in the oven for 15 minutes to finish cooking.
For those of you who might secretly also have hunkabeefphobia, this is a simple recipe that is really hard to mess up and so is sure to build your meat cookery confidence. What’s more, it takes advantage of the cheaper cuts of beef that have a lot of chewy connective tissue that takes hours to melt down. So even if you do mess it up, it’s at least not as expensive of a “misteak.”
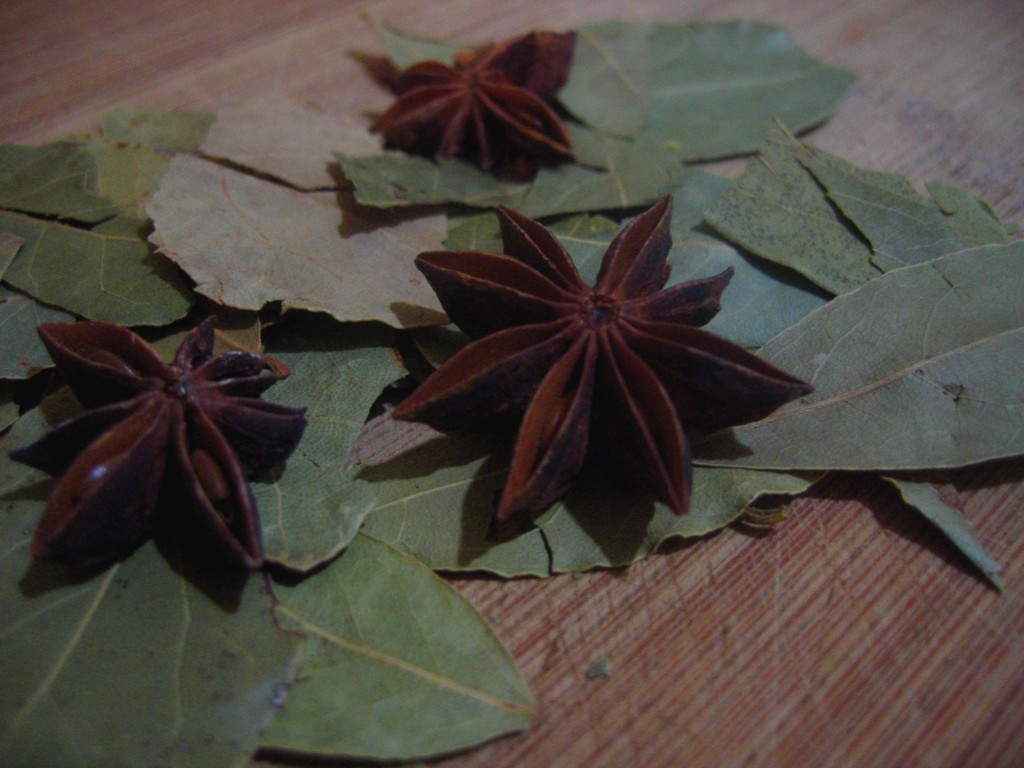
The method is the same for any pot roast in a crock pot– put the meat in, cover with some liquid, and let it cook for about 6 hours. Other ingredients, like vegetables, can be added. You can also be creative with your spice use. Don’t feel limited to the same old salt and pepper. Try a Mexican spiced combination, or go for an herby Italian roast. I’ve tried pot roasts lots of ways, and most of them have been quite good. However, the bay leaf and star anise combination I’ve really come to love. I prefer subtle flavors to let the gorgeous beefiness of my grass-fed roasts shine, and these two spices play backup singer quite nicely. The bay imparts a floral aroma and herbal taste while the star anise adds a surprising zing of Asian flair and permeates the whole dish with that can’t-quite-put-your-finger-on-it umami flavor.
Bay Leaf and Star Anise Pot Roast with Gravy (in a Slow Cooker)
A 4ish pound roast (shoulder, chuck, rump, round, London broil)
3 cups water
1/2 cup cider vinegar
salt and pepper
2 star anise or equivalent amount of pieces
2-3 bay leaves
2 carrots, peeled and roughly chopped (opt)
2 stalks celery, roughly chopped (opt)
2 onions, peeled and cut into chunks (opt)
2 potatoes, cut into chunks (opt)
4 Tbs butter
6 Tbs flour
If using the veggies, layer them in the bottom of the slow cooker. Sprinkle both sides of the roast with salt and pepper and lay in on top of the veggies. Pour in water and vinegar. Float the bay leaf and star anise on top. Put the lid on, turn the cooker to low and cook for 6-8 hours. (Less time will leave you with a more structured roast that holds together. Longer time will give you falling off the bone meat. Both are good.)
When the meat is done to your liking, remove it and tent with foil to rest and reabsorb its juices. Also remove the veggies and keep in a warm oven. Pour the liquid into a large saucepan and bring to a boil. In a separate bowl, mix together 4 tbs butter and 6 tbs of flour. Whisk this mixture into the liquid thoroughly and bring to a boil. Simmer gently, stirring often, until it thickens into a gravy. Serve it over the meat and veggies.
You will probably have leftover gravy. I chop up any extra roast, mix it with the reheated gravy, and serve it over crusty bread the next day.
Posted 14 years, 4 months ago at 9:09 pm. 4 comments
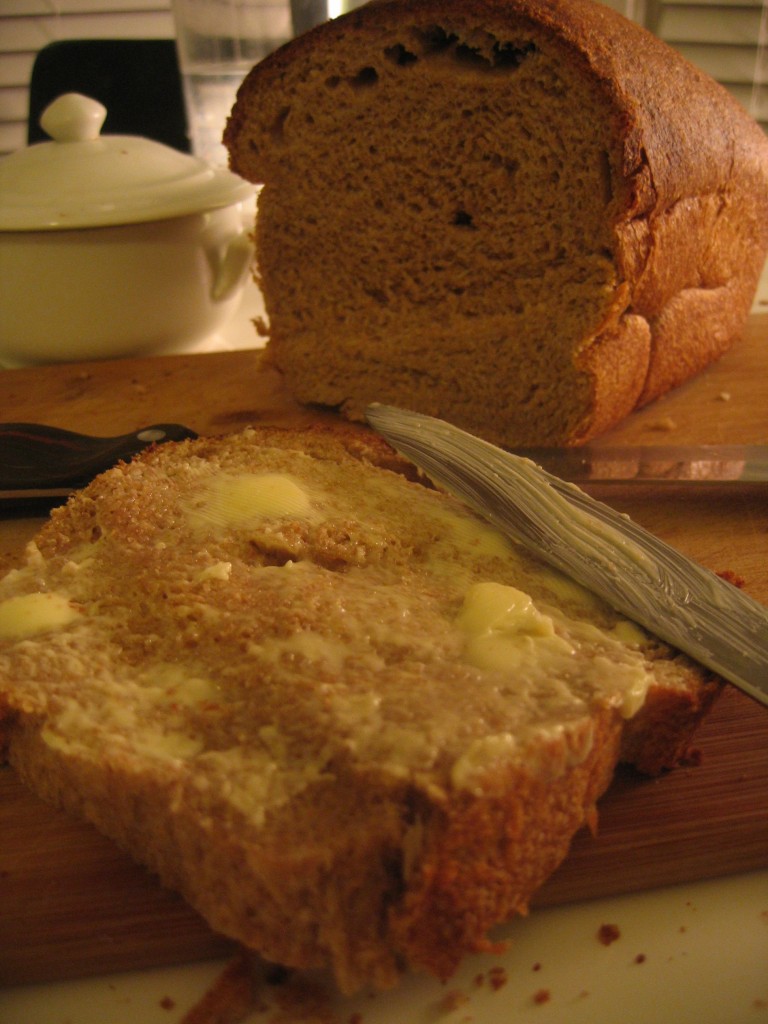
A fresh loaf of bread
cooling on a wire rack
in time for dinner.
Posted 14 years, 4 months ago at 6:29 pm. Add a comment
Like the patches of black frozen earth interspersed with patches of glistening melting snow outside our window, this week has held many contrasts. On the one hand, it has been a week where the weather has reigned supreme. As a farmer, I always secretly smile when this happens; others are forced to acknowledge the power I consciously live under every day. All other plans come to a standstill, and we are forced to watch and wait as weather happens. It has made the dull landscape shimmer and brought neighbors out of hibernation and into the streets to playfully enjoy the snow together. Sites like Facebook have been filled with pictures of children (of all ages) romping, rolling, and sledding. Despite the complaints about cold fingers and toes, we have seen people reveling in a type of beauty we see so rarely here in the South.
On the other hand, this week has held such tragedy in the form of the deaths of 70-year-old high school sweet hearts, an optimistic little girl, and others in Tucson. Unlike the snowscapes in our backyards, the beauty here is hard to see. But like the snow, it reminds us how powerless we are in the face of such events. Regardless of one’s views on gun control, mental health programs, and other political aspects, such events force us to admit how little control we have over the events that shape us.
The question that has been haunting me as I slog through the snow, the ice, and the heavy heart this week is: What now? What is to be done in the wake of these things? As powerless as I was to stop them, I feel even more powerless to respond to them. What I’m left with is a bit of wisdom I garnered from a college lit class. At the end of Candide by Voltaire, Candide has been disillusioned time and time again. All the while, his teacher keeps telling him “this is the best of all possible worlds.” A frustrated Candide finally stops him and says that in the light of all the pain and suffering in world, the best we can do is “tend our own gardens.” I keep coming back to that phrase. Far from being isolationist and callous, I think it’s a humble response to events that are (and always have been) out of our control. We must keep on keeping on, tending the life we’ve been given. So, in the face of tragedies and the caprices of weather, I plant microgreens and harvest spinach. I make myself dinner. Maybe a loaf of bread or some cookies. All the while trusting that, even though I can’t do a thing about the pain in the world, my small life has the potential to change the world if lived well.
That is part of why I became a farmer. I think understanding what motivates the people who grow your food is an important part of knowing your farmer. Many of you know our names and faces at the market. But I wanted you all to have a glimpse into what drives us to work at the things we do. We are certainly not in it for the money. Even the love of beautiful vegetables only goes so far. For me, this issue strikes close to the heart of why I endure the hard work. Although it might seem strange to some, growing good food for people in my community is my answer to the suffering I see in the world.
Posted 14 years, 4 months ago at 7:03 pm. 2 comments

The weather here has shown an uncharacteristic propensity for white this winter. While she often indulges in her love for the sparkly white of frosts, she usually only dons the honest-to-God white stuff every four or five years. This season, which isn’t over yet, she has waltzed out in the swirly white dress no less than twice.
While I fully intended to make the trek to the farm, it seems that pregnant scooter-riding farmers get a snow day. With the unexpected day off, my thoughts turned to good snow day activities. I was having trouble staying warm… it seems Hemingway is taking all my body heat too. So, instead of going all the way outside, we did our snow activities from the window. While Mr. Quotidian held the window open, I leaned out and made our snow avatars. A tall snowman in Mr. Quotidian’s likeness was easy enough, but I had trouble with the pregnant snowife. So, as a compromise, I fashioned a little Hemingway snowman separately.

Nothing could be more of a soup day than a snow day, so I turned my attention towards dinner. For me, soup must include two things if it’s to be classified as a snow day soup. It must be based on real broth that has been simmering all day, and it must not require any ingredients other than what’s already in my fridge, freezer, or pantry. (Extra points for being able to use leftovers.) The requirements, though they might seem random, actually have some reason behind them. The on-hand ingredients stipulation is for the obvious reason that on a snow day you either can’t or don’t want to make the journey to the grocery store. The broth specification has to do with the anticipation factor. Snow days typically involve long stints under blankets punctuated by brief stints of outdoor frivolity. When I’m home all day, there’s something about slowly becoming aware of the aroma of stock simmering on the stove, attending it throughout the day, and then enjoying the rewards at the end of the day. That pleasure is compounded when my hands are cold from snow and they slowly thaw as I stir the stock, leaning next to a warm stove. Obviously these aren’t real conditions and don’t absolutely have to be followed to have a successful soup. For me, they are just what distinguishes a Snow Day Soup from any other run of the mill soup.
I just happened to have a leftover whole chicken and some rice from last week that was practically begging to be made into soup. In the morning, I picked all the meat from the bones and set the stock to simmer. Later that evening, I sauteed some onions and garlic and stole a few ladle-fuls of the stock, leaving the rest to simmer overnight. I also added a bit of leftover whey to up the protein content (pregnant you know). Because I had time to spare, I added what I consider one of the secret weapons of a good soup: a Parmesan rind. These take awhile to melt in, but can’t be outdone in the savoriness and body they add to soup. When the rind was melted, I added the cooked rice and shredded chicken. Then, at the last minute to preserve its color, I added a couple spoonfuls of homemade pesto. Perfect. Even though I hadn’t been out playing in the snow all day, this soup bore the same sense of comfort and well-being that a hot meal did after my childhood snow days. With this soup, the weather can wear white all she likes.
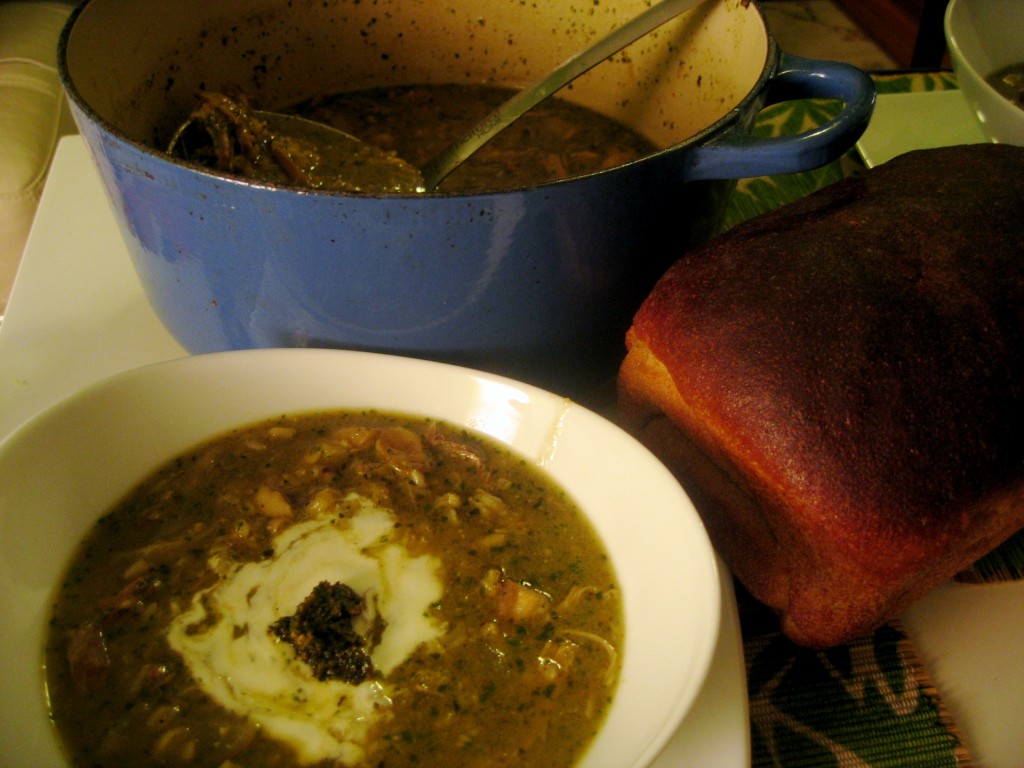
Snow Day Pesto Chicken and Rice Soup
1 onion, chopped
3 cloves of garlic, grated or chopped
2 Tbs butter
1 quart chicken stock (opt. part whey)
1 hunk Parmesan cheese rind
2-3 cups leftover chicken
1-2 cups cooked rice
2 Tbs pesto
salt and pepper
yogurt, sour cream, creme fraiche
In a medium pot, melt the butter. When is sizzles, add the onions and garlic with a pinch of salt. Stir to coat them with the butter. Let them cook until they start to soften. Add the broth and cheese rind. Bring to a boil, reduce heat to a simmer, cover the pot, and let simmer until the rind is melted into the stock. If you have a few stubborn bits that refuse to melt, just fish them out. Add the chicken and rice and cook till heated through. Right before serving, add the pesto. If you add it too far in advance, it will loose its vibrant green. Taste and season with salt and pepper. Serve with a swirl of yogurt and a dollop of extra pesto.
Posted 14 years, 5 months ago at 7:06 am. Add a comment
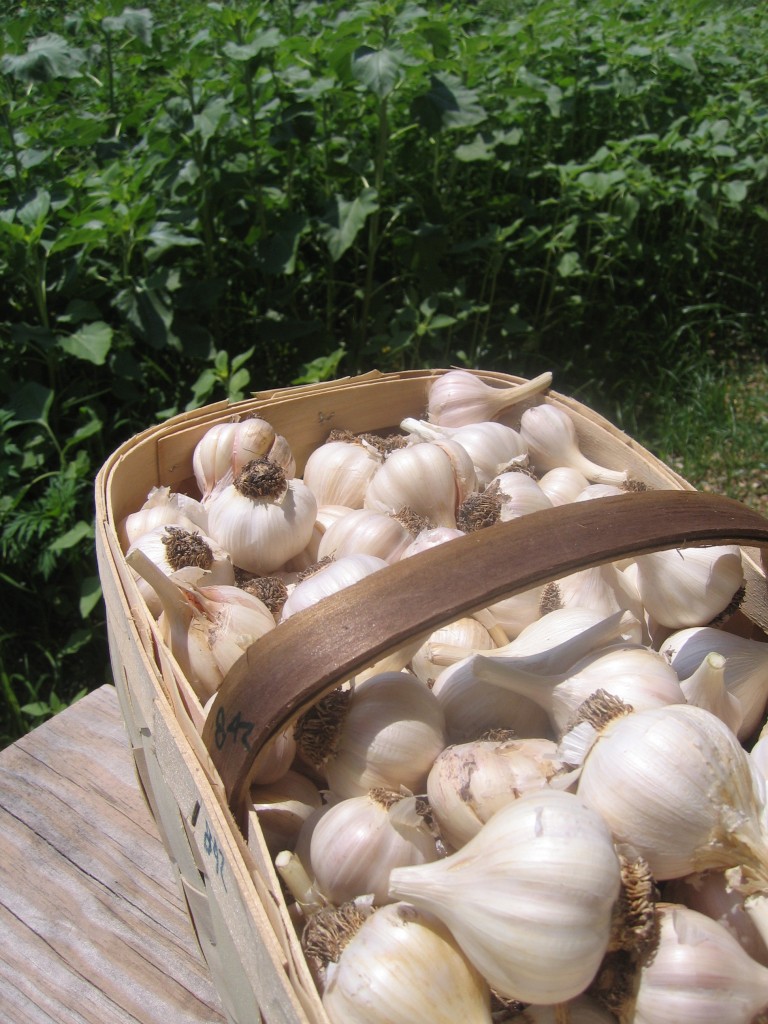 Roasting garlic is so simple and such an easy way to add more depth of flavor to cooking that I don’t know why I don’t do it more often. Garlic’s chemistry allows the cook to manipulate it in different ways, getting a different flavor as a result. Alliin and Allicin, the two volitale compounds in garlic that give it its garlic-ness, are only released when the cell walls are damaged by chopping or chewing. It’s the mixture of these two compounds that give garlic its sharp hot flavor and aroma that many people love in things like hummus. However, other people find raw garlic too harsh but still enjoy the flavor. For cooks, this means that roasting garlic, a method where the cloves stay whole, produces a milder garlic flavor and brings out garlic’s natural sweetness.
Roasted garlic is a helpful ingredient to have on hand. You can make a killer garlic bread in a flash by just spreading the garlic onto bread, sprinkling with salt, and toasting for a few minutes. It also adds roasty sweetness to soups and stew that is just not possible to get by simply throwing in chopped garlic. While it does take awhile to make, the prep is very simple and most of the time you can do something else. Also, you can roast as many heads of garlic at one time as you’d like. Once roasted, it will keep for a about a week in the fridge and a few months in the freezer.
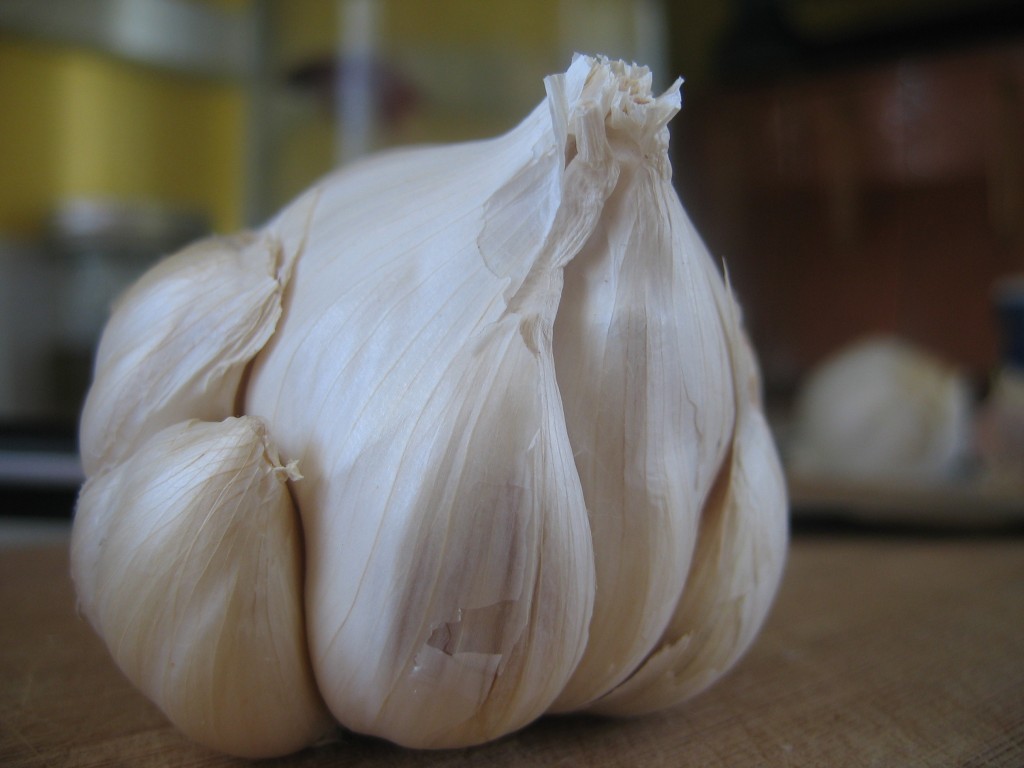 Before you start prepping the garlic, preheat you oven to 400°. Then face your garlic. Begin by peeling off all the loose papery layers. You should be able to see the individual cloves.
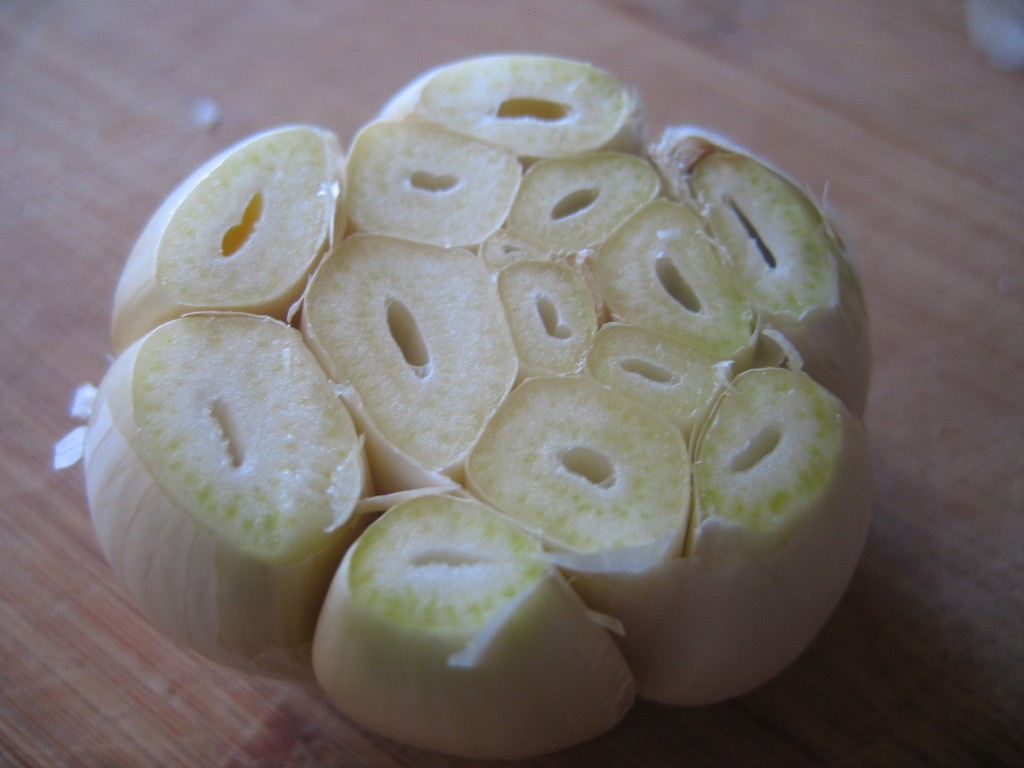 Next, cut the top off the garlic. Once fell chop should take care of most of the cloves. However, if you take the time to cut the tops off any cloves that were missed, you will be rewarded.
After the tops are cut off (you could save all the little caps to use later, if you’d like), rub the whole head with olive oil. I know it means getting your hands greasy, but it really is most efficient with your hands. I suppose this could be an excellent job for children….However you accomplish this, the oil rubbed garlic should then go on a baking sheet and into the oven for about 30-40 minutes. Alternatively, you could wrap the heads into little nests of aluminum foil. I just don’t like wasting foil if I don’t have to. I’ve found the baking sheet works just fine. 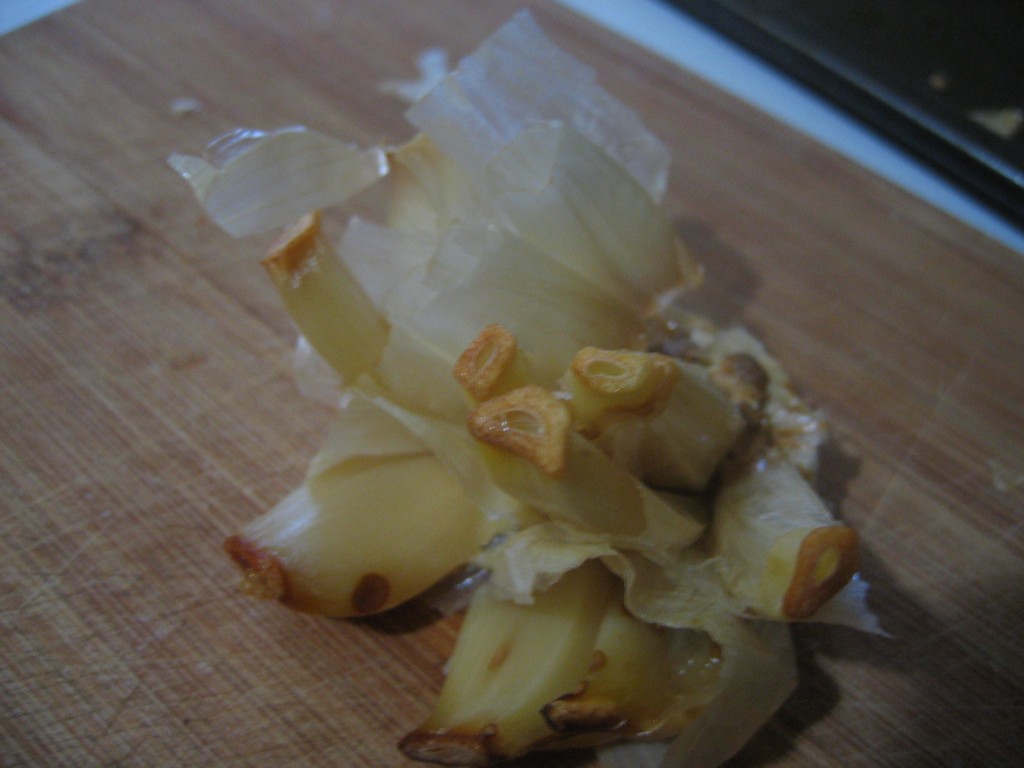 When it’s done, the tops of the cloves should be lightly caramelized, but not burned. Let it cool until you can touch it comfortably. When cool, the garlic should be soft enough that you can press gently on the base of the head and pop all the cloves out. This is where you will be rewarded if you took the time to cut the tops off well. The cloves will slide right out if you’ve cut a big enough hole. If not, well, you’ll get a garlic squirt in the eye. Try it, you’ll see what I mean.
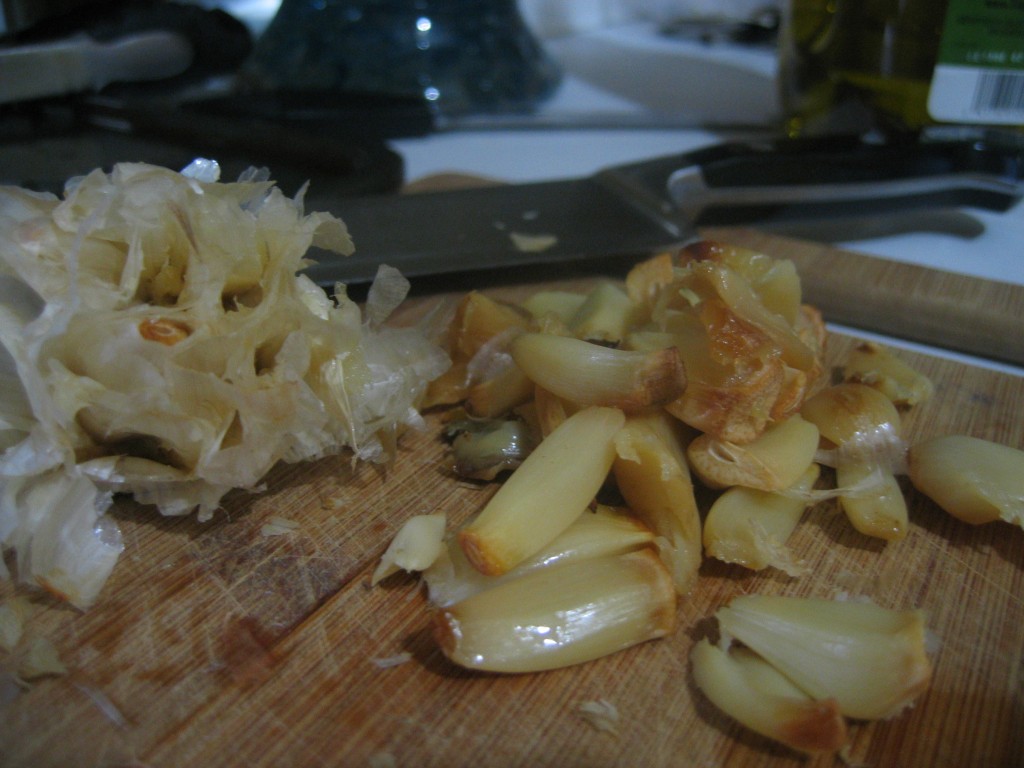 At this point, your roasted garlic is ready to use. Try mixing it with butter or cream cheese for a delicious spread. Make garlic bread, toss into soups, or saute with veggies. I can never resist eating at least one clove by itself, especially after smelling it roast for half an hour.
Enjoy!
Posted 14 years, 5 months ago at 7:28 am. Add a comment
 Continuing in the tradition of my family, Mr. Quotidian and I celebrated our anniversary over a period of several days. I quite like that unintentional tradition. Relationships like marriage take time to unfold… what’s wrong with letting the celebration unfold in a similarly leisurely fashion?


