You are currently browsing the archives for August, 2011.
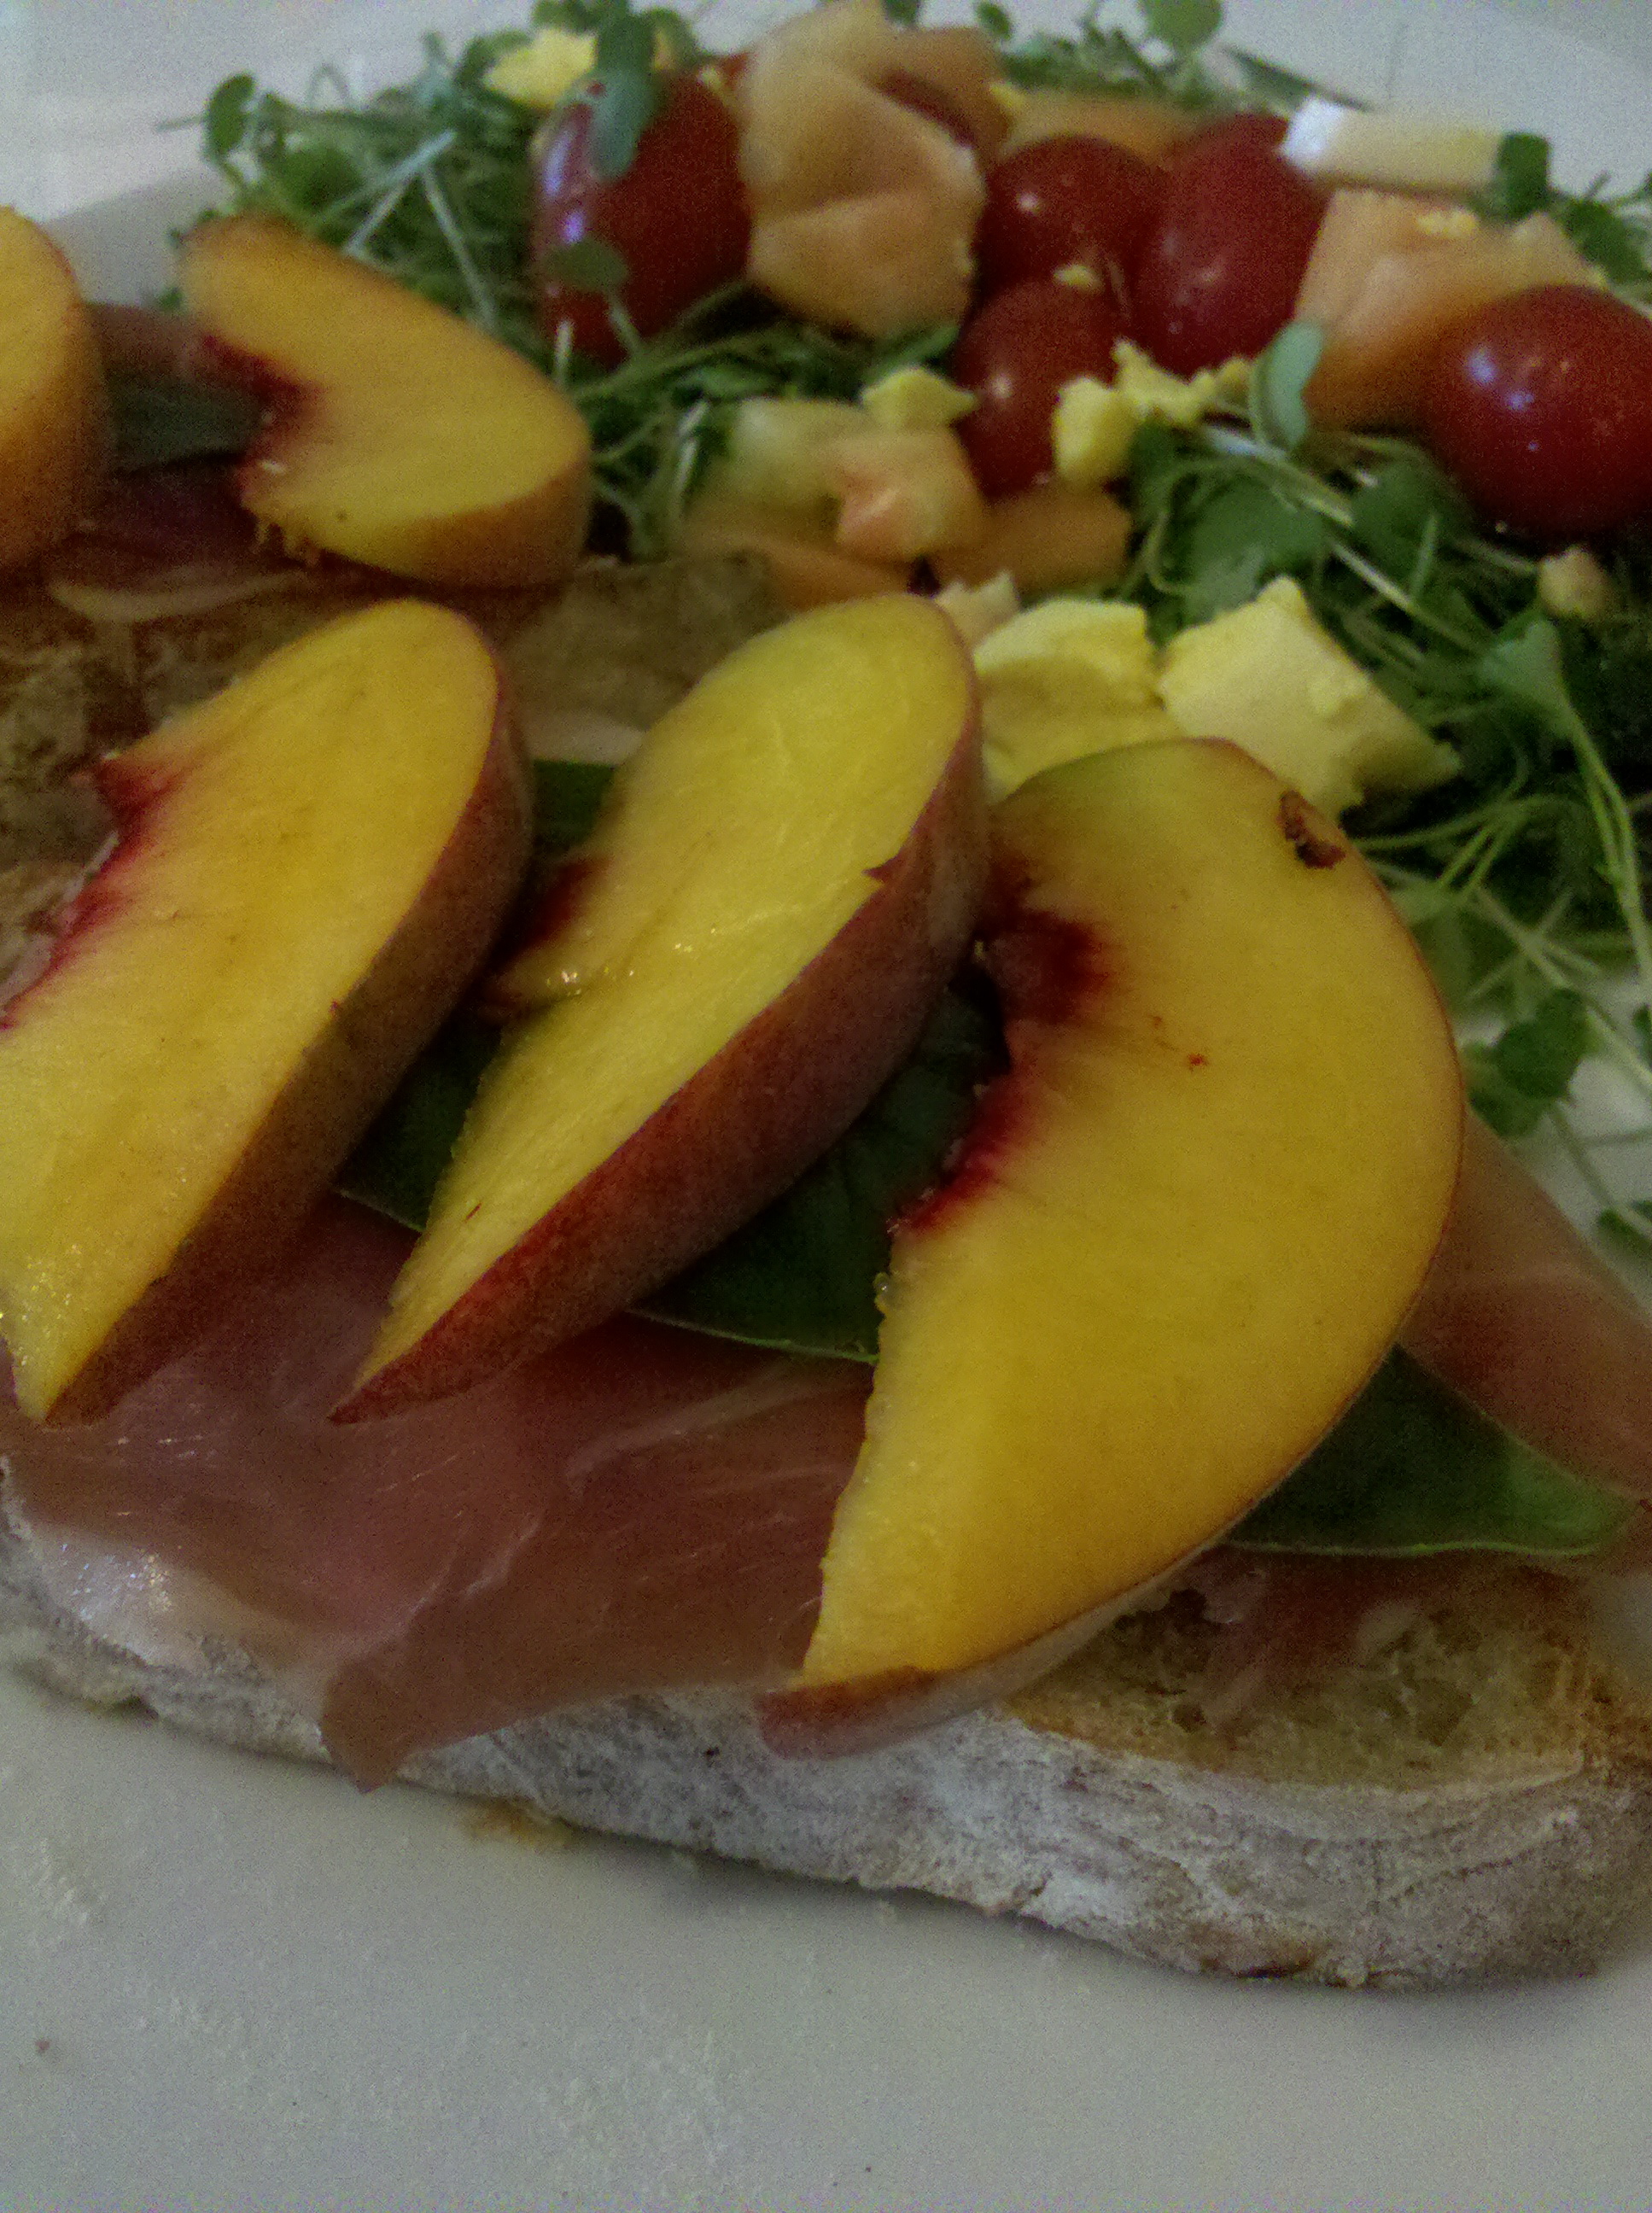
Prosciutto Basil Peach Sandwich
Ladies and Gentlemen, meet the BLT’s posh older sister– the PBP. I saw this on the menu at Drip in Five Points but didn’t have the moolah to order. But like an intriguing stranger, it’s been on my mind ever since.
Now that I’ve finally had the opportunity to make them, I think they will become standard summer fare for the Quotidian household. When ingredients are fresh they don’t require lots of culinary cover up to hide the under eye circles developed in red eye flights from Argentina or China. But what I love most about this recipe is the crispness of the idea. Even when the produce is spectacular, there’s only so many Caprese Salads a girl can eat. Especially in summer when there are so many other chores to be done and activities to be enjoyed, seasonal eating can get stale. Balsamic Cucumber Tomato salad again? While fast and easy are rarely the sole determinants of what I cook, it is nice to have a few of these types of recipes in my apron pockets. A side salad of arugula microgreens makes a perfect meal.
3 slices of a crusty bread, such as ciabatta
soft goat cheese
3 slices of prosciutto
1/2 a ripe peach, thinly sliced, peeled if you wish
3 large basil leaves
Toast the bread lightly and let it cool slightly. Spread it with the goat cheese. Fold the prosciutto slice over the cheese. Top with the basil leaves followed by the peach slices.
Posted 13 years, 9 months ago at 2:42 pm. Add a comment
Scenes from a Summer Birthday
Posted 13 years, 10 months ago at 5:43 pm. 1 comment
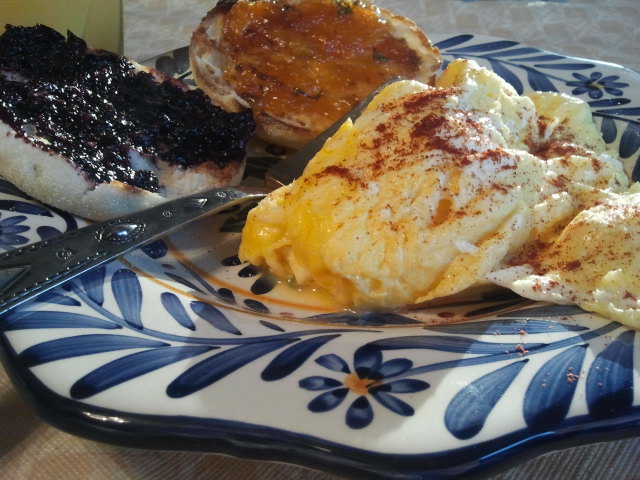
Tips for Better Scrambled Eggs
I have a confession to make.
I’ve never made scrambled eggs well.
It’s not that they’ve been inedible or even half-bad. They’ve just never been really… good. They either end up doing an overcooked backstroke* around the plate or they wallpaper the pan. Both of these problems are somewhat alleviated by adding extras like sausage or cheese or peppers. But only in the way that putting a hat on fixes a bad hair day.
In the past few weeks however, my stars have unscrambled and a series of fortunate events have pushed better egg cookery upon me. These events are fairly mundane– a dirty pan, extra bacon grease, a distracted mama– but together they produced a breakfast that was anything but a jumbled up mess.
Tips for Better Scrambled Eggs:
- Use an appropriately sized pan. I’ve found it better to do single servings (2-4 eggs) in an 8 in pan rather than large batches in a 12 in pan. Using too big of pan seems to result in overcooked watery eggs, probably because they cook too fast to manipulate them properly.
- Use enough fat. Seriously. Even I, who have no fear of fat, evidently have not been using enough. Using at least 2 Tbs per serving seems to eliminate the eggy wallpaper problem. I know non-stick pans are supposed to be the Holy Ovum, I just don’t trust them. Even if you only use plastic utensils (an issue unto itself) they still get scratched. And where does all that stuff go? I shudder to think how much Teflon I’ve ingested. Besides, fat adds flavor. Butter is a natural companion to eggs, but I typically use bacon grease that I save in jar in the fridge. Frugal and tasty– what more can a cook ask for?
- Let the pan get hot enough before adding the eggs. This is another reason to forgo the non-stick pans as it’s dangerous to heat an empty Teflon pan. The beaten eggs should sizzle as you pour them into the pan and immediately begin to cook around the edges.
- Take them out of the pan before they are completely done. Eggs continue to cook after being removed from heat. So if you “go all the way” in the pan, you’ll be left with something less than the best on the plate. This step takes practice. After all, how to you know when they are “almost done” and not just undercooked? Only in the scrambling of many eggs will you learn, young eggdi, Yoda says. (Yes, I did just do that.)
- Cheese confuses this whole processes. It’s Meltiness sticks to the pan no matter how much fat you use. I suggest staying away from it until you get your Scramble on better. If you can’t do without it, try sprinkling it over the eggs on the plate rather than in the pan.
This list is far from exhaustive, I know. Some of your technique will depend on how you like your eggs. For example, I prefer a cohesive lump rather than a thousand tiny curds. So I tend to flip my eggs rather than break them up by stirring. What about all of you? How do you like your eggs? What techniques do you use to get the perfect Scramble?
*Eggs get watery when overcooked because the proteins have contracted too much and pushed all the liquid out. Therefore, cooking the eggs more will only exacerbate the problem.
Posted 13 years, 10 months ago at 11:42 am. 4 comments
Summer Pleasures
As summer slugs into August and settles it’s sultry cloak over our shoulders, it’s easy to raise a stink (in more than one way). Late summer seems to be the hardest to endure. Gone is the novelty of shorts and bare feet. Summery foods have even begun to loose their luster as you remember the comforts of the long simmering soups of winter.
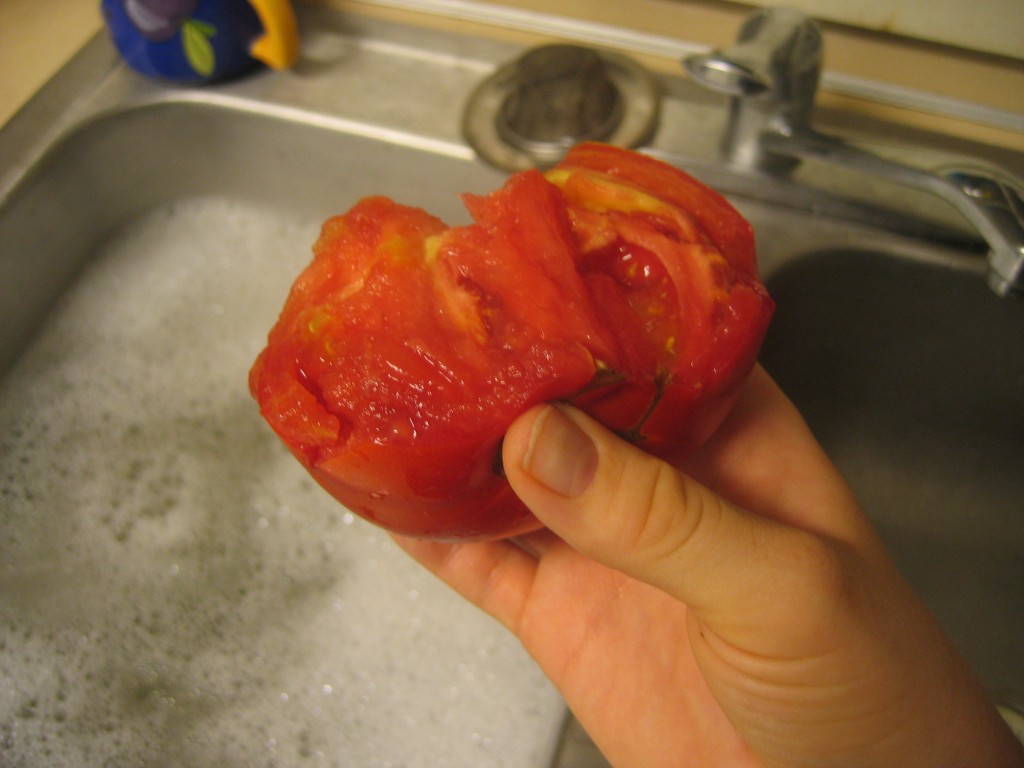
So it is at this time that it is especially beneficial to remember the pleasures of summer. To repeat as a mantra all the things that seemed so exotic in January. Of eating a tomato bigger than your fist over the kitchen sink while the juice dribbles down your wrists. Of thunderstorms that catch you by surprise, leaving you no time to seek shelter before it hits you with the force of sopping sheets. Of the sizzle of ice cubes dropped into iced tea. Of wading into a thick pool of honeysuckle scent. Of sharing frosty beers on the front porch swing with the same people you’ve shared work and sweat with all day long.
What are some of your favorite summer pleasures?
Posted 13 years, 10 months ago at 11:20 am. 2 comments
A Knuckle Sandwich
 I want to eat his baby knuckles that dimple in rather than sticking out.
Posted 13 years, 10 months ago at 12:19 pm. 2 comments
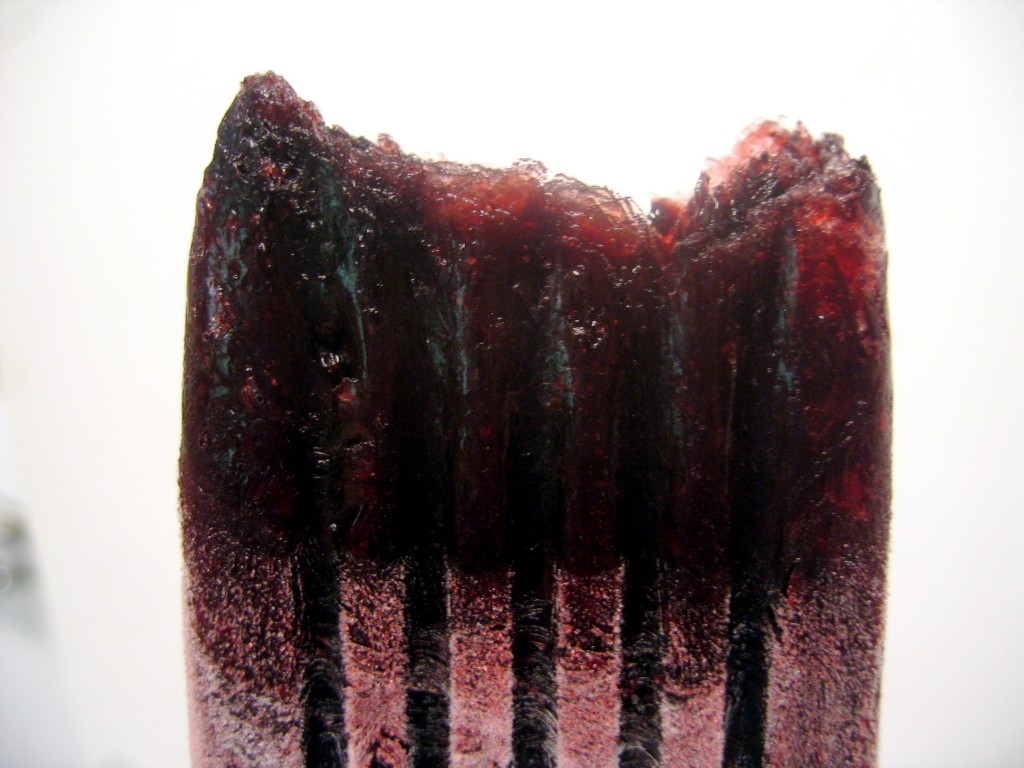
Sangria on a Stick
Sangria will always have a special hold on my taste buds. In my pre-married days I lived at a house where there was always a frosty pitcher of Sangria in the fridge. It was the accompaniment of many a weekend backyard cookout and afternoon share-more-than-you-meant-to conversations. To this day I cannot make Sangria without thinking of my much cherished roommates.
This summer, however, while a sangria pitcher is not a stranger to my fridge, I needed something different. I’d been itching to try some of Mark Bittman’s adult ice pops and given my penchant for sangria, figured that would be a good place to start.
It was.
Normally part of the appeal of sangria is the wine soaked fruit at the bottom of the glass. But I wasn’t sure that would work for an ice pop, so I blended the juice in with the wine. While I personally used blackberries for this recipe, any berries (or fruit for that matter) would probably work. Although, if it’s something like peaches, you can probably skip the straining step.
Sangria on a Stick
1 lb berries
1 cup dry red wine
a good pinch of salt
a couple swigs of brandy
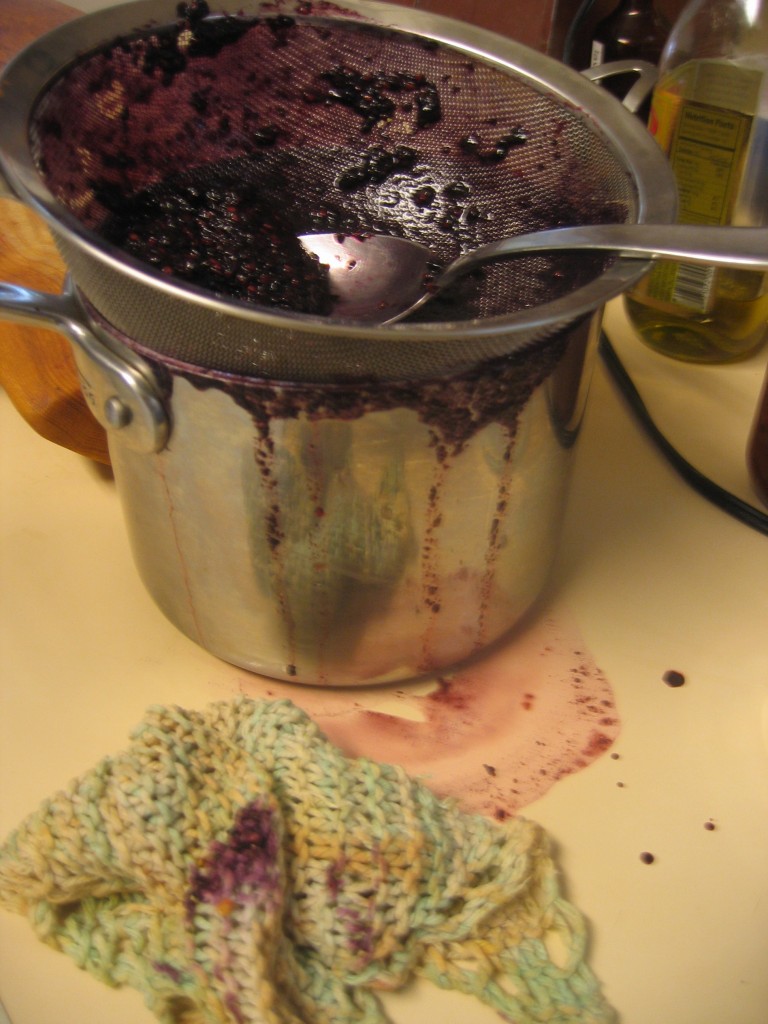
Blend all the ingredients together until smooth in a blender or food processor. Press the mixture through a fine sieve, discarding the solids.(Compost or chickens!) Pour liquid into ice pop molds or paper cups. Freeze for at least 5 hours. If you are using paper cups, don’t forget to insert the stick once they thicken but before they are completely frozen. Take out of the molds as needed for summer afternoon pick me ups and incognito happy hours.


