You are currently browsing the Uncategorized category.
It’s become trendy to talk about “using the whole chicken.” Tips for starting with one roast chicken and feeding yourself for a week are plastered over the internet. People are becoming aware that a chicken consists of more that just two boneless breasts. There are thighs, wings, necks, backs. Even bones to be used.
This is a good thing. If one is going to eat animals, every effort should be made to let none of it go to waste. Authors like Shannon Hayes in her book Long Way on a Little make clear the fact that thrift and ethics are bedfellows far more often than we assume.
And yet I rarely hear this same philosophy applied to other foods. While fruits and vegetables largely have the sentient suffering aspect removed, there are still costs associated with their production and distribution. For most products in the grocery store, there is the often mentioned “food miles,” the distance a particular food must travel from where it’s grown to your plate. Even the holy grail of organic, local, in season produce is hopped up on the farmer’s worry, sweat, consternation, and exhaustion. All food has cost someone something to get to you.
Maybe it’s my latent farmer resurfacing or my frugal midwestern gene, but I don’t take those sacrifices lightly. Though it may seem lip pursingly prudish, I genuinely try to use the whole of every bit of food that comes through my kitchen. I save my bacon grease in a jar in the fridge. Pickle juice hangs around in another jar long after all the pickles are eaten. Eggshells are baked and fed back to the chickens. My houseplants get regular infusions of day old herbal tea. And of course there is the alchemy of compost turning my coffee grounds into soil. I strive to make everything food for something else, whether for me or one of the dozens of other living organisms in our household.
Most of these processes happen naturally and under the radar. But there are some things that are so special that extra effort seems required to make full use of them. Winter citrus season is one of those times.
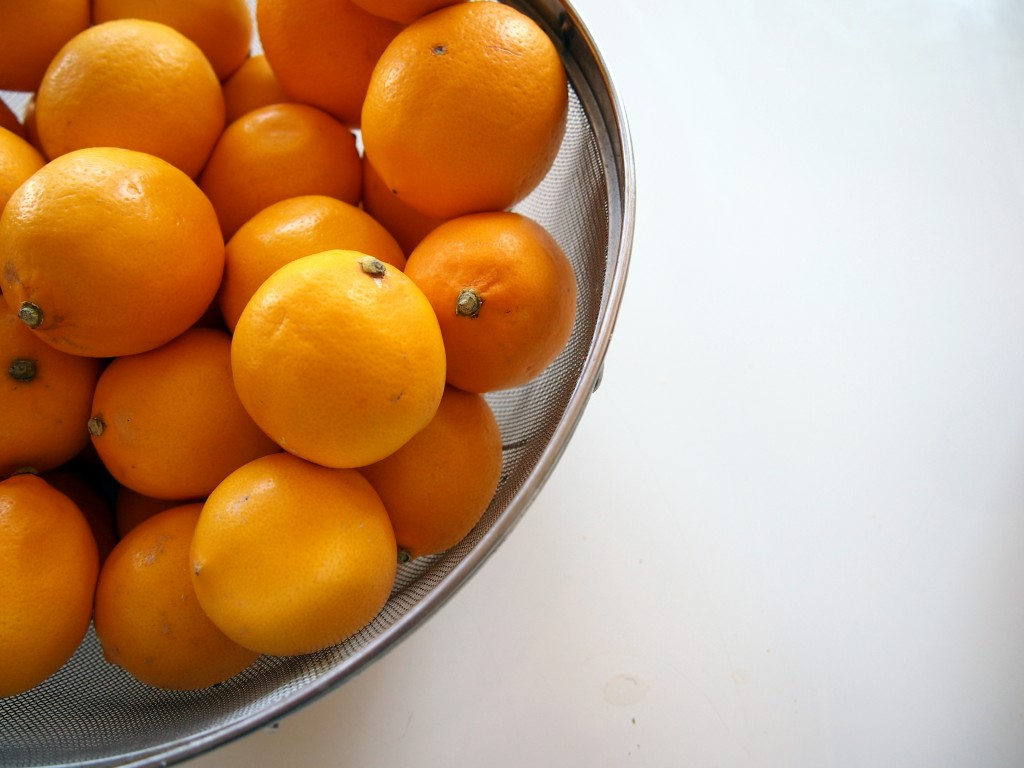
Every year during the darkest days of winter several boxes of jewel bright citrus is delivered to our doorstep. They come from Beck Grove near San Diego. Helene and Robert Beck are responsible for these spicy blood oranges and zesty meyer lemons.
These beauties are precious. They come from far away and are the result of tremendous care. And they cost a pretty penny too. It seems a waste bordering on disrespect to squeeze out their innards and toss the rest in the compost.
These fruits have so much more to offer. Just like a chicken, lemons are made up of lots of different parts, all of them useful.
The anatomy of a lemon, in brief
The zest:
This is where most of the lemony flavor and scent reside, thanks to oils trapped in the skin. The zest is just the very thin topmost layer. There are lots of tools available to help you remove the zest only. My personal favorite is a microplane grater.
The pith:
This is the white layer directly below the intensely flavored zest. While on meyer lemons, the pith is relatively thin, other citrus have a much thicker pith that must be removed before eating the fruit. While it’s not exactly true that the pith is so bitter it will ruin your dish if any gets in, it is in the very least not flavor-ful. It is bland, spongy, and as better cooks than me have said, not good eats. Unprocessed that is. The pith contains natural pectin, much like apple peels and cores.
The fruit meat/ juice:
This is the part that most people are familiar with using. I trust it needs no other explanation.
The seeds:
Like the pith, the seeds are not particularly appetizing on their own. However, they are rich in natural pectin.
The carcass:
This is my homespun term for that leftover part of a citrus fruit that’s left after zesting and squeezing. It’s generally made up of large amounts of pith and rind with fragments of the meat and juice.
So how does all this come together? How does a cook use make use of all these parts?
There’s no tidy recipe I can give you. Different applications will lend themselves to different uses for each part. The best advice I can give is to get in the habit of looking at lemons (and indeed, most produce) as having many parts rather than just a single use. See the zest, the pith, and the juice as separate entities. Once you get used to doing this mentally, it will be much easier to break them down in you kitchen.
Here are some of the ways I’ve found to use the whole lemon:
- Dry or freeze the zest for later use in recipes calling for it. I always make a habit of zesting my citrus whether or not the recipe calls for it or not. If I don’t use it in that recipe, I save it for something else. If you don’t have a lot of it, it dries quite well in a bowl on your counter. No dehydrator necessary.
- Freeze the juice in ice cube trays to make lemonade during the summer.
- Throw the carcasses in a jar and cover with white vinegar. Steep for a few weeks and strain. Dilute with water and use for cleaning. (Compost the spent carcasses!)
- Freeze the carcasses in a single layer on a baking sheet. Once they are frozen solid, transfer to a freezer bag. Keep one or two in your water pitcher in the fridge. Or use as flavorful ice cubes in your glass. Admittedly they are not as posh looking as lemon slices, but they get the job done.
- Make your own pectin from the seeds and pith.
- Make citrus candy from the peels.
- Keep a pot of water simmering on the back of your stove with the carcasses and a clove or cinnamon stick. It makes the air smell nice and also adds a much needed dose of humidity to the winter air.
- Make citrus salt by putting a few carcasses in a jar and covering with sea salt. Let it sit for a few weeks and then pull out the lemons.
How do you make the most of your precious foods? What is your favorite way to use citrus?
Posted 12 years, 3 months ago. 1 comment
There are some kitchen activities that lend themselves to metaphor. Even if you are not a cook, you will likely know what I mean if I tell you about someone getting roasted at work. Or how I steep in the silence of the early morning before anyone else is up. Or how I have an idea percolating on the back burner.
But then there are other activities that only come to mean more through seemingly endless repetition. Whether specific recipes, chores, or rituals, these processes tend to become very personal symbols that are hard to communicate to anyone else. It goes beyond dog eared cookbooks and even beyond consciously recalling a recipe from memory. The process becomes some kind of psychic extension of yourself. You do them not just to have food in the fridge but because the making feeds your soul.
Making lemon curd is like that for me.
Every winter I not so patiently wait for the email notice from Local Harvest that meyer lemons and blood oranges are in season. I quickly order several boxes, always afraid that my favorites from Beck Grove will be sold out before I get any. It’s how I imagine the people camping in line for the newest tidbit of technology feel. About a week later, I hear the boxes thud by the door. For the next several weeks my time is spent processing 20 pounds of meyer lemons and another 25 pounds of blood oranges. Dried orange and lemon rings, citrus vinegar, “bloody” marmalade, limoncello… each year I seem to run out of fruit before I’ve finished preserving.
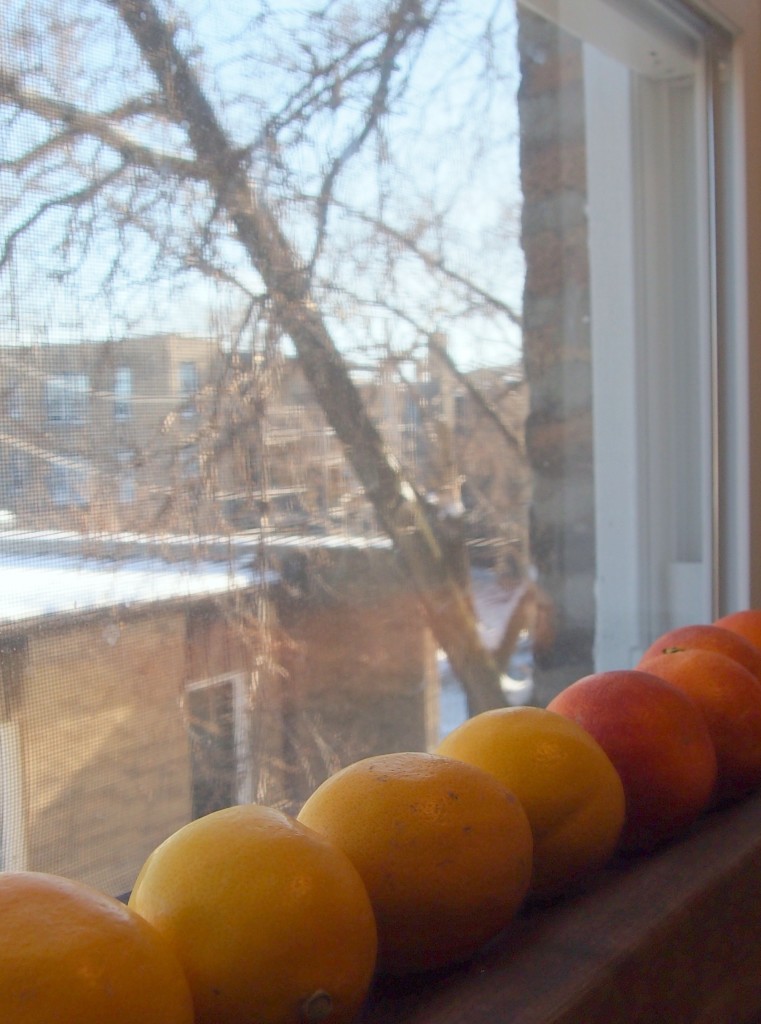
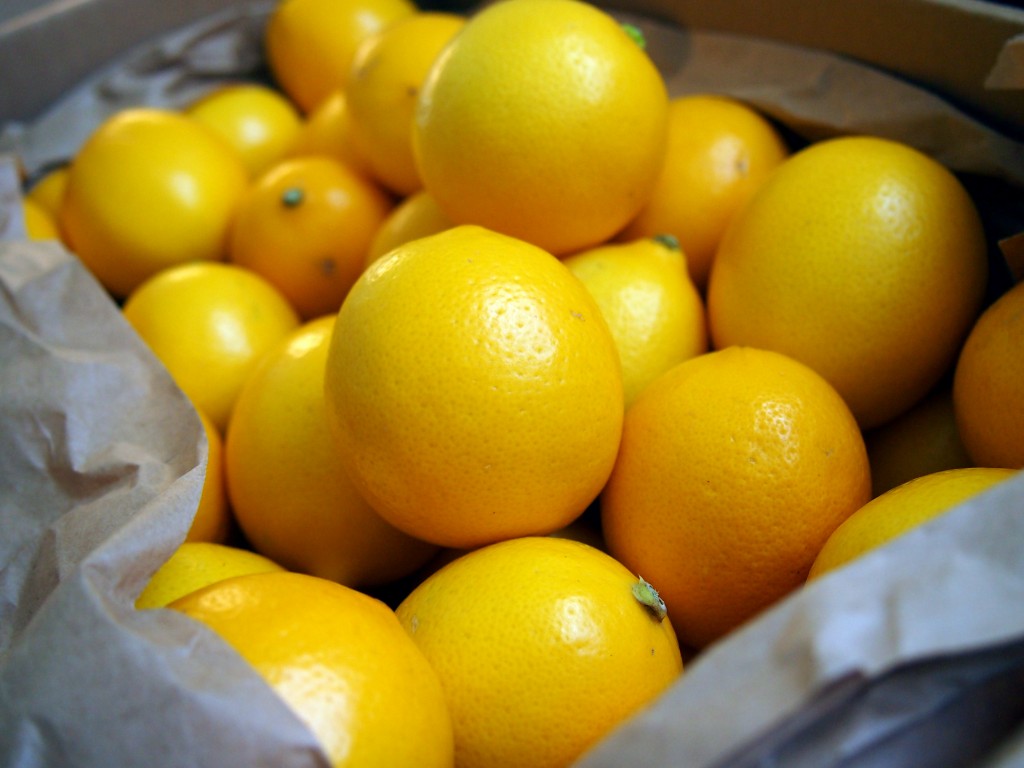
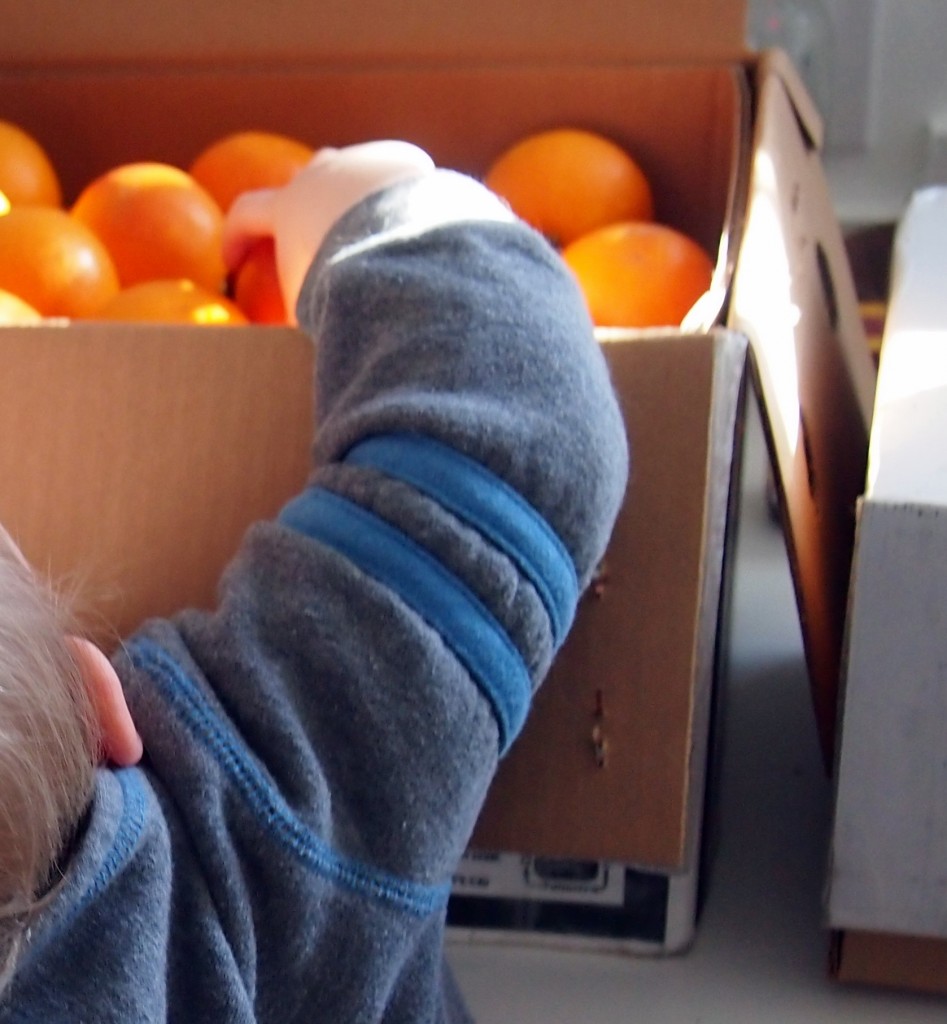
I love everything about preserving these fruits. From lining them up on my window sill against the steely winter sky to the blood red stains on my counter.This year I had the privilege of sharing that joy with one of my favorite people. Theodore helped me haul the heavy boxes up the steps and into the kitchen. He helped open the boxes and wasn’t the only one that squealed when the glowing yellows were revealed. It was with a small sense of loss that I let him carry one around the house, knowing that it wouldn’t be salvageable for any recipe after he was done with it. But the loss was recuperated as I got to watch his curiosity lead him to knead, squish, poke, roll, and taste that lemon. Now whenever he sees the lemons sitting on the counter, he insists whoever is at home come smell them, even the cats. I hope to be the kind of parent that will protect and foster that pleasure into his adulthood. Someone who sees such a gift in just the scent of a lemon would truly be a gift to the world.

But the part that speaks to my soul is making lemon curd. Somehow, I become the eggs that break. The lemons that are squeezed so hard they bleed. The butter that finds itself melting away with no way to come back. And I feel the whisking. Endless whisking. As I stand over the pot, I feel the flame a little to close to my hand, but I keep whisking. I feel the disturbance in my soul. Beaten to a froth and then beaten some more. Constant constant motion. Never reaching equilibrium. Ceaseless whirling. I begin to wonder when it will end. How long? How long? I don’t know how much more I can take.
Suddenly.
There’s a thickness that wasn’t there before. The whisk moves more slowly, disturbing less with every stroke. Things become still in the center of the pot. I can see the tracks of where I’ve been. The heat is removed. I can almost hear the curd take in its first breath. And I breathe more deeply too.
Is it any wonder that the result of this process is a food that I can’t seem to get enough of? Though it may be possible to point to all the good fats in the butter, the selenium in the pastured eggs, or the vitamin C in the lemon juice, I think there is more going on here than mere nutrition. It is soul food of a different dimension.
Meyer Lemon Curd with Cardamom
makes 2 pints
6-8 Meyer lemons
6 eggs
1/3 cup honey
1 stick butter
2 tsp ground cardamom
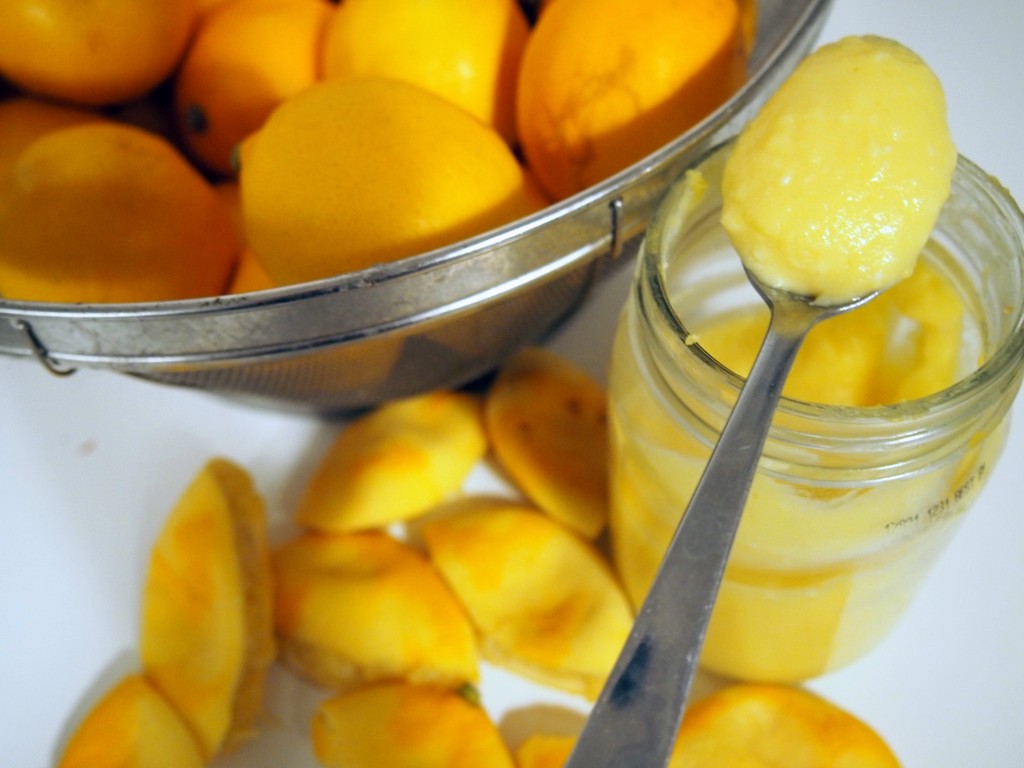
Zest the lemons and reserve the zest. Juice them into a measuring cup until you have one full cup. If you are on the cusp of 1 cup, go ahead and juice another lemon. It’s better to have a little too much than too little. Whisk the eggs and honey in a medium pot. Pour the lemon juice through a fine sieve into the mixture and whisk until it’s the color of the first sunny day in spring. Slice the butter into pats and drop into the mixture. Turn the heat to medium high and whisk in the melting butter. Keep whisking almost constantly to avoid the eggs cooking up into chunks. When it suddenly thickens and coats the back of a spoon, turn off the heat and stir in a generous pinch of zest and the cardamom. Pour into jars. Eat one jar straight with a spoon. Tell your family the recipe only made one pint. The curd keeps in the fridge for at least a week and freezes well, though it looses a bit of it’s satiny texture upon thawing.
Posted 12 years, 4 months ago. 1 comment

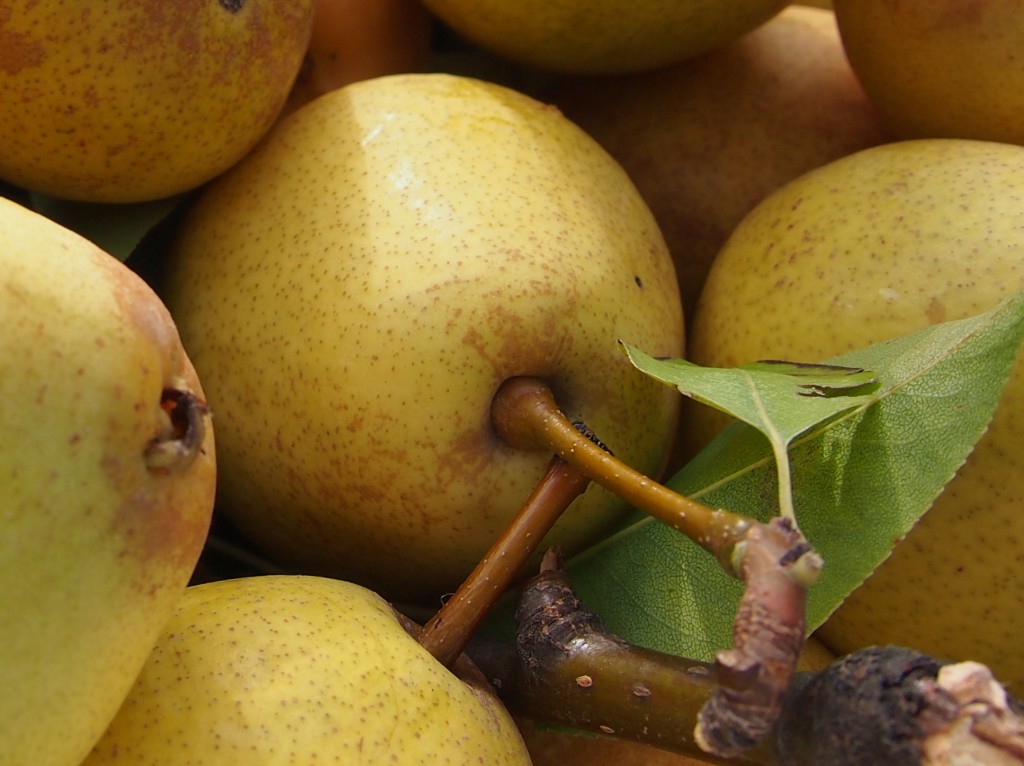
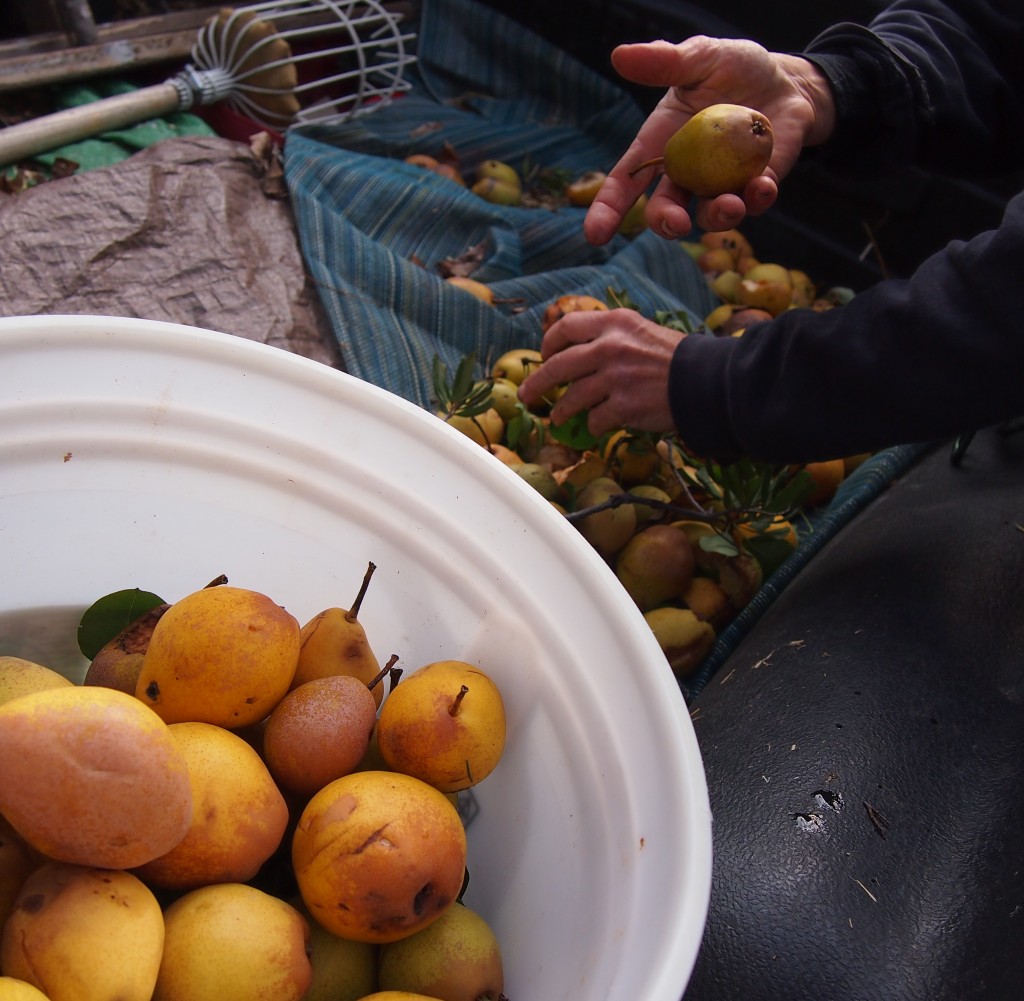
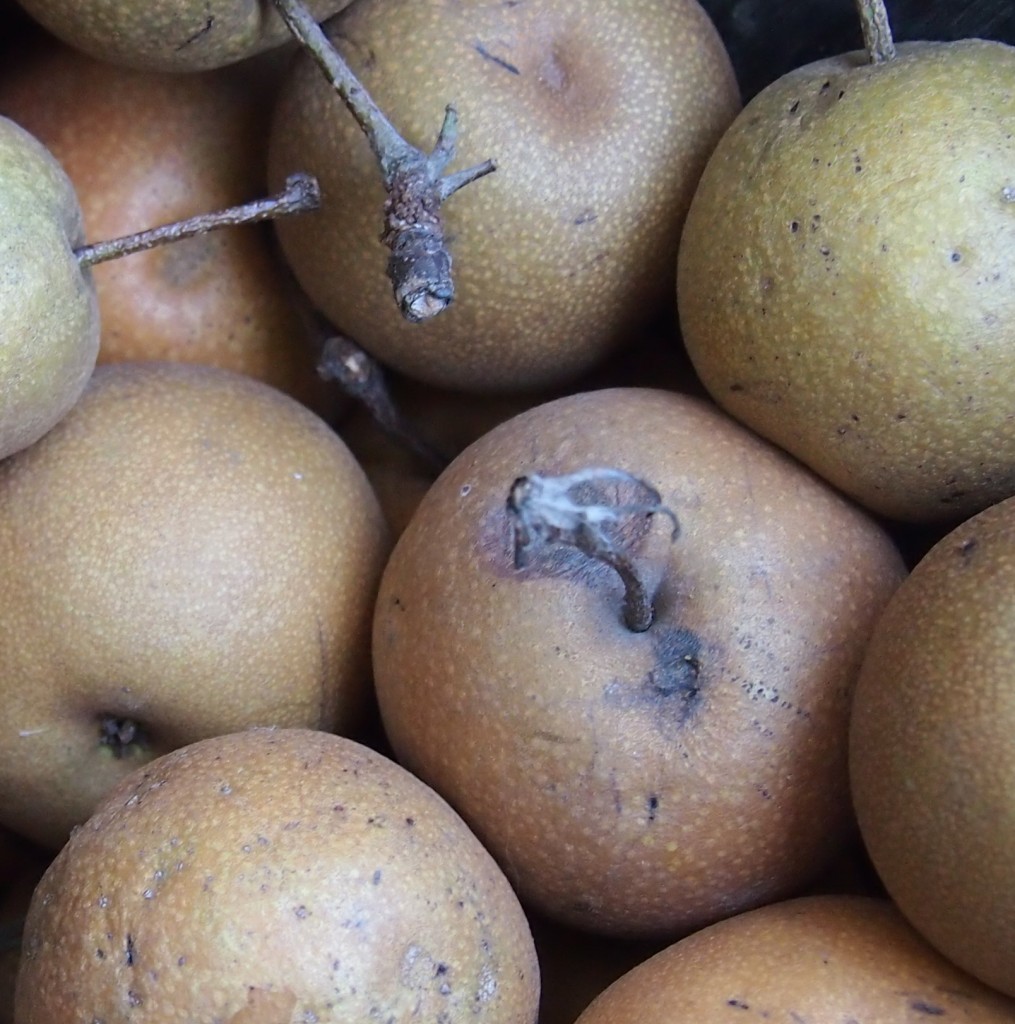
The Winter Pear
by William Allingham
Is always Age severe?
Is never Youth austere?
Spring-fruits are sour to eat;
Autumn’s the mellow time.
Nay, very late in the year.
Short day and frosty rime.
Thought, like a winter pear,
Stone-cold in summer’s prime,
May turn from harsh to sweet.
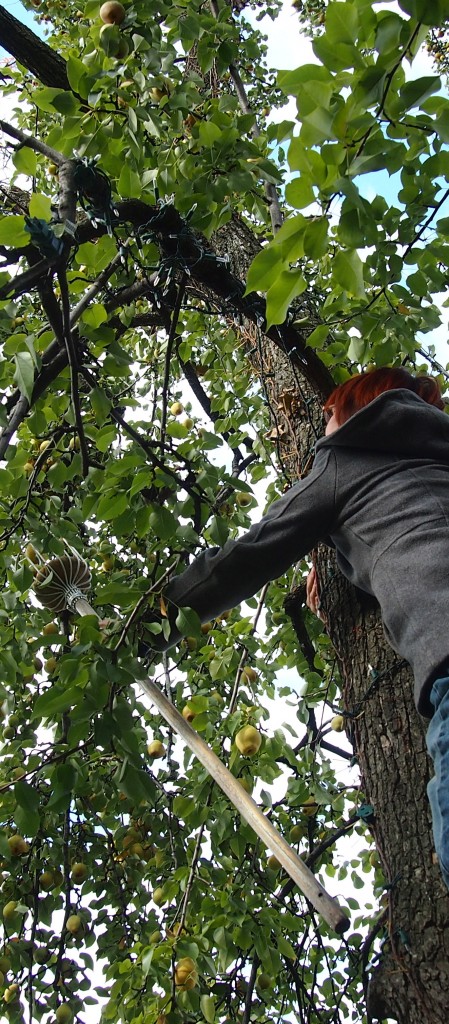
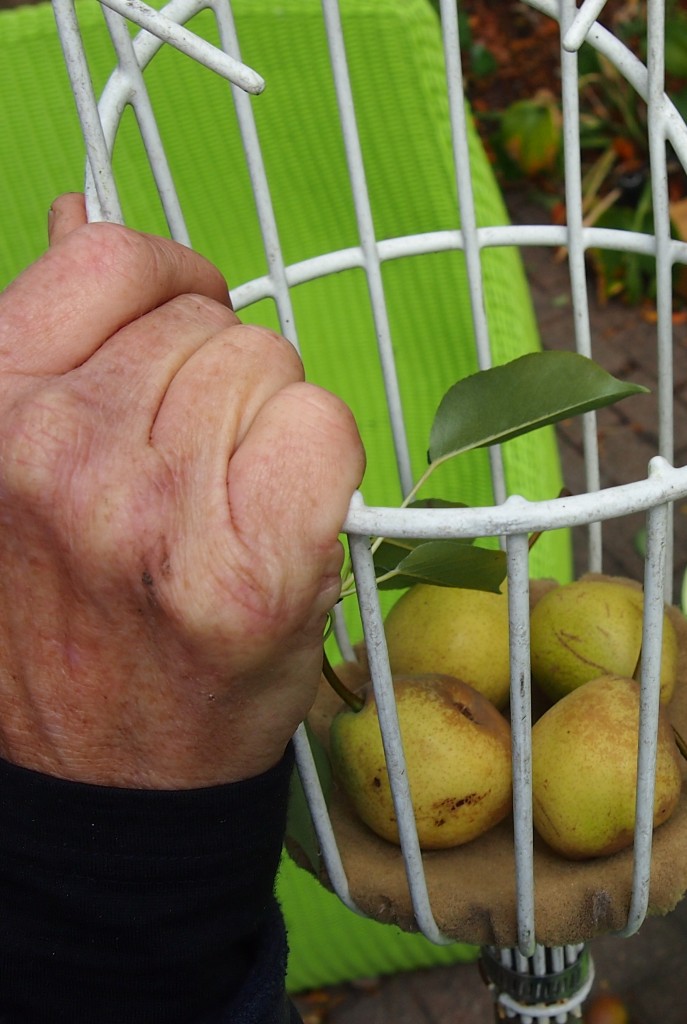
Posted 12 years, 5 months ago. Add a comment
Last year’s Halloween costume was a disaster. I won’t go into the details because I don’t want any of you to attempt such a thing, but let’s just say it involved sticking a highly unwilling infant in a fruit basket surrounded by vegetables.
This year had to be better as last year was pretty much rock bottom. In the quest for the perfect costume that was easy, cheap, homemade and darned cutie-pa-tootie, I was quickly running out of time. But that turned out to be okay because this costume only takes about 30 minutes to put together once you’ve gathered the supplies.
So, without further ado….
introducing…..
The Itsty Bitsy Spider
aka Baby Octopus (with minor adjustments)


To make this DIY costume you will need:
a warm black shirt or sweater
warm black pants
6-8 black knee socks
a pile of fabric scraps
6-8 black saftey pins
60-80 small size furniture pads (opt for octopus variation)
To make this costume:
Decide if you want to make six or eight stuffed spider legs/ octopus arms. I suggest doing six if your baby is not yet mobile and will be sitting; make eight if you little one is a toddler that will be standing and walking around, thus obscuring his own legs. You want eight total legs to be visible.
Stuff the socks with all manner of rags. I used washcloths, cloth napkins, cloth wipes (clean I promise!), other socks, and even some old underwear. You aren’t going to see it, so it doesn’t matter what it looks like. Stuff them to about the height of your little one’s legs. If you make them too long, she might trip on them. For the octopus variation, attach two rows of furniture pads on each sock. If you have a baby that loves to pick at things, you might want to attach these with a hot glue gun.
Attach the stuffed socks to the black pants with saftey pins. Stuff any extra sock inside the pants.
Dress your little one in the black shirt and carefully pull on the pants.
Step back and admire. Do a victory dance for making such a cute costume at the last minute. Maybe sing the Itsy Bitsy Spider song.
Posted 12 years, 7 months ago. Add a comment
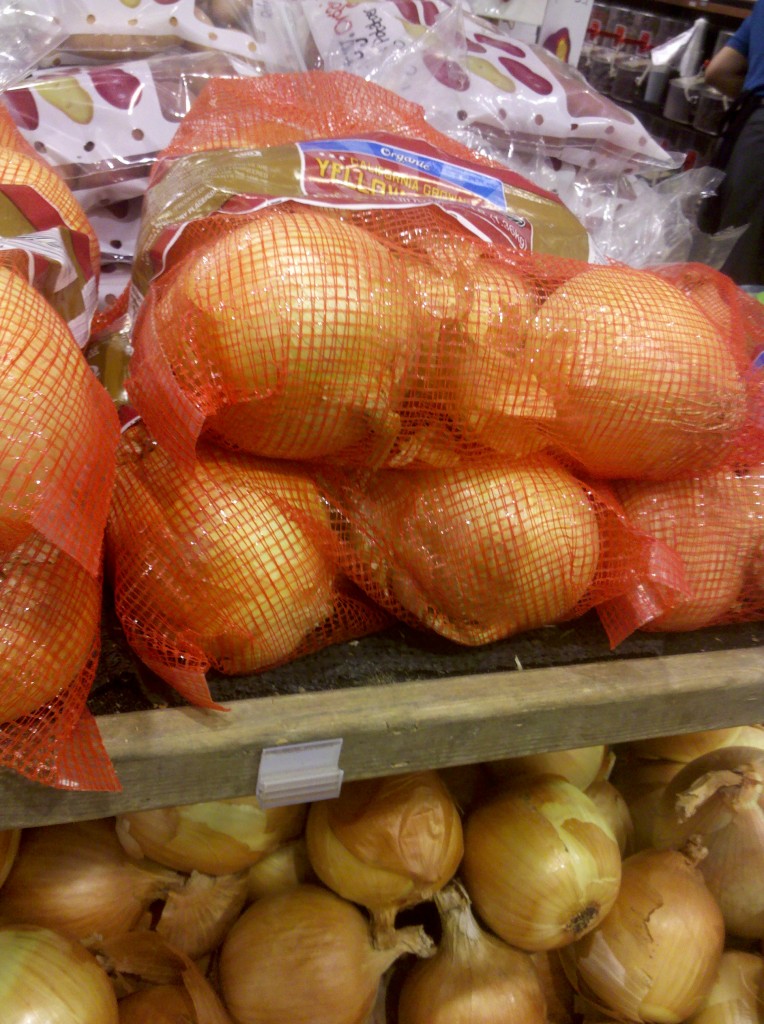
Even though I try to buy my produce as packaging free as possible, there are times that the item I want is only available encased in one of those plastic mesh produce bags.
I used to hate buying these things so much that I’ve changed my dinner plans in order to avoid them. In most areas these aren’t recyclable, so into the trash they must go and then on to a landfill– where I imagine all manner of creatures getting stuck in them. So if potatoes were only available in such a bag, it would be sweet potatoes in the soup that night instead.
Sometimes, though, no viable alternative was available. In that case I’d buy the mesh encoffined produce and stuff the bag deep in a kitchen drawer to avoid throwing them away. I forgot about them. I even moved across the country with these bags. So maybe it was more like I repressed them.
Until the day I was out of plastic snack bags to take Theodore’s raisins in to the park. Out came the mesh bag and plastic closure. And you know what? It was perfect.
Necessity is the mother of all sorts of things that will get you weird side long looks from other people.
Since that day, I’ve begun to relax about buying these mesh bags. I don’t go out of my way to buy them, but when they do end up in my kitchen they are a resource for all sorts of things.
Ways to Reuse Plastic Mesh Produce Bags
- A snack baggie for anything raisin sized or larger. Granted, this might not be the best option for something like crackers that you need a more solid enclosure to catch all the crumbs. But for dried fruit it works great. Simply leave the bag intact, plastic closure and all, and use in place of plastic baggies.
- A fine motor skills game for your toddler. I discovered this by accident when Theodore got hold of one of my new raisin baggies and started picking the raisins out through the holes. Simply fill it with small squishable objects that are slightly larger than the hole size. Raisins work well here too. Although I’ve found food works best as most babies want to celebrate their dexterity by putting their prize in their mouth, in a pinch (a.k.a. an eight hour bus ride) I’ve used wadded up bits of paper. (Obviously this might not be the best toy if your baby still puts everything in his mouth and has teeth as he could chew off bits of plastic. Use your judgement parents.)
- A homemade scrubby. The plastic mesh makes an excellent scrubbing surface for dishes. It’s gentle enough to not scratch your china and but also capable of removing the scuz left in your pots and pans. If you have a really sticky or baked on mess, you might want to use the scrubby in conjunction with other methods such as a baking soda scrub or soapy water boil. Also, please note that I don’t own any non stick cookware, so I don’t know if it’s safe for such dishes. If you own some and would like to try it, proceed with caution … and then report back to me as I ‘d love to know! Here’s a tutorial for making a classy scrubby that won’t get mistaken for trash on your counter top. Or you could just cut off both ends, stuff three or four into one, and knot both ends. Your scrubby would work equally as well cleaning your tub as it does your dishes. Though perhaps you’d want two separate scrubbies…
- A bath toys holder. The larger potato and onion bags are the perfect size for holding Theodore’s bath toys. An added plus is that oftentimes they already have string attached so it’s easy to loop the collection over the shower head. They drip dry, don’t mold, and don’t spill curiously cold water over my toes during my shower.
- Excess produce storage. If you have a garden or belong to a productive CSA and find yourself asking Google “how to store produce” at the end of the season, these mesh bags can be the perfect answer. Produce like onions, potatoes, and garlic need airflow in order to keep well. Even if you are lucky enough to have a stellar root cellar, you still won’t get the longest life out of these vegetables if you just plop them in a box. While the pantyhose method works well, it looses it’s repurposing charm if you have to go out and buy pantyhose to do it. Instead, you can put your potatoes, onions, and garlic in mesh produce bags and hang them on hooks or nails.
- Produce bags. This one is so obvious I feel silly including it, but since it took me quite awhile to realize this, I thought it worth saying. Mesh produce bags make excellent… produce bags. If you’re already in the habit of bringing your own canvas bags to the store, it’s easy to stick a few of these mesh bags in to use instead of the tear off plastic ones in the produce department. What if, like me, you’ve already been forgoing the plastic bags and tossing loose onions into your cart? Well, keep doing that if it’s working for you. For me though, it was getting increasingly difficult to finagle all those onions and lemons past little toddler fingers. Also, with French Onion Soup season coming up, I’m sure your clerk will appreciate not having to corral ten onions onto the checkout scale.
Do you have any packaging that you go out of your way to avoid? If you do buy it, how do you reuse it? Anyone else have a guilt complex about excess packaging?
Posted 12 years, 7 months ago. 5 comments
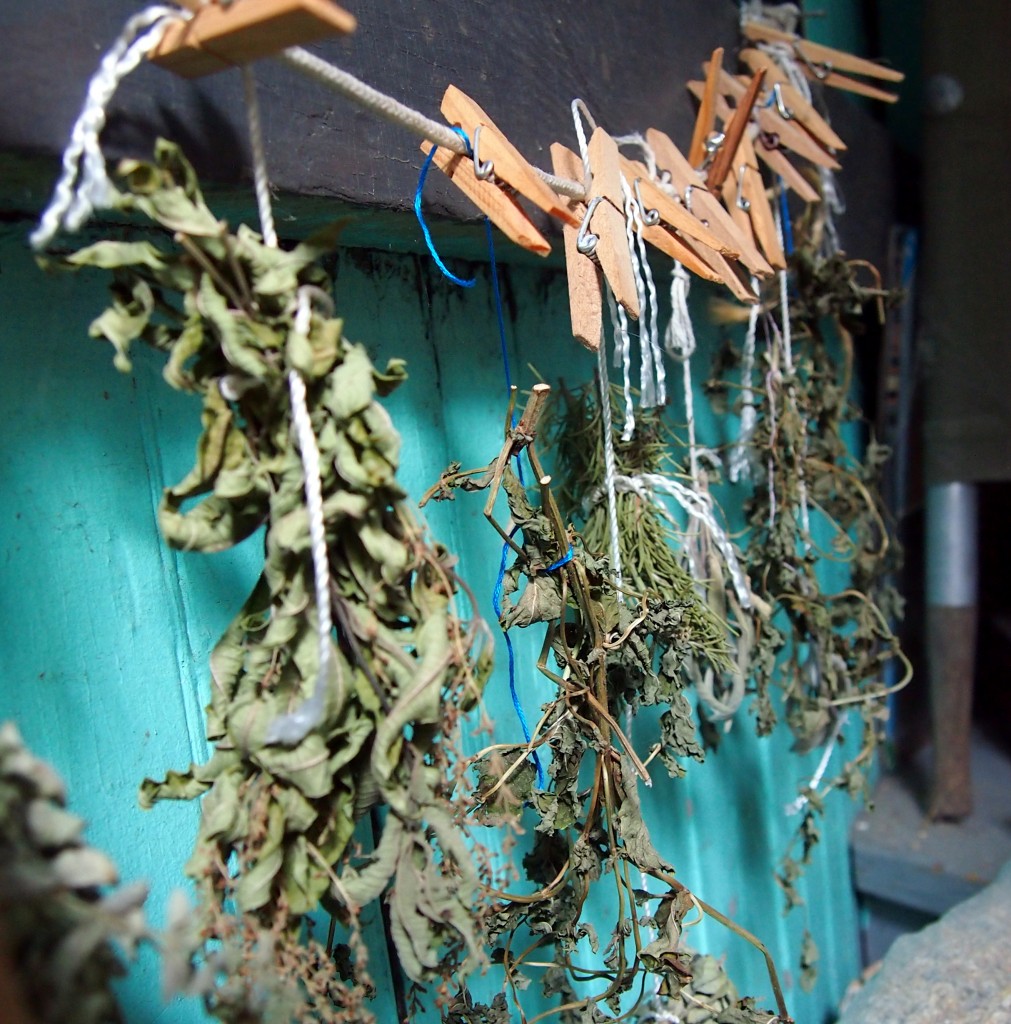
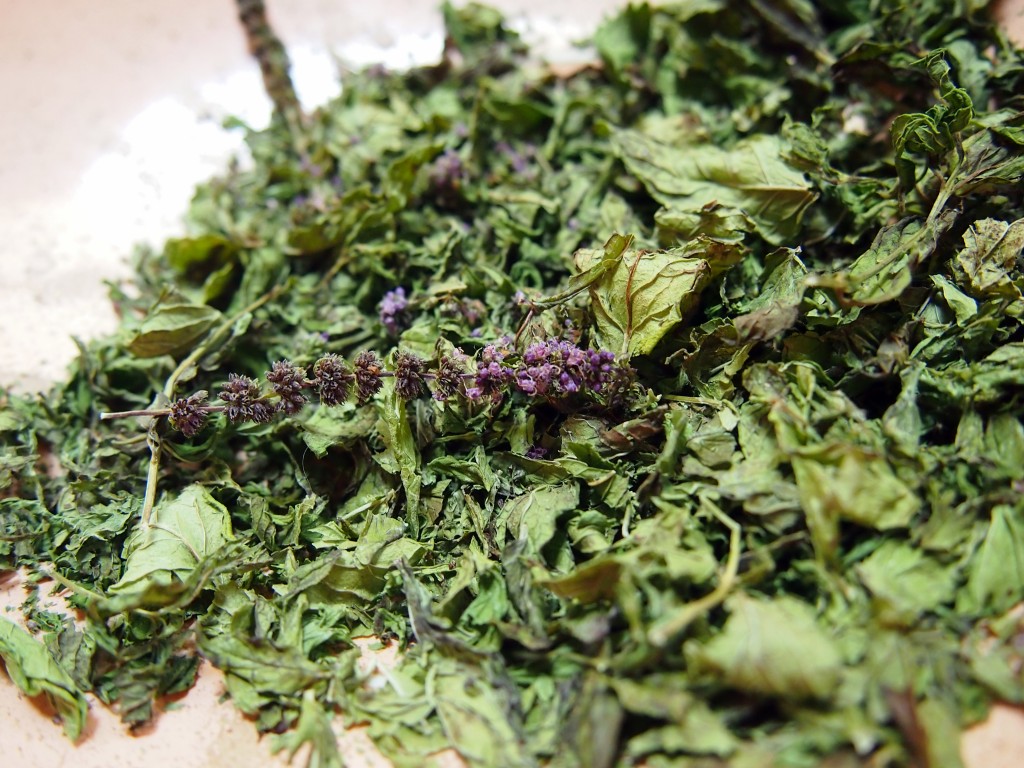
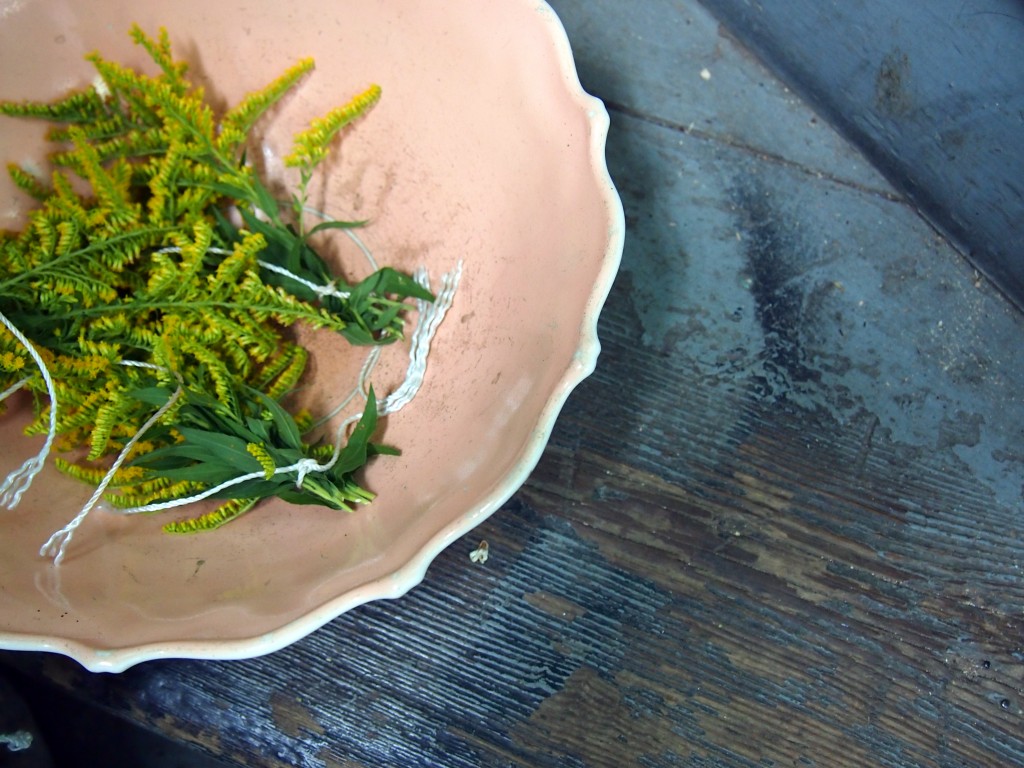 It’s been over a year since I officially threw in the plow on vocational farming. One of the things I miss the most is the weekly harvest days before market. We carted, pulled, and dragged vegetables into the barn. They sat in piles. Stacks. Sometimes even pyramids. All waiting to be
 washed hydro-cooled. In a matter of hours, each zucchini, each carrot, each collard would be inspected, bundled, and placed in cold storage. At the end of the day, sometimes I would have to catch my breath at the sheer number of vegetables my hands had touched that day.
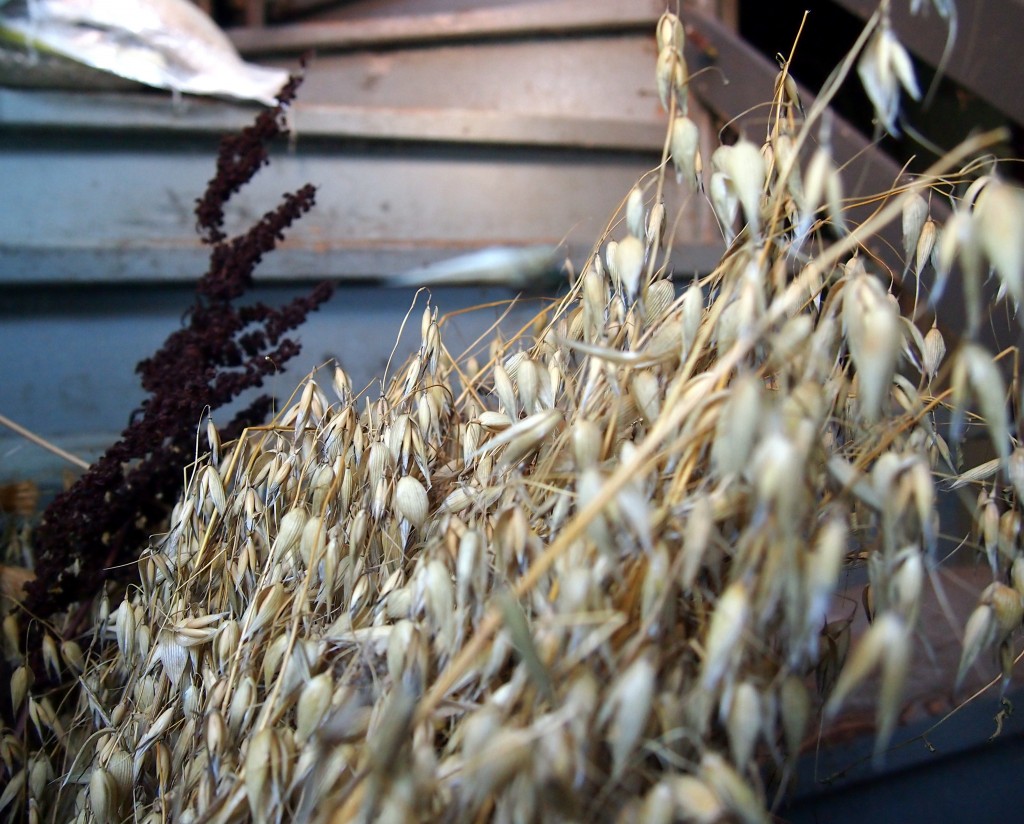

Sometimes it was easy to become desensitized to the volume of produce. During the height of summer, five pounds of basil would roll around our counters like change in your pocket. Even making a triple batch of pesto would hardly make a dent in the supply. And then another tidal wave of the peppery green leaves would break the next day.
While my partial-sun window boxes have kept in a a mostly steady supply of mixed herbs, my eyes have itched for the cartloads of butternut squash and coolers full of greens. I’ve had to borrow my bounty this year from friends and family.
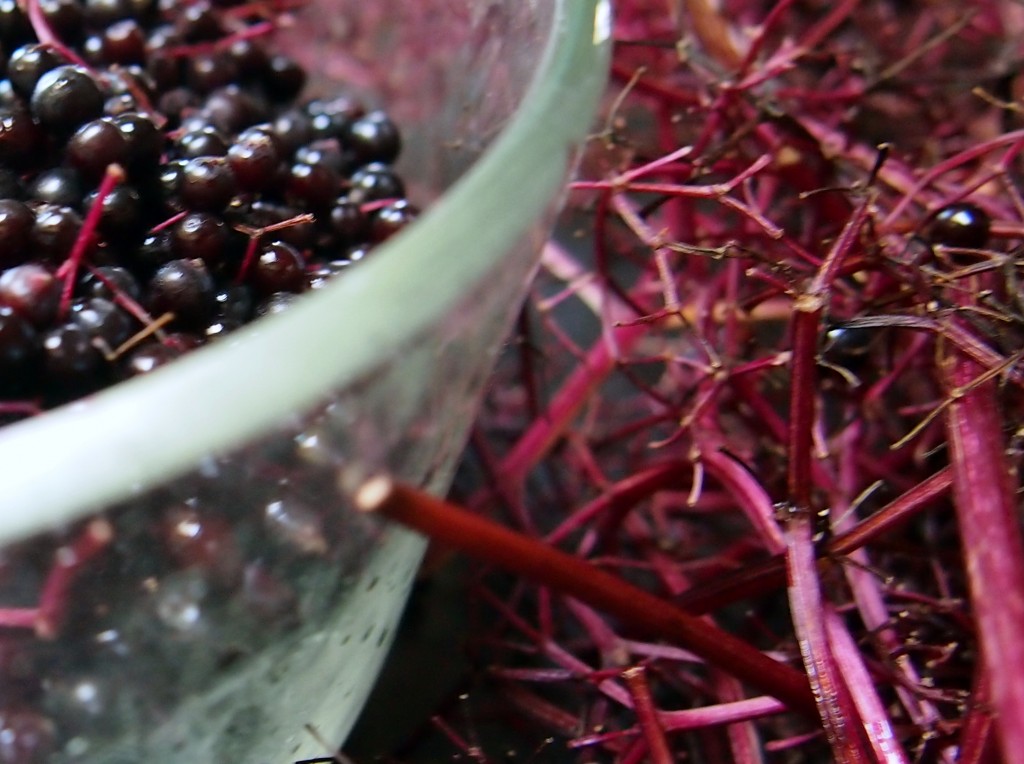
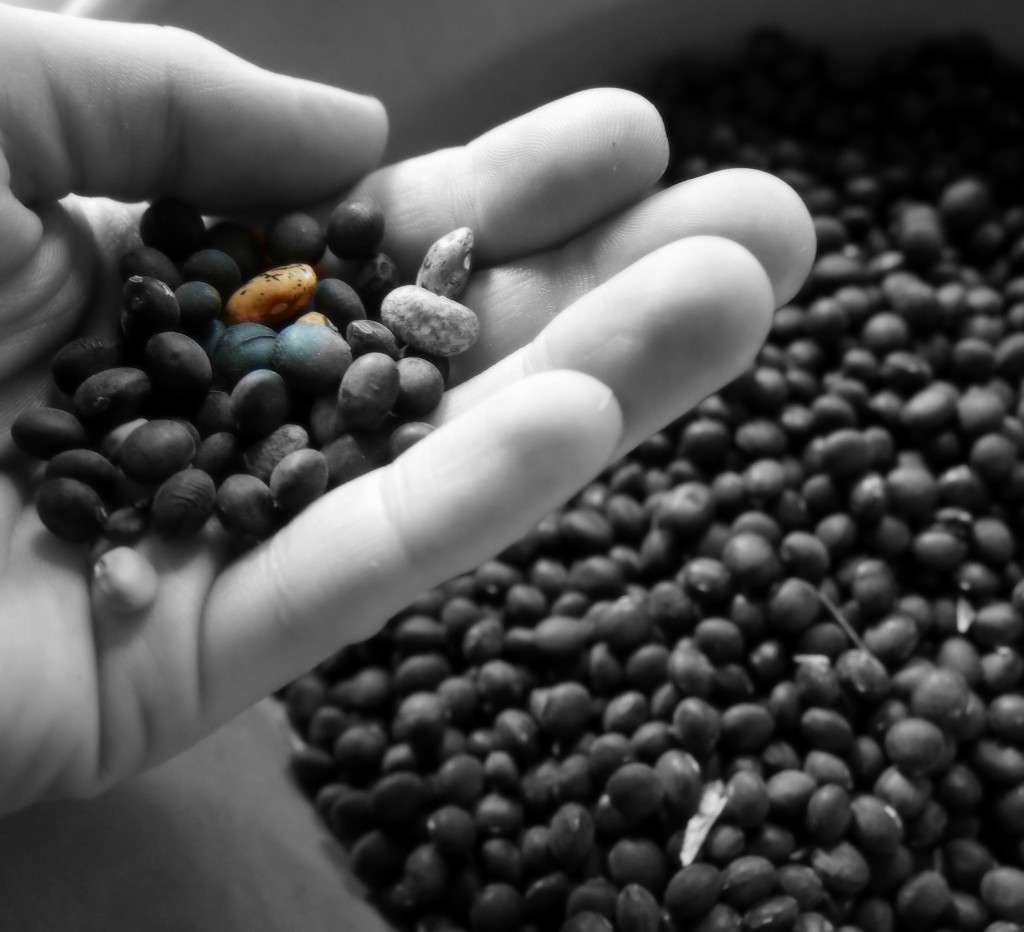
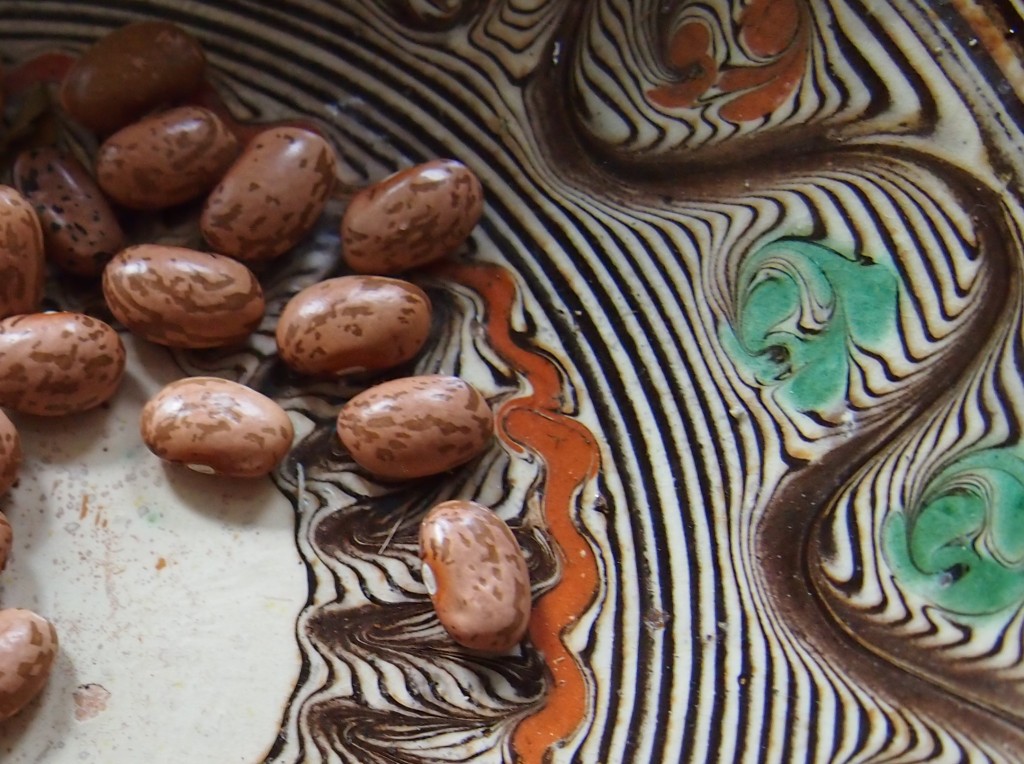
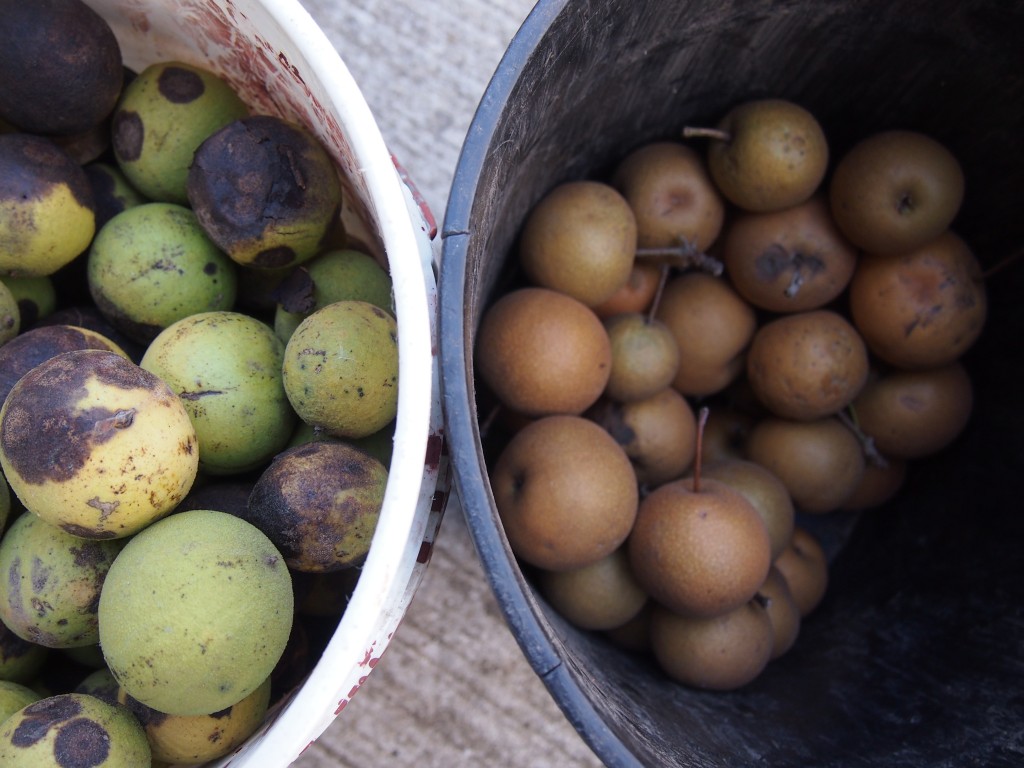
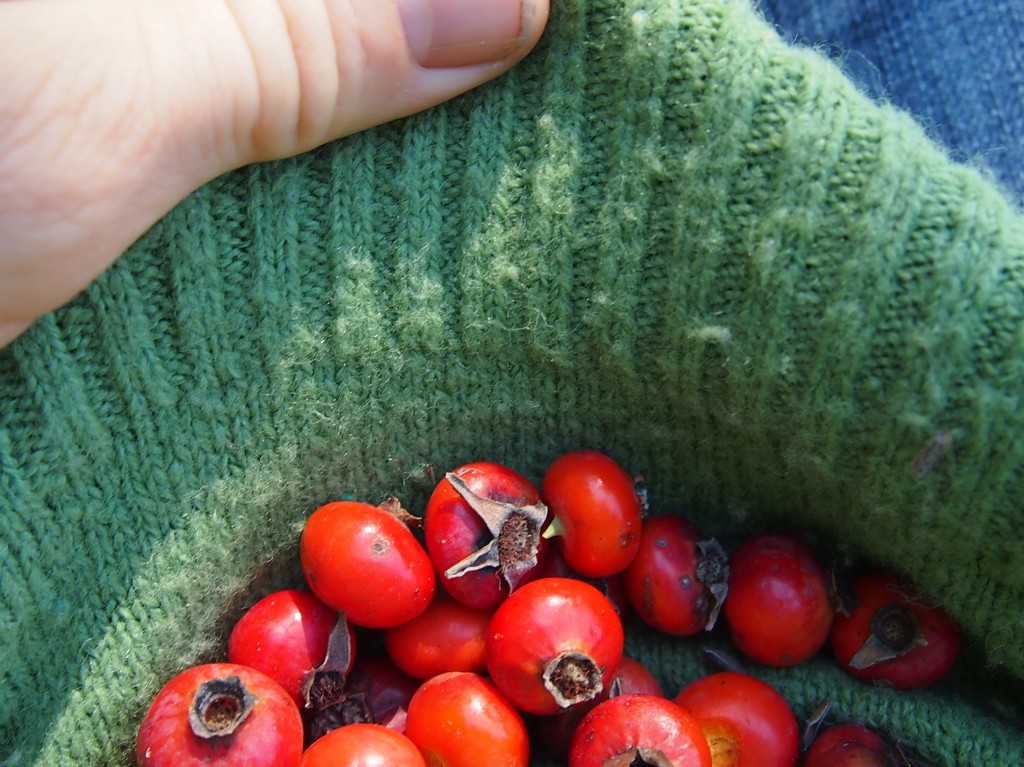
I’ve clipped and hung herbs to dry, sorted jars of heirloom bean varieties, forked elderberries off their stems, snipped oatstraw into pieces, pulled hops flowers off their vines till my hands were stained and smelled of ginger and garlic, rubbed nettle leaves off their stems till my hands ached and itched, and shuffled through the yard bent double gathering black walnuts. Though I’ve yet to use a cart this season, the harvest has been brought in using baskets, five gallon buckets, baking trays, coat pockets, window screens, bowls, and impromptu shirt “baskets.”
The harvest is abundant indeed.
Posted 12 years, 7 months ago. Add a comment
“No one does everything.”
Like bird seed, this statement is flung casually about as encouragement whenever someone is discouraged by how messy her house. Other times it’s a warning scattered across the path of someone with new heady visions of homesteading. While it is a truth seemingly universally acknowledged, it is rarely admitted.
With the internet being the way it is, it’s easy to focus on our successes. To crop the picture just right so as to include the lovely salad but not the grungy stove. Or include the baby with the adorable hat but not yourself with unwashed hair. We pretend at perfection by omission. We hope other people’s imaginations will fill in the cropped out details with snippets of magazines, store windows, and commercials. Then by some awful double standard that is so hard to shake, we assume other people are not as careful croppers as we are. That their truth is different than ours. More perfect.
So yes, “No one does everything!” we chirp to one another, scattering the phrase further. Yet it often just lies there in a pile waiting till we need to peck at it again to ease the guilt. Rarely does it root and blossom into more than an excuse for imperfection in someone’s life, giving her freedom to focus on what she loves and leave the rest.
With that spirit, here is a list of things that are often cropped out of my pictures:
30 Domestisities I Don’t Do
- I don’t wash the pot lids every time I use them.
- I don’t fold underwear.
- I don’t use serving dishes, or sometimes even personal plates at dinner.
- I don’t dust.
- I don’t iron unless it’s an Event like graduation or my own wedding.
- I don’t wipe down my baseboards.
- I don’t wash my colander after each use.
- I don’t wipe handwashed dishes; I let them air dry.
- I don’t organize my sock and underwear drawer.
- I don’t go to the gym.
- I don’t clear off my desk regularly.
- I don’t vacuum under the big living room rug.
- I don’t wipe down my counters and shine my sink every night.
- I don’t have a skin care regimen or use make up.
- I don’t chase after
every most cat fur tumbleweeds.
- I don’t always separate my lights and darks.
- I don’t finely mince my garlic.
- I don’t fold Theodore’s clothes at all; at best they get separated into pants and shirts.
- I don’t peel my carrots.
- I don’t always wash my shirts just because I’ve worn them; if they smell fine, back into the drawer they go.
- I don’t match my sheets and pillowcases.
- I don’t match my kitchen towels, oven mitts, and wash clothes.
- I don’t keep separate “guest” towels.
- I don’t schedule weekends of spring cleaning.
- I don’t usually give thrifted items that new coat of paint that would take them from grubby to shabby chic.
- I don’t style my hair. I don’t even own a blow dryer.
- I don’t have a well organized entryway with pretty hooks and creative cubbies. I have nails and some string.
- I don’t set the table every night. Forks and spoons get piled in the middle of the table and everybody gets their own glasses.
- I don’t regularly mop anywhere but the kitchen; even there it isn’t quite what you’d call “regular.”
- I don’t have an intricate filing system for bills, statements, and other mail. Mostly it’s just a pile.
What things do you leave undone so you have time for what’s important? What are those important things?
Posted 12 years, 8 months ago. 5 comments
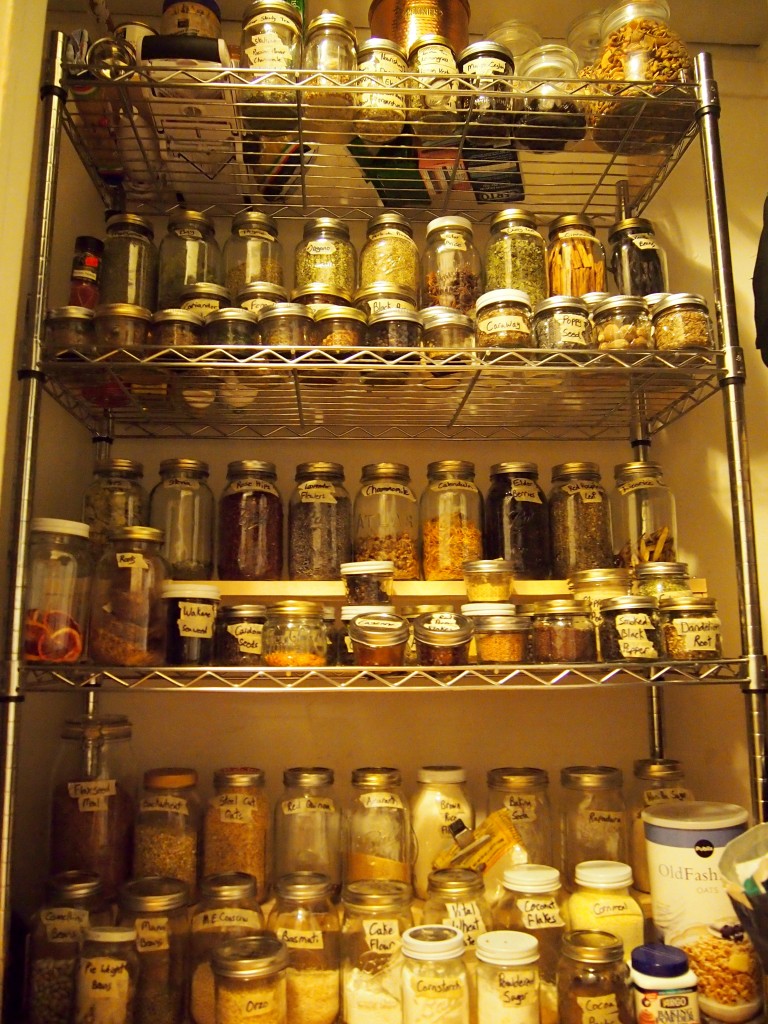 I have a deep love for “the pantry.” My favorite part of period films and shows like Pride and Prejudice and Downton Abbey is the peeks into inner kitchen workings and the hallway-like pantries. Proper food storage in those days was a big deal because often one couldn’t just run to the store to replace something that was spilled, moldy, or stale. What I especially like about them is that the food contained in such pantries is actual food, not packets, powders, and packages.
The kitchen gods have never seen fit to bestow on me a proper walk-in pantry with flour bins built into the cupboards and pie shelves . The closest I got was a large kitchen closet at our last place. Even though there was plenty of square footage, it wasn’t properly laid out for easy storage. The shelves were several feet deep which made everything hard to see and therefore organize. Added to the problem was my habit of buying most of my dry goods in bulk. I constantly have little dribs and drabs of different grains, flours, spices, ect. A knotted up bag of flour doesn’t stack as easily as all those neat rectangular boxes of Cheerios.
Whenever I would turn to the interwebs for organizing wisdom, I could never find helpful advice for pantries built around bulk buying. Even the organizing Mount Olympus of Pinterest refused to send me messages in my bulk bought tea leaves. Like some kind a snarly sage, whenever I would inquire of “pantry organization,” it would spit back unhelpful pictures like these:
While most of them were visually pleasing and very well organized (and I especially love the creative use of a shoe rack) they were not helpful for my slouchy bag problem. After some trial, error, rearranging, more error, and some reflection, I’ve gathered a few tips I wish I’d known before I started my pantry.
Tips for Organizing a Bulk Foods Pantry
- Become a canning jar hoarder.
The worst thing you can do is leave all your bulk purchases in the flimsy plastic bags in which you bought them. Actually, the it’s worse if you failed to write the actual name down, not just the product code! (5546? How on earth do you cook 5546?) If you’ve read anything about general organization, you know that the easiest way to make a group of disparate items look organized is to put them in matching containers. While you may choose any container you’d like, I’m partial to the humble canning jar. They are easily available and relatively cheap, especially during the summer months. They come in all different sizes so it’s easy to accommodate anything from precious pinches of saffron to pounds of black beans. Unlike plastic, the glass won’t hold onto strong smells like garlic powder, so it’s easy to reuse them for other foods or for different projects all together. They also seal tightly, thus keeping out pantry moths, ants, and even mice.While it’s taken me a few years to build up such a stash of jars, it’s really amazing how fast they multiply once you begin intentionally collecting them. Almost every hardware and big box store stocks them during the summer. You’ll also learn to keep an eye out for them at thrift stores and yard sales. Check around in your community as there may be older ladies who are past their canning prime and have jars they don’t use anymore. The last place I’d buy from is online retailers. Their prices tend to be higher and shipping further whittles away at any economy. Of course, if you’re not obsessive about having identical containers, you can reuse your mayonnaise and Thai green curry jars from the grocery store. Just be sure to air them out well to eliminate any odors. For strong smells, scrub them with baking soda. Always make sure to air dry completely before filling with your bulk treasures.
- Label everything clearly
Be as specific as you can. Is that whole wheat or white whole wheat flour? Bread or pastry? Coarse ground or fine? While it might seem tedious, you’ll be glad of it later when you’re making an angel food cake and need to know if that jar is all purpose or cake flour. If you have the time and inclination, you can be as creative with this as you’d like. I’ve seen many an artful jar that’s been accessorized with chalkboard paint, computer generated labels, and even etching. I however like to keep things both simple and free of commitment. Too often I’ll be obsessed with an ingredient for a fortnight (red quinoa! how I love thee!) only to forsake it for three months thereafter. The exact foods in my pantry are constantly rotating depending on the season, sales at the store, and personal preference. Therefore, I needed a labeling system that was just as interchangeable as my nuts and spices. Old fashioned masking tape and a permanent marker fit the bill nicely. The labels are clear and easy to replace when the contents of the jar change. They also continue the uniformity of the jars.
- Keep your goods in a dark cool space
I know Pinterest is full of charming spice racks set hung over stoves with pots of soup cozily boiling away. But if you are serious about actual cooking not just the appearance of cooking, you will learn to keep your pantry items (and spices especially) away from heat and light. They degrade your bulk items, making them go stale faster. If you don’t have a closet outside the kitchen, at least use the cupboard that’s furthest away from your stove.
- Do your best to make your shelves one jar deep
The problem with most pantry shelves is that they are too deep. Unless you are stock piling cans of soup and bottles of water for emergencies, deep shelves just make it easier to loose things. If you have the space and ability, you could build simple shelves on a wall like Erick and Kelly at Root Simple. Since we’re renting, I wasn’t comfortable putting up so many shelves. And with an ever growing toddler on the loose, I needed something contained. I opted to use a metro shelf and build customized shelves to get the “stadium effect.” (Shelf tutorial to be posted soon!) What’s important is you being able to see all of your jars easily to ascertain what and how much you have.
- Keep like items together
This is something I learned while working in retail. Shelves will look more organized and items will be easier to find. While you will have to figure out what this means for your cooking patterns, for me it meant grouping my jars into categories of spices and cooking herbs, grains, legumes, teas, medicinal herbs, and snacks.
Posted 12 years, 8 months ago. Add a comment

- Have a plan.
- Carry out that plan.
Simple as that.
In a random moment of clear headed fortitude, Gary and I realized the need for such a plan. Theodore’s molars were swollen, meaning teething was once again immanent. In the past, we’ve just slogged through nearly sleepless nights, sometimes just barely keeping strung out emotions in check. I knew something had to change if we I was to keep my sanity. (Gary has a remarkable ability to remain calm even when sleep deprived.)
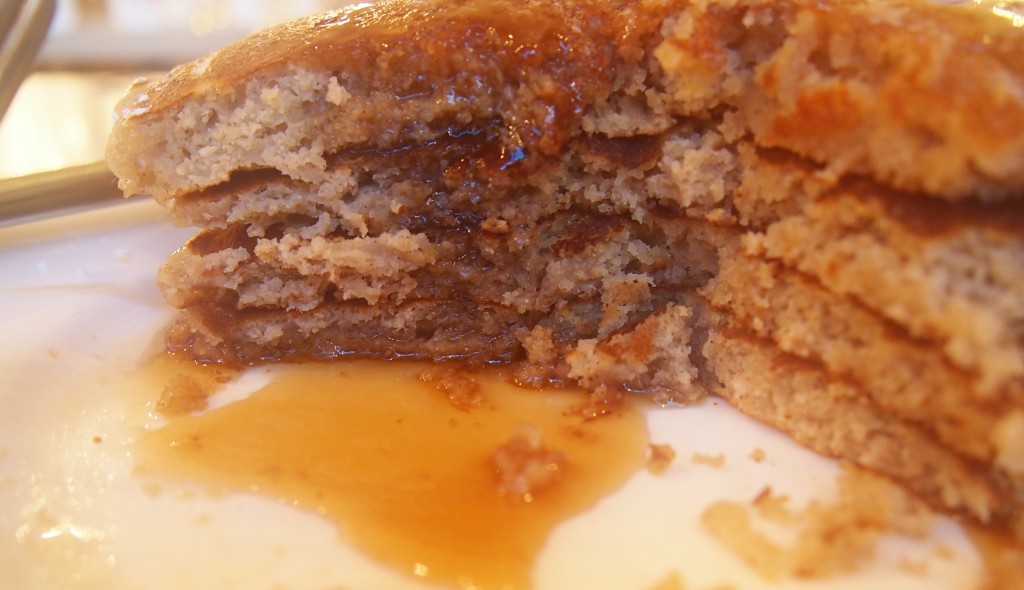
Our Plan? It involves late night/early morning public transportation, a 24-hour pancake cafe, and copious amounts of butter and syrup. And maybe orange juice. A Pancake Plan. 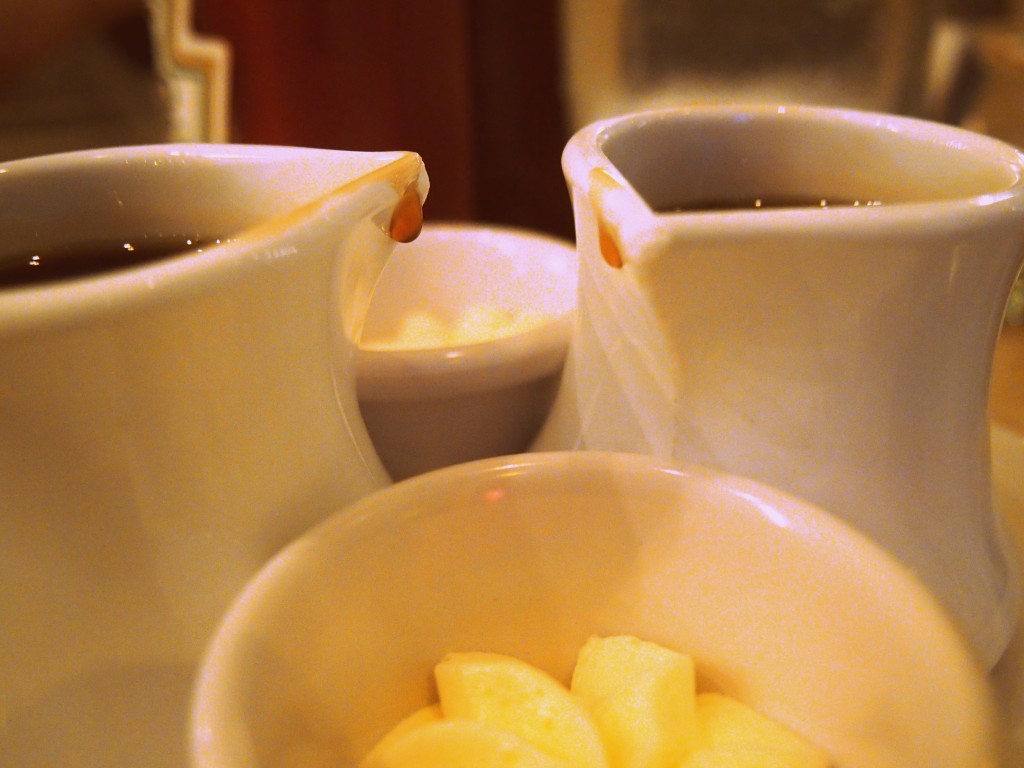
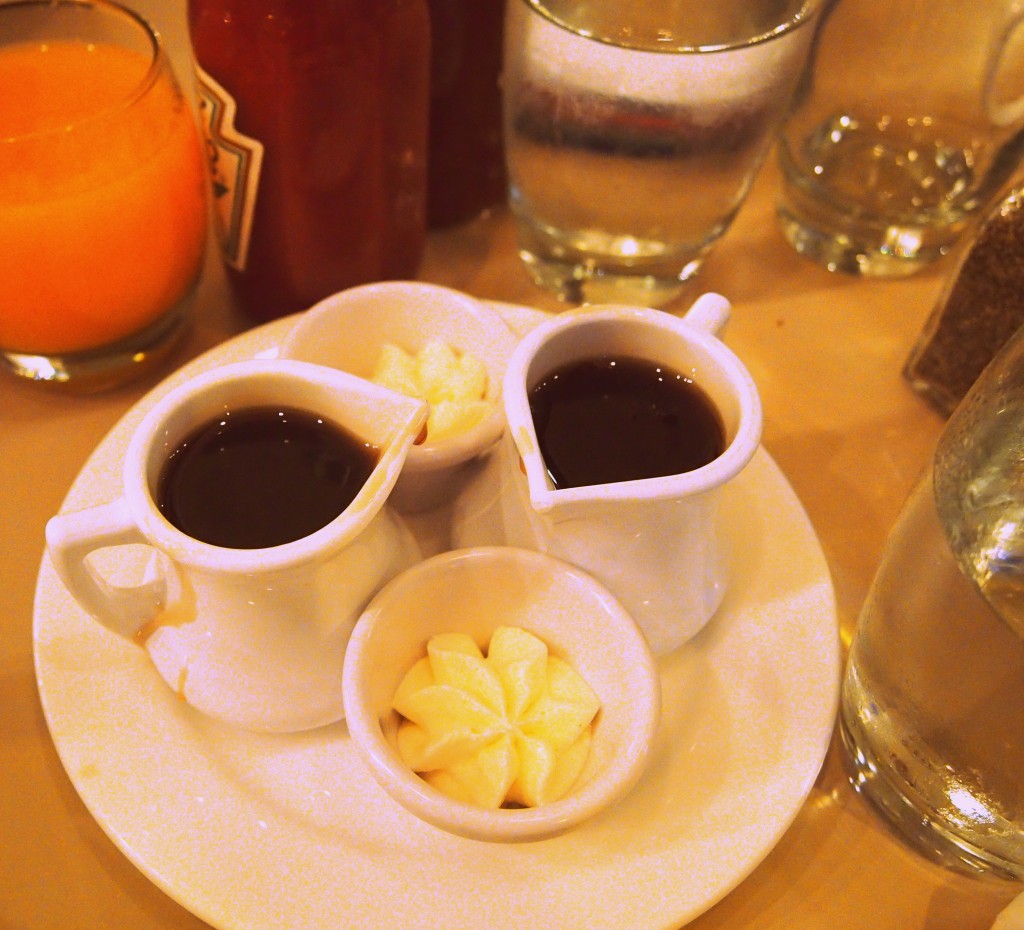 The inevitable night came. Sleepy cries turned into ever less restrained giggles. Instead of cursing the night, we shrugged on clothes reminiscent of a college freshman and shuffled out the door. Our street that was usually spiced with saxophones, cyclists, and strollers was now simply peppered with “closed” signs. The moon punctuated the inky sky as we waited for the bus. (Rave for door-to-door public transportation!)


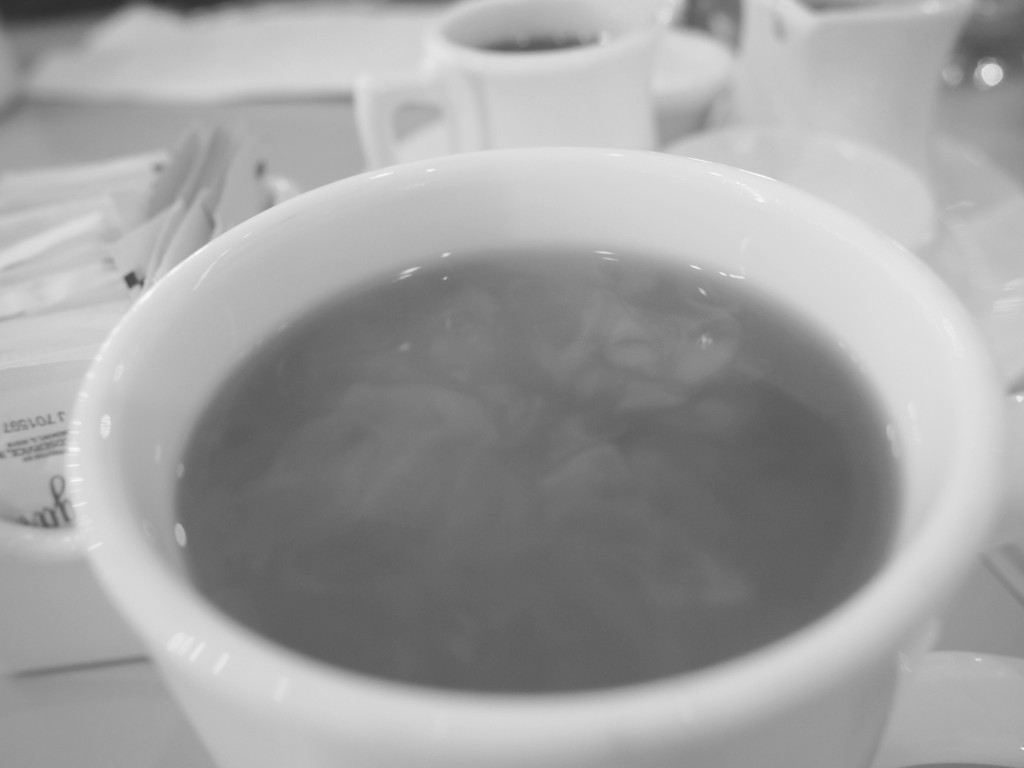
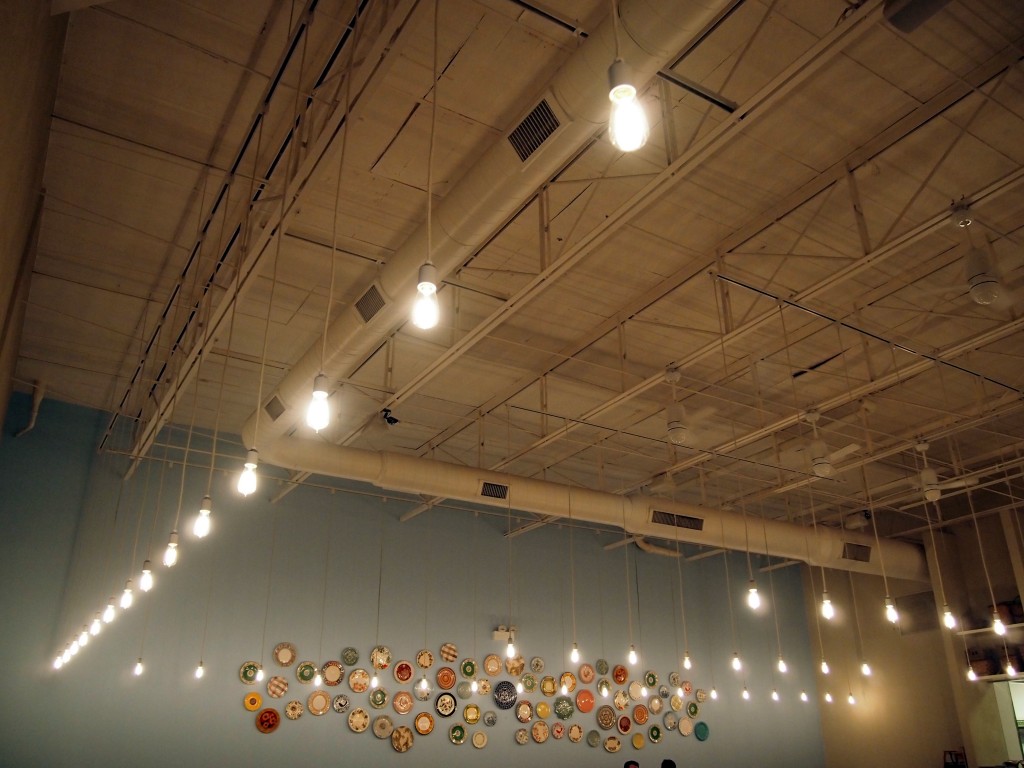
We settled into a corner booth at Elly’s Pancake House and wrapped our hands around hot coffee mugs as Theodore practiced using a straw. Our fellow diners (breakfasters? What do you call a meal eaten at 4 a.m.?) seemed to be more on the staying-out-late end of the spectrum than our getting-up-early. Regardless, the ambiance of the place felt genial, as if Elly (whomever she is) opened her kitchen up just for you and whatever circumstances brought you there, accepting you whether your feet be shod in sparkly high heels or in slippers. Or your hair mussed from dancing the night away or from tossing and turning. Imagine shuffling down to your kitchen having finally given up on sleep and wanting only to watch time tick by on a different clock for awhile. Instead of stoically picking at leftovers in the light of the fridge, you are met with fresh coffee, good company, and ample stacks of pancakes. There are very few bad nights that cannot be made better by those things.
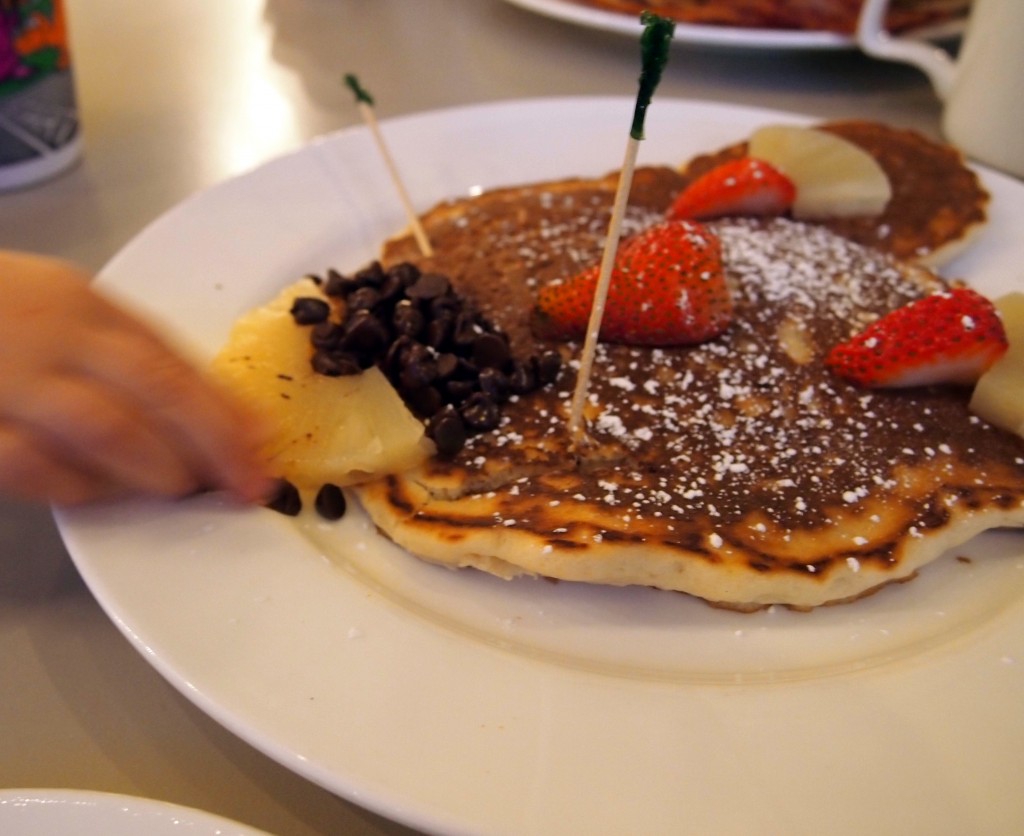

 By the time the bill was paid, the sky had lightened and we were feeling similarly brighter having avoided a midnight mama meltdown in such a yummy fashion. As we walked the few steps from the bus stop to our door, the mood had mellowed a bit. With barely a word, we all three tumbled back into bed together for a 7 a.m. nap. As I drifted off with my two loves on either side of me (one of whom smelt faintly of syrup) I found myself almost looking forward to the next night the Pancake Plan would be needed.
Just almost.
Posted 12 years, 8 months ago. 3 comments
 Like all first balloons worth their helium, after it played awhile it slipped away unnoticed into the sky.
Posted 12 years, 8 months ago. Add a comment


