You are currently browsing the Uncategorized category.
The mac ‘n’ cheese kitchen: a room most often seen in urban areas that seems like an afterthought with a fridge squeezed in, postage stamp size counters, and just enough cupboard space to store a few pots, bowls, and of course, your blue stash of mac ‘n’ cheese. I am now the proud humble renter of just such a kitchen. I must keep repeating my mantra of “beautiful kitchens do not good food make” as I attempt to render this kitchen functional for cooking more than macaroni.
The pantry was my biggest concern moving into this apartment with a mac ‘n’ cheese kitchen. (Well, that and cloth diapering with a coin op machine in another building.) The cupboards were clearly not going to be sufficient to hold my collection of pots and pans, various mixing bowls, and a well curated pantry.
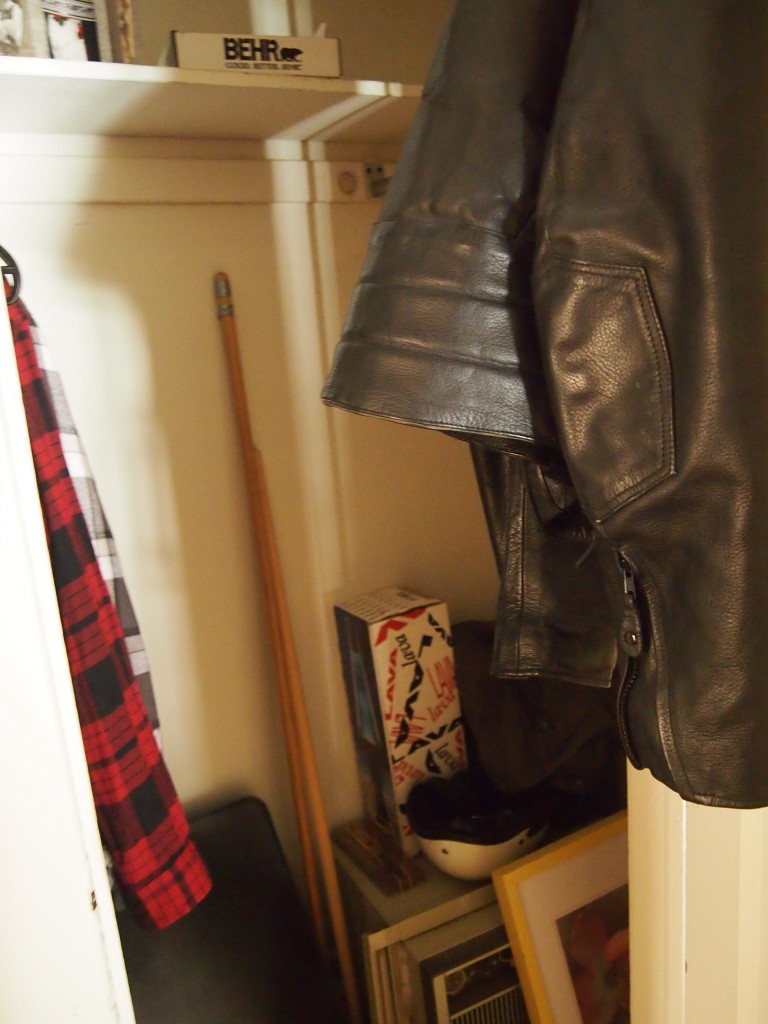
Following the best small kitchen advice I’ve heard, I looked outside the kitchen walls to find my pantry. As luck would have it, there’s a coat closet right around the corner. Not nearly my dream butler’s pantry but quite serviceable nonetheless. And you can’t beat the fully closing door to toddler proof the area. I had dreams of building floor to ceiling shelves like Erik and Kelly from Root Simple. Alas, my luck ran out when I discovered brick immediately behind the drywall. Were we planning on living here long term, I would have forged ahead. Instead, I decided to heed my rule about making use of what I already own and turn one of my metro shelves into a pantry in said closet. Conveniently, the upper shelves are just wide enough to store all my appliances, since counter space is the Boardwalk of this kitchen Monopoly.
Here’s the closet “before”:
 And the pantry “after”:
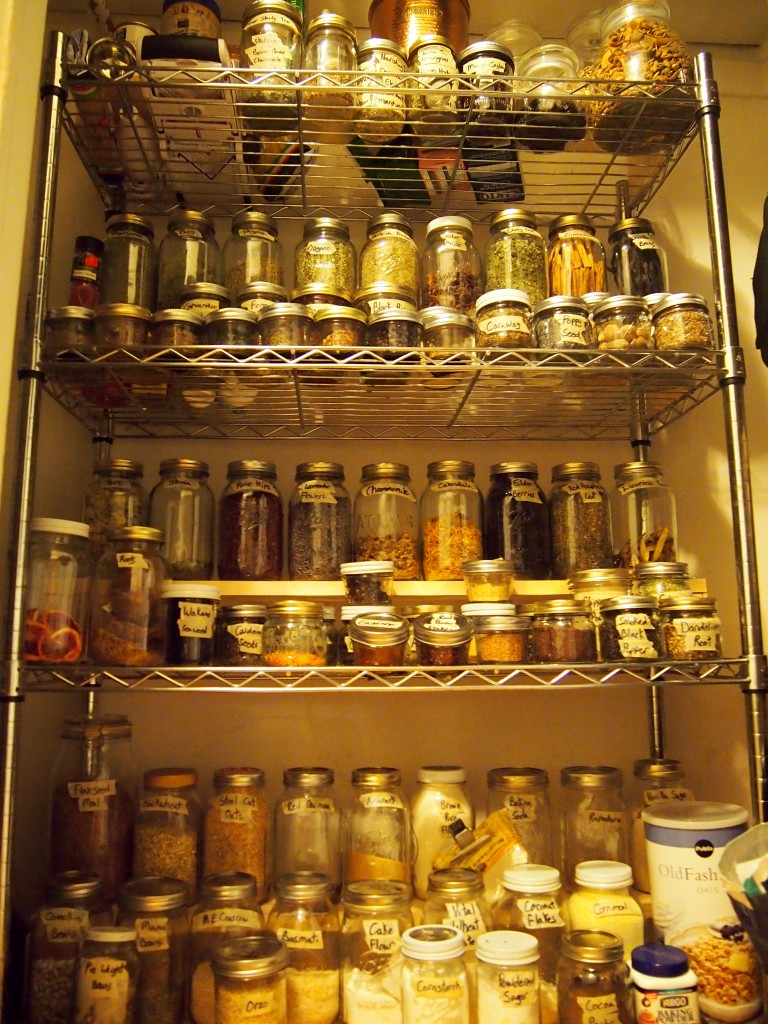
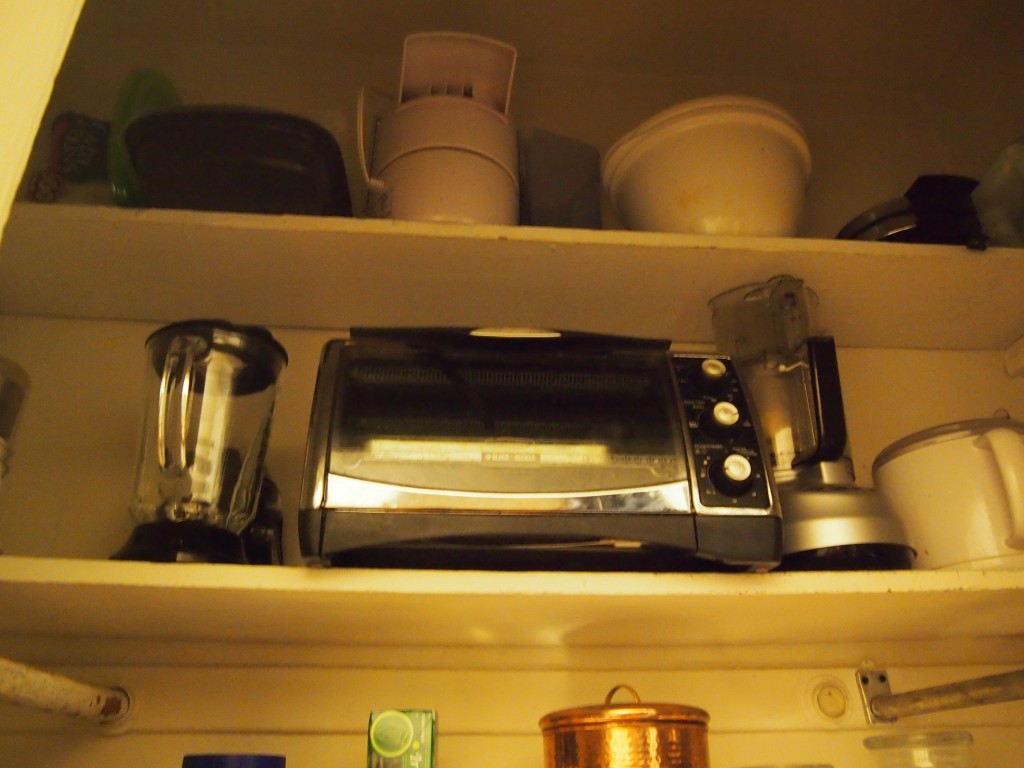 *Want a pantry like this of your own? Watch for my upcoming post “Tips for Organizing a Bulk Foods Pantry.”
Posted 12 years, 8 months ago. 4 comments
 Surely I am not the only one this happens to.
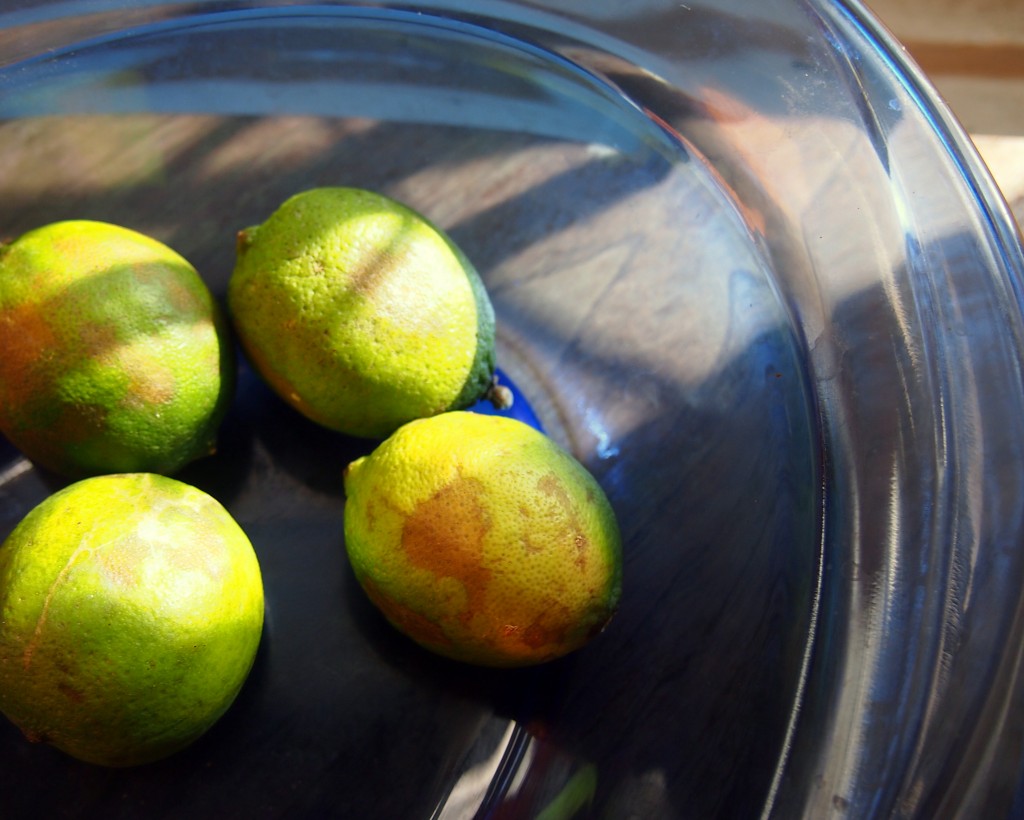
I buy a bag of limes, smiling at all the brightness they will bring to my cooking that week. I reach for them continuously for about four days and then… forget. Or hoard them for a special dish that doesn’t end up being made. The remaining third roll around my produce drawer, bread box, or kitchen counter like some kind of culinary diaspora. Brown spots appear and tender skin becomes callused. The poor exiles seem destined for the compost bin.
Surely I’m not alone in this. Surely it happens to other people.
Should you find yourself with tough limes, don’t despair. To make them tender again, zap them in the microwave for 30-45 seconds. If you don’t have a microwave, immerse them in boiling water for a minute or two. Be sure to let them cool for a minute or two before trying to juice them. Boiling lime juice hurts.
Most of the time this will tenderize them enough to use both the juice and the zest. However, if your limes are to far gone, the skins might still be too tough to zest. and you might not get as much juice as you would have with fresh limes.
This same trick works for lemons, too.
Posted 12 years, 8 months ago. Add a comment
 It happened somewhere between the slide and the changing table. That’s all I know. The little trooper didn’t even cry when it happened.
The tweezers were a no-go. He was too interested in the new “toy” to let me use them effectively at all.
Any tips on how to get a splinter out of a toddler’s hand? Or do you just leave it there and hope for the best?
Posted 12 years, 8 months ago. Add a comment
{this moment} – A Friday ritual from Soule Mama. A single photo – no words – capturing a moment from the week. A simple, special, extraordinary moment. A moment I want to pause, savor and remember.
If you’re inspired to do the same, leave a link to your ‘moment’ in the comments for all to find and see.
…
Posted 12 years, 9 months ago. Add a comment
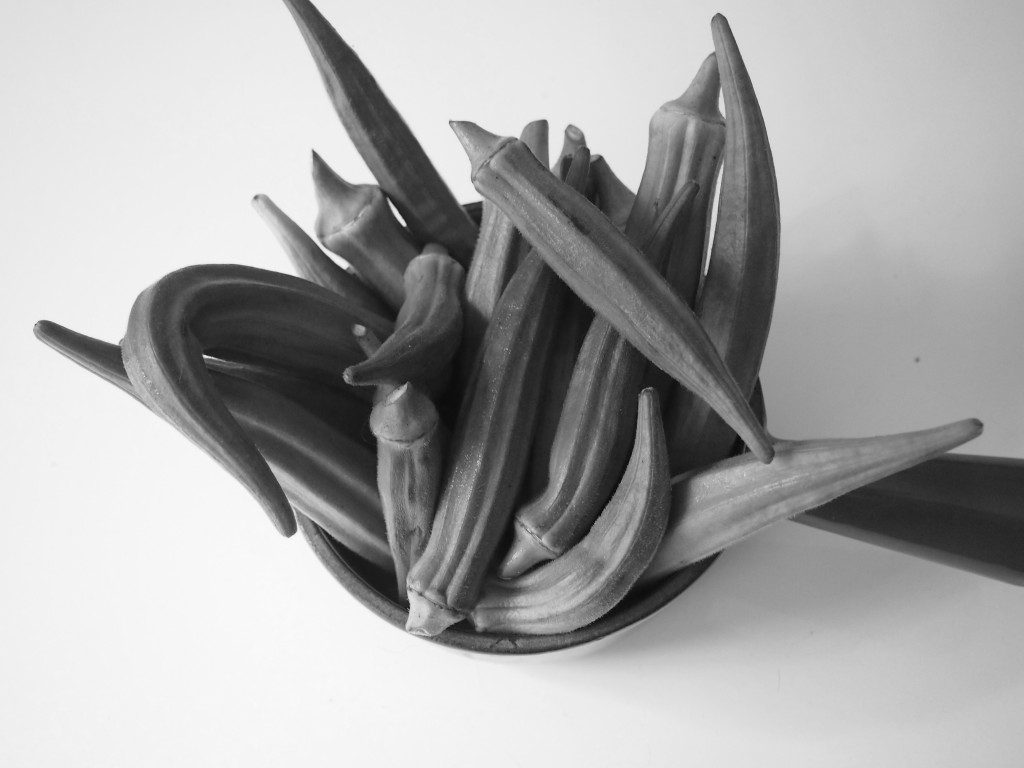
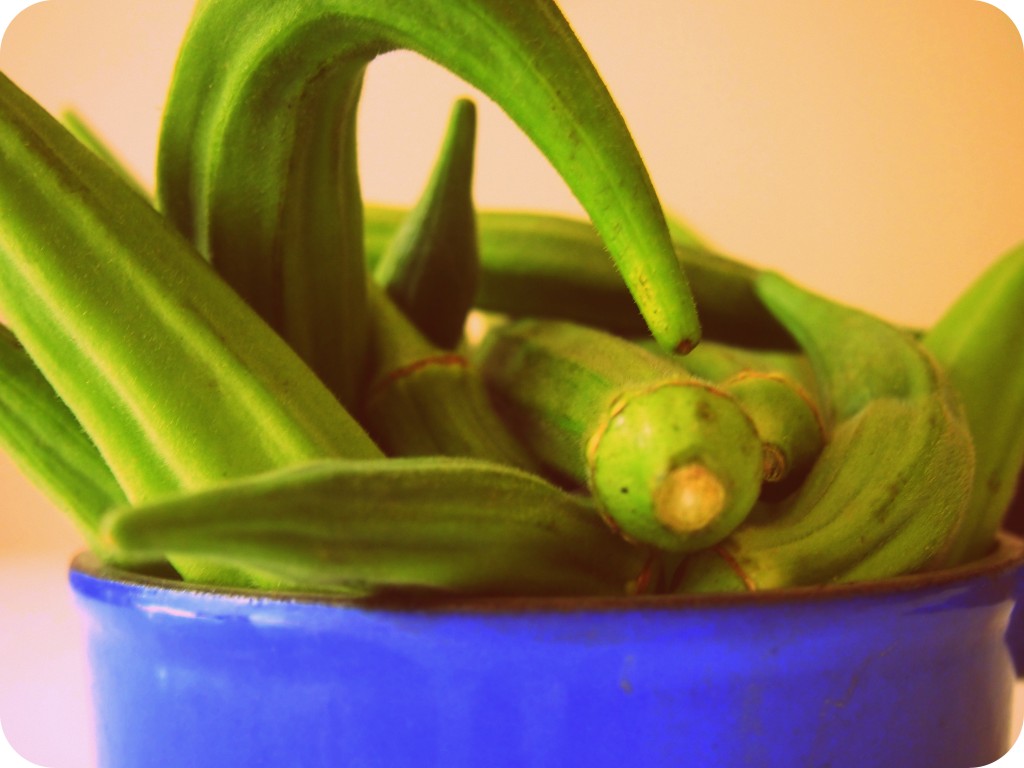
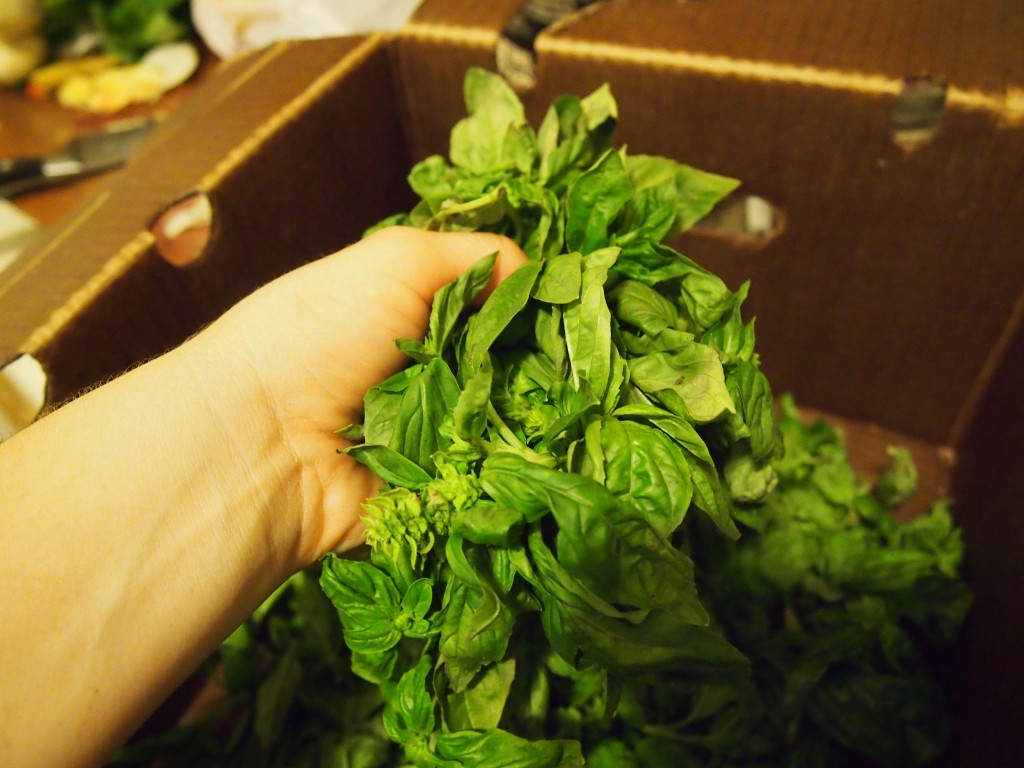
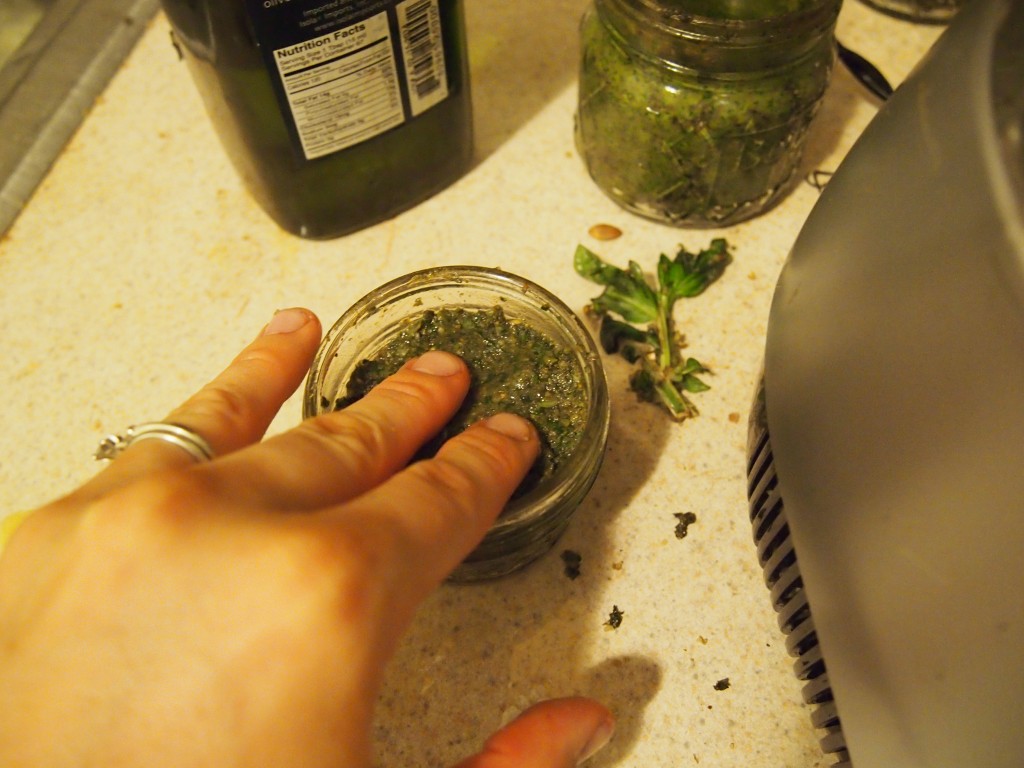
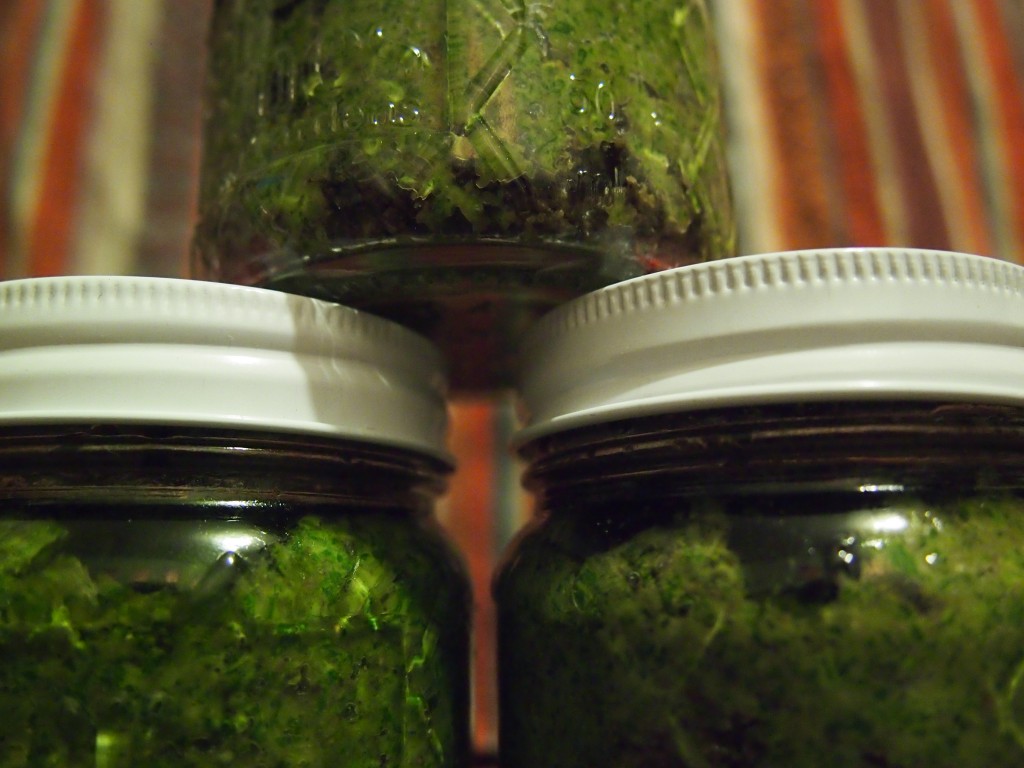
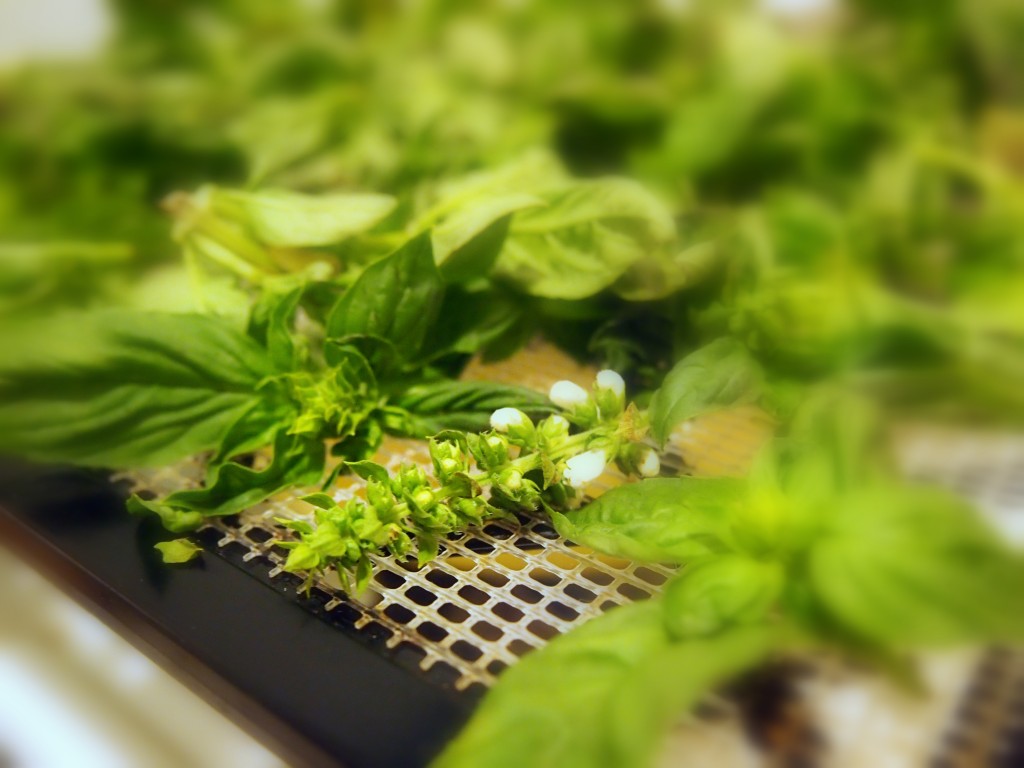
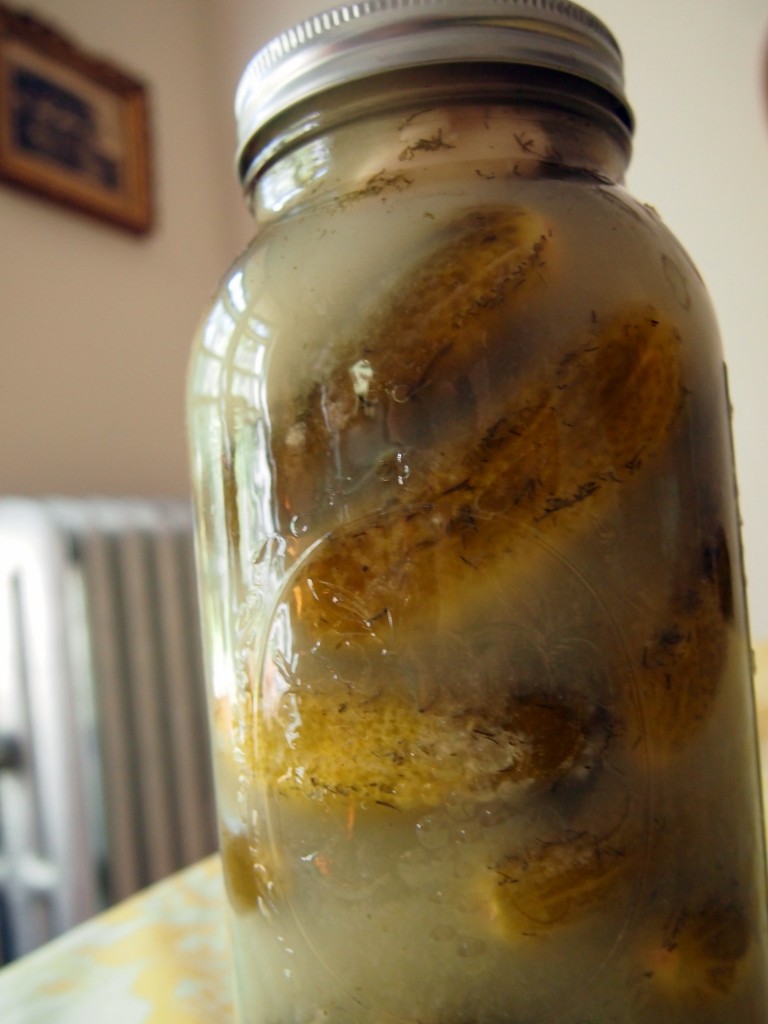
This week my kitchen counter has:
:: been a sedate background for the wild (and sometimes obscene) curlycues of fresh okra
:: carried the weight of the world on it’s shoulders in the form of dirty dishes
:: felt the first autumn breezes saunter in through the open window
:: been lost under a bushel of basil
:: taste tested my basil pesto recipe with walnuts, pumpkin seeds, and five spice powder
:: kept up good cheer when my batch of fermented pickles was only almost successful
Posted 12 years, 9 months ago. Add a comment
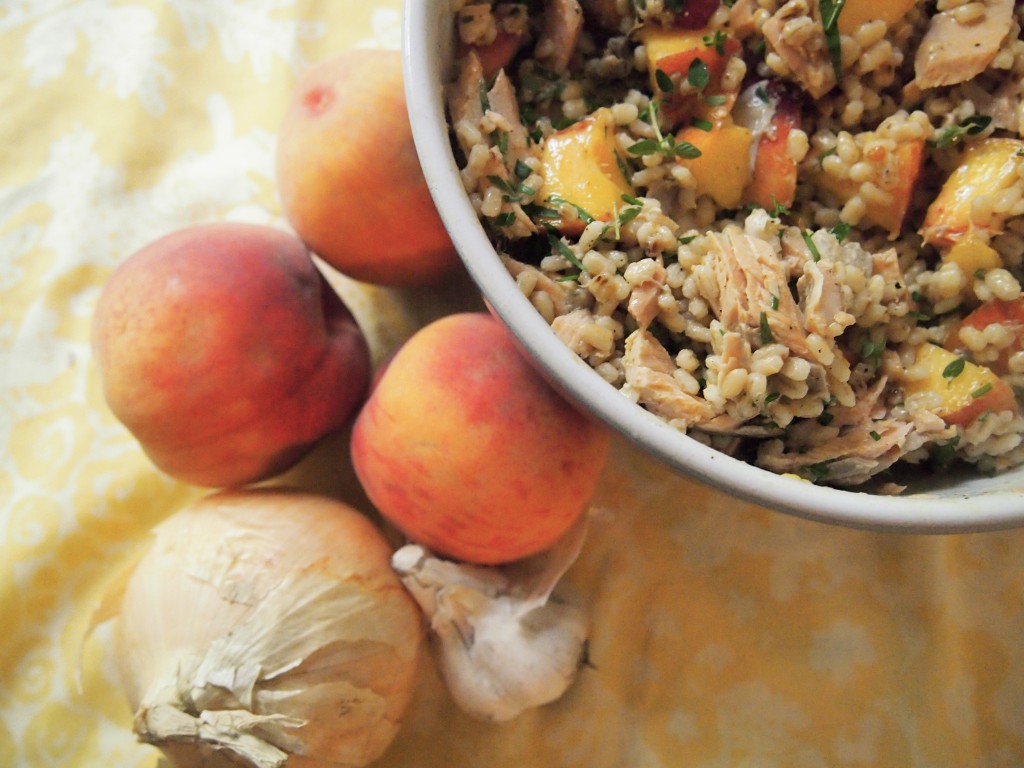
“If this is a salad, then anything is a salad,” Gary teased me last time I served this and expressly called it a salad. His taunting highlights something I’ve given idle thought to before: the definition of a salad.
Any quick search of a recipe site will prove salads are much more than beds of lettuce. I’ve seen just about any vegetable made into a salad; some of the best are completely sans lettuce, like the black bean and corn salad that graces so many picnic tables in the summer.
Nor are “salads” purely the domain of vegetables. Where would lunch be without the tuna or egg salad?
Perhaps “salad” refers to a cold temperature? But no, obviously there is hot German potato salad and wilted salads made with hot bacon dressing.
Could “salad” be a preparation technique of mixing disparate ingredients into a big pile and uniting them with a dressing? Hmmm…. mayb—- Nope. Both the casual Caprese salad of neatly overlapping mozzarella cheese slices, tomato slices, and basil leaves and the elegant towers of a sea scallop, caramelized onions, and a cornichon served in white tablecloth restaurants testify against that.
I remain at a loss. I only know that a salad is different than a casserole, which is different than a soup. And that this is surely a salad.
I used unhulled barley rather than the more common pearled barley because in addition to retaining more nutrients, I enjoy the chewiness of unhulled barley. While the long soaking step is technically optional, I strongly recommend making the time for it as your barley will cook more quickly and your body will be better able to absorb the nutrients from the grain. The added vinegar aids in the neutralization of phytic acid, a nutrient inhibitor.
Szechuan peppers are not actually related to regular peppercorns. They are members of the citrus family and hence impart an almost floral aroma and flavor. Szechuan pepper is a component of the popular Chinese Five Spice mixture. They compliment other truly spicy flavors like cayenne and chili by contributing a tingly sensation on your lips and tongue. Most bulk spice suppliers will carry them, and they are unquestionably worth trying. Though if you cannot find them, you may substitute plain black peppercorns.
Spicy Salmon Peach and Barley Salad
2 wild caught Alaskan salmon fillets about the size of a deck of cards, or two cups leftover flaked salmon
2 Tbs coconut oil (if using leftover salmon, omit this)
1 cup dry unhulled barley
2 cups chicken stock or water, plus extra if necessary
3 ripe peaches, peeled or unpeeled as you prefer
1/2 sweet onion, peeled and sliced thinly on a mandolin
2 cloves garlic, peeled and chopped
3 Tbs fruity olive oil
2 Tbs cider or rice wine vinegar
2-3 Tbs of spice mix, to taste
1/4 cup of any mixed herbs you have- I like garlic chives, thyme, basil, and oregano
Spice Mix
1 tsp smoked paprika
1 Tbs whole Szechuan peppercorns
1 Tbs whole coriander
1 tsp red chili flakes
a pinch or two of cayenne pepper (to taste)
1 Tbs salt
The night before, toast the barley in a saucepan by placing it over high heat and giving it an occasional gentle shake or stir until the toasty aroma fills your kitchen. Take it off the heat and let it cool slightly. Then add water to cover the grains by several inches. Dribble in a little vinegar and give it a stir. Cover the pan with a tea towel and let the barley soak in a warm place overnight. Whenever you’re ready to cook it the next day, drain the water and return the barley to the pan. Add the chicken stock and a generous pinch of salt. Bring to a boil, reduce the heat, and simmer covered with a tight lid for about 45 minutes. Check it a few times during cooking and replenish the liquid if necessary.
Meanwhile, in a small skillet, heat the coconut oil over medium heat until it shimmers. Add the salmon fillets skin side down and sprinkle the tops with salt and freshly ground pepper. Cover with a lid and cook until the fish flakes easily, lowering the heat if it begins to burn. Cut it into large chunks. It will be further broken up when you mix the salad together. If I can resist eating the crispy skin, I mix it with the salad as it is a source of healthy fats; if it’s texture bothers you too much, feed it to your cats. Set aside until the barley is done. If you’re using leftovers, just remove it from the fridge when you start the barley so it can come to room temperature.
Combine all your spices in a mortar and pestle or a spice mill and grind until they are powdered. Sometimes the Szechuan pepper refuses to powder completely. In this case, you can either go with it or shake it through a fine mesh colander to remove the stubborn bits.
In a large bowl, combine the warm barley, chunked salmon, garlic, onion, and peaches. Drizzle the olive oil and vinegar and sprinkle with a Tbs of the spice mixture. Mix well, preferably with your hands so you can feel when it’s all been evenly incorporated. Taste and see what you think of the spice. Add more until it suites you. Add salt and pepper to taste. Keep the leftover spice in an airtight jar in a dark cupboard for next time.
If you have time, let it sit in the fridge for a few hours so the flavors can meld. If you don’t, serve it with confidence because it will still be good. Just before serving, mix in the chopped herbs. This salad is good cold or at room temperature. I like serving it on a bed of wilted greens.
Posted 12 years, 9 months ago. 1 comment
{this moment} – A Friday ritual from Soule Mama. A single photo – no words – capturing a moment from the week. A simple, special, extraordinary moment. A moment I want to pause, savor and remember.
If you’re inspired to do the same, leave a link to your ‘moment’ in the comments for all to find and see.
…
Posted 12 years, 9 months ago. 3 comments

As an introvert, I know I’m supposed to enjoy doing things alone. Being by myself is supposed to restore my spirit and make me feel most myself. And generally, that’s true. Except in one area: dining. I used to recoil from eating alone. I still shudder to remember walking through a noisy cafeteria, tray in hand, desperately scanning faces trying not to look like I was desperately scanning faces. If no inviting countenance was glimpsed, I played the part of a solitary scholar and ate in the shadow of a book. Being an introvert, it was not an option to just say “Hello! Is this seat taken?” and plunk down next to another eating-alone stranger. Then there was the dark time I found myself both companionless and bookless. It was not my most dignified moment when I pulled out my cell phone, pretended there was someone on the other end, and ate as quickly as I could. (Promise you’ll keep that a secret, m’kay?)
No longer.

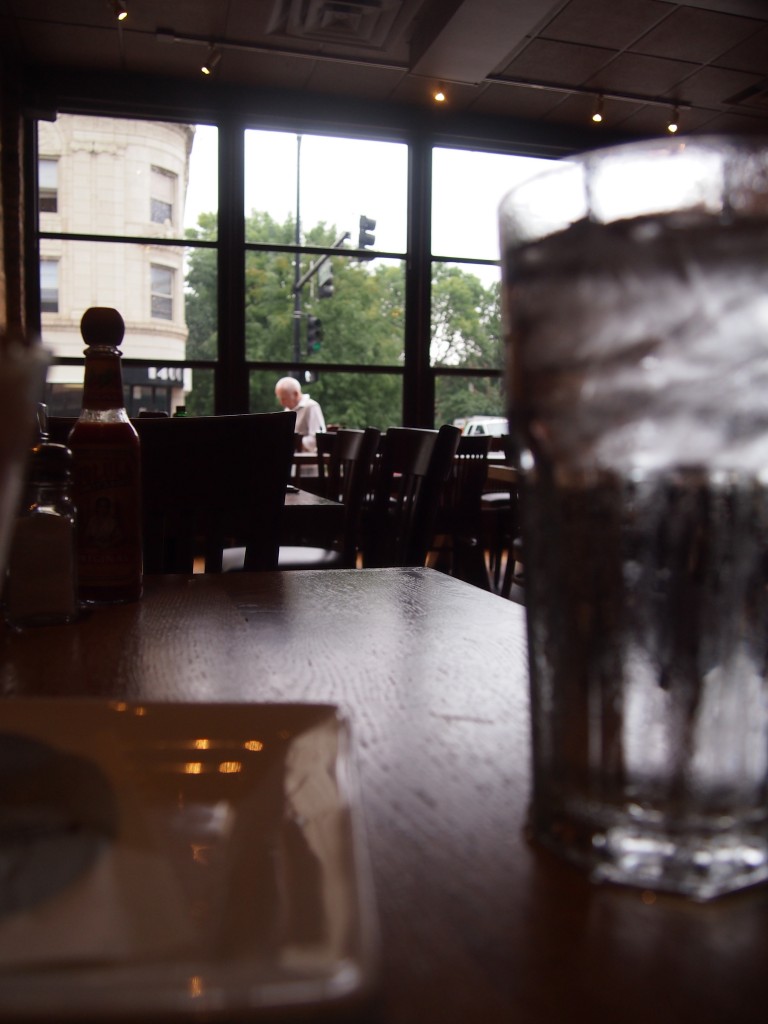
I recently found myself with a baby free morning and nowhere specific to go. I decided to head to Uncommon Ground, a local spot that wears a rooftop farm as a crown. Instead of the coffeeshop atmosphere I was expecting, I was greeted by a hostess who seated me with a menu. I felt the tingle of my old anxiety in my finger tips for just a moment. Dining alone?
Oh yes.
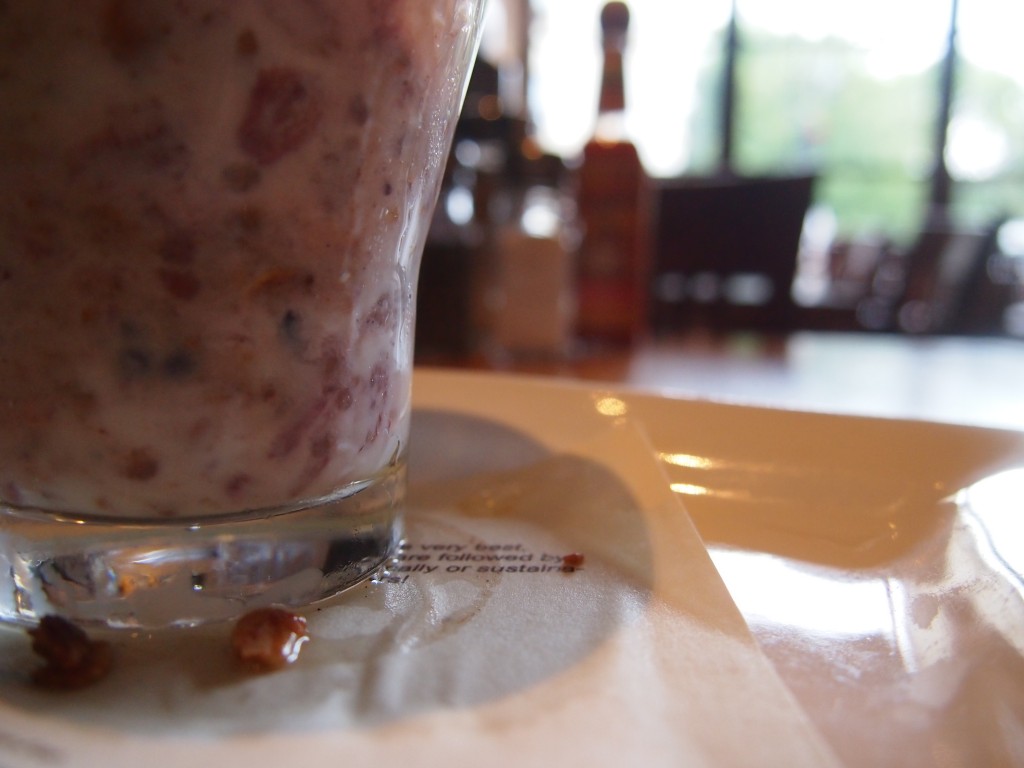
Now I steep in it, this eating by myself. I sat at that table with nothing but the condiments across from me and let myself suffuse. A kettle sang in the kitchen as I exhaled the tensions that seemed to cling to me more tenaciously than a toddler. (At least toddlers can be left with a sitter. I’ve yet to find someone who will tend my worries with the same care that I do.) Through windows pin pricked with rain I watched the tide of people outside at the bus stop while, inside, my thoughts began to color the air around me. My fingers lingered around a hot mug, purposefully feeling the warmth slowly ebb away instead of abandoning it after only a sip or two. An hour passed as I spooned at a berry and yogurt parfait. (Drizzled with honey gathered from hives on the roof just above my head!) I read and reread paragraphs from my book, squeezing out all the the beauty I could from words like these:
“All ingredients need salt. The noodle or tender spring pea would be narcissistic to imagine it already contained within its cell walls all the perfection it would ever need. We seem, too, to fear that we are failures at being tender and springy if we need to be seasoned. It’s not so: it doesn’t reflect badly on pea or person that either needs help to be most itself.”
- Tamar Adler An Everlasting Meal
Indeed.
These hours dining alone were a much needed dash of salt.
Posted 12 years, 9 months ago. 1 comment
{this moment} – A Friday ritual from Soule Mama. A single photo – no words – capturing a moment from the week. A simple, special, extraordinary moment. A moment I want to pause, savor and remember.
If you’re inspired to do the same, leave a link to your ‘moment’ in the comments for all to find and see.
…

Posted 12 years, 9 months ago. 3 comments
I was in denial about Nutella for quite awhile. It held great emotional significance for me. Capped under that white lid was countless sleepy mornings in the dorm packing my brown bag lunch next to my roommates. Swirled amidst the chocolate and hazelnuts was a rooftop picnic in Italy with crusty bread and fresh fruit. Sticking to the sides of the jar next to the reduced minerals whey….
Wait, what?
I told you I was in denial. Even though I’m an obsessive ingredient list reader, I refused to check the Nutella label for about two years. I didn’t want to know. In this one instance, I desperately wanted to believe the front of the label with the bright cheery apples and oranges next to toast spread with Nutella.
One day I took the plunge. I turned the jar around and read this label:
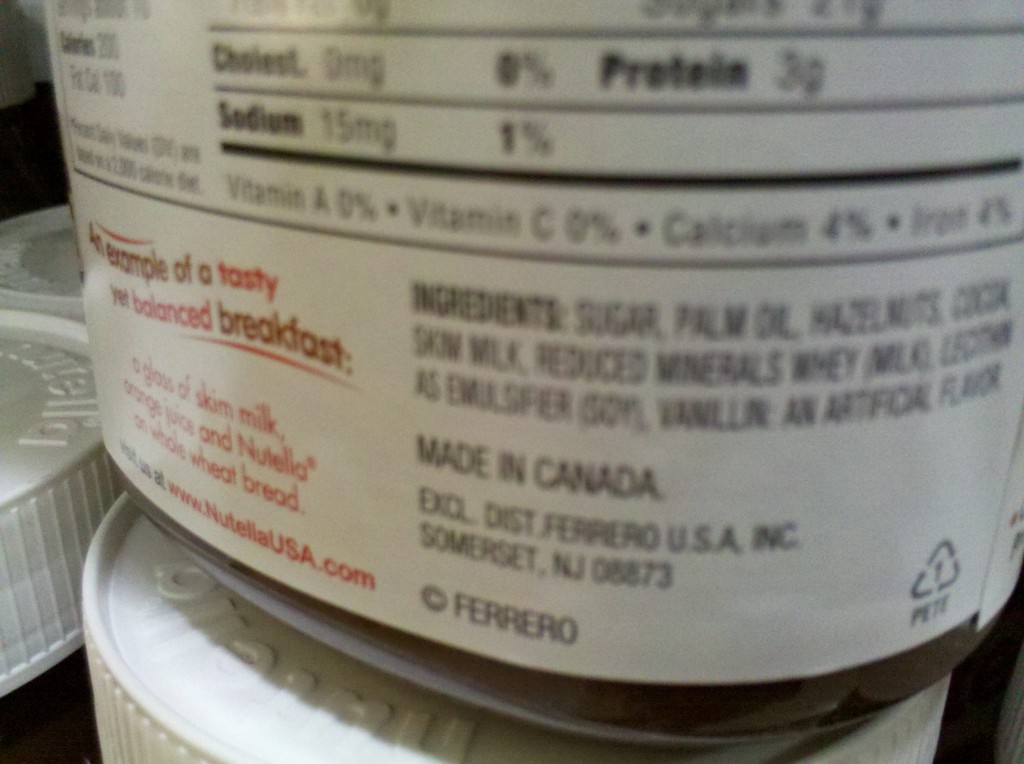
(For those of you who can’t read my jiggling-baby-on-hip-camera-phone-quality picture, the ingredients are: sugar, palm oil, hazelnuts, cocoa, skim milk, reduced minerals whey, lecithin, vanillin.)
Just as quickly I stuffed that memory down into my subconscious with miscellaneous childhood humiliations. I bought several more jars of Nutella over the next several months in this state of forced forgetfulness. Finally I had to be honest with myself; this was not the kind of food-like substance I wanted to eat.
While I’m sure if I looked hard enough I could find an artisanal chocolate hazelnut spread that some guy makes using nuts from his backyard and chocolate imported from his Swiss grandmother all packaged in a vintage heirloom glass jar, I have too strong of a DIY gene for that nonsense.
A quick check with Uncle Google revealed that homemade Nutella is nothing new. Still, none of the recipes were quite up to my real food standard. They either included massive amounts of sugar or dry milk powder, a product that gives me the heebie jeebies. Was it not possible to make a chocolate hazelnut spread that contained only whole fresh ingredients- ones that I’d eat separately anyway?
Happily, yes it most definitely is. With soaked and sprouted hazelnuts as a base, real cream, and no sugar other than what’s in the chocolate, this recipe is genuinely nourishing without sacrificing tastiness. Soaking and sprouting the nuts increases the availability of protein, vitamins, and minerals while decreasing the effects of nutrient inhibitor phytic acid. The resulting spread is not as creamy as store bought Nutella. Little nibbles of hazelnut remain, which I find quite enjoyable. If you’re seeking imitation perfection though, strain the spread through a fine mesh sieve before storing it in jars.
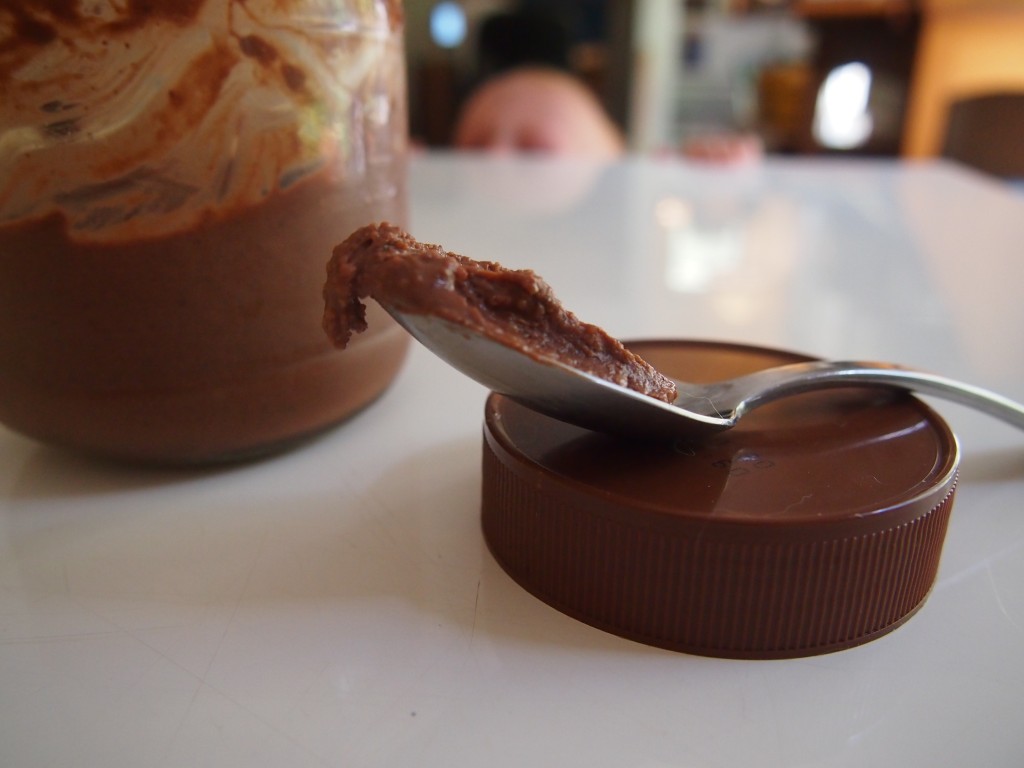
Homemade Three Ingredient “Nutella”
adapted from
David Lebovitz’s recipe
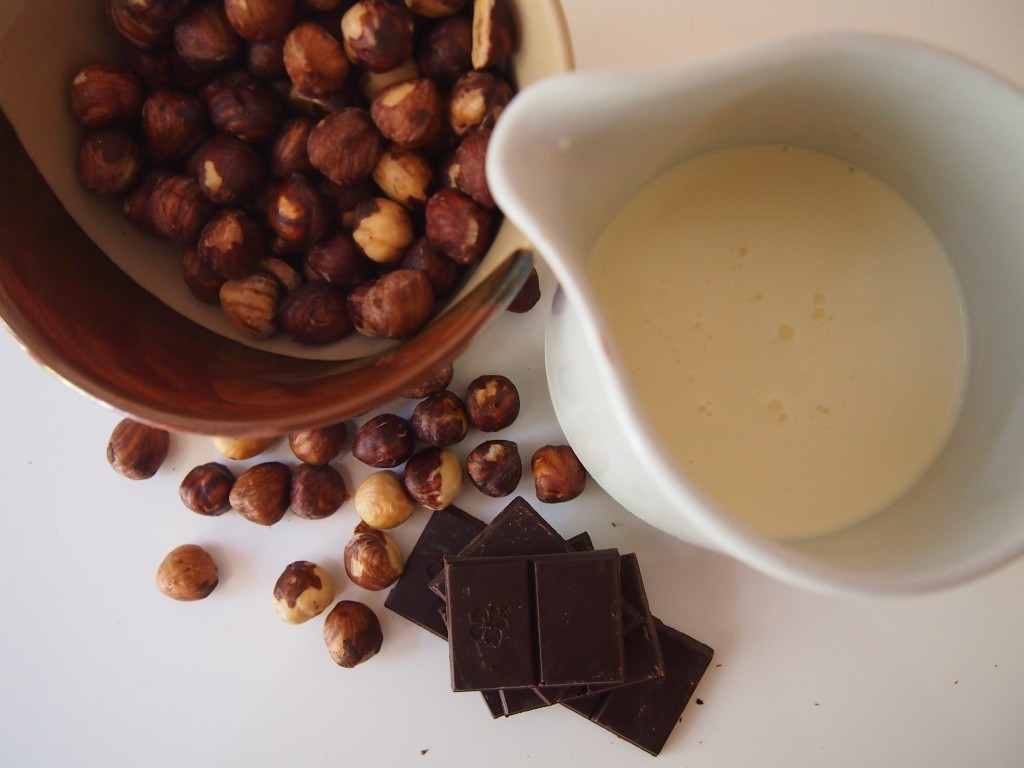
2 cups hazelnuts
12 oz of your favorite chocolate
2 cups cream (or leftover whey)
salt*
Pour hazelnuts into a large bowl and cover with warm water. Let them soak overnight in a warm place. I put it in my gas oven over the pilot light. The next morning, drain the nuts in a colander. You may stop here and proceed to roasting them, or you may choose to continue rinsing them every few hours until they just barely sprout.
Preheat your oven (or toaster oven) to 350°. Spread the nuts out in a single layer on a rimmed baking sheet. Roast for about 10-15 minutes or until toasty brown goodness wafts from your kitchen. Stir or shake the pan occasionally to make sure they are browning evenly. Take the pan out of the oven and let the nuts cool slightly.
While the nuts cool, place a heatproof bowl on top of a pot filled with a few inches of water. Or use a double boiler. Place your chocolate in a bowl and allow it to melt over medium heat, stirring occasionally, until it is smooth throughout.
Warm the milk in a small saucepan until it is just above blood temperature (about 100°). Don’t be a perfectionist; just stick your finger in there and if it feels like bath water, you’re golden.
Gather your nuts into the middle of a large tea towel or in a pillow case. Rub the towel over them vigorously until most of the skins have been removed. Don’t be a perfectionist.
Place the nuts and a two generous pinches of salt in the bowl of a food processor and whirl away until they almost become a nut butter. (Be sure to warn any toddlers in the house that there will be a loud noise.) Add the chocolate and whirl again until evenly incorporated. You might have to stop to scrape down the sides a few times. With the motor still running, slowly pour in the warm milk. (Again, stopping if necessary to scrape the sides.) Once the mixture is smooth and homogeneous, pour it into two pint jars (or two jars you’ve saved from previous Nutella indulgences). You may strain the spread through a sieve to remove the bits of hazelnut. Personally, that’s too much work and I quite like the chunkiness anyway.
Store your
Nutella chocolate hazelnut spread in the fridge for about a week to ten days. Freeze it for up to a few months.
Eat it with a spoon. Or fingers. Your prerogative. Leave the guilt in the fridge.
*So I realize that the salt technically makes it four ingredients. But let’s not quibble over details, a’right?
Posted 12 years, 10 months ago. 7 comments

 *Want a pantry like this of your own? Watch for my upcoming post “Tips for Organizing a Bulk Foods Pantry.”


