Homemade Three Ingredient “Nutella”
I was in denial about Nutella for quite awhile. It held great emotional significance for me. Capped under that white lid was countless sleepy mornings in the dorm packing my brown bag lunch next to my roommates. Swirled amidst the chocolate and hazelnuts was a rooftop picnic in Italy with crusty bread and fresh fruit. Sticking to the sides of the jar next to the reduced minerals whey….
Wait, what?
I told you I was in denial. Even though I’m an obsessive ingredient list reader, I refused to check the Nutella label for about two years. I didn’t want to know. In this one instance, I desperately wanted to believe the front of the label with the bright cheery apples and oranges next to toast spread with Nutella.
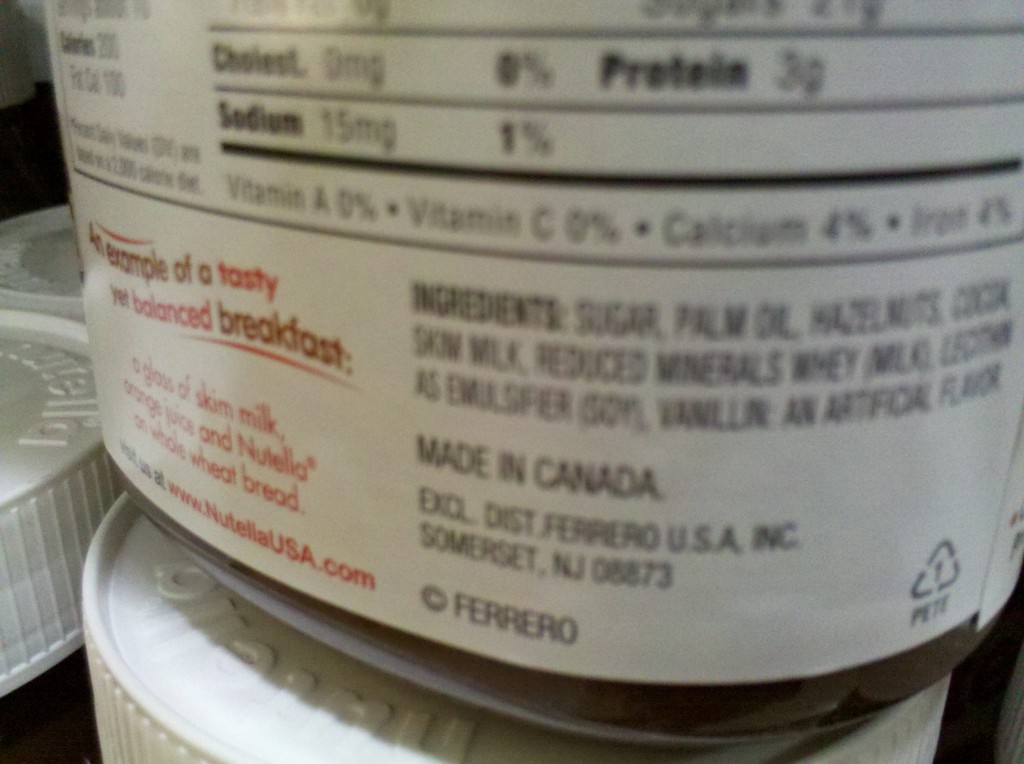
One day I took the plunge. I turned the jar around and read this label:
(For those of you who can’t read my jiggling-baby-on-hip-camera-phone-quality picture, the ingredients are: sugar, palm oil, hazelnuts, cocoa, skim milk, reduced minerals whey, lecithin, vanillin.)
Just as quickly I stuffed that memory down into my subconscious with miscellaneous childhood humiliations. I bought several more jars of Nutella over the next several months in this state of forced forgetfulness. Finally I had to be honest with myself; this was not the kind of food-like substance I wanted to eat.
While I’m sure if I looked hard enough I could find an artisanal chocolate hazelnut spread that some guy makes using nuts from his backyard and chocolate imported from his Swiss grandmother all packaged in a vintage heirloom glass jar, I have too strong of a DIY gene for that nonsense.
A quick check with Uncle Google revealed that homemade Nutella is nothing new. Still, none of the recipes were quite up to my real food standard. They either included massive amounts of sugar or dry milk powder, a product that gives me the heebie jeebies. Was it not possible to make a chocolate hazelnut spread that contained only whole fresh ingredients- ones that I’d eat separately anyway?
Happily, yes it most definitely is. With soaked and sprouted hazelnuts as a base, real cream, and no sugar other than what’s in the chocolate, this recipe is genuinely nourishing without sacrificing tastiness. Soaking and sprouting the nuts increases the availability of protein, vitamins, and minerals while decreasing the effects of nutrient inhibitor phytic acid. The resulting spread is not as creamy as store bought Nutella. Little nibbles of hazelnut remain, which I find quite enjoyable. If you’re seeking imitation perfection though, strain the spread through a fine mesh sieve before storing it in jars.
adapted from David Lebovitz’s recipe
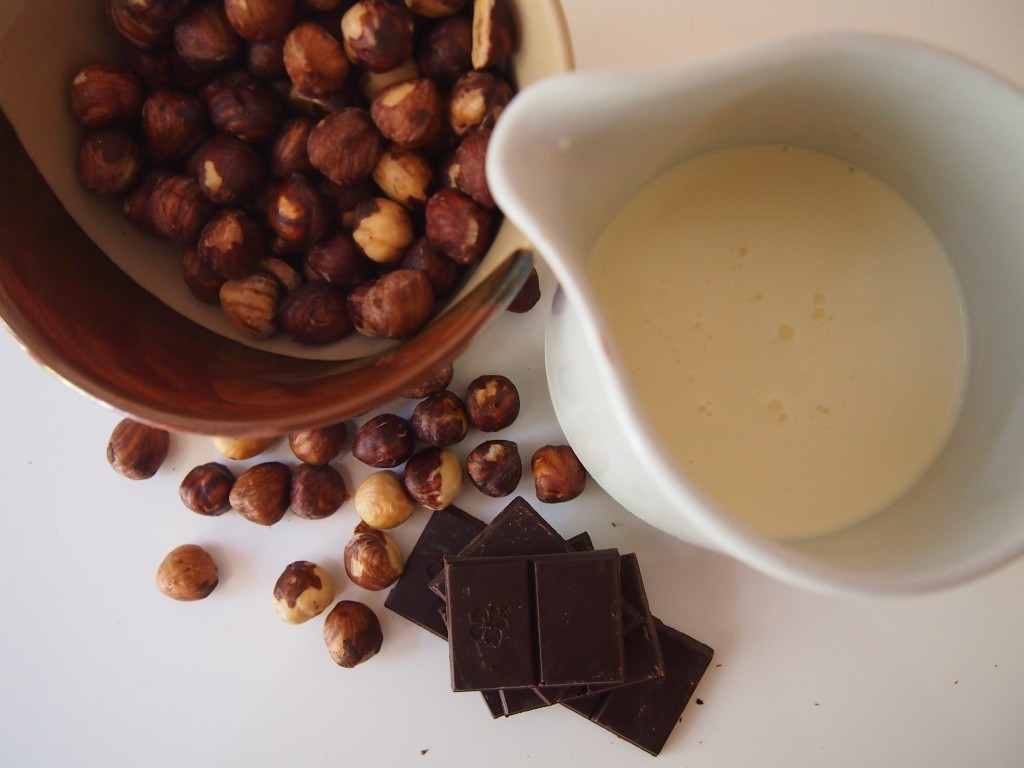
2 cups hazelnuts
12 oz of your favorite chocolate
2 cups cream (or leftover whey)
salt*
Pour hazelnuts into a large bowl and cover with warm water. Let them soak overnight in a warm place. I put it in my gas oven over the pilot light. The next morning, drain the nuts in a colander. You may stop here and proceed to roasting them, or you may choose to continue rinsing them every few hours until they just barely sprout.
Preheat your oven (or toaster oven) to 350°. Spread the nuts out in a single layer on a rimmed baking sheet. Roast for about 10-15 minutes or until toasty brown goodness wafts from your kitchen. Stir or shake the pan occasionally to make sure they are browning evenly. Take the pan out of the oven and let the nuts cool slightly.
While the nuts cool, place a heatproof bowl on top of a pot filled with a few inches of water. Or use a double boiler. Place your chocolate in a bowl and allow it to melt over medium heat, stirring occasionally, until it is smooth throughout.
Warm the milk in a small saucepan until it is just above blood temperature (about 100°). Don’t be a perfectionist; just stick your finger in there and if it feels like bath water, you’re golden.
Gather your nuts into the middle of a large tea towel or in a pillow case. Rub the towel over them vigorously until most of the skins have been removed. Don’t be a perfectionist.
Place the nuts and a two generous pinches of salt in the bowl of a food processor and whirl away until they almost become a nut butter. (Be sure to warn any toddlers in the house that there will be a loud noise.) Add the chocolate and whirl again until evenly incorporated. You might have to stop to scrape down the sides a few times. With the motor still running, slowly pour in the warm milk. (Again, stopping if necessary to scrape the sides.) Once the mixture is smooth and homogeneous, pour it into two pint jars (or two jars you’ve saved from previous Nutella indulgences). You may strain the spread through a sieve to remove the bits of hazelnut. Personally, that’s too much work and I quite like the chunkiness anyway.
Store your
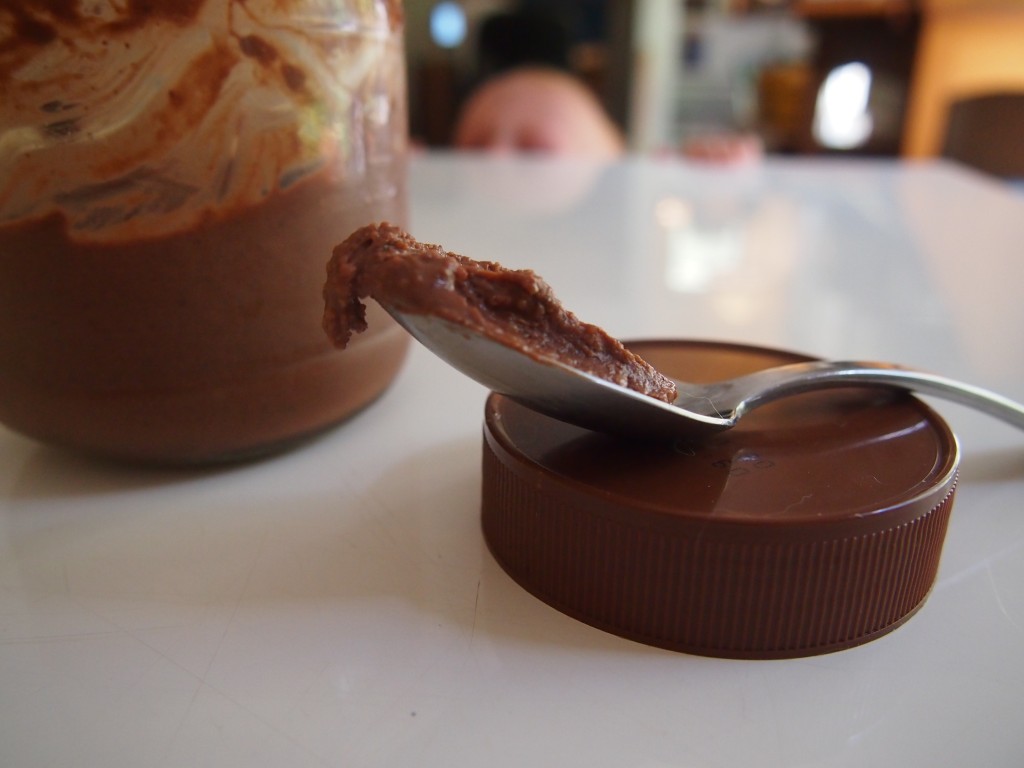
Eat it with a spoon. Or fingers. Your prerogative. Leave the guilt in the fridge.
*So I realize that the salt technically makes it four ingredients. But let’s not quibble over details, a’right?


