Last year’s Halloween costume was a disaster. I won’t go into the details because I don’t want any of you to attempt such a thing, but let’s just say it involved sticking a highly unwilling infant in a fruit basket surrounded by vegetables.
This year had to be better as last year was pretty much rock bottom. In the quest for the perfect costume that was easy, cheap, homemade and darned cutie-pa-tootie, I was quickly running out of time. But that turned out to be okay because this costume only takes about 30 minutes to put together once you’ve gathered the supplies.
So, without further ado….
introducing…..
The Itsty Bitsy Spider
aka Baby Octopus (with minor adjustments)


To make this DIY costume you will need:
a warm black shirt or sweater
warm black pants
6-8 black knee socks
a pile of fabric scraps
6-8 black saftey pins
60-80 small size furniture pads (opt for octopus variation)
To make this costume:
Decide if you want to make six or eight stuffed spider legs/ octopus arms. I suggest doing six if your baby is not yet mobile and will be sitting; make eight if you little one is a toddler that will be standing and walking around, thus obscuring his own legs. You want eight total legs to be visible.
Stuff the socks with all manner of rags. I used washcloths, cloth napkins, cloth wipes (clean I promise!), other socks, and even some old underwear. You aren’t going to see it, so it doesn’t matter what it looks like. Stuff them to about the height of your little one’s legs. If you make them too long, she might trip on them. For the octopus variation, attach two rows of furniture pads on each sock. If you have a baby that loves to pick at things, you might want to attach these with a hot glue gun.
Attach the stuffed socks to the black pants with saftey pins. Stuff any extra sock inside the pants.
Dress your little one in the black shirt and carefully pull on the pants.
Step back and admire. Do a victory dance for making such a cute costume at the last minute. Maybe sing the Itsy Bitsy Spider song.
Posted 12 years, 7 months ago at 10:42 am. Add a comment

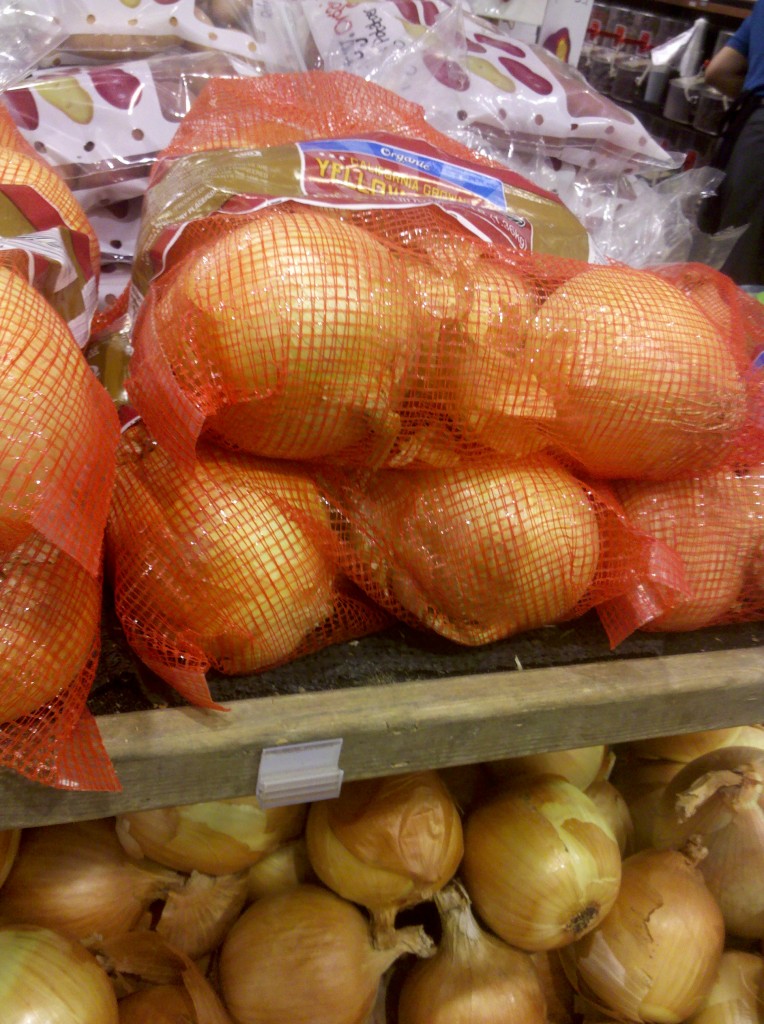
Even though I try to buy my produce as packaging free as possible, there are times that the item I want is only available encased in one of those plastic mesh produce bags.
I used to hate buying these things so much that I’ve changed my dinner plans in order to avoid them. In most areas these aren’t recyclable, so into the trash they must go and then on to a landfill– where I imagine all manner of creatures getting stuck in them. So if potatoes were only available in such a bag, it would be sweet potatoes in the soup that night instead.
Sometimes, though, no viable alternative was available. In that case I’d buy the mesh encoffined produce and stuff the bag deep in a kitchen drawer to avoid throwing them away. I forgot about them. I even moved across the country with these bags. So maybe it was more like I repressed them.
Until the day I was out of plastic snack bags to take Theodore’s raisins in to the park. Out came the mesh bag and plastic closure. And you know what? It was perfect.
Necessity is the mother of all sorts of things that will get you weird side long looks from other people.
Since that day, I’ve begun to relax about buying these mesh bags. I don’t go out of my way to buy them, but when they do end up in my kitchen they are a resource for all sorts of things.
Ways to Reuse Plastic Mesh Produce Bags
- A snack baggie for anything raisin sized or larger. Granted, this might not be the best option for something like crackers that you need a more solid enclosure to catch all the crumbs. But for dried fruit it works great. Simply leave the bag intact, plastic closure and all, and use in place of plastic baggies.
- A fine motor skills game for your toddler. I discovered this by accident when Theodore got hold of one of my new raisin baggies and started picking the raisins out through the holes. Simply fill it with small squishable objects that are slightly larger than the hole size. Raisins work well here too. Although I’ve found food works best as most babies want to celebrate their dexterity by putting their prize in their mouth, in a pinch (a.k.a. an eight hour bus ride) I’ve used wadded up bits of paper. (Obviously this might not be the best toy if your baby still puts everything in his mouth and has teeth as he could chew off bits of plastic. Use your judgement parents.)
- A homemade scrubby. The plastic mesh makes an excellent scrubbing surface for dishes. It’s gentle enough to not scratch your china and but also capable of removing the scuz left in your pots and pans. If you have a really sticky or baked on mess, you might want to use the scrubby in conjunction with other methods such as a baking soda scrub or soapy water boil. Also, please note that I don’t own any non stick cookware, so I don’t know if it’s safe for such dishes. If you own some and would like to try it, proceed with caution … and then report back to me as I ‘d love to know! Here’s a tutorial for making a classy scrubby that won’t get mistaken for trash on your counter top. Or you could just cut off both ends, stuff three or four into one, and knot both ends. Your scrubby would work equally as well cleaning your tub as it does your dishes. Though perhaps you’d want two separate scrubbies…
- A bath toys holder. The larger potato and onion bags are the perfect size for holding Theodore’s bath toys. An added plus is that oftentimes they already have string attached so it’s easy to loop the collection over the shower head. They drip dry, don’t mold, and don’t spill curiously cold water over my toes during my shower.
- Excess produce storage. If you have a garden or belong to a productive CSA and find yourself asking Google “how to store produce” at the end of the season, these mesh bags can be the perfect answer. Produce like onions, potatoes, and garlic need airflow in order to keep well. Even if you are lucky enough to have a stellar root cellar, you still won’t get the longest life out of these vegetables if you just plop them in a box. While the pantyhose method works well, it looses it’s repurposing charm if you have to go out and buy pantyhose to do it. Instead, you can put your potatoes, onions, and garlic in mesh produce bags and hang them on hooks or nails.
- Produce bags. This one is so obvious I feel silly including it, but since it took me quite awhile to realize this, I thought it worth saying. Mesh produce bags make excellent… produce bags. If you’re already in the habit of bringing your own canvas bags to the store, it’s easy to stick a few of these mesh bags in to use instead of the tear off plastic ones in the produce department. What if, like me, you’ve already been forgoing the plastic bags and tossing loose onions into your cart? Well, keep doing that if it’s working for you. For me though, it was getting increasingly difficult to finagle all those onions and lemons past little toddler fingers. Also, with French Onion Soup season coming up, I’m sure your clerk will appreciate not having to corral ten onions onto the checkout scale.
Do you have any packaging that you go out of your way to avoid? If you do buy it, how do you reuse it? Anyone else have a guilt complex about excess packaging?
Posted 12 years, 7 months ago at 3:00 pm. 5 comments


