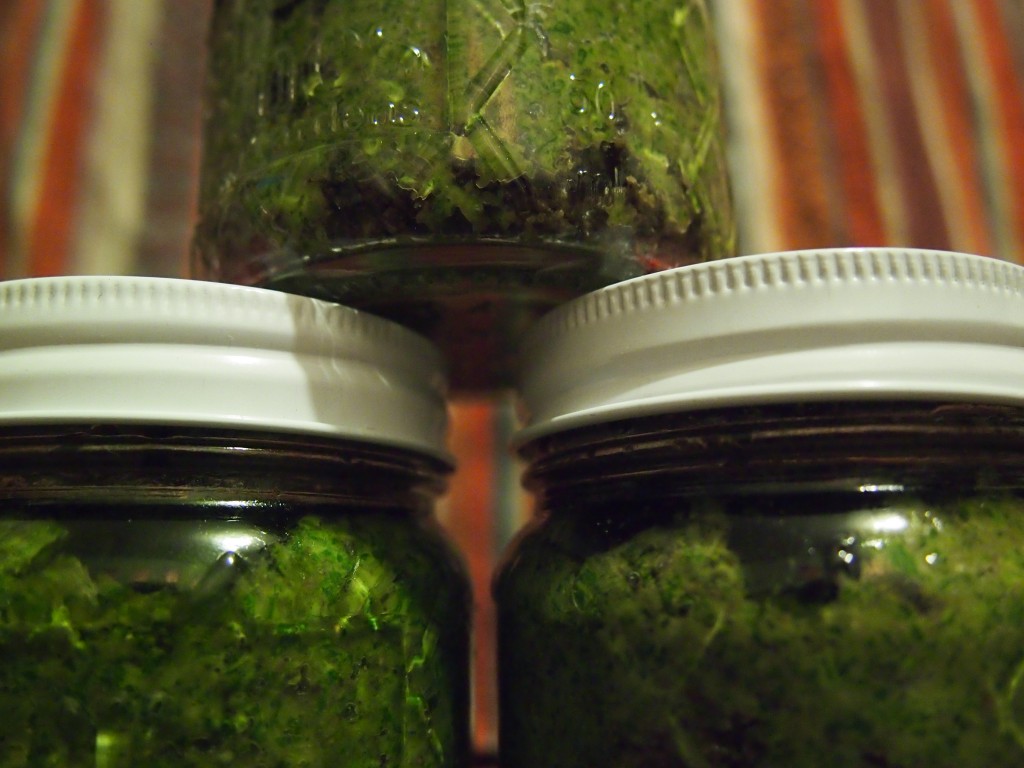
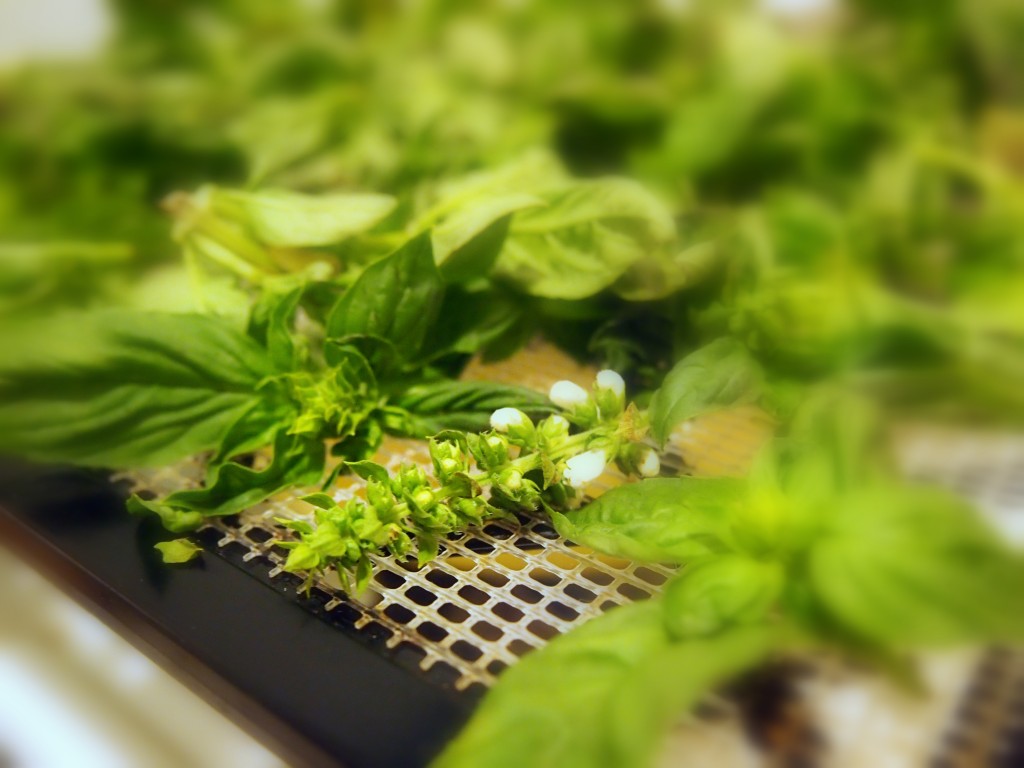
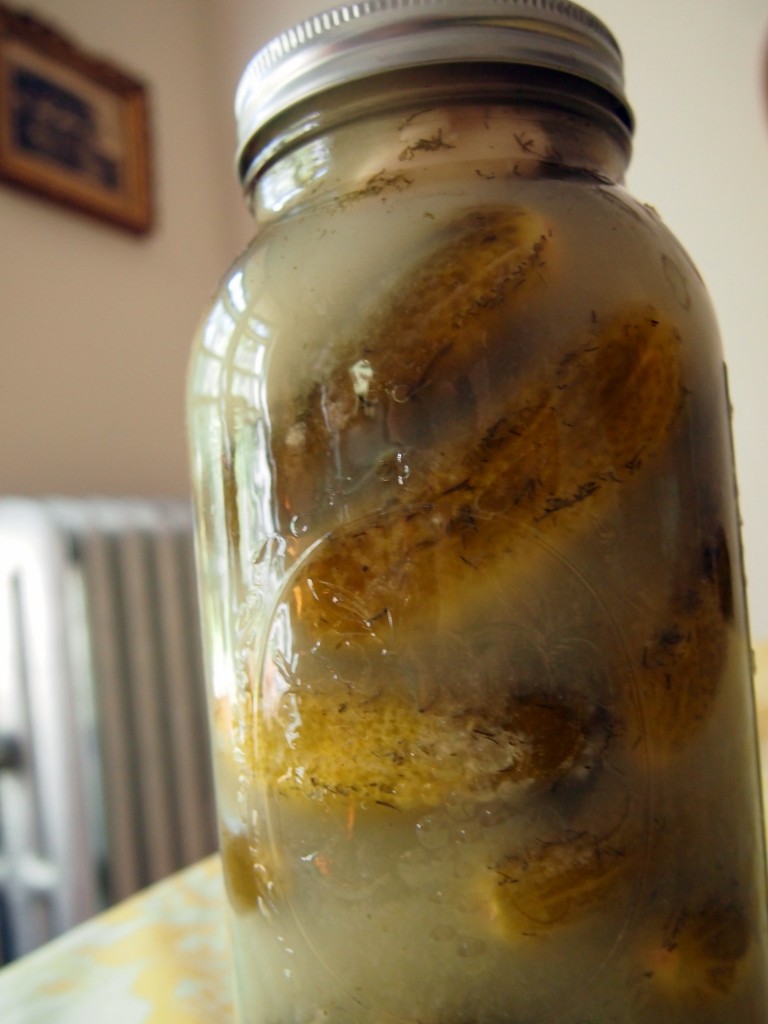
When Mr. Quotidian began comparing my kitchen projects to witchcraft, I thought he was on to something more than the jars bubbling and fermenting on the counter. He made me realize how we’ve let the word “craft” slip from our vocabulary. Hardly anyone now practices a craft; we now merely aspire to be experts. We cram our minds with knowledge, leaving nothing for our hands to do. To talk about craft you either have to be a preschool teacher or a Wiccan. Instead of continuing to let craft slide into the realm of Elmer’s glue and eye of newt, I want to take hold of it and pull it back to its rightful place in my vocabulary.
Foodcraft is a place where I will practice my craft. You will find recipes here, surely, but also thoughts on ingredients, health, and food applications.
There are some kitchen activities that lend themselves to metaphor. Even if you are not a cook, you will likely know what I mean if I tell you about someone getting roasted at work. Or how I steep in the silence of the early morning before anyone else is up. Or how I have an idea percolating on the back burner.
But then there are other activities that only come to mean more through seemingly endless repetition. Whether specific recipes, chores, or rituals, these processes tend to become very personal symbols that are hard to communicate to anyone else. It goes beyond dog eared cookbooks and even beyond consciously recalling a recipe from memory. The process becomes some kind of psychic extension of yourself. You do them not just to have food in the fridge but because the making feeds your soul.
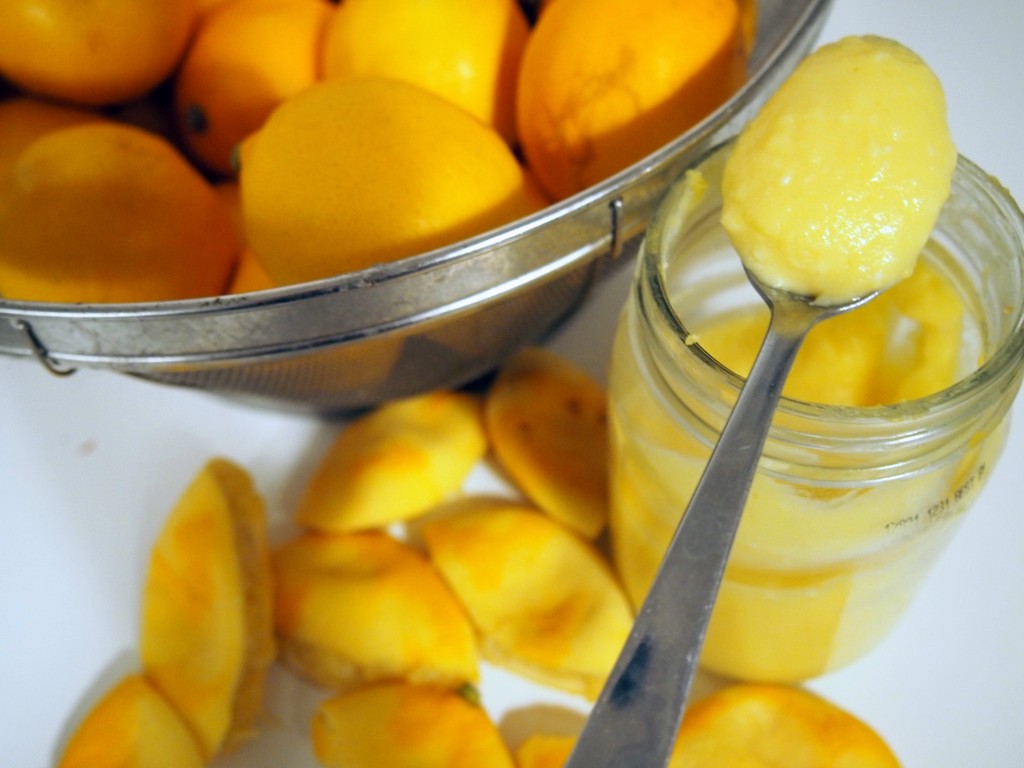
Making lemon curd is like that for me.
Every winter I not so patiently wait for the email notice from Local Harvest that meyer lemons and blood oranges are in season. I quickly order several boxes, always afraid that my favorites from Beck Grove will be sold out before I get any. It’s how I imagine the people camping in line for the newest tidbit of technology feel. About a week later, I hear the boxes thud by the door. For the next several weeks my time is spent processing 20 pounds of meyer lemons and another 25 pounds of blood oranges. Dried orange and lemon rings, citrus vinegar, “bloody” marmalade, limoncello… each year I seem to run out of fruit before I’ve finished preserving.
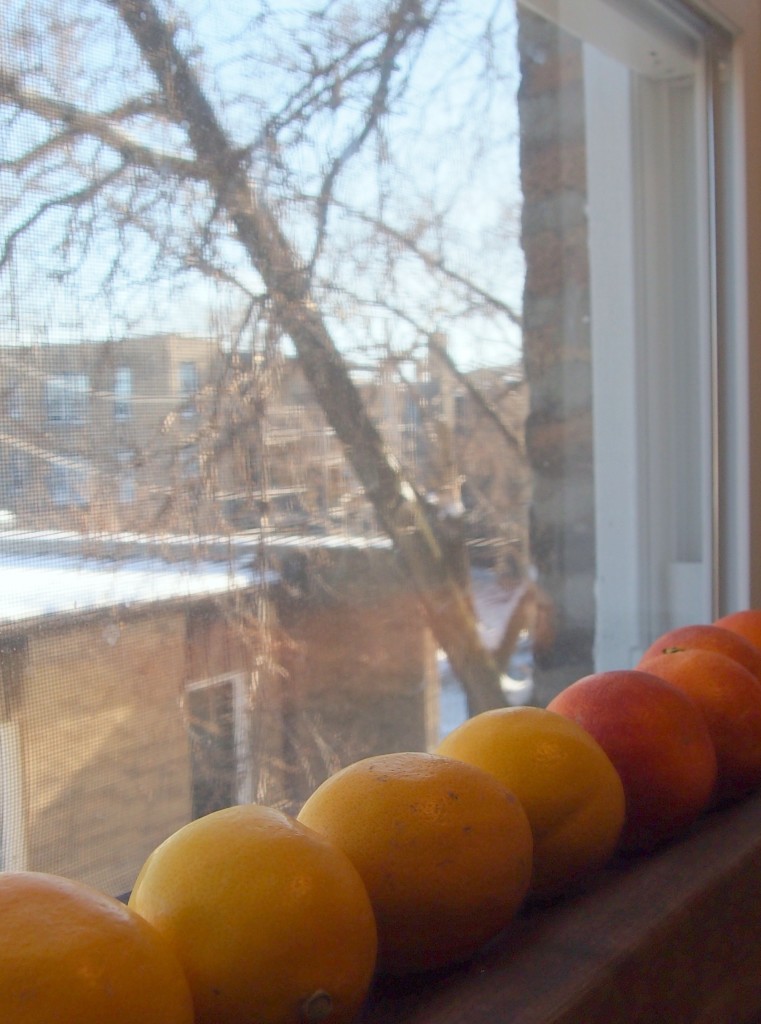
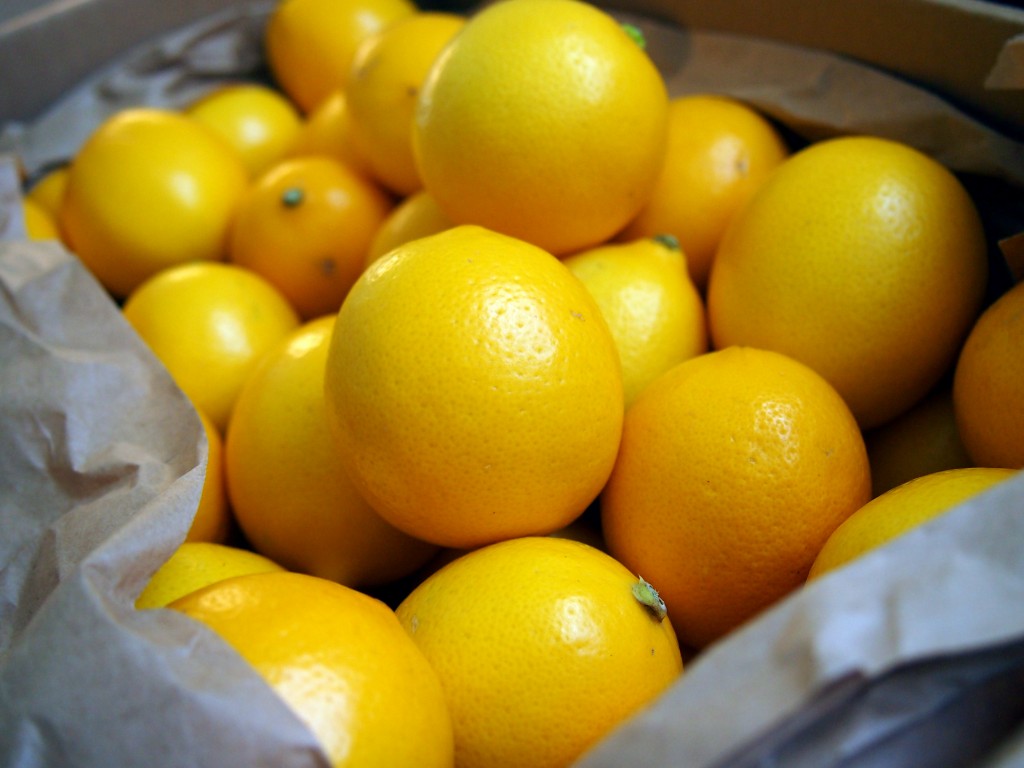
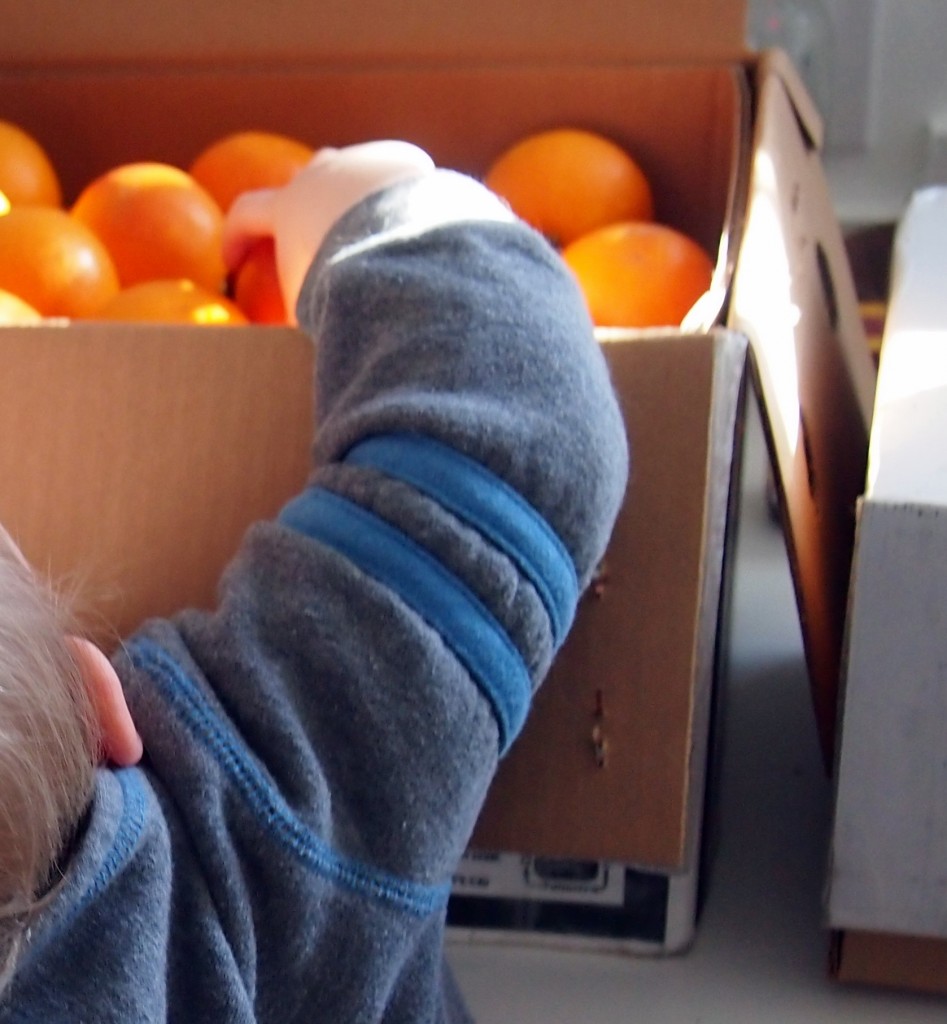
I love everything about preserving these fruits. From lining them up on my window sill against the steely winter sky to the blood red stains on my counter.This year I had the privilege of sharing that joy with one of my favorite people. Theodore helped me haul the heavy boxes up the steps and into the kitchen. He helped open the boxes and wasn’t the only one that squealed when the glowing yellows were revealed. It was with a small sense of loss that I let him carry one around the house, knowing that it wouldn’t be salvageable for any recipe after he was done with it. But the loss was recuperated as I got to watch his curiosity lead him to knead, squish, poke, roll, and taste that lemon. Now whenever he sees the lemons sitting on the counter, he insists whoever is at home come smell them, even the cats. I hope to be the kind of parent that will protect and foster that pleasure into his adulthood. Someone who sees such a gift in just the scent of a lemon would truly be a gift to the world.

But the part that speaks to my soul is making lemon curd. Somehow, I become the eggs that break. The lemons that are squeezed so hard they bleed. The butter that finds itself melting away with no way to come back. And I feel the whisking. Endless whisking. As I stand over the pot, I feel the flame a little to close to my hand, but I keep whisking. I feel the disturbance in my soul. Beaten to a froth and then beaten some more. Constant constant motion. Never reaching equilibrium. Ceaseless whirling. I begin to wonder when it will end. How long? How long? I don’t know how much more I can take.
Suddenly.
There’s a thickness that wasn’t there before. The whisk moves more slowly, disturbing less with every stroke. Things become still in the center of the pot. I can see the tracks of where I’ve been. The heat is removed. I can almost hear the curd take in its first breath. And I breathe more deeply too.
Is it any wonder that the result of this process is a food that I can’t seem to get enough of? Though it may be possible to point to all the good fats in the butter, the selenium in the pastured eggs, or the vitamin C in the lemon juice, I think there is more going on here than mere nutrition. It is soul food of a different dimension.
Meyer Lemon Curd with Cardamom
makes 2 pints
6-8 Meyer lemons
6 eggs
1/3 cup honey
1 stick butter
2 tsp ground cardamom
Zest the lemons and reserve the zest. Juice them into a measuring cup until you have one full cup. If you are on the cusp of 1 cup, go ahead and juice another lemon. It’s better to have a little too much than too little. Whisk the eggs and honey in a medium pot. Pour the lemon juice through a fine sieve into the mixture and whisk until it’s the color of the first sunny day in spring. Slice the butter into pats and drop into the mixture. Turn the heat to medium high and whisk in the melting butter. Keep whisking almost constantly to avoid the eggs cooking up into chunks. When it suddenly thickens and coats the back of a spoon, turn off the heat and stir in a generous pinch of zest and the cardamom. Pour into jars. Eat one jar straight with a spoon. Tell your family the recipe only made one pint. The curd keeps in the fridge for at least a week and freezes well, though it looses a bit of it’s satiny texture upon thawing.
Posted 12 years, 4 months ago at 10:15 am. 1 comment
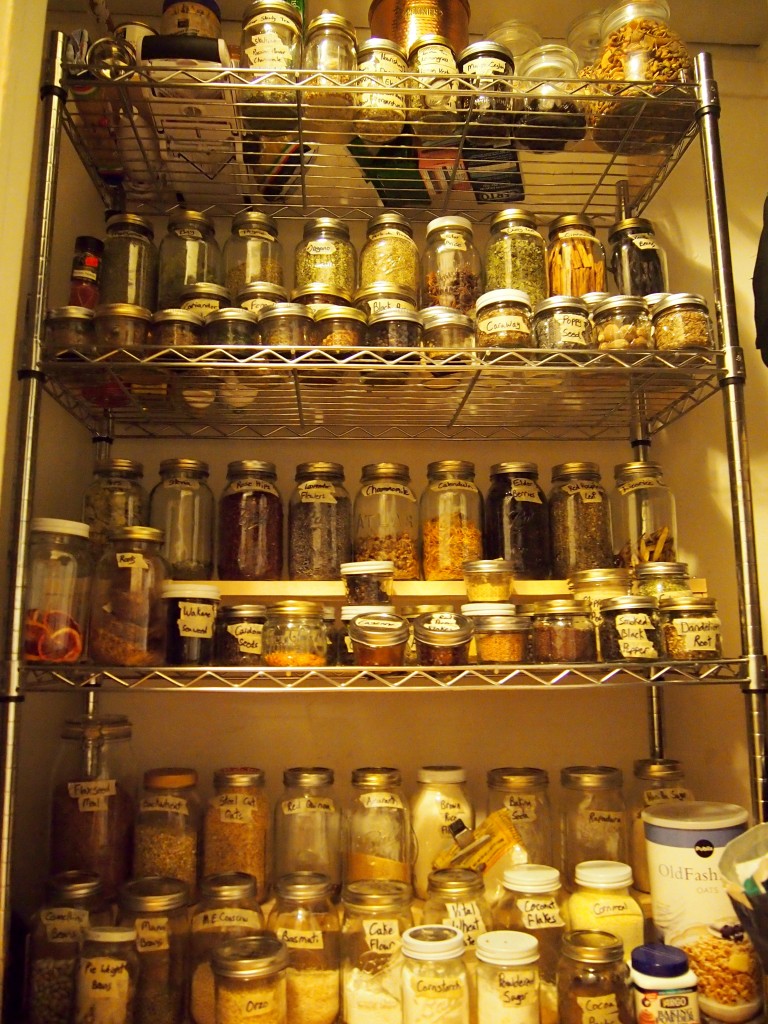 I have a deep love for “the pantry.” My favorite part of period films and shows like Pride and Prejudice and Downton Abbey is the peeks into inner kitchen workings and the hallway-like pantries. Proper food storage in those days was a big deal because often one couldn’t just run to the store to replace something that was spilled, moldy, or stale. What I especially like about them is that the food contained in such pantries is actual food, not packets, powders, and packages.
The kitchen gods have never seen fit to bestow on me a proper walk-in pantry with flour bins built into the cupboards and pie shelves . The closest I got was a large kitchen closet at our last place. Even though there was plenty of square footage, it wasn’t properly laid out for easy storage. The shelves were several feet deep which made everything hard to see and therefore organize. Added to the problem was my habit of buying most of my dry goods in bulk. I constantly have little dribs and drabs of different grains, flours, spices, ect. A knotted up bag of flour doesn’t stack as easily as all those neat rectangular boxes of Cheerios.
Whenever I would turn to the interwebs for organizing wisdom, I could never find helpful advice for pantries built around bulk buying. Even the organizing Mount Olympus of Pinterest refused to send me messages in my bulk bought tea leaves. Like some kind a snarly sage, whenever I would inquire of “pantry organization,” it would spit back unhelpful pictures like these:
While most of them were visually pleasing and very well organized (and I especially love the creative use of a shoe rack) they were not helpful for my slouchy bag problem. After some trial, error, rearranging, more error, and some reflection, I’ve gathered a few tips I wish I’d known before I started my pantry.
Tips for Organizing a Bulk Foods Pantry
- Become a canning jar hoarder.
The worst thing you can do is leave all your bulk purchases in the flimsy plastic bags in which you bought them. Actually, the it’s worse if you failed to write the actual name down, not just the product code! (5546? How on earth do you cook 5546?) If you’ve read anything about general organization, you know that the easiest way to make a group of disparate items look organized is to put them in matching containers. While you may choose any container you’d like, I’m partial to the humble canning jar. They are easily available and relatively cheap, especially during the summer months. They come in all different sizes so it’s easy to accommodate anything from precious pinches of saffron to pounds of black beans. Unlike plastic, the glass won’t hold onto strong smells like garlic powder, so it’s easy to reuse them for other foods or for different projects all together. They also seal tightly, thus keeping out pantry moths, ants, and even mice.While it’s taken me a few years to build up such a stash of jars, it’s really amazing how fast they multiply once you begin intentionally collecting them. Almost every hardware and big box store stocks them during the summer. You’ll also learn to keep an eye out for them at thrift stores and yard sales. Check around in your community as there may be older ladies who are past their canning prime and have jars they don’t use anymore. The last place I’d buy from is online retailers. Their prices tend to be higher and shipping further whittles away at any economy. Of course, if you’re not obsessive about having identical containers, you can reuse your mayonnaise and Thai green curry jars from the grocery store. Just be sure to air them out well to eliminate any odors. For strong smells, scrub them with baking soda. Always make sure to air dry completely before filling with your bulk treasures.
- Label everything clearly
Be as specific as you can. Is that whole wheat or white whole wheat flour? Bread or pastry? Coarse ground or fine? While it might seem tedious, you’ll be glad of it later when you’re making an angel food cake and need to know if that jar is all purpose or cake flour. If you have the time and inclination, you can be as creative with this as you’d like. I’ve seen many an artful jar that’s been accessorized with chalkboard paint, computer generated labels, and even etching. I however like to keep things both simple and free of commitment. Too often I’ll be obsessed with an ingredient for a fortnight (red quinoa! how I love thee!) only to forsake it for three months thereafter. The exact foods in my pantry are constantly rotating depending on the season, sales at the store, and personal preference. Therefore, I needed a labeling system that was just as interchangeable as my nuts and spices. Old fashioned masking tape and a permanent marker fit the bill nicely. The labels are clear and easy to replace when the contents of the jar change. They also continue the uniformity of the jars.
- Keep your goods in a dark cool space
I know Pinterest is full of charming spice racks set hung over stoves with pots of soup cozily boiling away. But if you are serious about actual cooking not just the appearance of cooking, you will learn to keep your pantry items (and spices especially) away from heat and light. They degrade your bulk items, making them go stale faster. If you don’t have a closet outside the kitchen, at least use the cupboard that’s furthest away from your stove.
- Do your best to make your shelves one jar deep
The problem with most pantry shelves is that they are too deep. Unless you are stock piling cans of soup and bottles of water for emergencies, deep shelves just make it easier to loose things. If you have the space and ability, you could build simple shelves on a wall like Erick and Kelly at Root Simple. Since we’re renting, I wasn’t comfortable putting up so many shelves. And with an ever growing toddler on the loose, I needed something contained. I opted to use a metro shelf and build customized shelves to get the “stadium effect.” (Shelf tutorial to be posted soon!) What’s important is you being able to see all of your jars easily to ascertain what and how much you have.
- Keep like items together
This is something I learned while working in retail. Shelves will look more organized and items will be easier to find. While you will have to figure out what this means for your cooking patterns, for me it meant grouping my jars into categories of spices and cooking herbs, grains, legumes, teas, medicinal herbs, and snacks.
Posted 12 years, 8 months ago at 1:46 pm. Add a comment
The mac ‘n’ cheese kitchen: a room most often seen in urban areas that seems like an afterthought with a fridge squeezed in, postage stamp size counters, and just enough cupboard space to store a few pots, bowls, and of course, your blue stash of mac ‘n’ cheese. I am now the proud humble renter of just such a kitchen. I must keep repeating my mantra of “beautiful kitchens do not good food make” as I attempt to render this kitchen functional for cooking more than macaroni.
The pantry was my biggest concern moving into this apartment with a mac ‘n’ cheese kitchen. (Well, that and cloth diapering with a coin op machine in another building.) The cupboards were clearly not going to be sufficient to hold my collection of pots and pans, various mixing bowls, and a well curated pantry.
Following the best small kitchen advice I’ve heard, I looked outside the kitchen walls to find my pantry. As luck would have it, there’s a coat closet right around the corner. Not nearly my dream butler’s pantry but quite serviceable nonetheless. And you can’t beat the fully closing door to toddler proof the area. I had dreams of building floor to ceiling shelves like Erik and Kelly from Root Simple. Alas, my luck ran out when I discovered brick immediately behind the drywall. Were we planning on living here long term, I would have forged ahead. Instead, I decided to heed my rule about making use of what I already own and turn one of my metro shelves into a pantry in said closet. Conveniently, the upper shelves are just wide enough to store all my appliances, since counter space is the Boardwalk of this kitchen Monopoly.
Here’s the closet “before”:
 And the pantry “after”:

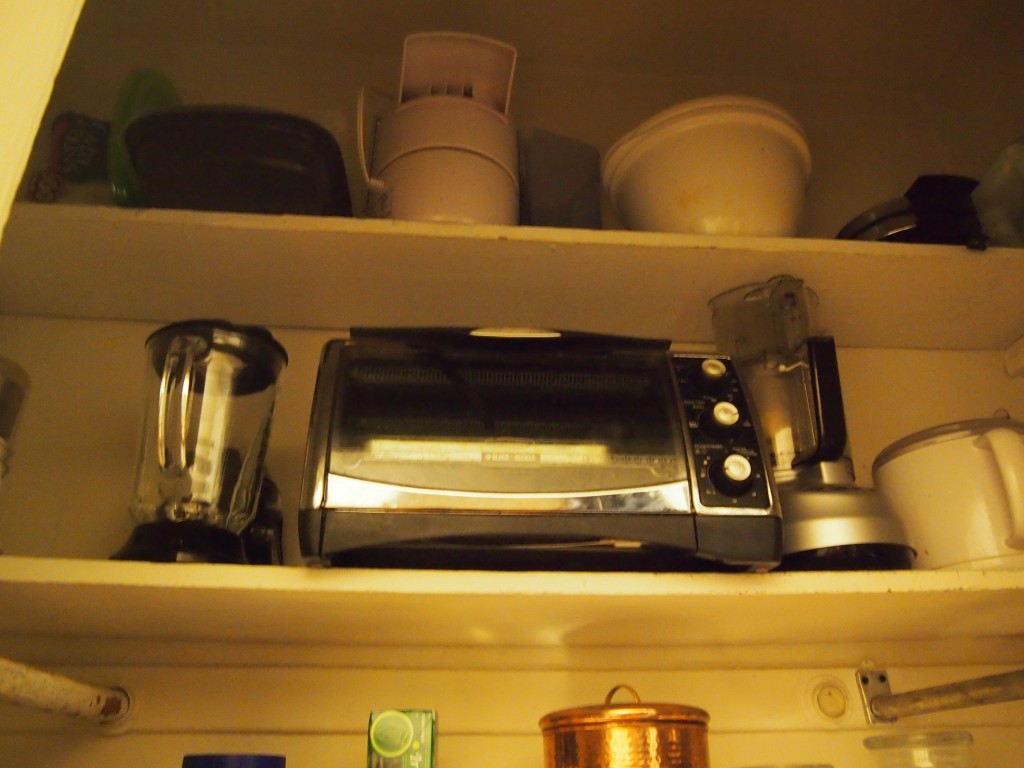 *Want a pantry like this of your own? Watch for my upcoming post “Tips for Organizing a Bulk Foods Pantry.”
Posted 12 years, 8 months ago at 9:47 am. 4 comments
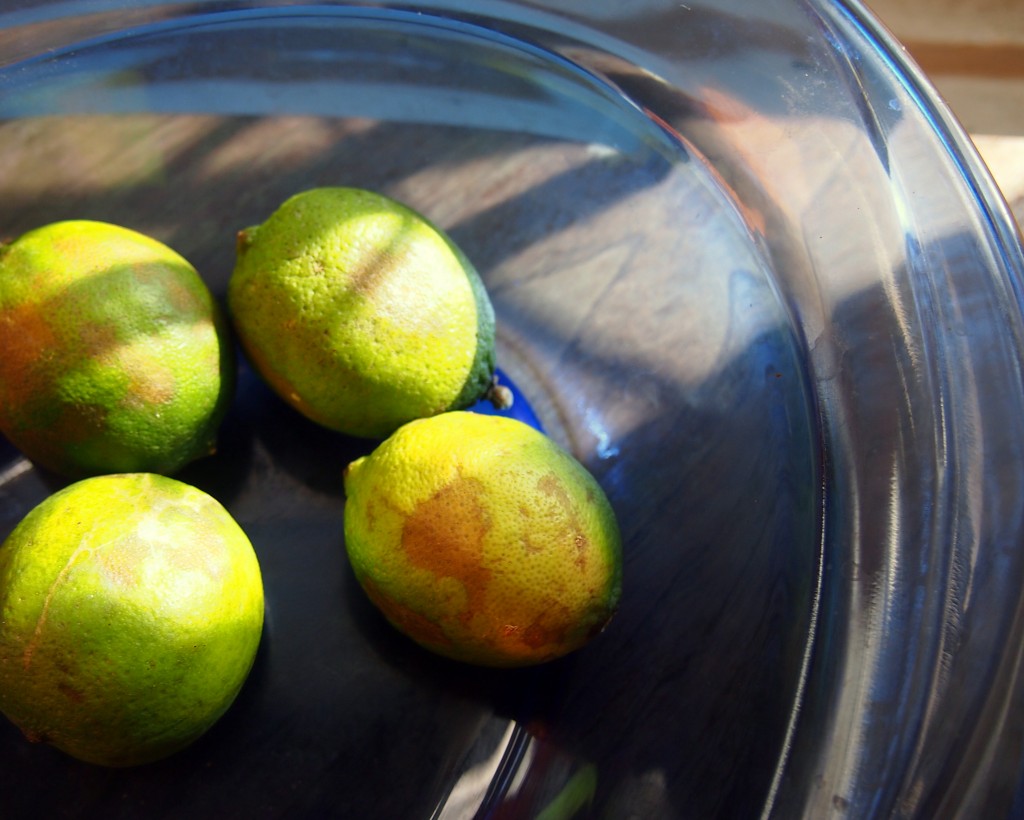 Surely I am not the only one this happens to.
I buy a bag of limes, smiling at all the brightness they will bring to my cooking that week. I reach for them continuously for about four days and then… forget. Or hoard them for a special dish that doesn’t end up being made. The remaining third roll around my produce drawer, bread box, or kitchen counter like some kind of culinary diaspora. Brown spots appear and tender skin becomes callused. The poor exiles seem destined for the compost bin.
Surely I’m not alone in this. Surely it happens to other people.
Should you find yourself with tough limes, don’t despair. To make them tender again, zap them in the microwave for 30-45 seconds. If you don’t have a microwave, immerse them in boiling water for a minute or two. Be sure to let them cool for a minute or two before trying to juice them. Boiling lime juice hurts.
Most of the time this will tenderize them enough to use both the juice and the zest. However, if your limes are to far gone, the skins might still be too tough to zest. and you might not get as much juice as you would have with fresh limes.
This same trick works for lemons, too.
Posted 12 years, 8 months ago at 9:07 am. Add a comment
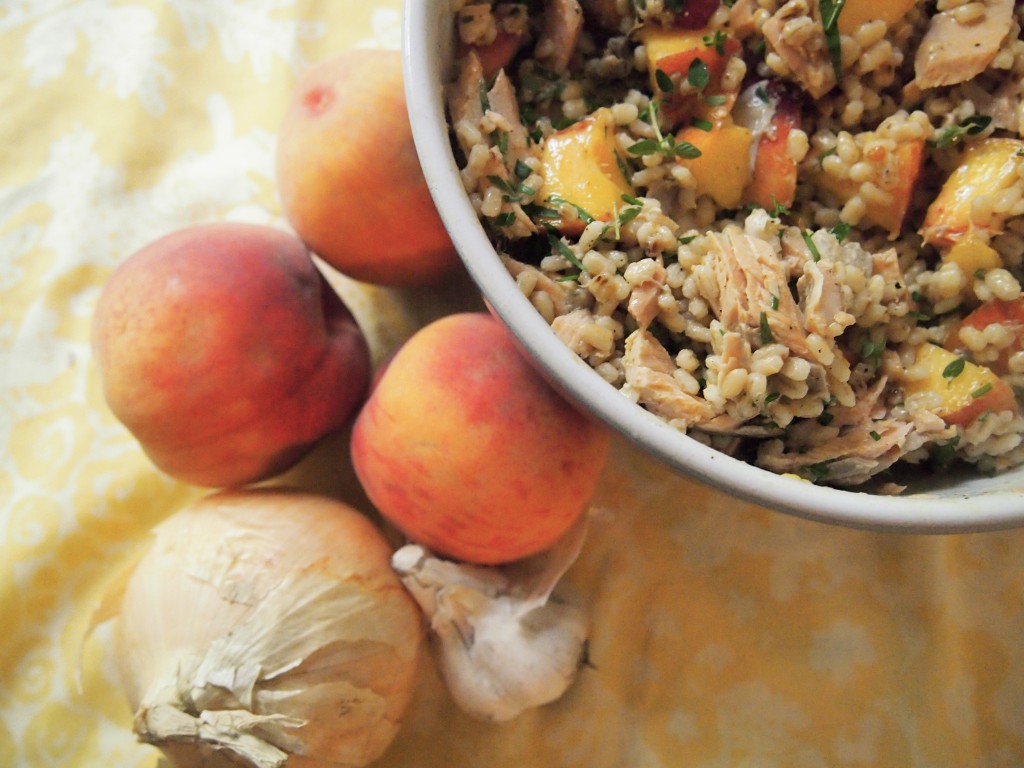
“If this is a salad, then anything is a salad,” Gary teased me last time I served this and expressly called it a salad. His taunting highlights something I’ve given idle thought to before: the definition of a salad.
Any quick search of a recipe site will prove salads are much more than beds of lettuce. I’ve seen just about any vegetable made into a salad; some of the best are completely sans lettuce, like the black bean and corn salad that graces so many picnic tables in the summer.
Nor are “salads” purely the domain of vegetables. Where would lunch be without the tuna or egg salad?
Perhaps “salad” refers to a cold temperature? But no, obviously there is hot German potato salad and wilted salads made with hot bacon dressing.
Could “salad” be a preparation technique of mixing disparate ingredients into a big pile and uniting them with a dressing? Hmmm…. mayb—- Nope. Both the casual Caprese salad of neatly overlapping mozzarella cheese slices, tomato slices, and basil leaves and the elegant towers of a sea scallop, caramelized onions, and a cornichon served in white tablecloth restaurants testify against that.
I remain at a loss. I only know that a salad is different than a casserole, which is different than a soup. And that this is surely a salad.
I used unhulled barley rather than the more common pearled barley because in addition to retaining more nutrients, I enjoy the chewiness of unhulled barley. While the long soaking step is technically optional, I strongly recommend making the time for it as your barley will cook more quickly and your body will be better able to absorb the nutrients from the grain. The added vinegar aids in the neutralization of phytic acid, a nutrient inhibitor.
Szechuan peppers are not actually related to regular peppercorns. They are members of the citrus family and hence impart an almost floral aroma and flavor. Szechuan pepper is a component of the popular Chinese Five Spice mixture. They compliment other truly spicy flavors like cayenne and chili by contributing a tingly sensation on your lips and tongue. Most bulk spice suppliers will carry them, and they are unquestionably worth trying. Though if you cannot find them, you may substitute plain black peppercorns.
Spicy Salmon Peach and Barley Salad
2 wild caught Alaskan salmon fillets about the size of a deck of cards, or two cups leftover flaked salmon
2 Tbs coconut oil (if using leftover salmon, omit this)
1 cup dry unhulled barley
2 cups chicken stock or water, plus extra if necessary
3 ripe peaches, peeled or unpeeled as you prefer
1/2 sweet onion, peeled and sliced thinly on a mandolin
2 cloves garlic, peeled and chopped
3 Tbs fruity olive oil
2 Tbs cider or rice wine vinegar
2-3 Tbs of spice mix, to taste
1/4 cup of any mixed herbs you have- I like garlic chives, thyme, basil, and oregano
Spice Mix
1 tsp smoked paprika
1 Tbs whole Szechuan peppercorns
1 Tbs whole coriander
1 tsp red chili flakes
a pinch or two of cayenne pepper (to taste)
1 Tbs salt
The night before, toast the barley in a saucepan by placing it over high heat and giving it an occasional gentle shake or stir until the toasty aroma fills your kitchen. Take it off the heat and let it cool slightly. Then add water to cover the grains by several inches. Dribble in a little vinegar and give it a stir. Cover the pan with a tea towel and let the barley soak in a warm place overnight. Whenever you’re ready to cook it the next day, drain the water and return the barley to the pan. Add the chicken stock and a generous pinch of salt. Bring to a boil, reduce the heat, and simmer covered with a tight lid for about 45 minutes. Check it a few times during cooking and replenish the liquid if necessary.
Meanwhile, in a small skillet, heat the coconut oil over medium heat until it shimmers. Add the salmon fillets skin side down and sprinkle the tops with salt and freshly ground pepper. Cover with a lid and cook until the fish flakes easily, lowering the heat if it begins to burn. Cut it into large chunks. It will be further broken up when you mix the salad together. If I can resist eating the crispy skin, I mix it with the salad as it is a source of healthy fats; if it’s texture bothers you too much, feed it to your cats. Set aside until the barley is done. If you’re using leftovers, just remove it from the fridge when you start the barley so it can come to room temperature.
Combine all your spices in a mortar and pestle or a spice mill and grind until they are powdered. Sometimes the Szechuan pepper refuses to powder completely. In this case, you can either go with it or shake it through a fine mesh colander to remove the stubborn bits.
In a large bowl, combine the warm barley, chunked salmon, garlic, onion, and peaches. Drizzle the olive oil and vinegar and sprinkle with a Tbs of the spice mixture. Mix well, preferably with your hands so you can feel when it’s all been evenly incorporated. Taste and see what you think of the spice. Add more until it suites you. Add salt and pepper to taste. Keep the leftover spice in an airtight jar in a dark cupboard for next time.
If you have time, let it sit in the fridge for a few hours so the flavors can meld. If you don’t, serve it with confidence because it will still be good. Just before serving, mix in the chopped herbs. This salad is good cold or at room temperature. I like serving it on a bed of wilted greens.
Posted 12 years, 9 months ago at 2:55 pm. 1 comment
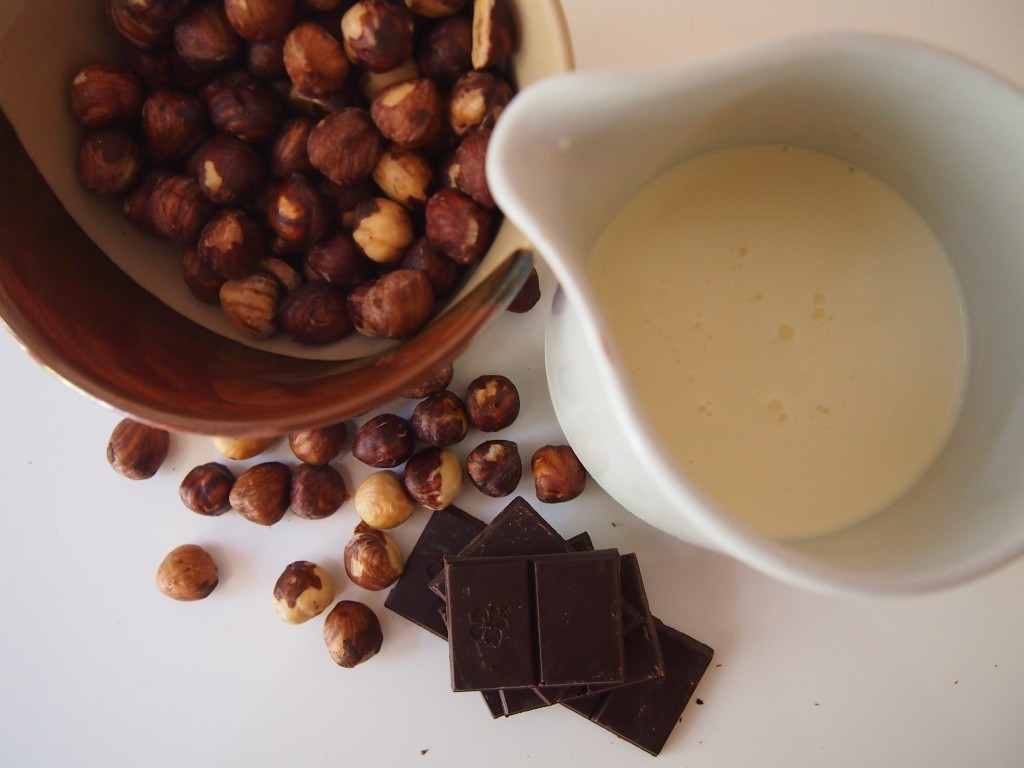
I was in denial about Nutella for quite awhile. It held great emotional significance for me. Capped under that white lid was countless sleepy mornings in the dorm packing my brown bag lunch next to my roommates. Swirled amidst the chocolate and hazelnuts was a rooftop picnic in Italy with crusty bread and fresh fruit. Sticking to the sides of the jar next to the reduced minerals whey….
Wait, what?
I told you I was in denial. Even though I’m an obsessive ingredient list reader, I refused to check the Nutella label for about two years. I didn’t want to know. In this one instance, I desperately wanted to believe the front of the label with the bright cheery apples and oranges next to toast spread with Nutella.
One day I took the plunge. I turned the jar around and read this label:
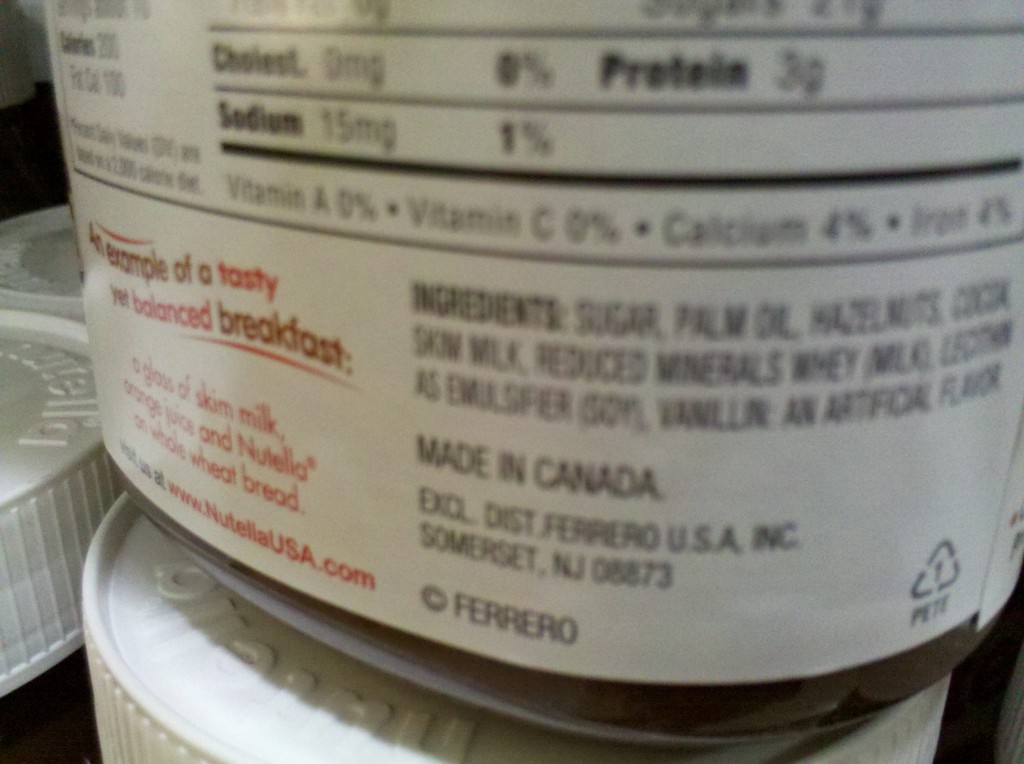
(For those of you who can’t read my jiggling-baby-on-hip-camera-phone-quality picture, the ingredients are: sugar, palm oil, hazelnuts, cocoa, skim milk, reduced minerals whey, lecithin, vanillin.)
Just as quickly I stuffed that memory down into my subconscious with miscellaneous childhood humiliations. I bought several more jars of Nutella over the next several months in this state of forced forgetfulness. Finally I had to be honest with myself; this was not the kind of food-like substance I wanted to eat.
While I’m sure if I looked hard enough I could find an artisanal chocolate hazelnut spread that some guy makes using nuts from his backyard and chocolate imported from his Swiss grandmother all packaged in a vintage heirloom glass jar, I have too strong of a DIY gene for that nonsense.
A quick check with Uncle Google revealed that homemade Nutella is nothing new. Still, none of the recipes were quite up to my real food standard. They either included massive amounts of sugar or dry milk powder, a product that gives me the heebie jeebies. Was it not possible to make a chocolate hazelnut spread that contained only whole fresh ingredients- ones that I’d eat separately anyway?
Happily, yes it most definitely is. With soaked and sprouted hazelnuts as a base, real cream, and no sugar other than what’s in the chocolate, this recipe is genuinely nourishing without sacrificing tastiness. Soaking and sprouting the nuts increases the availability of protein, vitamins, and minerals while decreasing the effects of nutrient inhibitor phytic acid. The resulting spread is not as creamy as store bought Nutella. Little nibbles of hazelnut remain, which I find quite enjoyable. If you’re seeking imitation perfection though, strain the spread through a fine mesh sieve before storing it in jars.
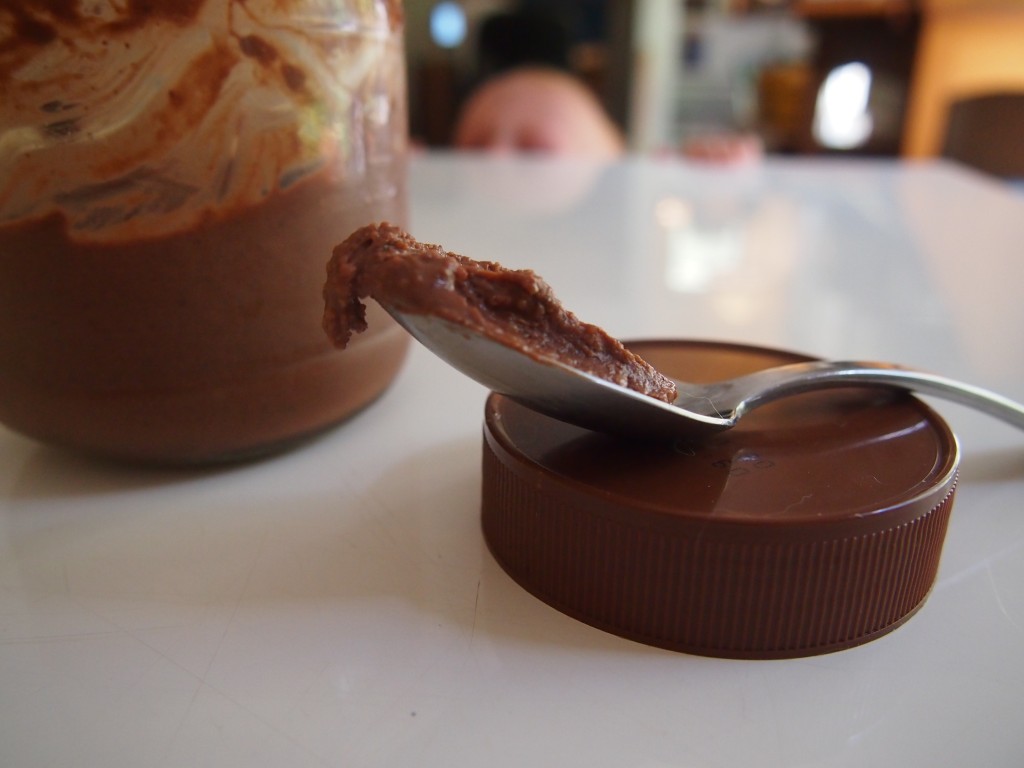
Homemade Three Ingredient “Nutella”
adapted from
David Lebovitz’s recipe
2 cups hazelnuts
12 oz of your favorite chocolate
2 cups cream (or leftover whey)
salt*
Pour hazelnuts into a large bowl and cover with warm water. Let them soak overnight in a warm place. I put it in my gas oven over the pilot light. The next morning, drain the nuts in a colander. You may stop here and proceed to roasting them, or you may choose to continue rinsing them every few hours until they just barely sprout.
Preheat your oven (or toaster oven) to 350°. Spread the nuts out in a single layer on a rimmed baking sheet. Roast for about 10-15 minutes or until toasty brown goodness wafts from your kitchen. Stir or shake the pan occasionally to make sure they are browning evenly. Take the pan out of the oven and let the nuts cool slightly.
While the nuts cool, place a heatproof bowl on top of a pot filled with a few inches of water. Or use a double boiler. Place your chocolate in a bowl and allow it to melt over medium heat, stirring occasionally, until it is smooth throughout.
Warm the milk in a small saucepan until it is just above blood temperature (about 100°). Don’t be a perfectionist; just stick your finger in there and if it feels like bath water, you’re golden.
Gather your nuts into the middle of a large tea towel or in a pillow case. Rub the towel over them vigorously until most of the skins have been removed. Don’t be a perfectionist.
Place the nuts and a two generous pinches of salt in the bowl of a food processor and whirl away until they almost become a nut butter. (Be sure to warn any toddlers in the house that there will be a loud noise.) Add the chocolate and whirl again until evenly incorporated. You might have to stop to scrape down the sides a few times. With the motor still running, slowly pour in the warm milk. (Again, stopping if necessary to scrape the sides.) Once the mixture is smooth and homogeneous, pour it into two pint jars (or two jars you’ve saved from previous Nutella indulgences). You may strain the spread through a sieve to remove the bits of hazelnut. Personally, that’s too much work and I quite like the chunkiness anyway.
Store your
Nutella chocolate hazelnut spread in the fridge for about a week to ten days. Freeze it for up to a few months.
Eat it with a spoon. Or fingers. Your prerogative. Leave the guilt in the fridge.
*So I realize that the salt technically makes it four ingredients. But let’s not quibble over details, a’right?
Posted 12 years, 10 months ago at 7:57 pm. 7 comments
Isn’t it weird how new things make old familiar things seem foreign? Like bumping into your teacher at the grocery store. Or that first brush with a new toothbrush. Or strolling through your garden barefoot. There’s a moment of floundering followed closely by a jolt of recognition. (Oh right! That’s how I brush my teeth!)
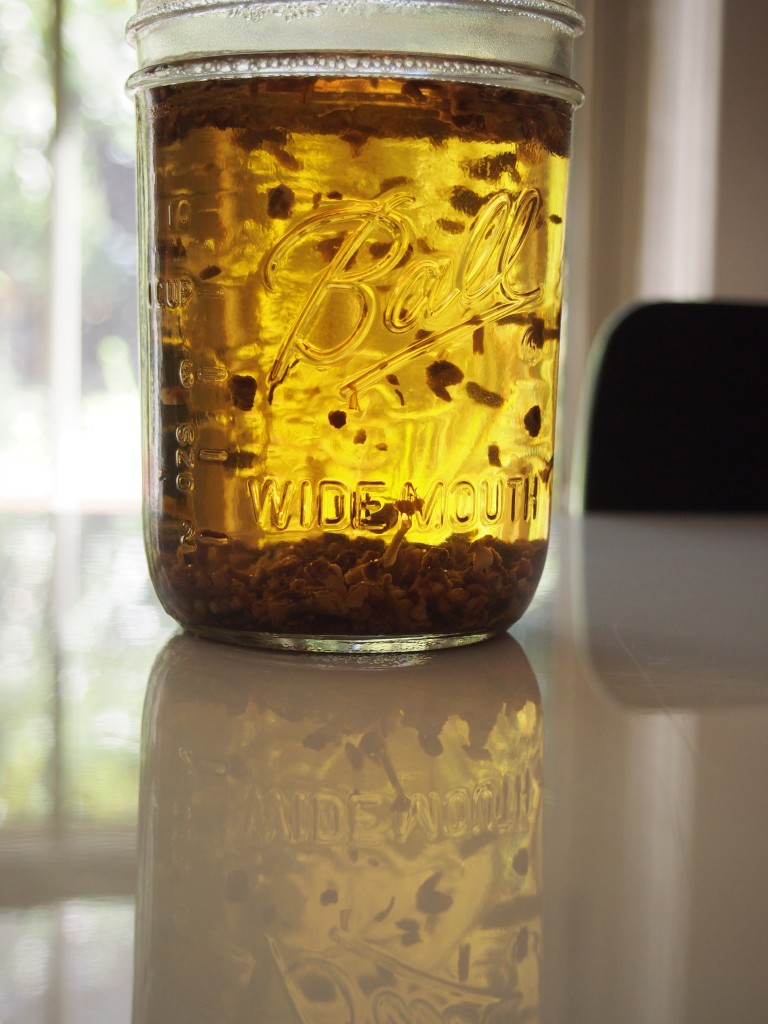
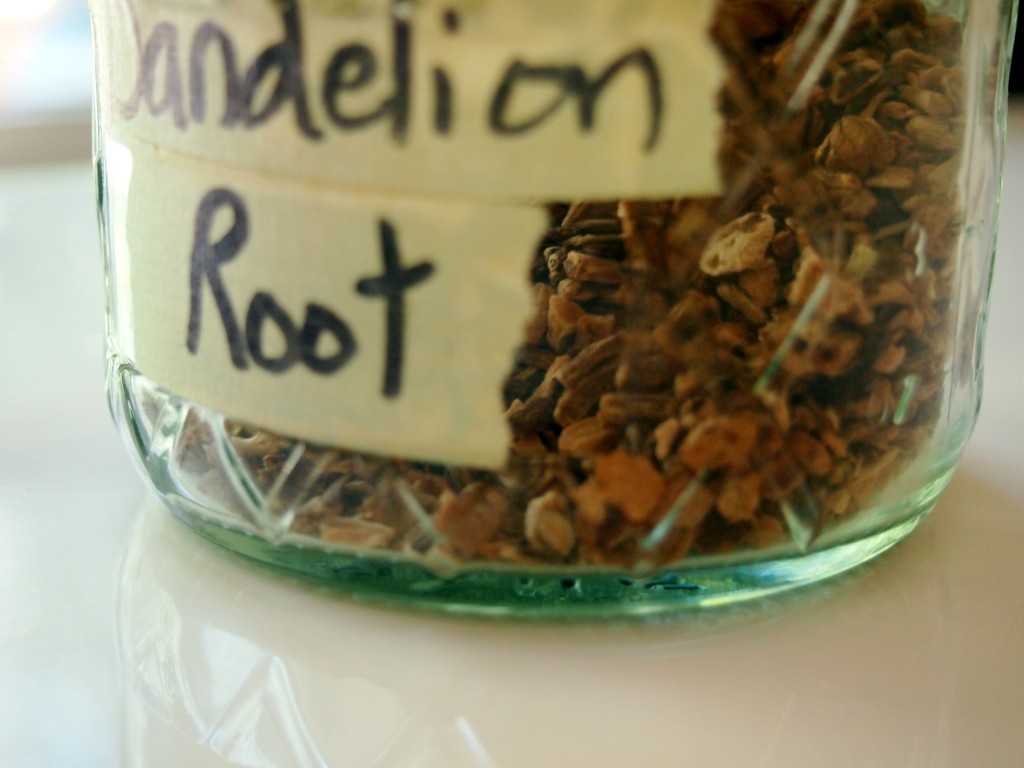
That’s similar to what happened to me when I was first introduced to dandelion tea. I imagined it to be some exotic process unlike anything I’ve done in my life. So it was with an embarrassing amount of surprise and a small jolt of recognition that I realized that making dandelion root tea is just like making… tea. It involves an almost too shrill kettle, an herb, and some steeping time.
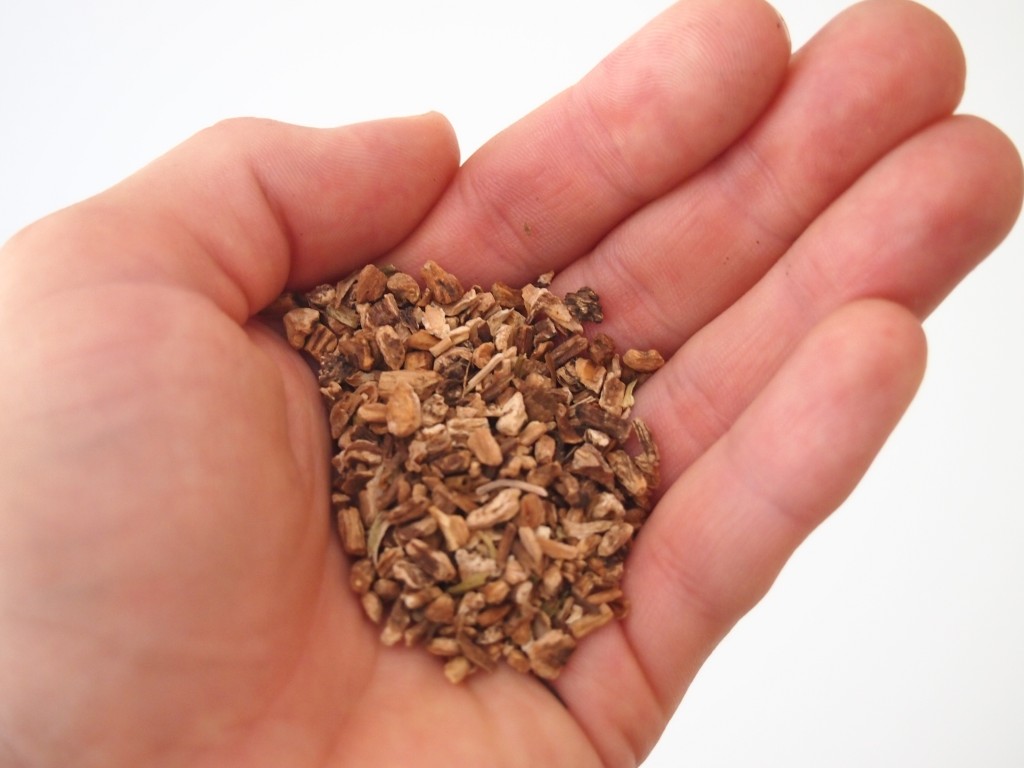
If you are the diy type, you can wait till the first hard frost and forage your own roots from your backyard. If you’re not quite so adventurous (or you just can’t wait till the first hard frost) you can buy the roots at most well stocked natural grocery stores. You can also purchase them online from Mountain Rose Herbs. If you know an herbalist in your area, it’s worth checking with them as well. However you get them, you’ll want to roast the dried roots, which is a pleasure rather than a chore. The roasting roots make your kitchen heavy with the smell of strong brewed coffee and buttery sugar cookies.
Why would you want to make dandelion root tea? Let me answer with another question. Have you ever had an experience where you ate or drank something and felt down to your bones that it was the exact thing your body needed at that moment? Maybe it was a charred grass-fed steak, or a spoonful of fermented salsa, or even salty french fries. Whatever it was, it answered a craving you didn’t even know you had.
That’s why I drink dandelion root tea. I could say it’s because of it’s diuretic properties that gently cleanse the blood and support the liver; unlike other diuretics that leech potassium, dandelion root tea gives a net gain of potassium. It’s also rich in magnesium, a mineral that has a lot to do with your mood and ability to cope with stress. I could also say that I drink dandelion root tea because of its high calcium content, which is important for healthy bones and teeth.
I could say all those things. And they’d be true. But the real reason I drink this tea is the way I feel my body respond with a chorus of “Yes!” from every organ, every curve, every cell.
Roasted Dandelion Root Tea
a palmful of roasted dandelion roots
boiling water
a pint jar
If the roots are not already roasted, spread them in an even layer on a rimmed baking sheet and roast at 350° for 10-15 mintures, until they are dark brown and their bittersweet aroma fills your kitchen. Allow to cool completely and store in an air tight jar. Measure out a palmful of the stored roots. Pour the roots into a pint sized jar. Pour boiling water to just below the top. Allow to steep for at least four hours. Strain and enjoy warm, gently reheated, or over ice. The roots can be used again to make a second, weaker infusion.
Posted 12 years, 10 months ago at 4:10 pm. Add a comment
Here’s a revelation I’ve recently come to: scrambled eggs can’t be for breakfast and dinner every night. Even Mr. Quotidian needs some variety. Regrettably, there was a period of time where variety equaled take out. While part of it was lack of energy and all the typical reasons for ordering take out, another large part of it was curiosity. Where are the hole in the wall restaurants that all the locals go to? What does Banh Mi taste like? Is that sandwich place as sustainable as it advertises? What’s the closest place that will satisfy my noodle craving? Greek? Thai? Pizza? All four?
I’ve officially had my curiosity sated. While the thrill of discovery still woos me sometimes (Chicago is a big city after all), I’ve had to admit that I simply don’t really like take out. It’s not that anything we’ve ordered has ever been bad. It’s just I know I could make it better. I’ve been cooking for myself for so long, that I’ve grown accustomed to personalizing dinner to my taste. More herbs. Less cayenne. Broth instead of water. An extra egg. A splash of vinegar. Extra care taken in making sure the top is perfectly brown and crunchy. Short of employing a personal chef, there’s just no way to order that kind of personalization.
The one thing I’ve had trouble wrapping my tongs around though is simplicity in cooking. The older Baby-tidian gets, the simpler my cooking has needed to become. And that’s where take out has one over on me. It is simple. There’s no pantry inventory. No rushing to the store. No balancing heavy bags and a fidgety baby while fumbling keys into a lock. No realizing the spatula is dirty. No sink full of dishes. There’s just a menu, a phone call, and sinful amounts of plastic. (Seriously, how many bags does a sandwich need to be in before it’s adequately protected from the noxious world?)
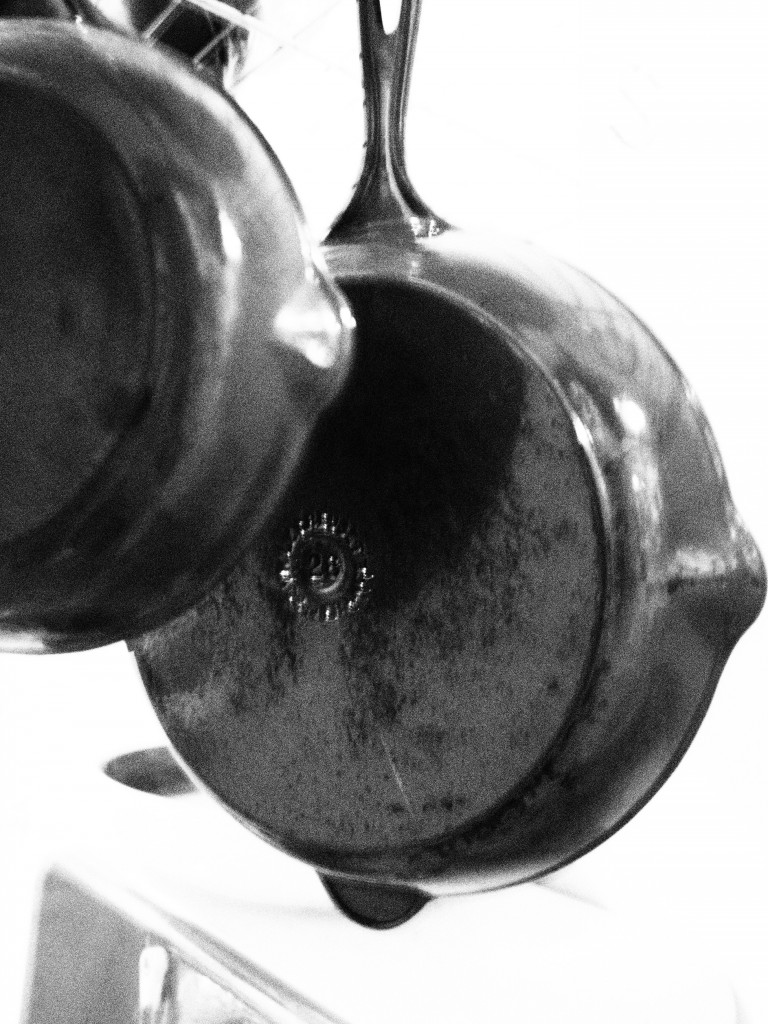
As I’ve been focusing more on training my cooking with Team Simplicity, the skillet dinner has emerged as a kind and forgiving teammate. There’s no actual recipe involved, so it’s impossible to be “out” of something. The skillet serves as both cooking device and serving vessel. (It can even be the plate if you don’t have anyone to impress. Spoons are recommended. The finger pick and vacuum approach really only works at the stove. Minimalism can only go so far.)
Everything in this recipe is optional, though I usually include some kind of protein, vegetables, aromatics, and perhaps a starch. These ingredients can be pre-cooked leftovers or raw.
Protein ideas: ground beef, bacon, beans, cut up leftover steak, tofu (if you’re into that sort of thing),
Vegetable ideas: whatever is abundant and cheap at the farmer’s market, the triumvirate of carrots, onions, and celery, leftover roasted potatoes
Starch ideas: leftovers! (Seriously, I don’t really add a starch unless I have leftovers of some kind. It’s just not worth the effort to cook new. Add more veggies if you need to bulk it up) rice, pasta, couscous
Lacking a concrete set of instructions, here’s what I did last night:
- Gather ingredients; mine were four medium zuchhinni, an onion, 3 cloves of garlic, a pound of ground beef, about a cupful of tart cherries, and mixed herbs from my window boxes.
- Heat your largest skillet. Add crumbled beef and chopped onion. If the onion sticks, add a pat of butter. Season with salt and cook till meat is mostly brown and onions are about half cooked.
- Add the chopped zuchhinni and stir. Cook covered until tender. Deglaze with a little wine or vinegar if necessary. Season to taste.
- Turn off the heat and add the pitted cherries and minced herbs. Stir together.
- Serve.
Posted 12 years, 11 months ago at 4:50 pm. Add a comment
A series of what can only be considered fortunate events culminated in finally pushing the Quotidian household towards Chicago. If cities could be soul mates, I’d say I’ve found my other half. As the Intelligentsia website put it, Chicago is “a city that is brooding, practical and reluctantly beautiful.” (Their flagship coffeebar, by the way, is a mere 472 ft from my front door.) I hesitate to label myself in front of others who know me so well because I can just imagine you coming up with counter examples to any category in which I choose to place myself. However, brooding practicality seems as good a description of my personality as any. It’s true I once favored the purely decorative, whether it was collections of porcelain figurines or jelly shoes that caused my toes to grow funny. As I’ve grown older, though, I’ve come to recognize the beauty in things like a quilt casually crumpled over the back of a chair, a bowed shelf of canned goods in a cold basement, or even an expanse of cleared off table.
And you don’t know me well if you think I don’t indulge in a good brood every once in awhile.
While I do get a thrill out of already claiming Chicago as “my city,” I know that I am still a newcomer here. There are new corners to be rounded just about everywhere I go. So it seems a bit disingenuous to inventory all the reasons Chicago and I are the perfect match. Things like not being the only one sporting the homeless granny chic grocery cart. Or being able to attend a live jazz concert simply by opening my window. Or that summer here waits until spring is finished speaking. There are also some things that are common to any major city- enjoying public transportation along with people from all different economic backgrounds, passing a couple in the street and not being able to assume the conversation you overhear will be in English, and deciding on a cuisine for dinner (Japanese, Italian, Lebanese, ect) still leaves you with about three restaurant choices within walking distance.
There are also other less desirable things common to cities. Namely, the mac ‘n’ cheese kitchen. You know the type: a room that seems like an afterthought with a fridge squeezed in, postage stamp size counters, and just enough cupboard space to store a few pots, bowls, and of course, your blue stash of mac ‘n’ cheese. I am now the proud owner renter of just such a kitchen.
 This is the picture I took during our apartment hunt which turned into more of a scavenge when two (!) apartments were rented out from under us. By the time the dust had settled, this was the only apartment left out of the dozen or so we’d looked at. The rest of the apartment is quite nice. There’s wood floors instead of plastic elementary school style tile. (Yes, that huge hole in the floor is still there. It grabs disturbingly as stocking feet.) The apartment is on the south side of the building, so even though I don’t have any private outdoor space, there’s ample sunlight. And the location is something out of a dream. Two bus lines within blocks that will take you downtown within 20 minutes. A local bagel bakery, diner, and chocolate shop clustered at the end of the block. The kitchen, however, was cause for big tears and gnashing teeth. And maybe a little sackcloth. Only Mr. Quotidian will know whether or not ashes and swearing off cooking for the duration of our lease were involved, and he’s been sworn to secrecy on the matter.
How was I supposed to cook - I mean really cook – in a kitchen like this? Sure, it’d be perfectly adequate for other people, but for me? Where’s my food processor and 16 pots and pans supposed to go? Not to mention all my pantry foodstuffs,herbs, and spices, which accounted for an eighth of our moving boxes all on their own. My cookbook collection probably bumps that fraction up to a quarter. Where were all these chef-ly accouterments supposed to go in a kitchen like this?
To hell with a chef’s kitchen you say? Power to the small kitchened people? Granite and stainless be damned, too, you say?
Oh,
….right.
A few days after signing the lease through tears, I decided sackcloth and ashes was probably not the most helpful response. (Actually Mr. Quotidian decided for me and I was forced to agree.) After all, a beautiful kitchen does not good food make. Do I seem sure of that? It’s only because I’ve repeated it as a mantra these past weeks. As I came to terms with my new kitchen, I began to look at it as a creative challenge. A wise person once taught me that limits are the harbinger of creativity. If that’s true, and I believe it is, this will be one of my most creative kitchens yet.
Here are some of my limits:
- I’d rather spend money on quality ingredients than fancy kitchen organizers. Therefore, make every effort to repurpose things I already own. When something must be bought, try to purchase things that can be repurposed themselves in a new kitchen. (I won’t, after all, be living with this kitchen forever.)
- The kitchen must be as intrinsically baby proof as possible. Safety latches and rubber bands can only go so far.
- Even though it’s small, it must not feel cluttery. The counters will be kept clear.
“beautiful kitchens do not good food make”
“beautiful kitchens do not good food make”
“beautiful kitchens do not good food make”
“beautiful kitchens do not good food make”
Posted 13 years ago at 11:21 am. 2 comments


