 It’s been over a year since I officially threw in the plow on vocational farming. One of the things I miss the most is the weekly harvest days before market. We carted, pulled, and dragged vegetables into the barn. They sat in piles. Stacks. Sometimes even pyramids. All waiting to be
 washed hydro-cooled. In a matter of hours, each zucchini, each carrot, each collard would be inspected, bundled, and placed in cold storage. At the end of the day, sometimes I would have to catch my breath at the sheer number of vegetables my hands had touched that day.

Sometimes it was easy to become desensitized to the volume of produce. During the height of summer, five pounds of basil would roll around our counters like change in your pocket. Even making a triple batch of pesto would hardly make a dent in the supply. And then another tidal wave of the peppery green leaves would break the next day.

While my partial-sun window boxes have kept in a a mostly steady supply of mixed herbs, my eyes have itched for the cartloads of butternut squash and coolers full of greens. I’ve had to borrow my bounty this year from friends and family.
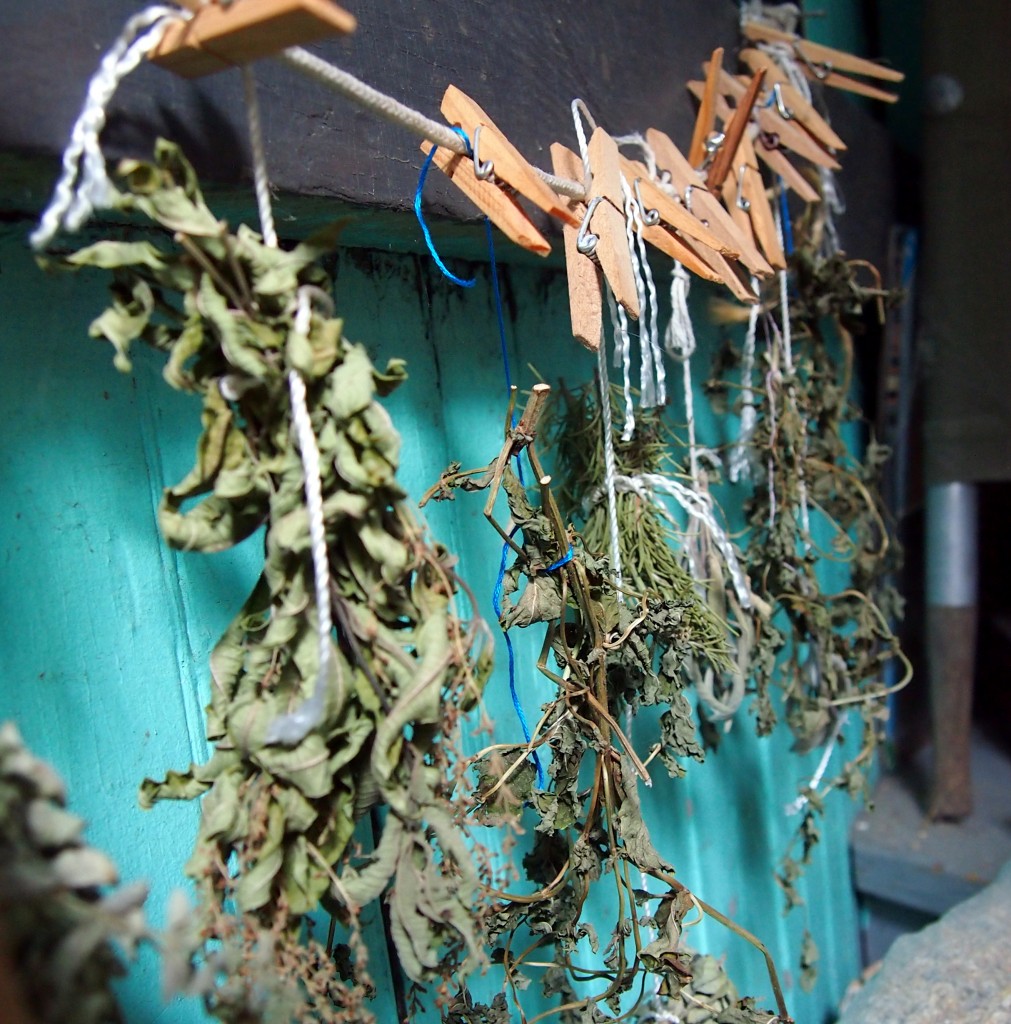
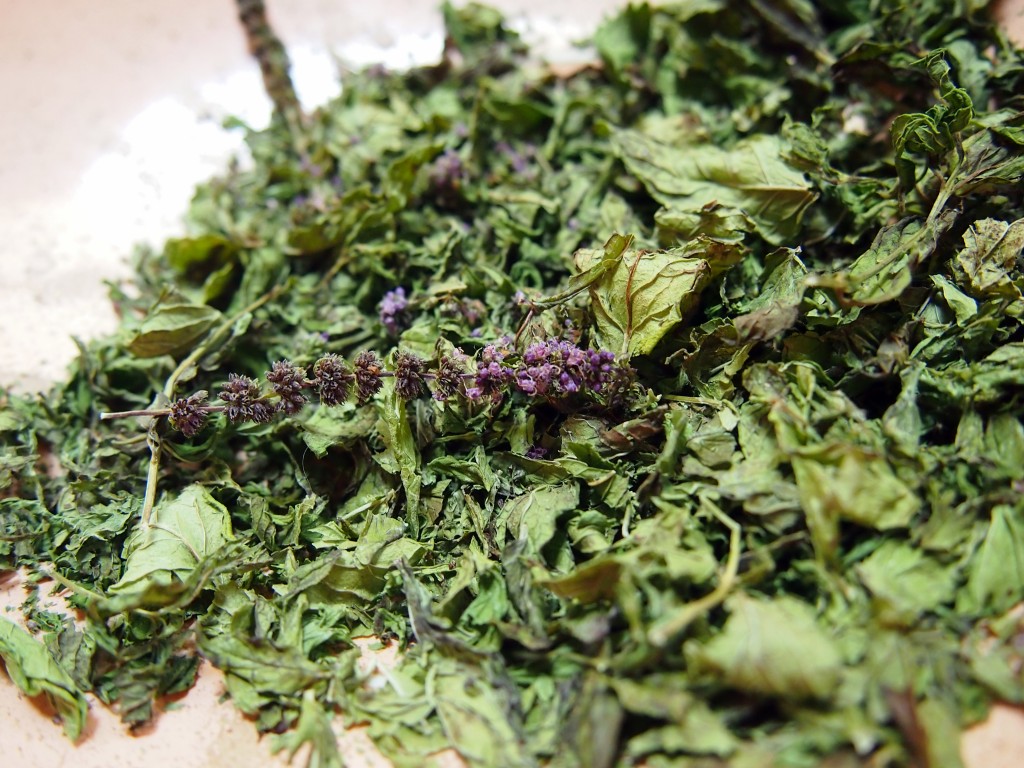
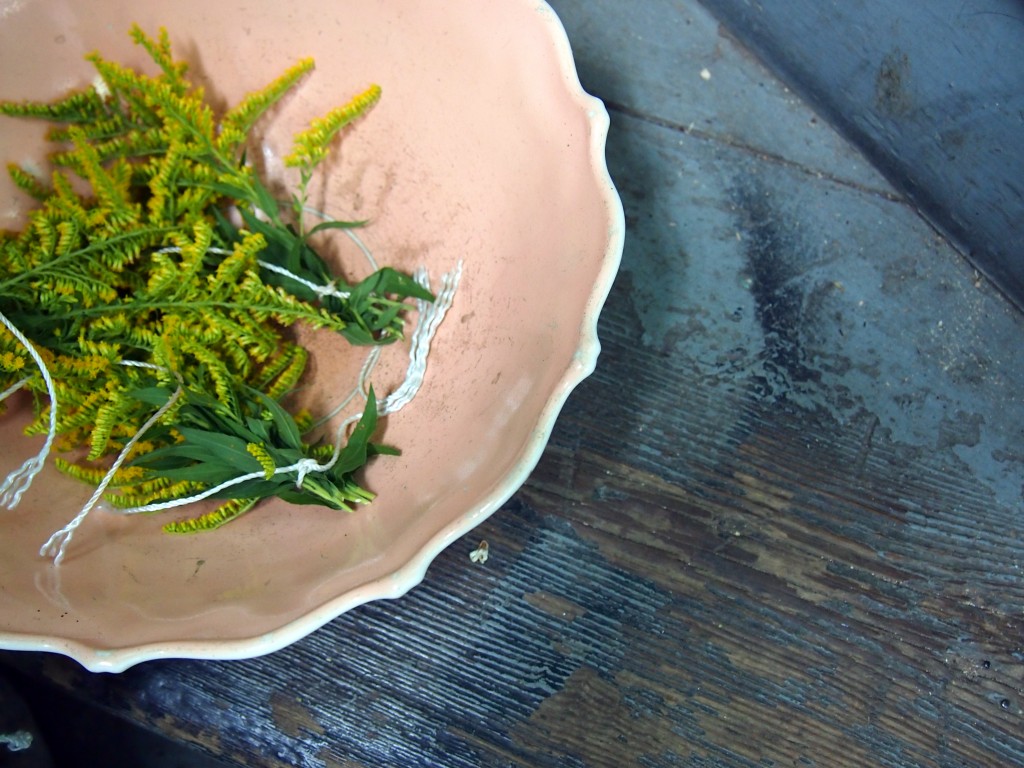
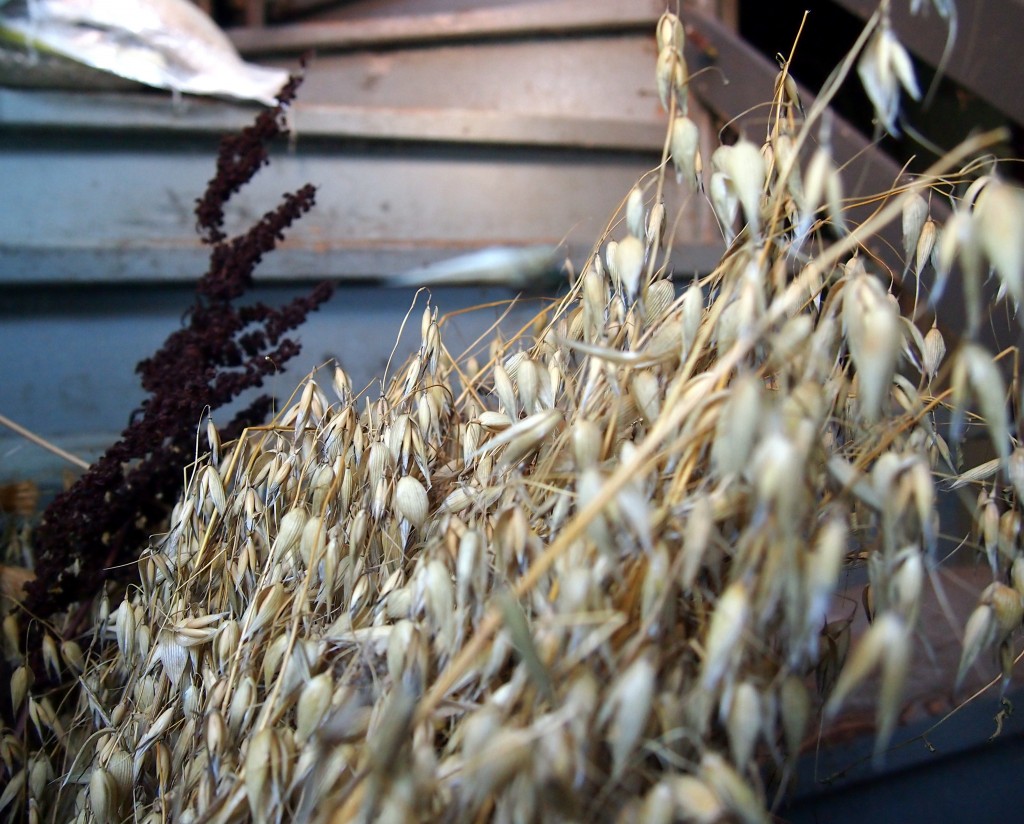
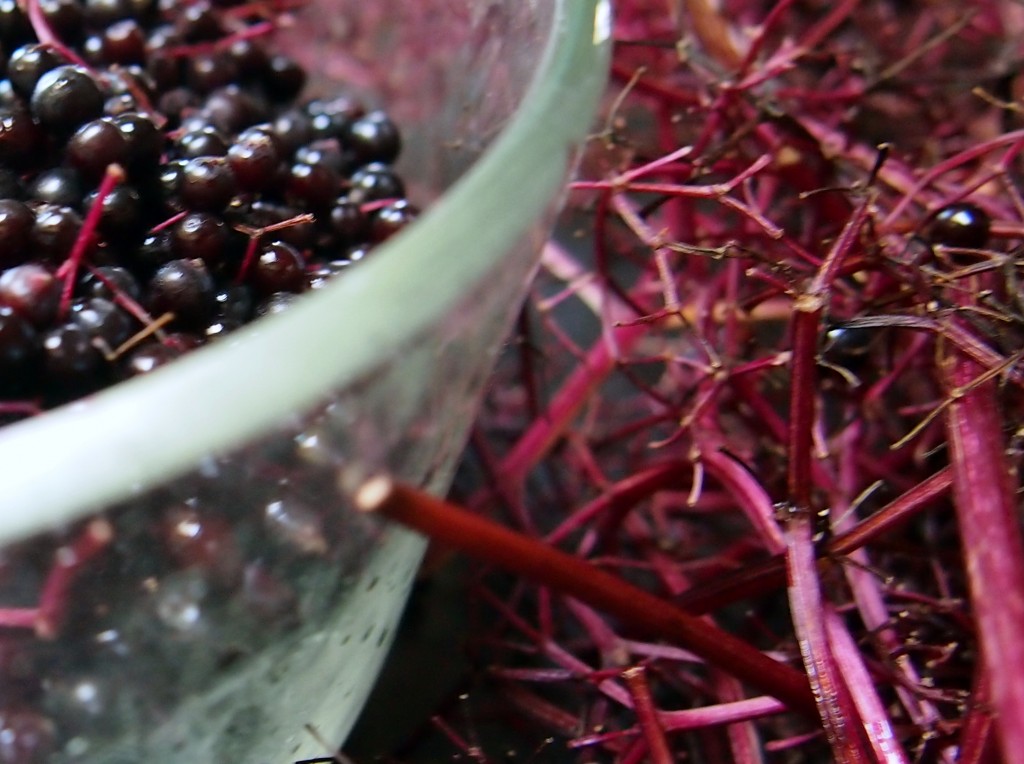
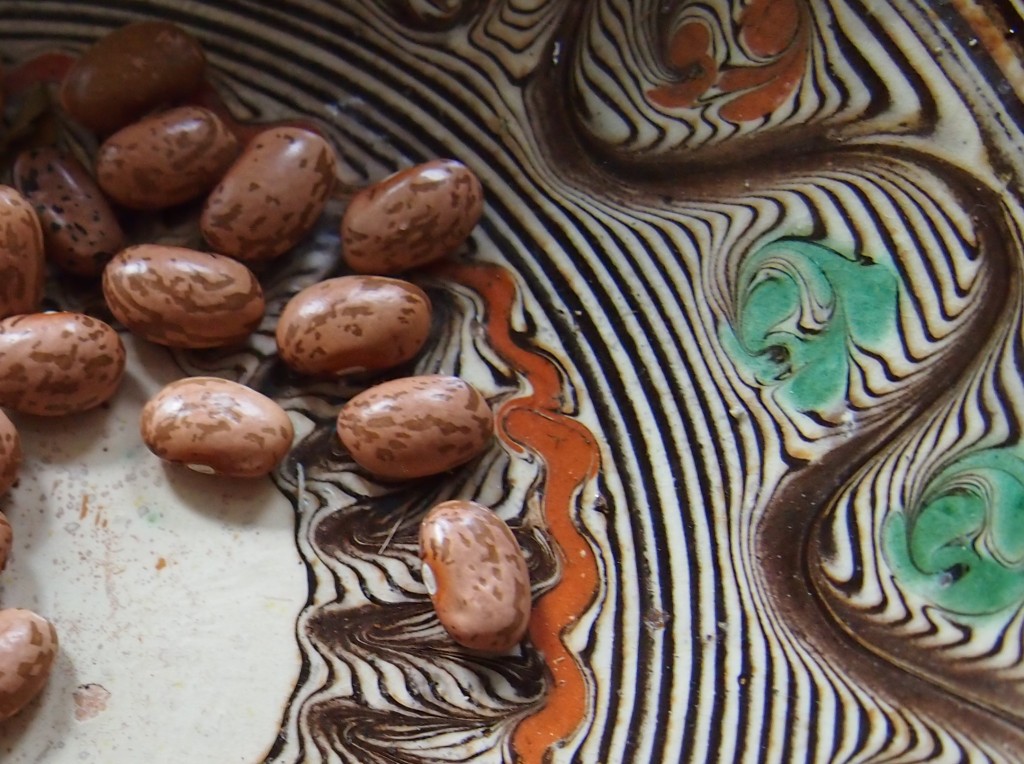
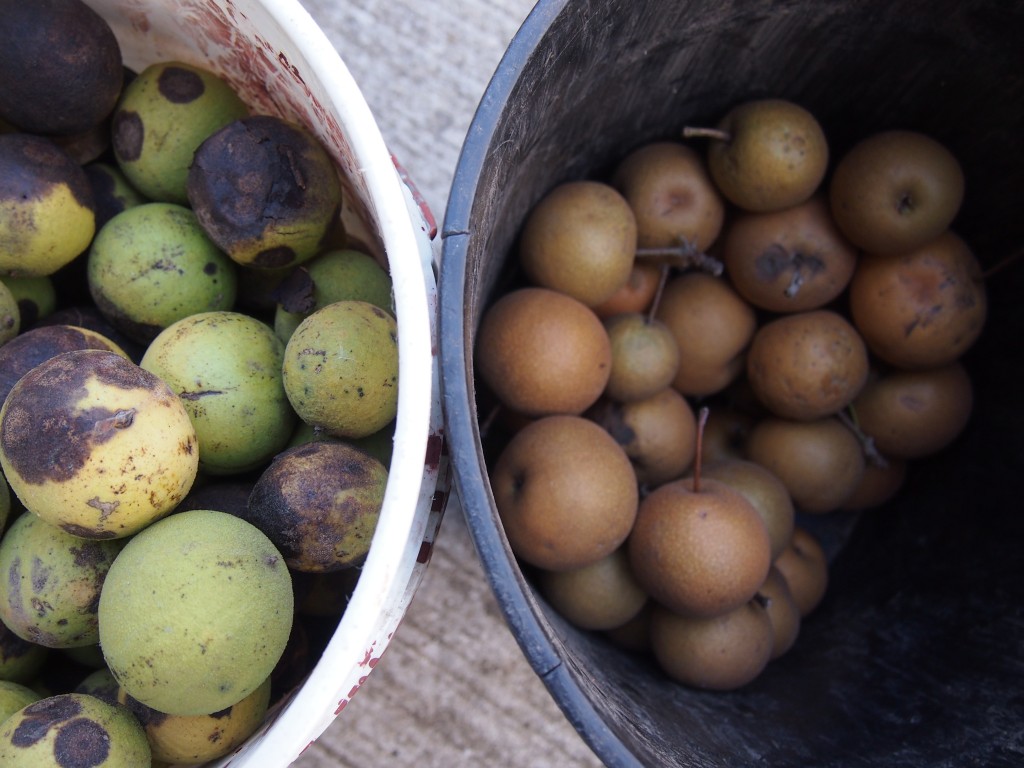
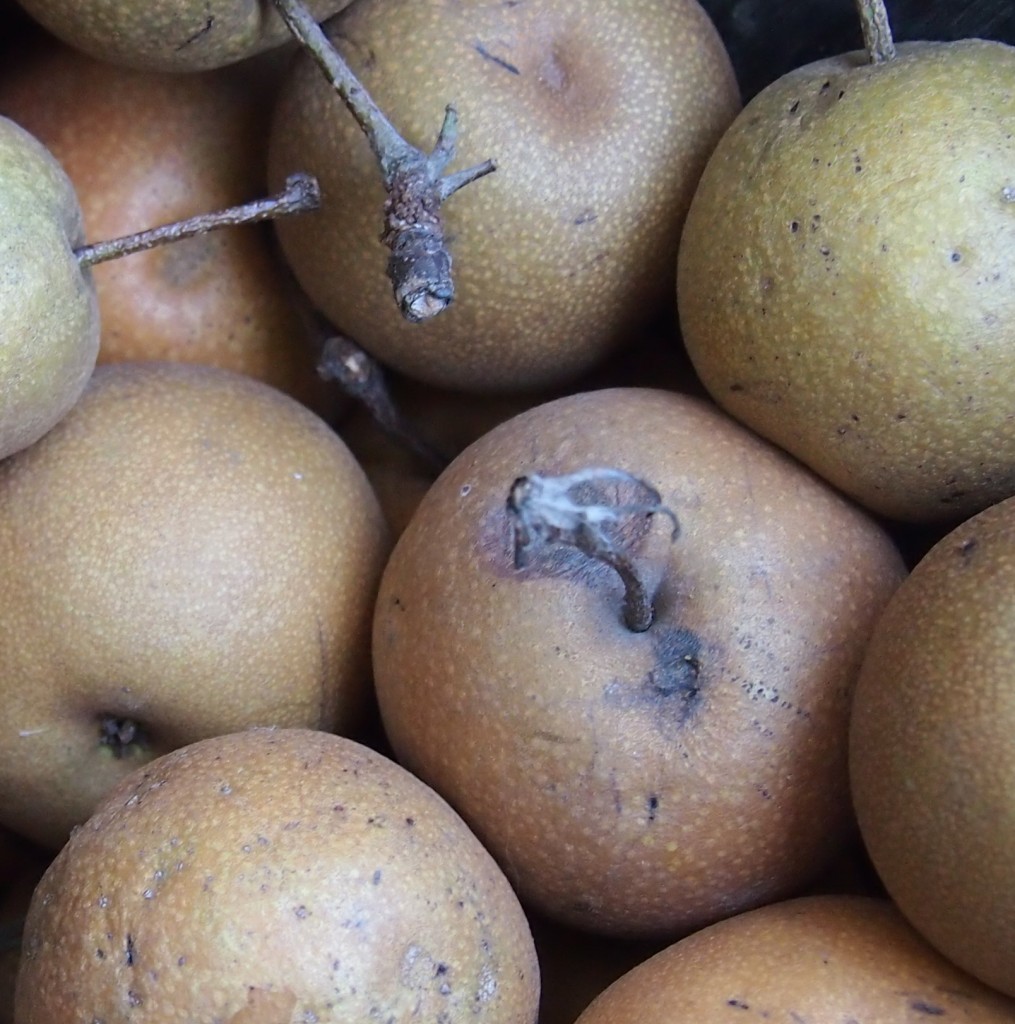
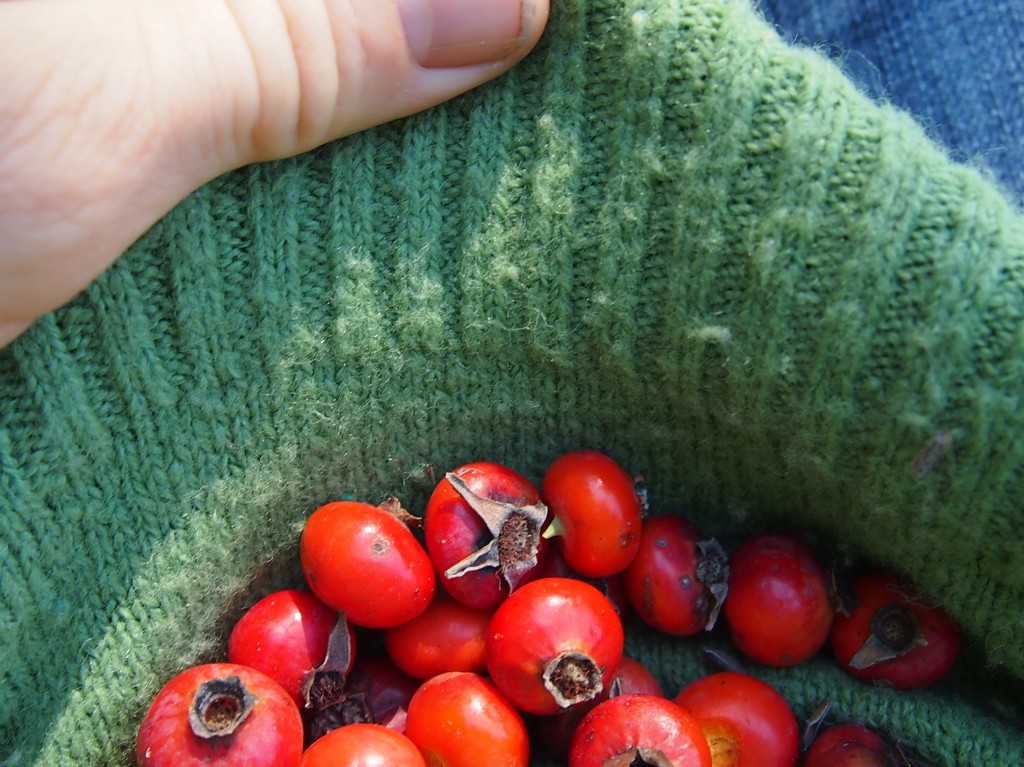
I’ve clipped and hung herbs to dry, sorted jars of heirloom bean varieties, forked elderberries off their stems, snipped oatstraw into pieces, pulled hops flowers off their vines till my hands were stained and smelled of ginger and garlic, rubbed nettle leaves off their stems till my hands ached and itched, and shuffled through the yard bent double gathering black walnuts. Though I’ve yet to use a cart this season, the harvest has been brought in using baskets, five gallon buckets, baking trays, coat pockets, window screens, bowls, and impromptu shirt “baskets.”
The harvest is abundant indeed.
Posted 12 years, 7 months ago at 5:13 pm. Add a comment
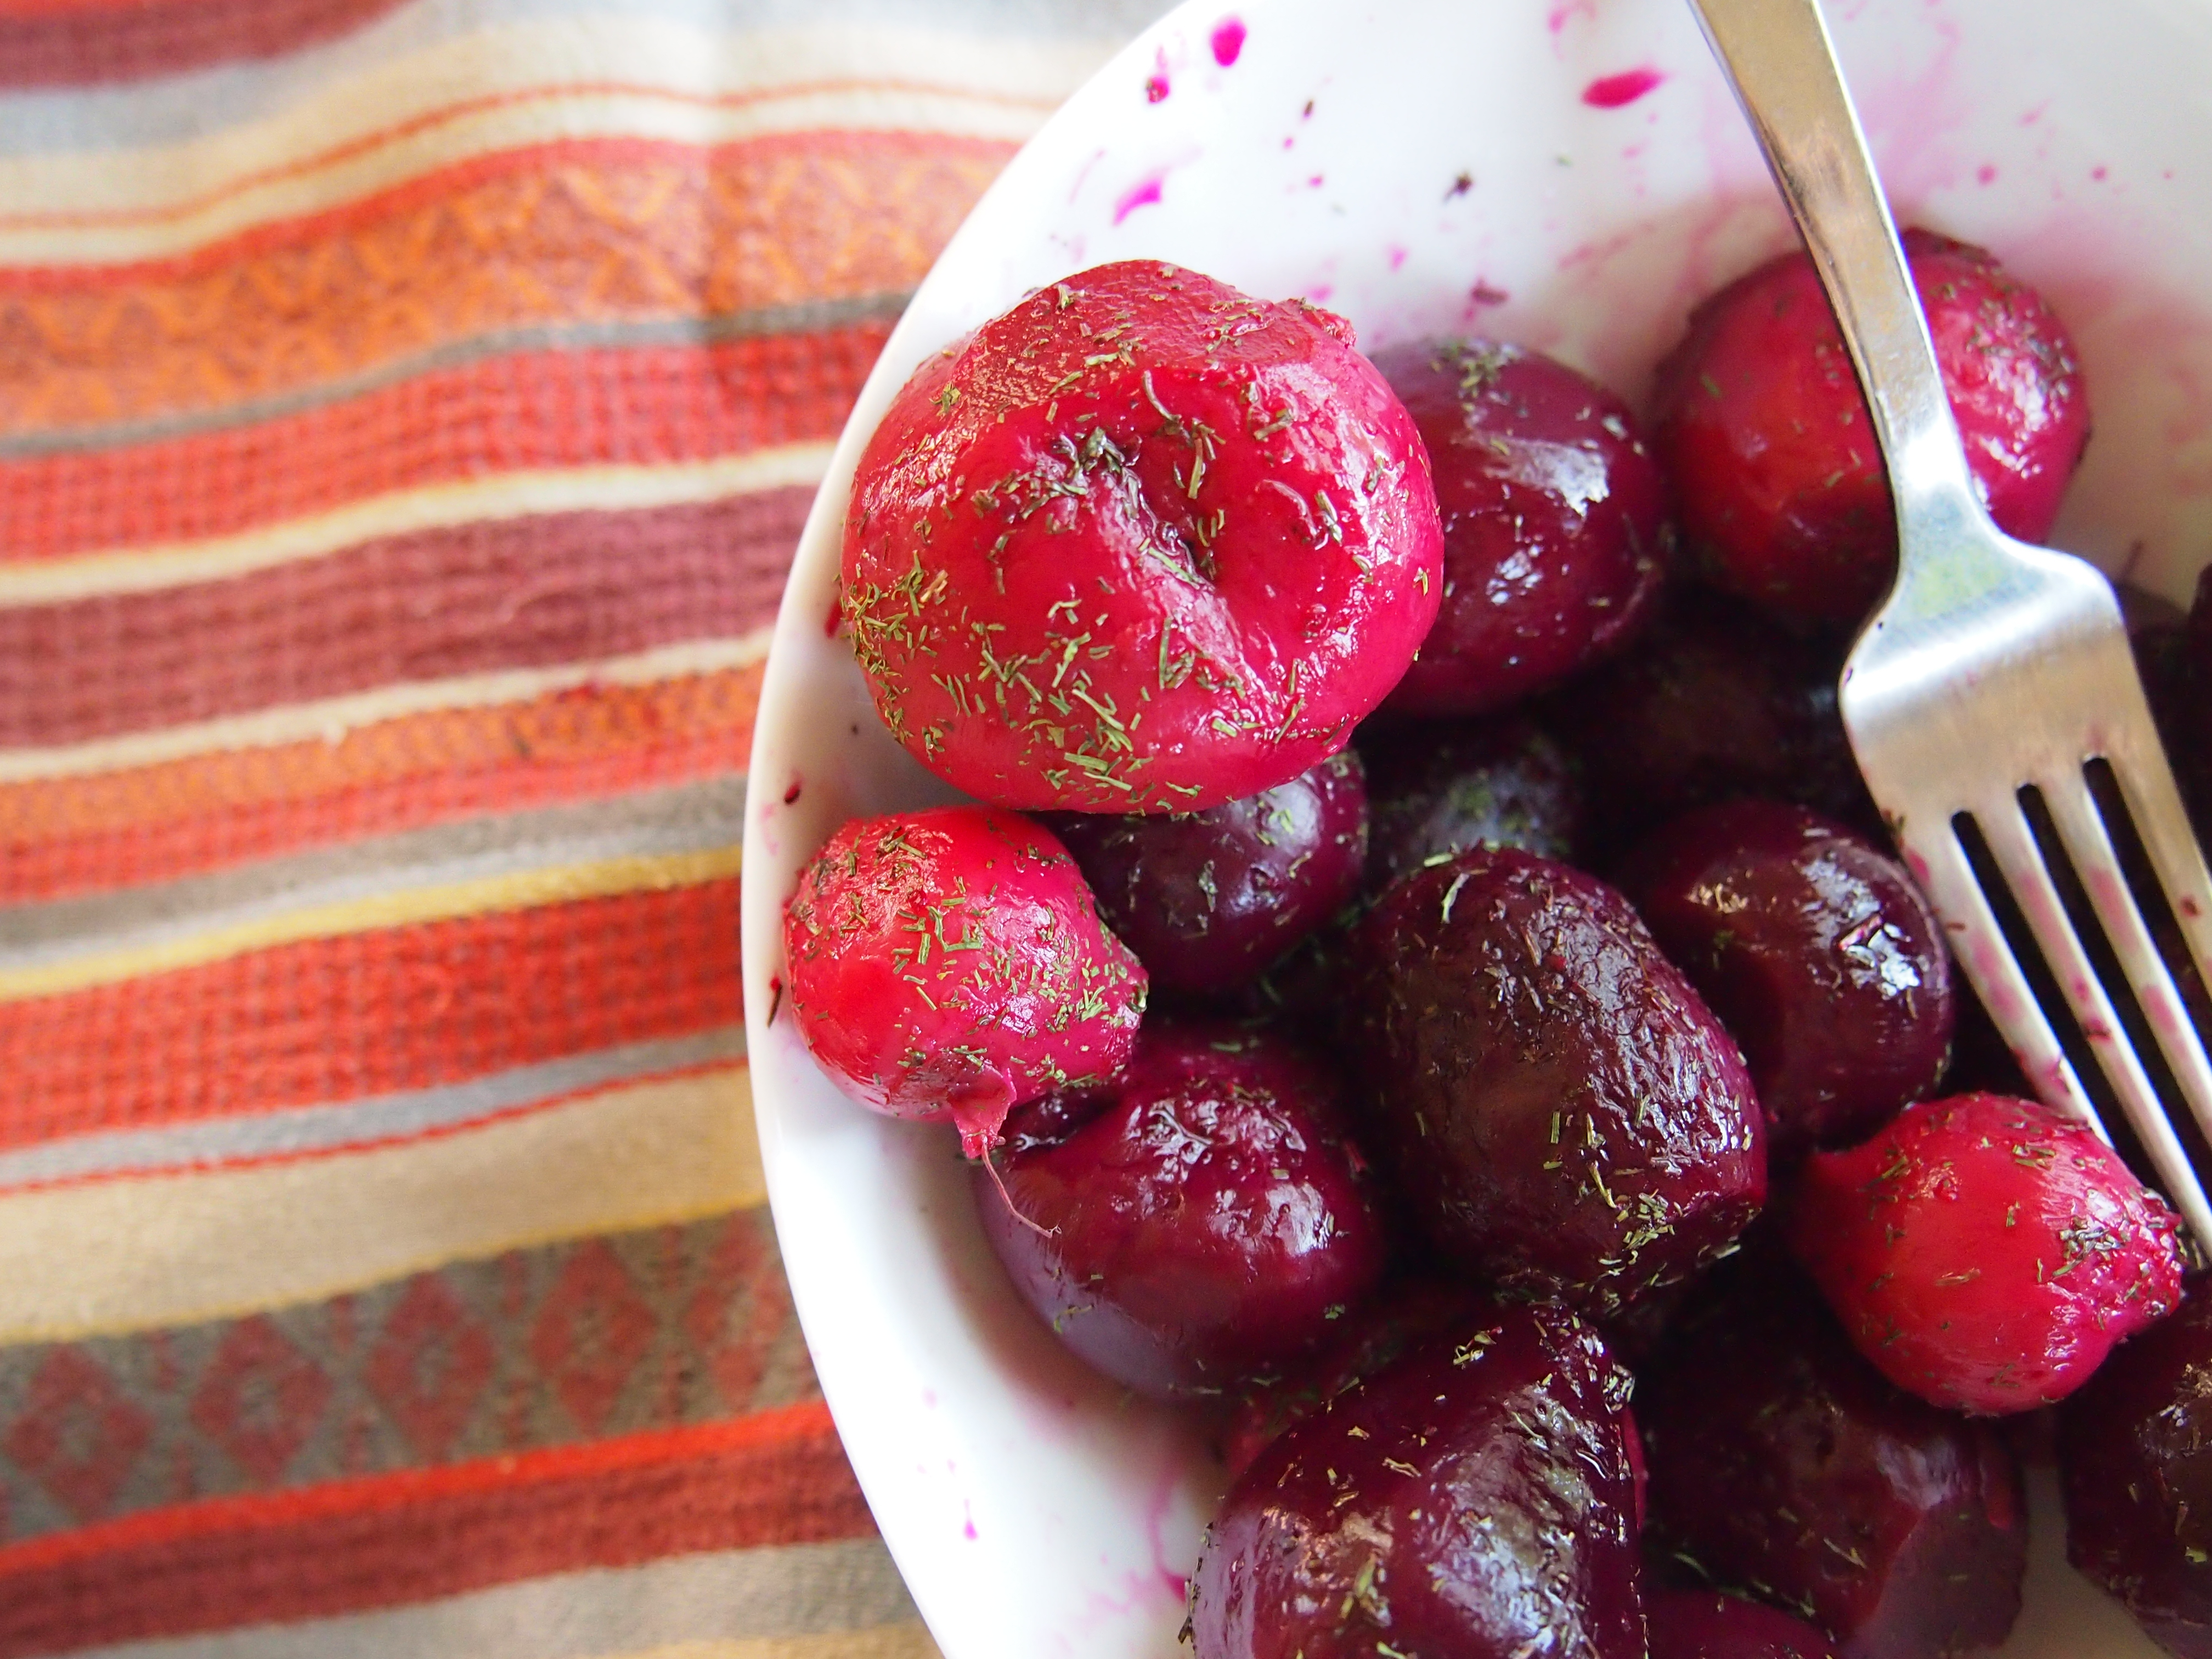
I almost feel unethical posting this as a “recipe.” It’s so simple– a boil, a sprinkle, and done. It came about mostly in an effort to clean out my fridge and spice cupboard. And yet, the result of said kitchen tidying had the added bonus of this stunning salad. (Is it a salad all on it’s own? Or would one need to add lettuce for that? I never know.) The delicate dill rounds off the somewhat bawdy beets. The resulting dish encompasses the best aspects of farm-to-plate eating– earthy richness and heavenly crispness.
Because beets are the main ingredient here, make sure you use the freshest beets you can find. Old ones that have been lolling around shelves for a few weeks tend to be woody at best and bitter at worst. A good beet should be as sweet and firm as a good kiss. To assess the freshness of your beets, squeeze them. They should not be in any way squishy. You can also make sure the greens are crisp and lively, not wilted and listless. Like most vegetables, your best bet is to buy your beets from the person who grew them.
A bonus of finding a local source of beets is that you’re more likely to encounter different varieties. I used the two kinds that City Roots is growing: Bull’s Blood, a deeply red beet, and Chioggia, an heirloom beet with beautiful fuchsia and white rings. (Tragically, these fade when cooked.) While I can’t say they taste much different, they do vary dramatically in color and make a very pretty salad when tossed together.
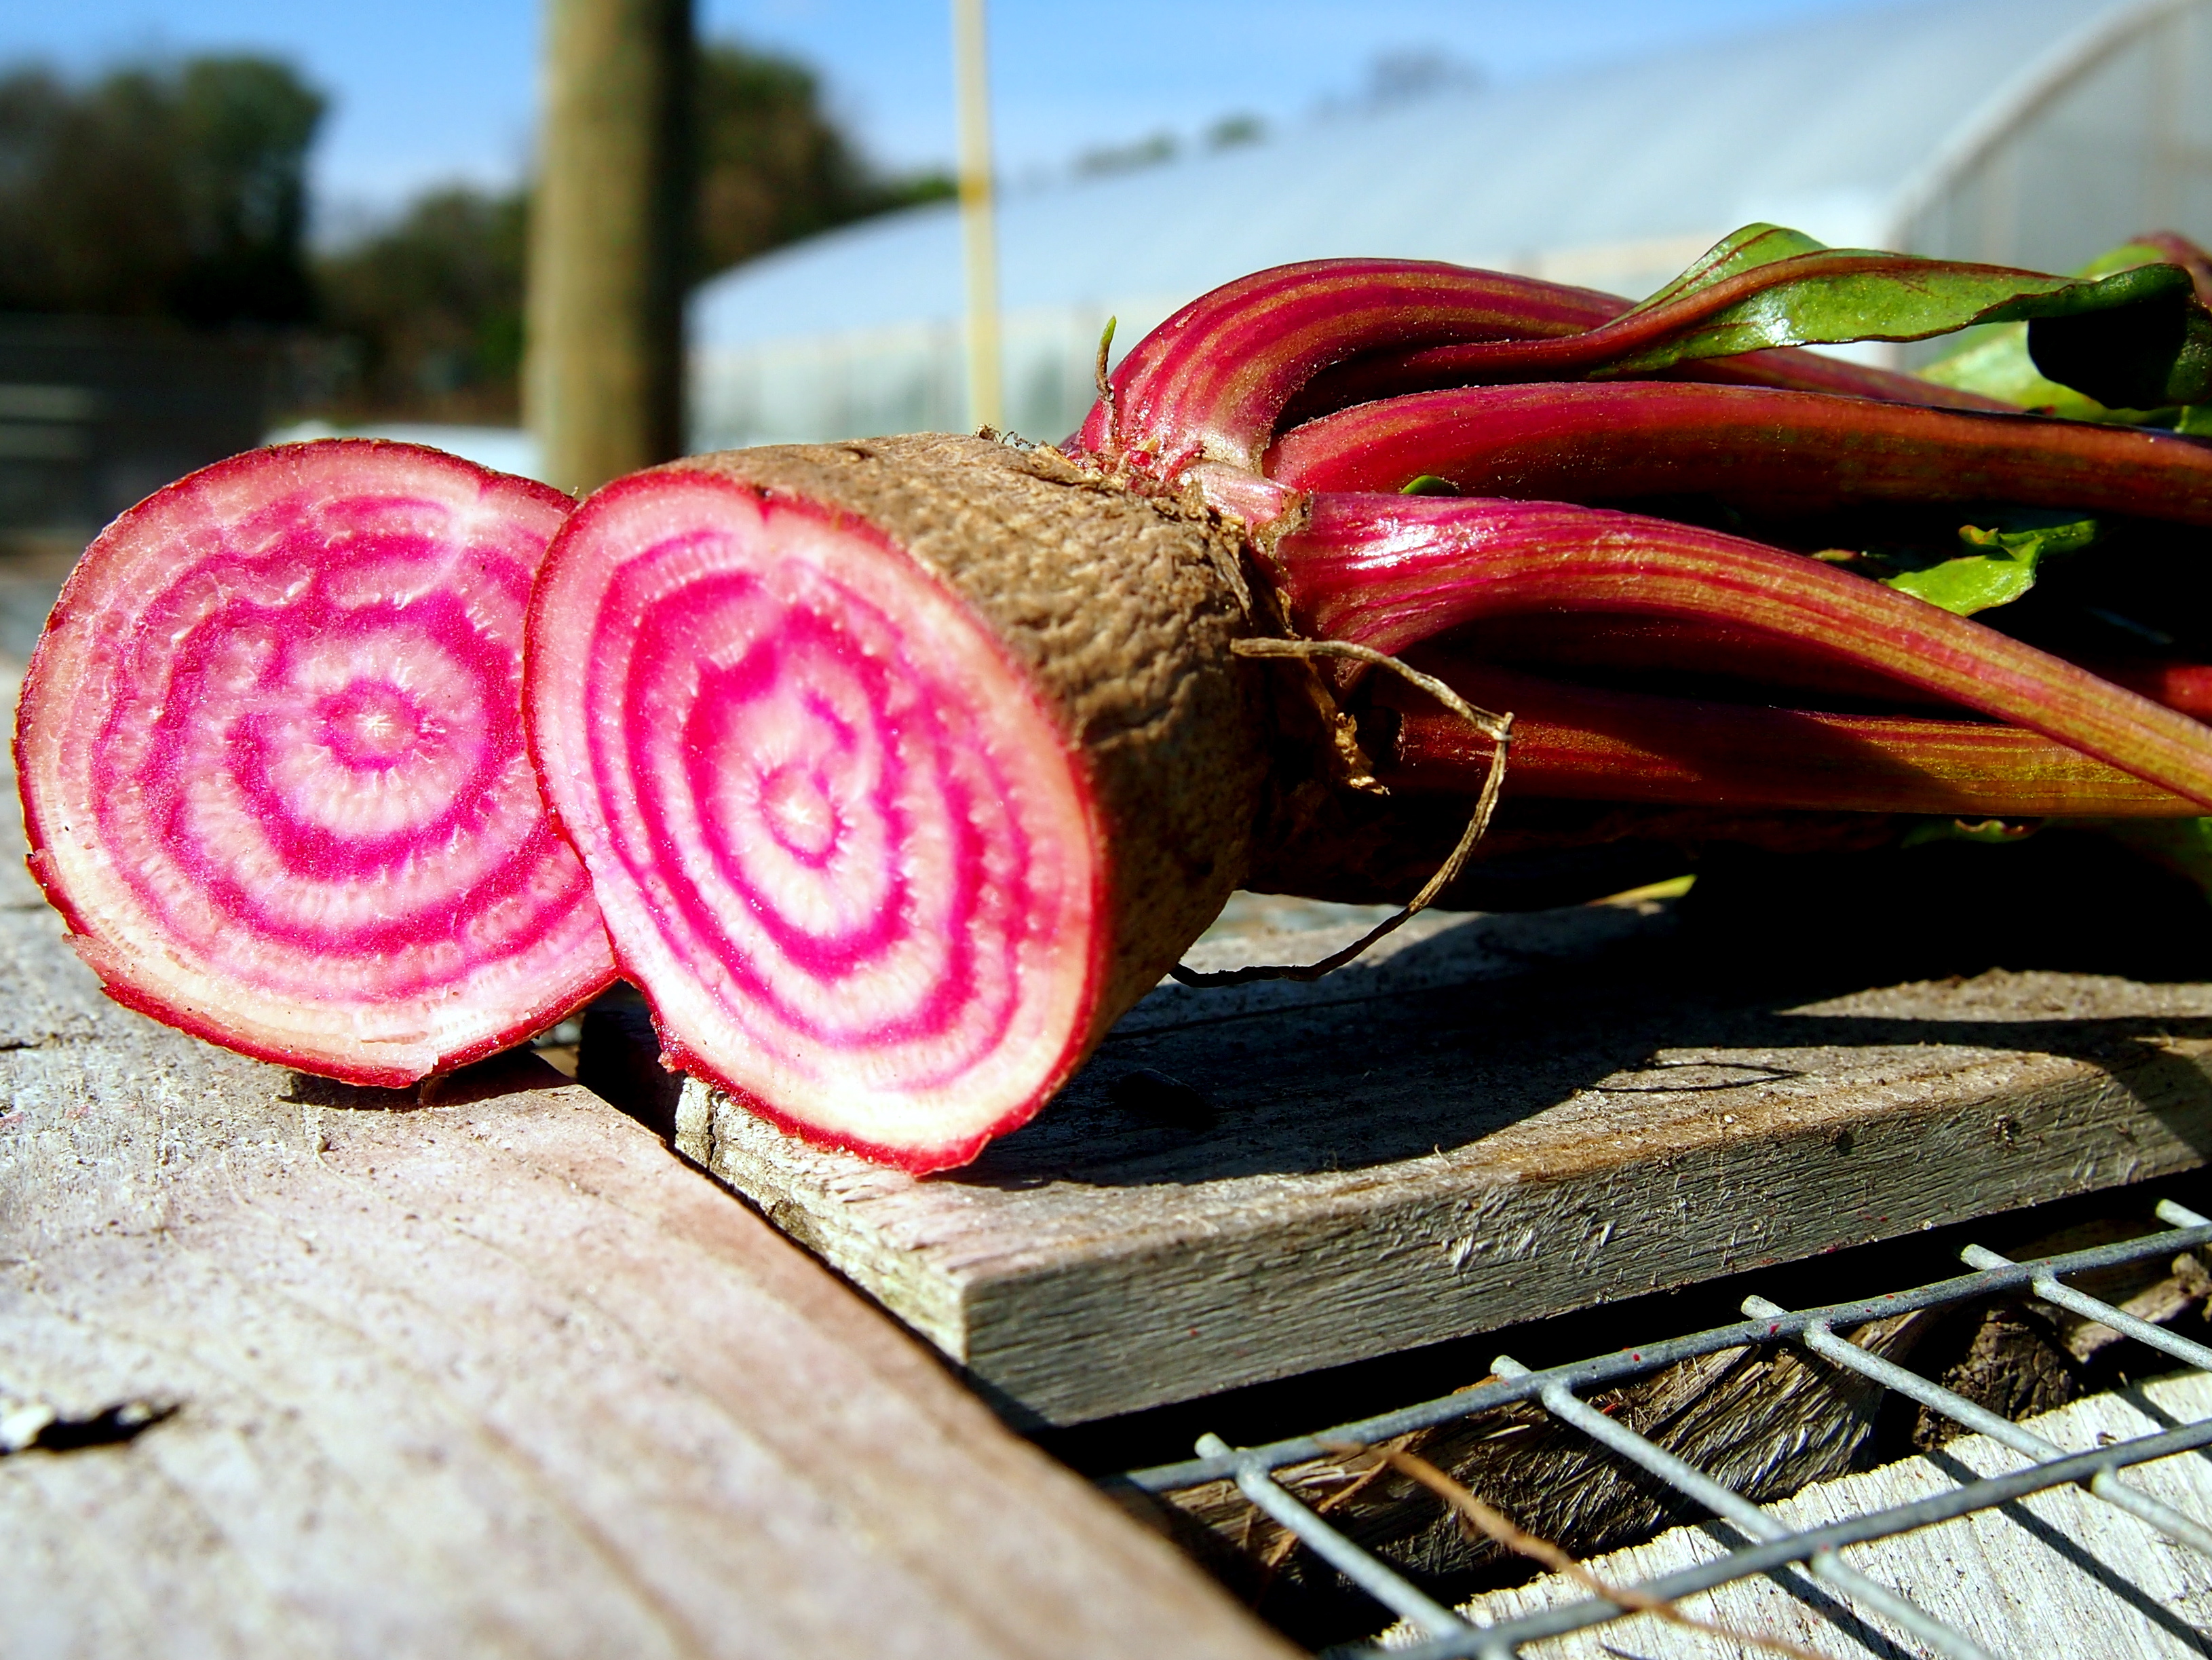
Wherever you get your beets from, make sure you store them properly once you get them home. (Hint: cut those tops off!)
And, out of neighborly concern, I do feel the need to assure you that, the morning after eating this, don’t worry. You’re not dying. You know how people used to dye things with beet juice? Yeah, that’s what happened to your insides. All’s well.
Beets with Dill and Sea Salt
10-12 small (golf ball size) or 2-4 large beets (baseball size)
2 Tbs extra virgin olive oil
2 Tbs fresh or 1 Tbs dried dill
1 tsp sea salt (this is a nice time to break out any special culinary salts you might be harboring)
Rinse off any dirt from your beets, then cut the tops and tails off. If you are using small beets, you may leave them whole. If you are using large beets, cut them into quarters. Put them in a small pot and cover with water. Bring to a boil and simmer for 10 minutes. Let cool. Dump them in a colander and rub off their skins under warm water. Place the beets in a bowl, toss with olive oil and stir in dill and salt. Serve cold or at room temperature; alone or on a bed of greens.

Posted 13 years, 4 months ago at 9:03 pm. Add a comment
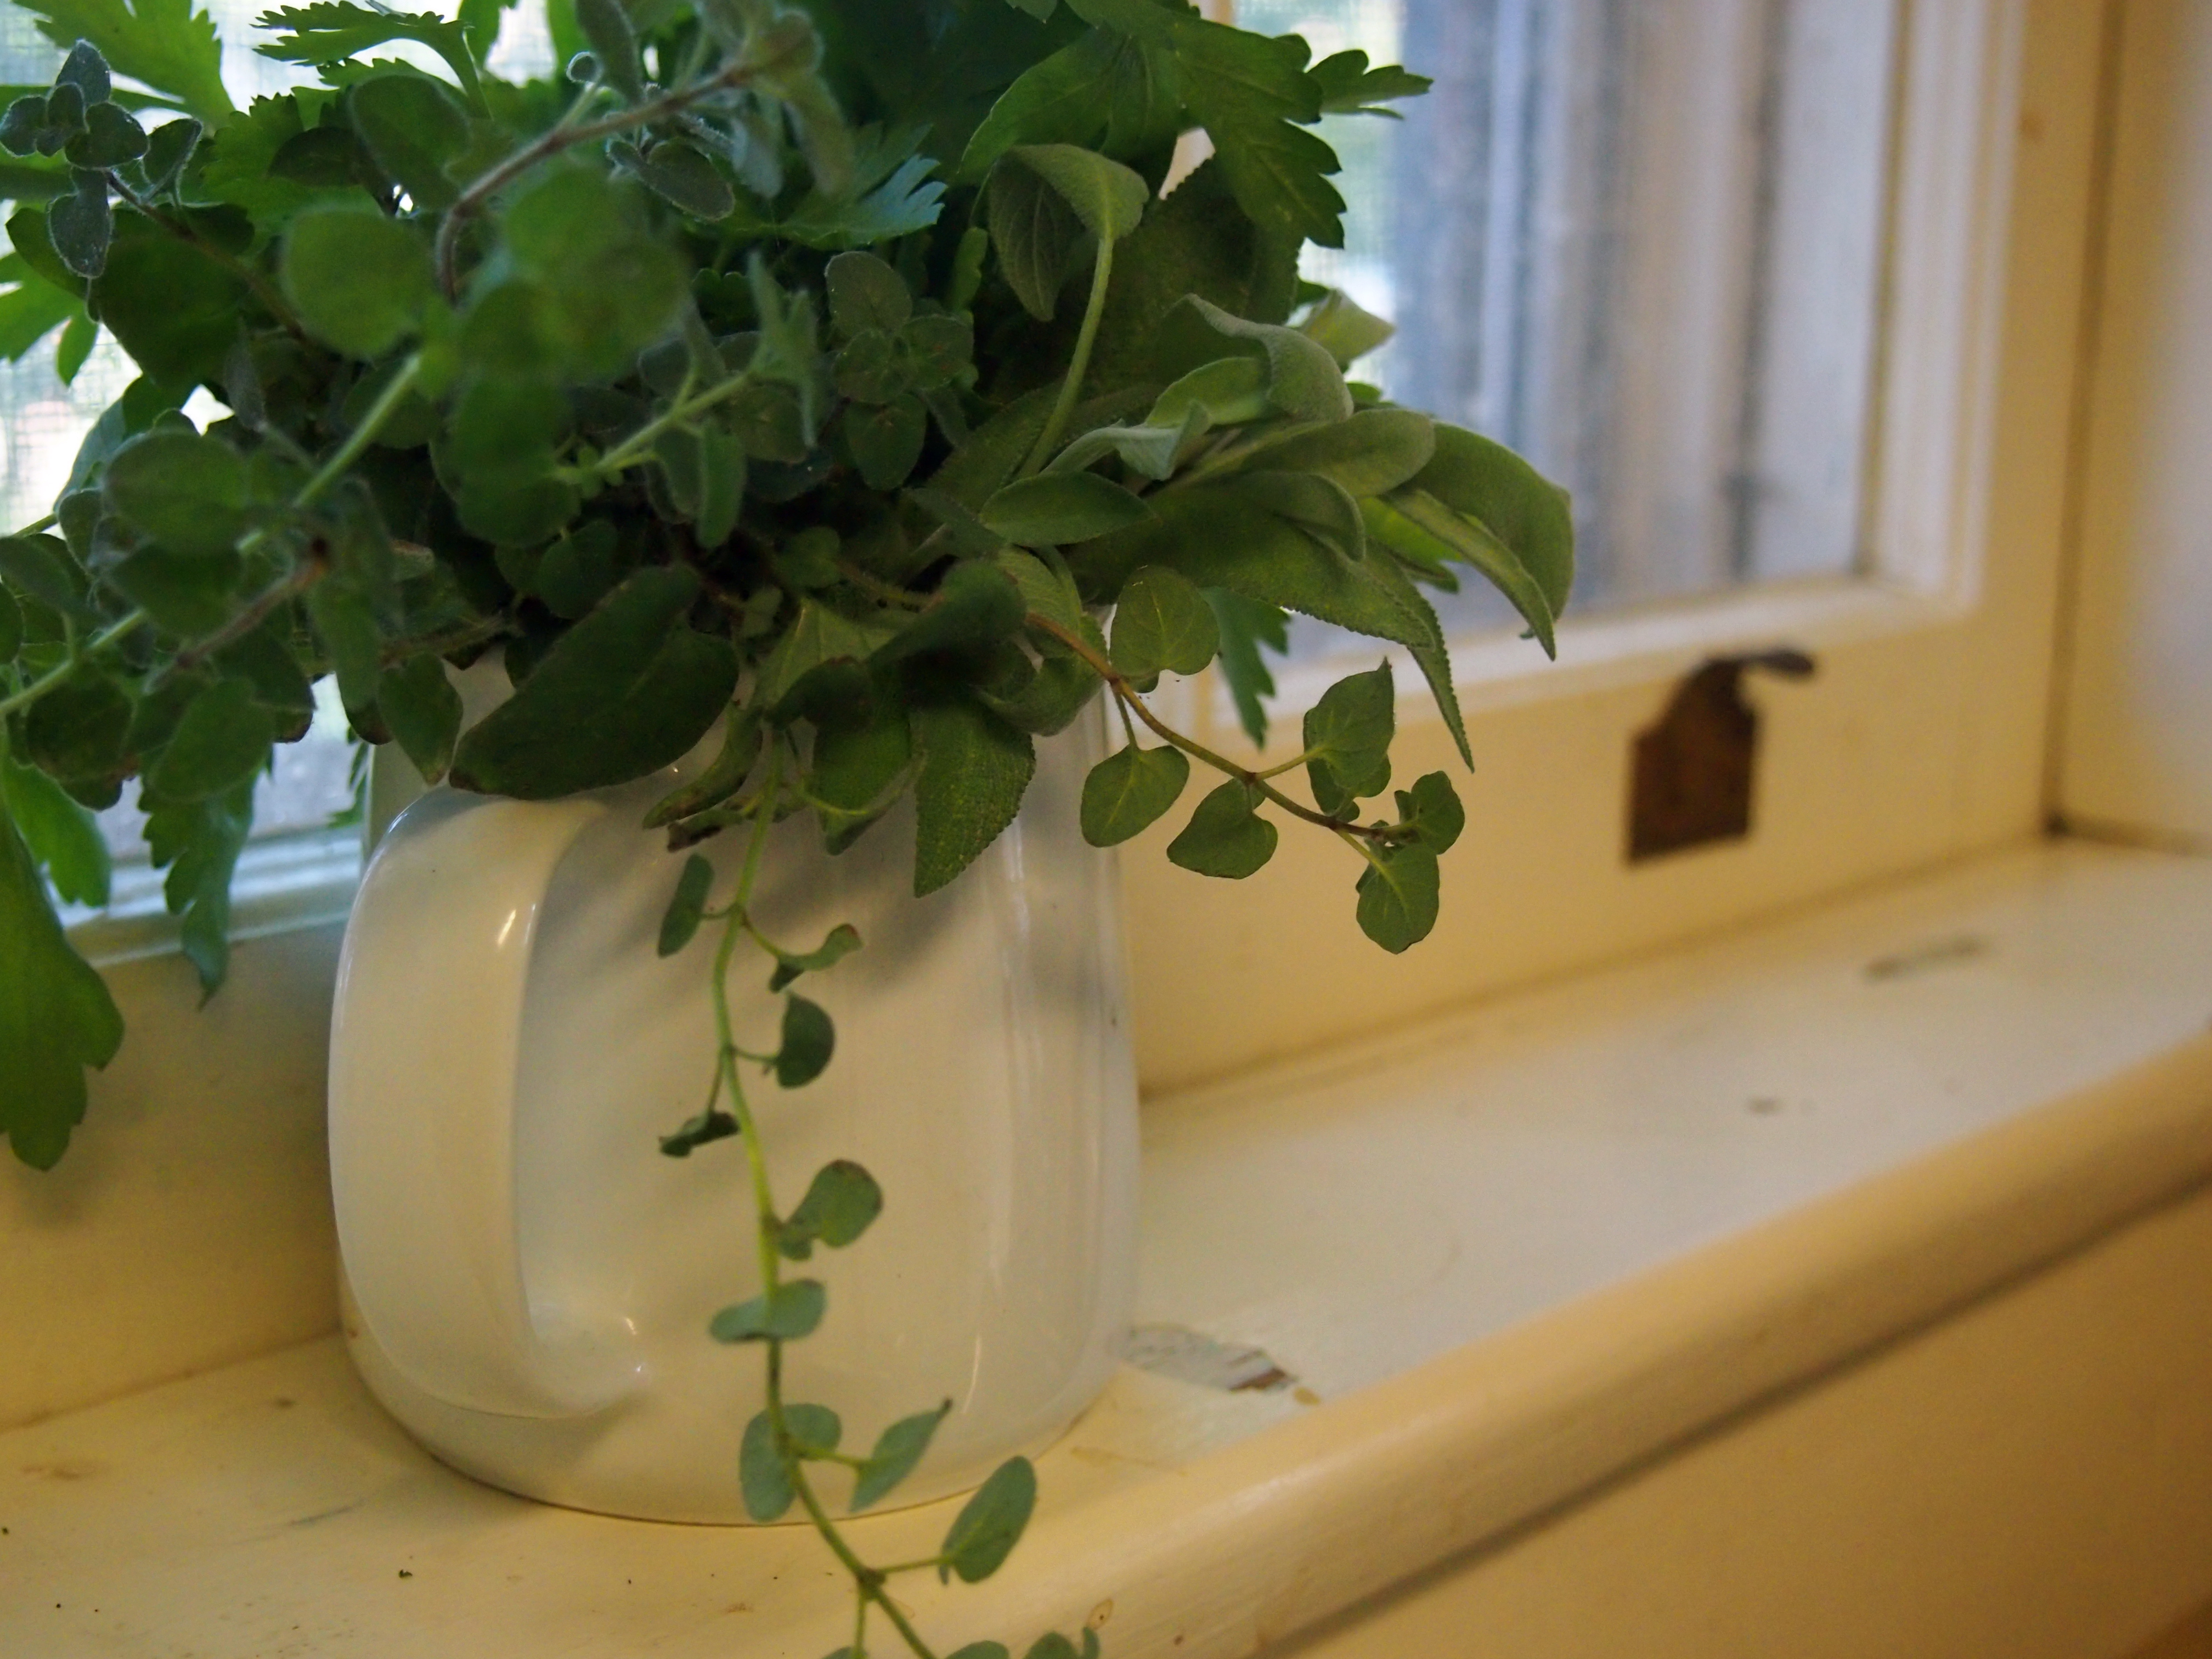
 This week my kitchen counter has
:: played host to a beautiful bouquet of fresh herbs from our greenhouse- sage, parsley, cilantro, and oregano. Having them in a cream pitcher close at hand, instead of in a bag in the fridge, reminds me to use them. My cooking has been better for it.
:: witnessed a revival of my commitment to soaking my grains, nuts, and legumes. It has also witnessed the stench of the bowl of beans I forgot about and hence left in their soaking water for four days. My cooking has been worse for it.
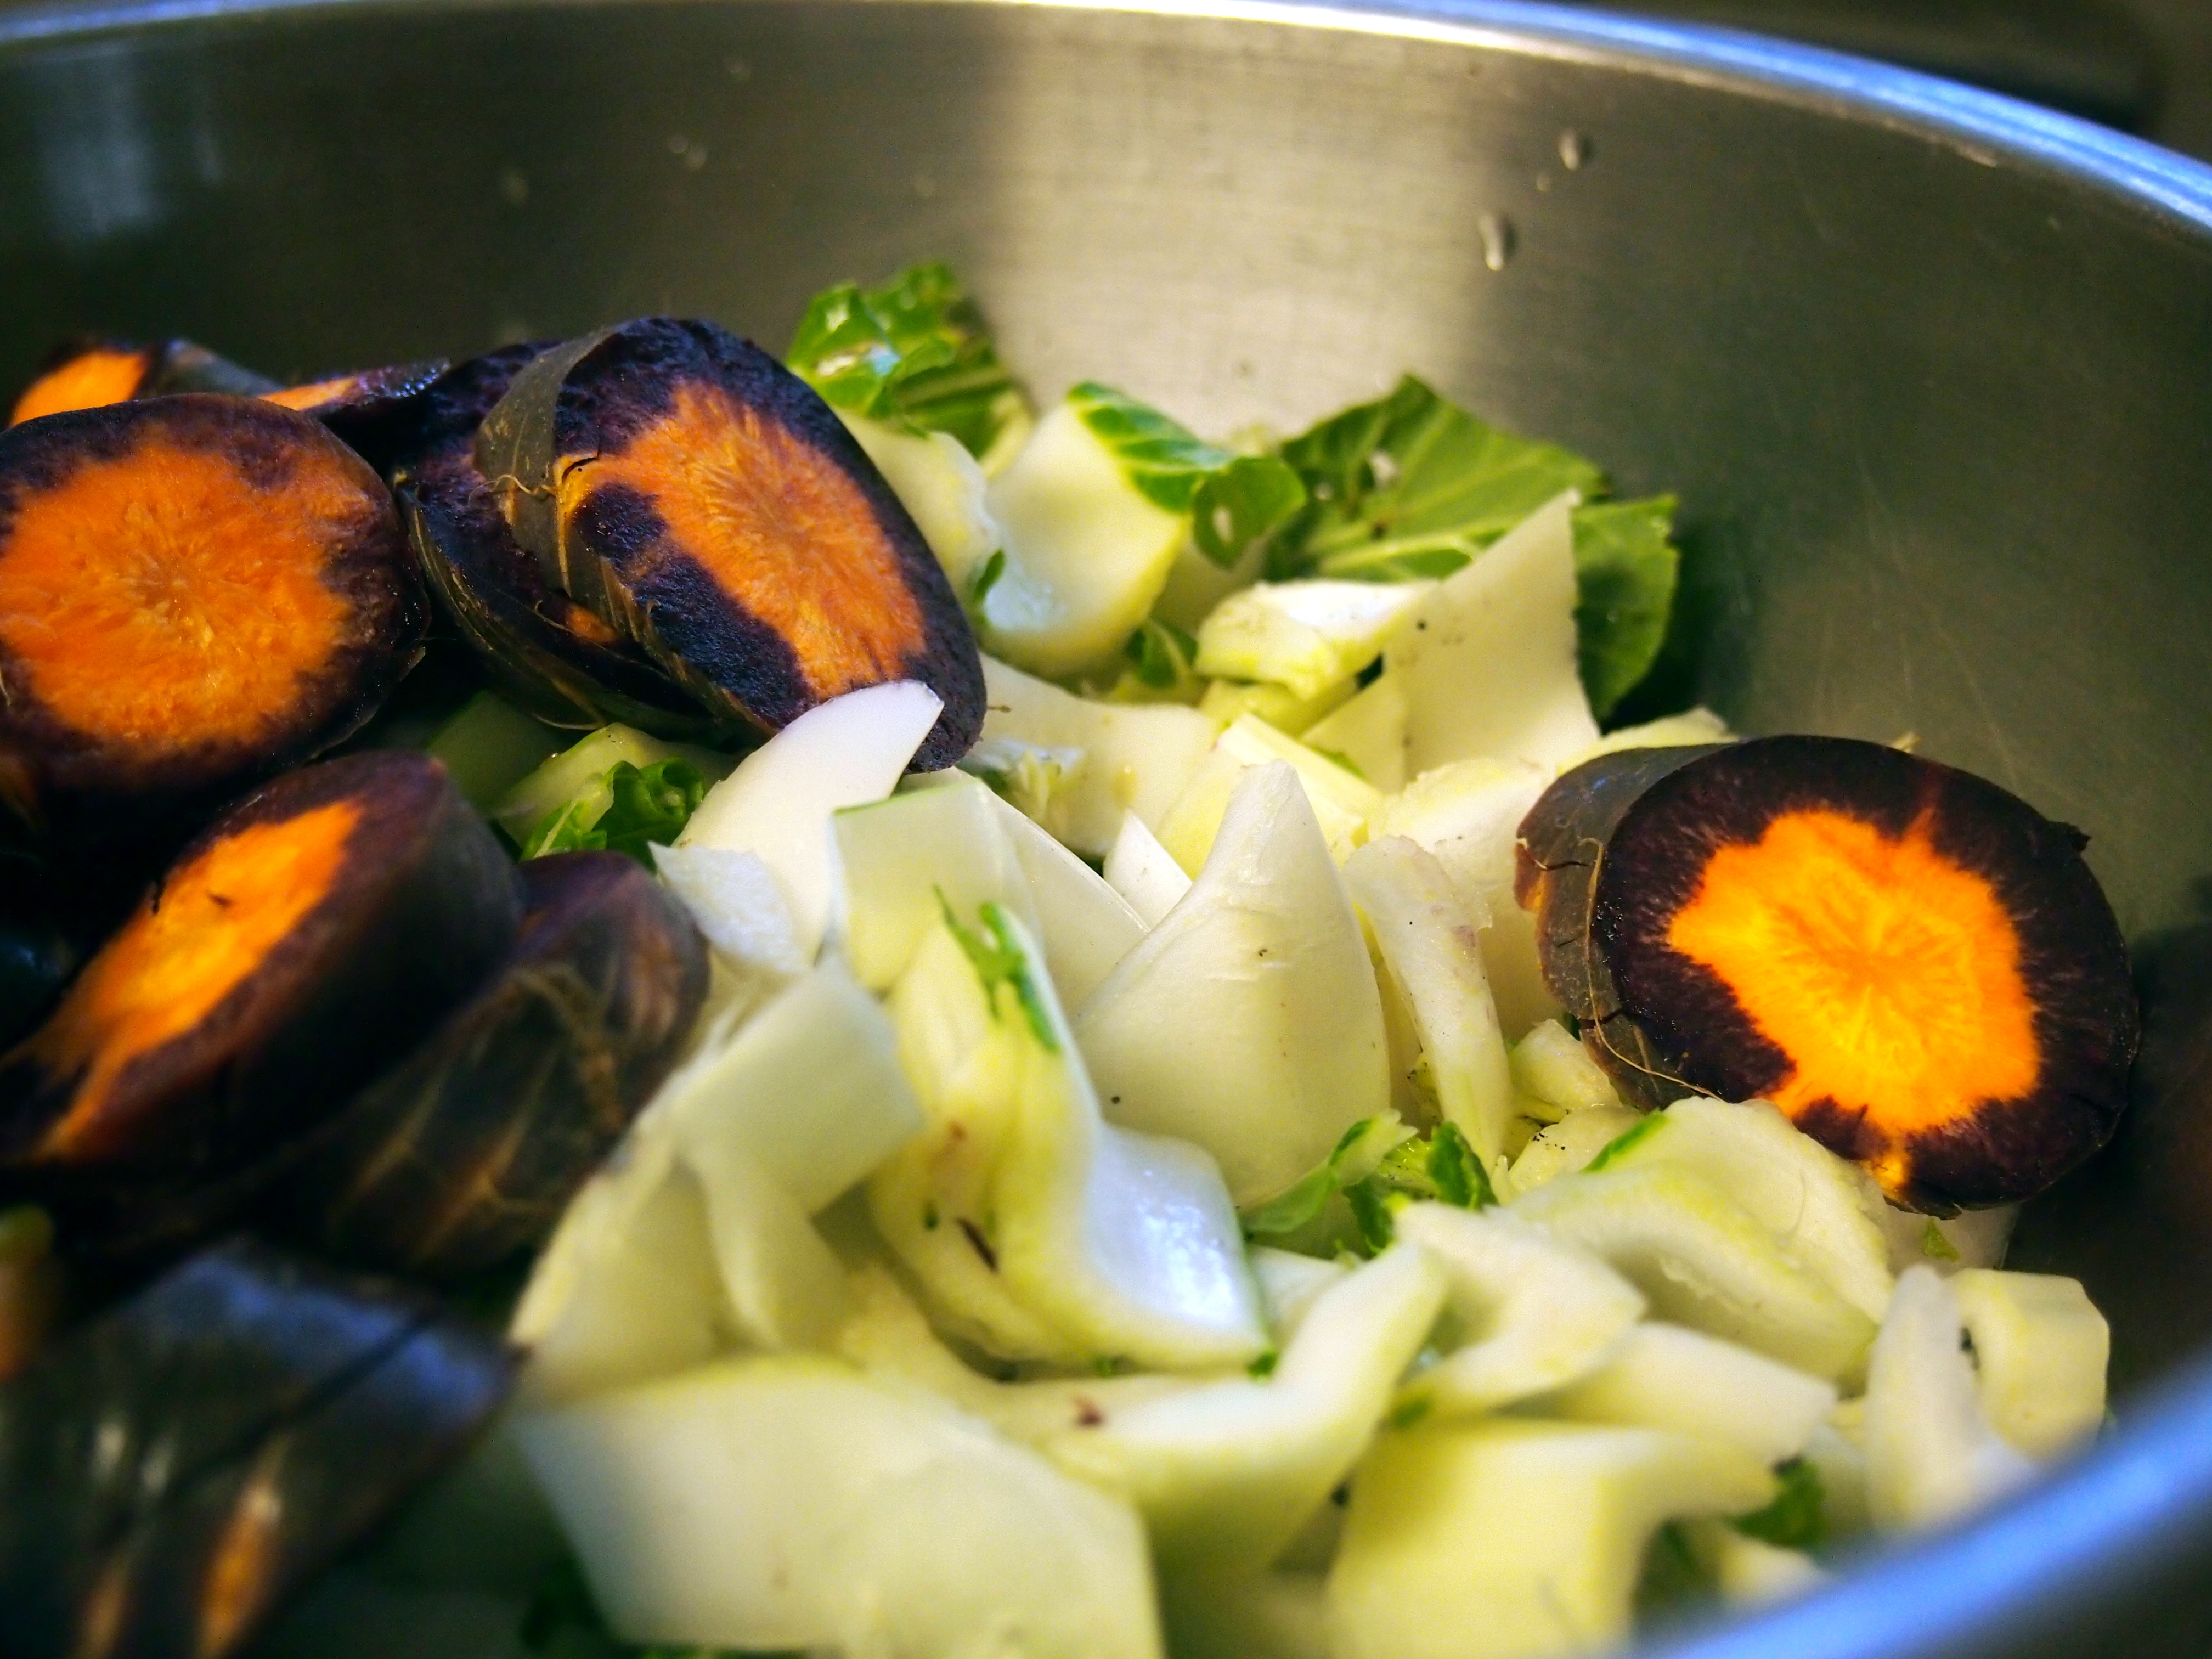
:: finally seen the last of the purple haze carrots. Until spring at least. This has been the first season that I’ve deigned to actually cook with them. In previous years, they’ve been too precious and were reserved for eating out of hand, barely making it home from the farm. This year though, they’ve been sauteed with mint and coconut oil, stir fried with bok choy and lemon, and added to the most glorious rainy day beef stew.
:: dribbled with Meyer lemon juice and salt as I made Moroccan preserved lemons. I now know where each and every nick and crack is on my hands.
:: not told a soul that I licked the pot, spatula, and funnel clean when I made lemon curd no less than three times.
Posted 13 years, 4 months ago at 7:40 pm. 1 comment
 Focaccia is another of those recipes that is redolent with memories. I was introduced to this Italian snack in its simplest form, topped with olive oil and salt during college. The humanities department would have semi-regular meetings where all the professors and students would gather together. (It was a small school, so this wasn’t as big an ordeal as it may seem.)
While we heard tell that other departments had the usual spread of chips, cookies, and soda, we were favored with homemade focaccia baked by our beloved secretary Elizabeth Davis. While she usually tried to keep a low profile in meetings, there was no disguising the warm yeasty smell that accompanied her through the door. She and her bread were the center of everyone’s attention. Even if we tried to politely finish listening to whomever was speaking, our minds and hearts were with her and the bread she was slicing.
Her focaccia stands in my memory as a culinary beacon of hope in an otherwise dreary foodscape of cafeteria food and boxed cereal. It was beguiling in its simplicity, managing to be both fluffy and crisp at the same time. The olive oil, warmed by the bread, pooled in the fingertip deep wells, dribbling over the sides when it was cut. The more refined among us ate with a napkin in hand to dab at the drips. Call me rustic, but I could never resist licking my fingers clean of the buttery oil mingled with the sharp bite of salt.
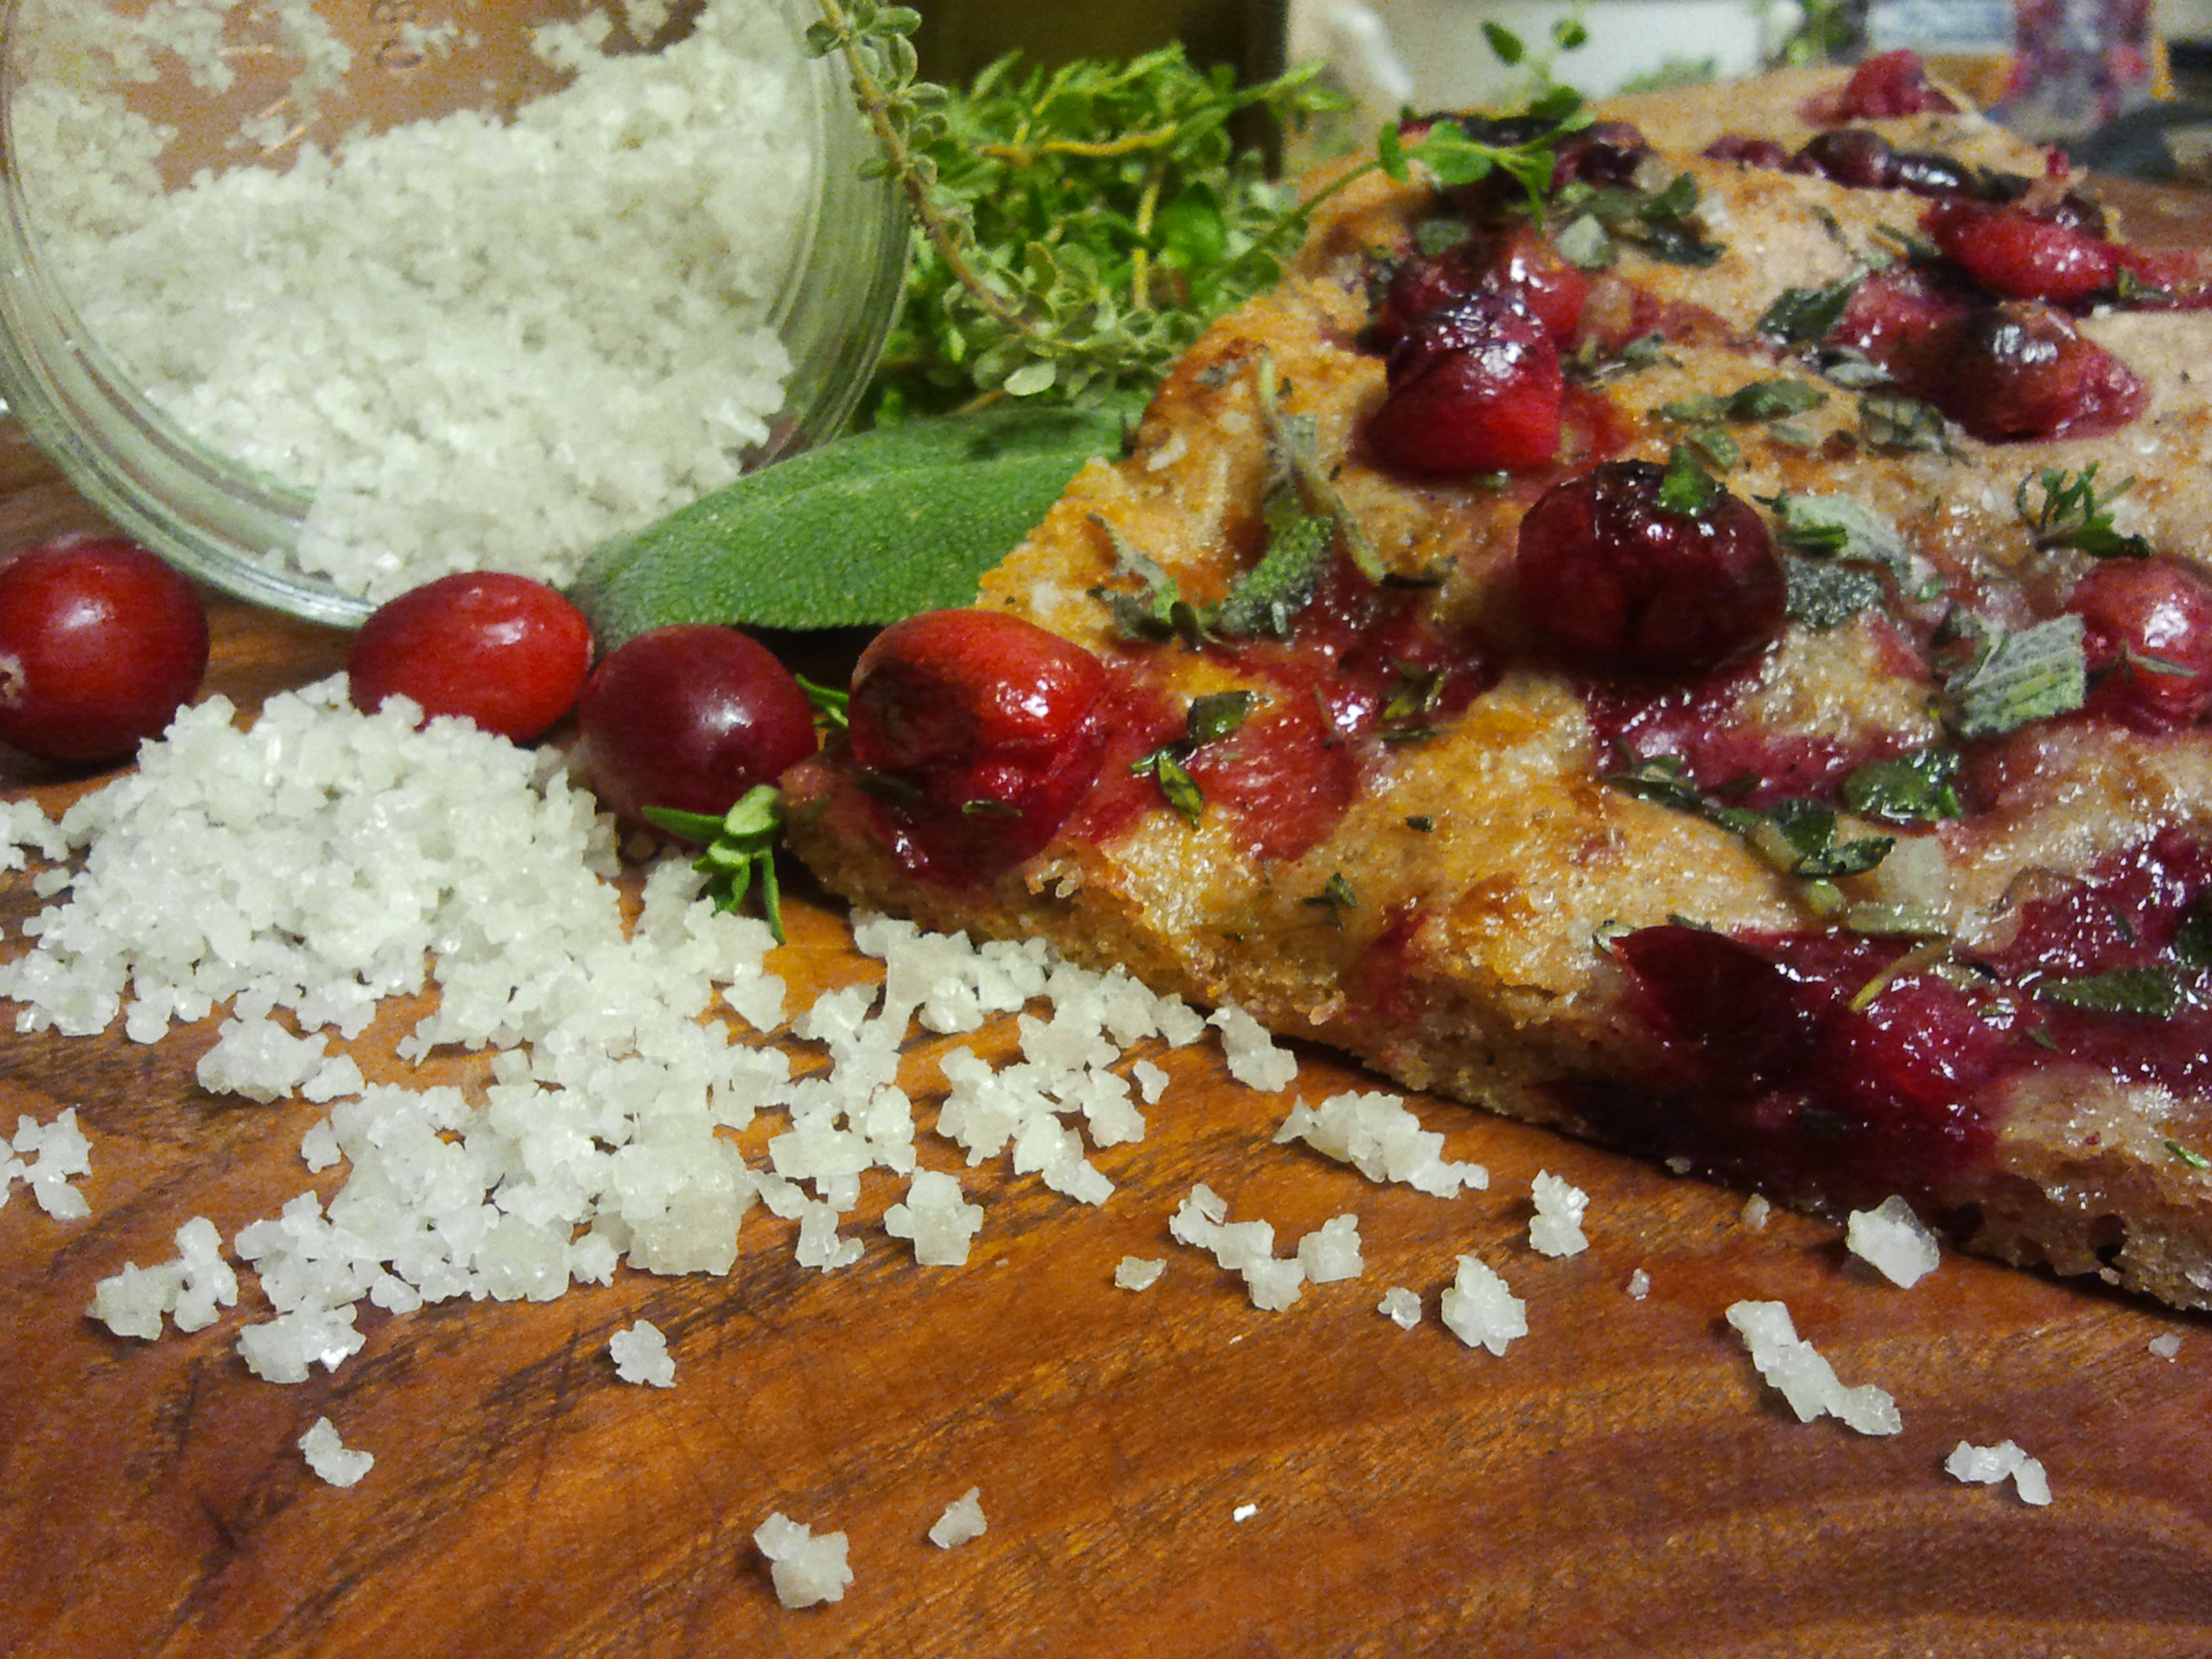
While plain and simple focaccia still heats my oven, I have recently been enamored with recipes using seasonal fruits, like this Grape and Rosemary Focaccia from Nourished Kitchen. Living in the South, I made it with muscadines rather than concord grapes, but the combination of peppery olive oil, sticky sweet grapes, and salty herbs worked its way into my blood. Sadly, muscadine season is painfully short. Nowhere near long enough to satisfy my craving. When cranberries started poking around the produce, I saw my way clear.
While this recipe is obviously evocative of Thanksgiving, I won’t lie and say I’m not stashing a few bags of cranberries in my freezer so I can enjoy this a few months down the line.
Sourdough Focaccia with Cranberries, Sage, and Thyme
Inspired by recipes at Nourished Kitchen and The Fresh Loaf
1 cup frothy 100% hydration sourdough starter
1 cup tepid water
1 cup extra virgin olive oil, divided
2 cups whole wheat flour
2 cups white whole wheat flour
3 tsp salt
~ 1/2 a bag of cranberries
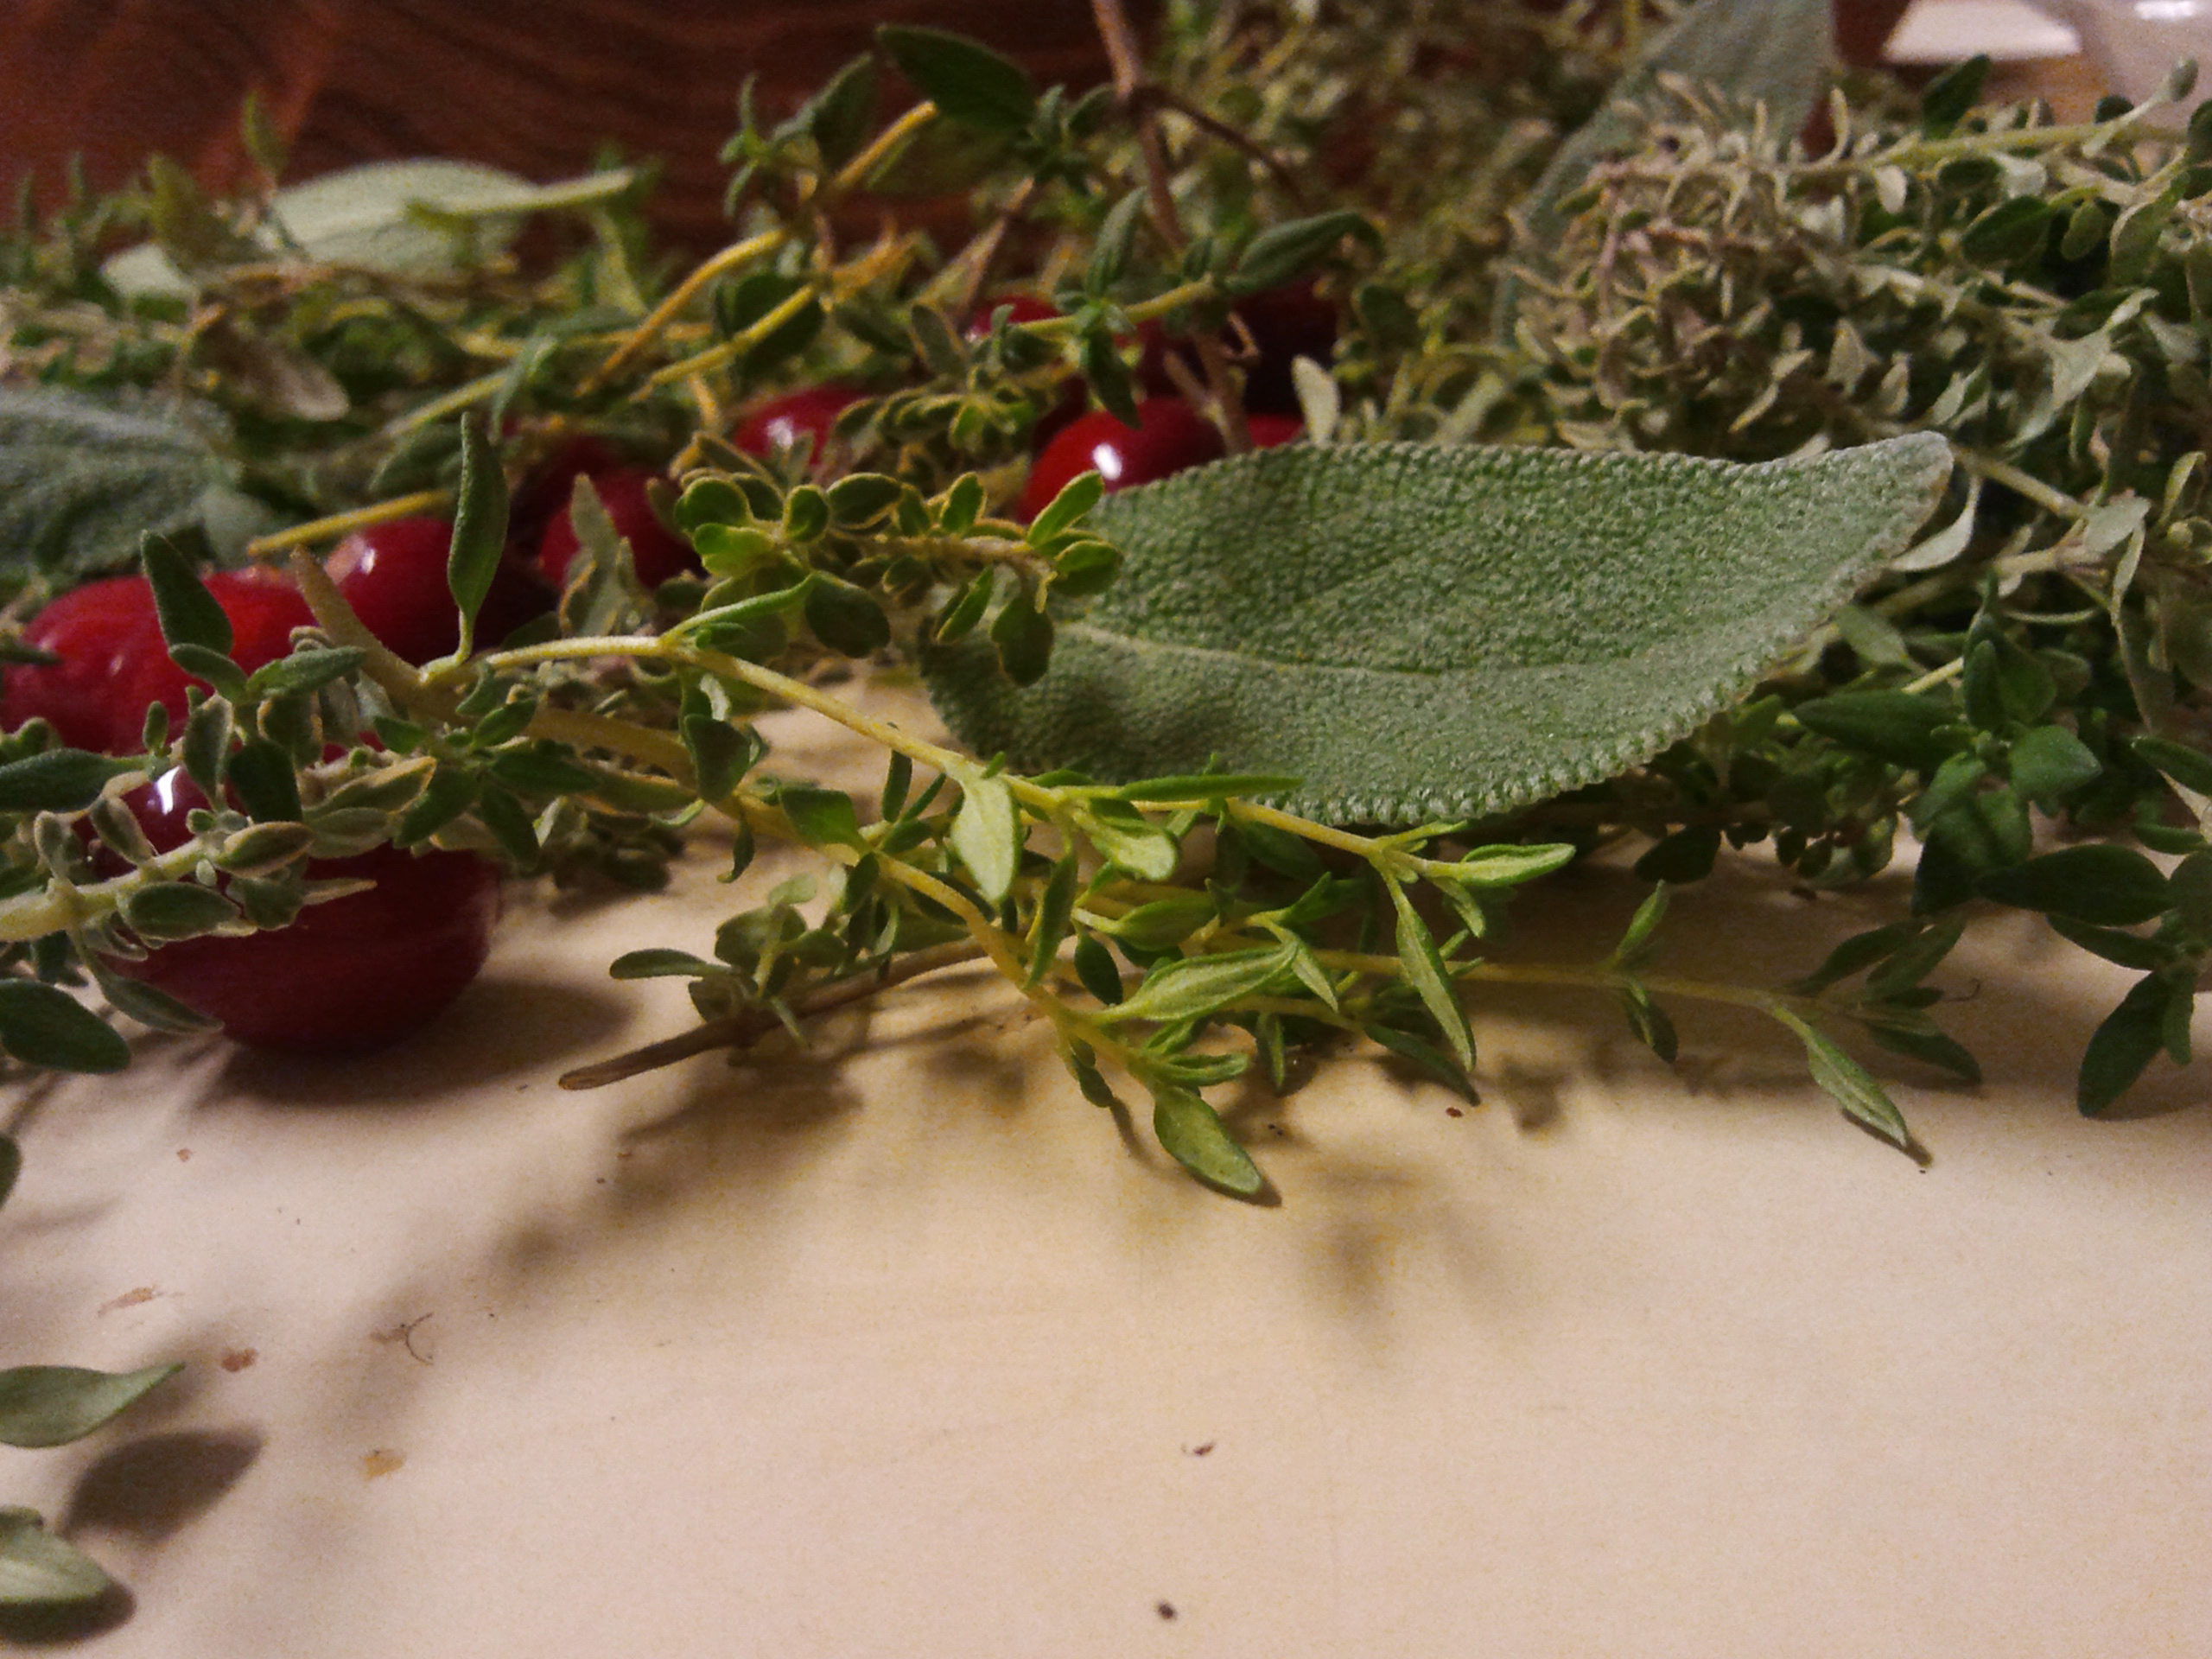
2 T chopped fresh sage
1 T chopped fresh thyme
2-3 T unrefined coarse sea salt
In the bowl of a stand mixer, combine the starter and water. Mix briefly to break up the starter. Add 1/4 cup olive oil, one cup each of the flours, and the salt. With a dough hook, mix the dough until it comes together. If it’s still excessively sticky, add more flour until it becomes more manageable– it can stick to your fingers, but it shouldn’t coat your hand like a glove if you try to knead it. Let the mixer knead it until you can stretch a piece paper thin, about 10 minutes. Roll it into a ball, drizzle the bowl with olive oil and turn the dough to coat. Cover with plastic wrap and place in the fridge over night.
The next day, let the dough come up to room temperature, about 60-90 minutes. Rub olive oil onto a 9×13 baking sheet. Pat the dough out to fit the baking sheet and let it rise, covered, in a warm place for 2-3 hours, until it looks puffy and doubled. Meanwhile, preheat the oven to 475°. After the dough has risen, use your finger tips to make several indentations in the dough. Not holes, just dips. Drizzle an ample amount of olive oil over the dough and down its sides. The bread is essentially going to fry on top, so do be generous. Sprinkle the coarse salt and then spread the cranberries out. They might roll into great cranberry canyons, so you might need to press them gently into place.
Bake in the oven for 20-30 minutes, until the top is golden and crisp. Take it out of the oven and drizzle some more olive oil and scatter the herbs over the top. Using a pizza cuter, cut the focaccia into squares. Serve hot or a room temperature. If you happen to have leftovers, it makes a fabulous breakfast reheated in a toaster oven for about 5 minutes.
This post is participating in YeastSpotting, a “weekly showcase of yeasted baked goods and dishes with bread as a main ingredient” hosted by Wild Yeast, though guest hosted this week by Hefe und mehr.
Posted 13 years, 6 months ago at 9:59 pm. 3 comments
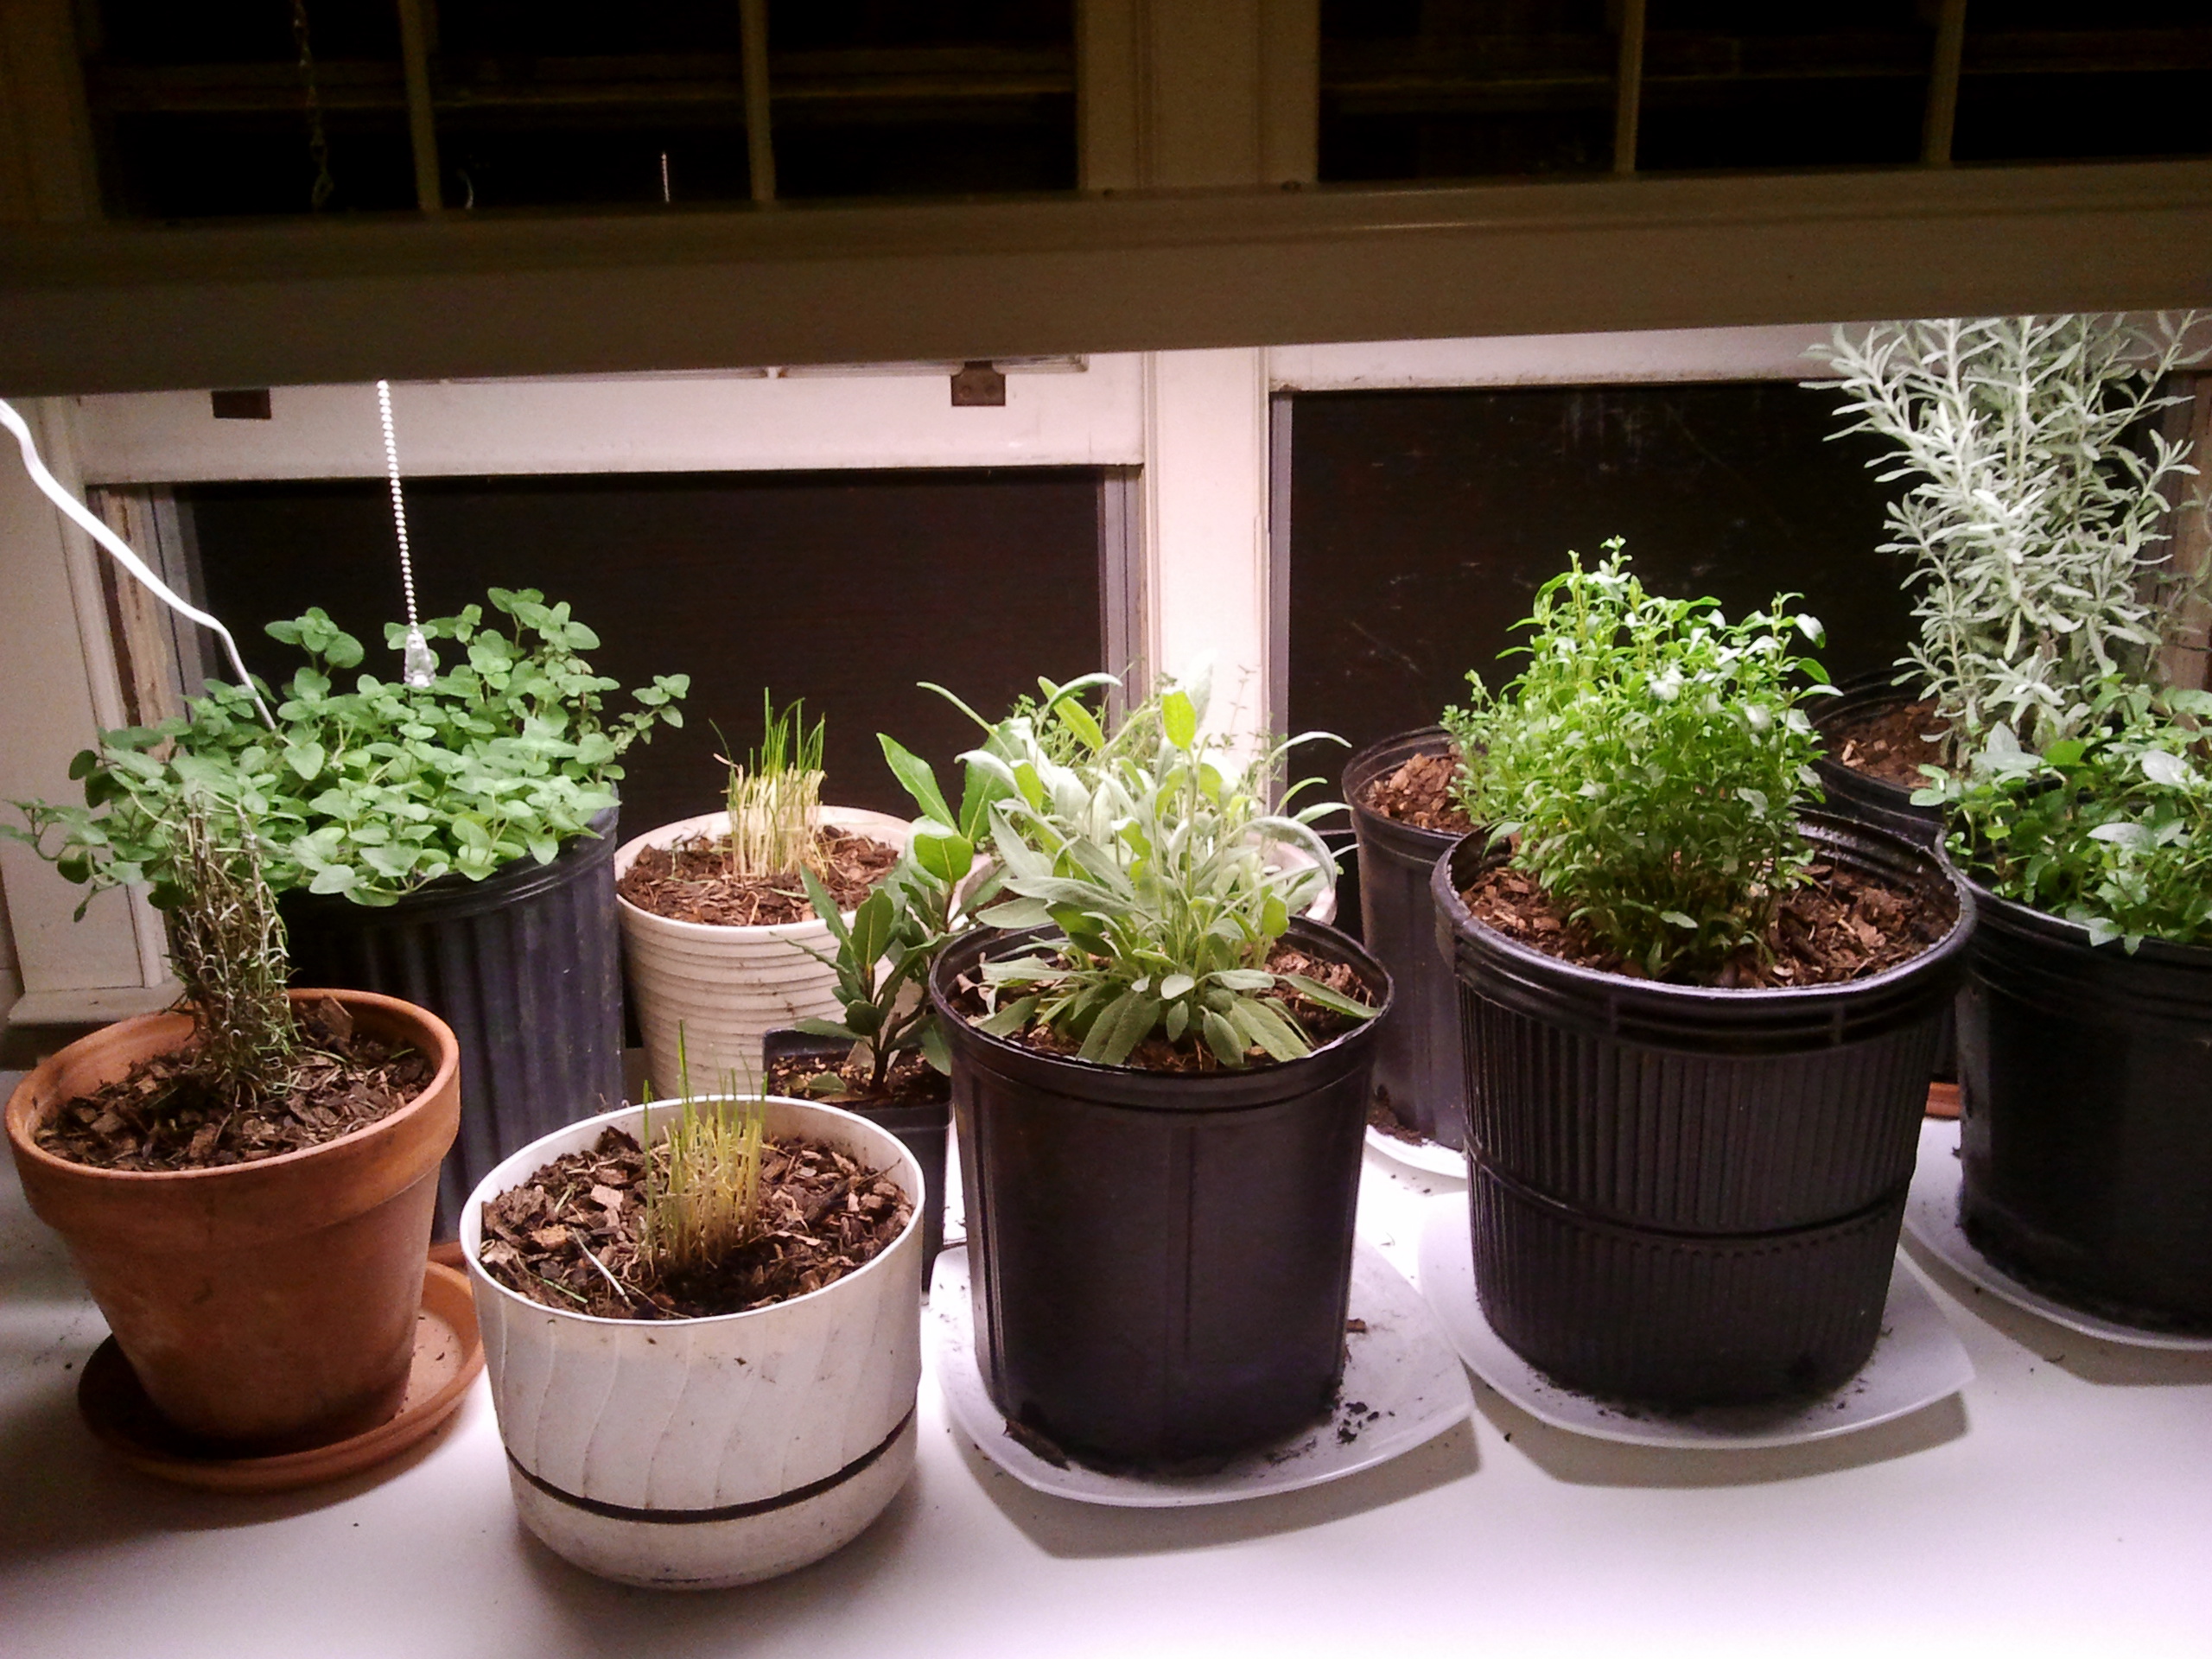 Now introducing the contestants for this seasons Survivor: Indoor Garden Edition. They face many challenges– from benign negligence on my part to a cat looking for a swanky litter box.
Will they be able to overcome such obstacles? Will Chocolate Mint try to take over the group? What will the Garlic Chives do when they find out they are twins? Is sickly Rosemary up to the challenge? Who will “cross pollinate” with who?
Only time will tell.
Posted 13 years, 7 months ago at 8:43 pm. 1 comment
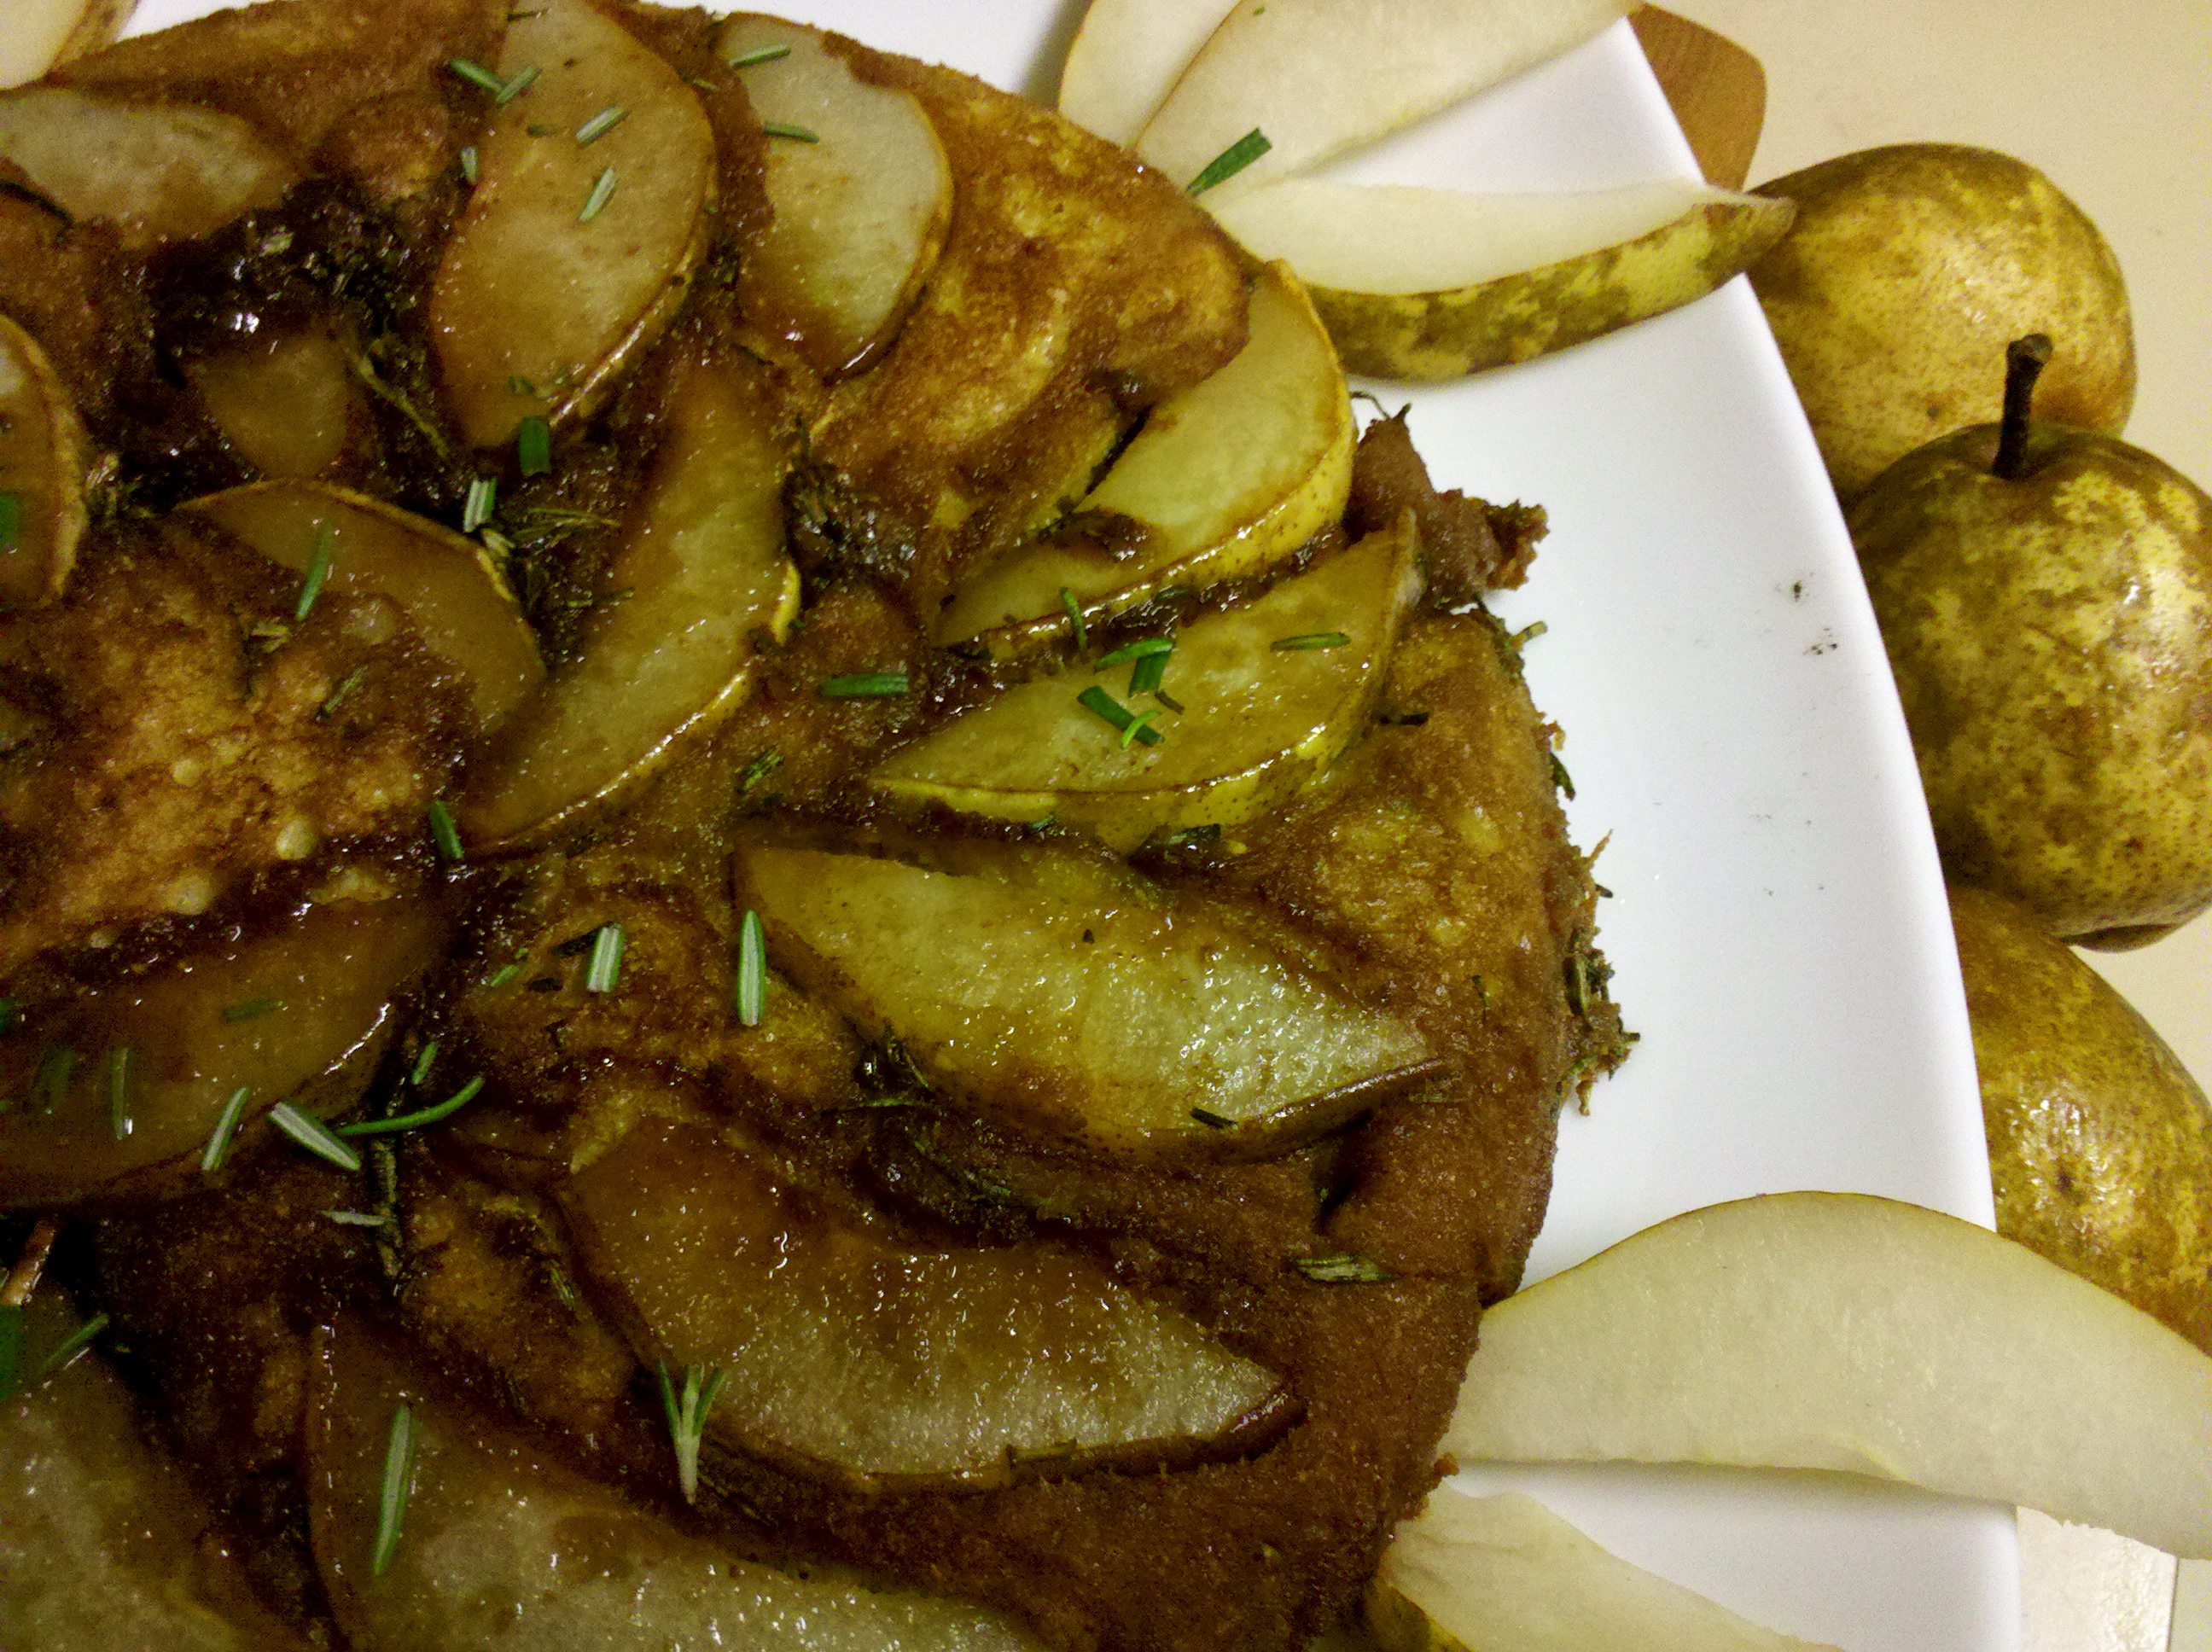 Impromptu cooking certainly has its magic, but there is something to be said for recipe sculpting. Carefully chipping away at burnt corners or smoothing out too tart flavors. I’ve made this pancake for the past month of Sunday mornings at least. Each time I chiseled into it a better form emerged.
I love pancakes. How I love them has admittedly changed through the years. As a child I remember looking forward to the chocolate chip studded ones. I’m sure my dorm mates remember my high school fascination with doughy anemic looking pancakes. There was a time when I was a purist and refused to defile my pancakes with anything but maple syrup. I’ve enjoyed them thin and stacked high with butter melting out through the layers.
The one thing I’ve never enjoyed about pancakes is actually making them. For one thing, I can never seem to get everything technically right. The batter is too thin and the pancakes run a marathon around the pan. Or the batter’s too thick and the resulting pancakes, while decent enough, are reminiscent of hamburger buns. Then there’s the whole heat issue. I get impatient waiting for the skillet to heat so my first pancakes take forever to cook, so I turn up the heat. Then the next several burn before they are done in the middle. About the last three pancakes are perfect.
But the reason I’d just about given up making pancakes was the endless standing over the stove– watching for bubbling dough, flipping, rescuing mis-flips, watching everyone else eat, and then finally just eating one straight off the skillet cause I’m too tired and hungry to sit down and enjoy it properly.
Also, I seem to be perpetually almost out of maple syrup.
While I’m not arrogant enough to call this the best pancake recipe ever, it does solve most of my pancake problems. Since it’s made all in one pan, the batter consistency is less of an issue. Baking it in the oven sidesteps the inconsistent heat hurdle. But the best part has to be that it’s all ready at the same time. Mr. Quotidian and I get to eat together and both have hot pancakes. Oh, and it doesn’t require maple syrup.

Pear and Rosemary Upside Down Pancake
Inspired by Nourished Kitchen and Epicurious
1/3 c whole wheat flour
1/3 c cornmeal
3/4 c buttermilk
1/4 cup whole cane sugar (rapadura or Succanat)
3 T chopped rosemary
1/2 tsp salt
2 tsp baking soda
2 eggs
1/2 stick butter
2 firm but ripe Bartlett pears, sliced about 1/4 thick
Use your fingers to whisk together the flour and cornmeal. Stir in the buttermilk till everything is evenly moistened. Cover with a damp tea towel or plastic wrap and let sit overnight (6-8 hours). Meanwhile, rub the chopped rosemary into the sugar.
After 6-8 hours, preheat the oven to 350°. In a small bowl mix together 1 T of the rosemary sugar mixture, the baking soda, and salt. Beat the eggs together in another small bowl. Then quickly stir together the eggs and the sugar mixture into the flour mixture. Melt the butter in a heavy 10 in skillet over low heat to avoid splattering. Tilt the skillet around so butter coats all the sides. Just as it starts to brown, arrange the sliced pears in a decorative pattern– remember this will be the top of the pancake. Then sprinkle the remaining rosemary sugar over the pears. Turn the heat up to medium high and cook until the pears are just barely tender and the sugar has begun to caramelize. Pour in the batter, being careful not to disturb the pears. Move the skillet to the oven and bake for 10 minutes, or until the pancake is golden brown and firm when tapped. Remove from the oven and run a knife around the outside. Place a plate on top of the skillet. Holding the plate and skillet together, invert them so the plate is on the bottom. Give a gentle shake and a small prayer, then remove the skillet. Replace any pears that have become dislodged from their place. If you had extra pear slices, arrange them around the outside of the plate. You can serve it with syrup if you’d like, but I prefer a sprinkling of extra rosemary.

Posted 13 years, 8 months ago at 9:09 pm. 4 comments

 It’s been over a year since I officially threw in the plow on vocational farming. One of the things I miss the most is the weekly harvest days before market. We carted, pulled, and dragged vegetables into the barn. They sat in piles. Stacks. Sometimes even pyramids. All waiting to be


