I was in denial about Nutella for quite awhile. It held great emotional significance for me. Capped under that white lid was countless sleepy mornings in the dorm packing my brown bag lunch next to my roommates. Swirled amidst the chocolate and hazelnuts was a rooftop picnic in Italy with crusty bread and fresh fruit. Sticking to the sides of the jar next to the reduced minerals whey….
Wait, what?
I told you I was in denial. Even though I’m an obsessive ingredient list reader, I refused to check the Nutella label for about two years. I didn’t want to know. In this one instance, I desperately wanted to believe the front of the label with the bright cheery apples and oranges next to toast spread with Nutella.
One day I took the plunge. I turned the jar around and read this label:
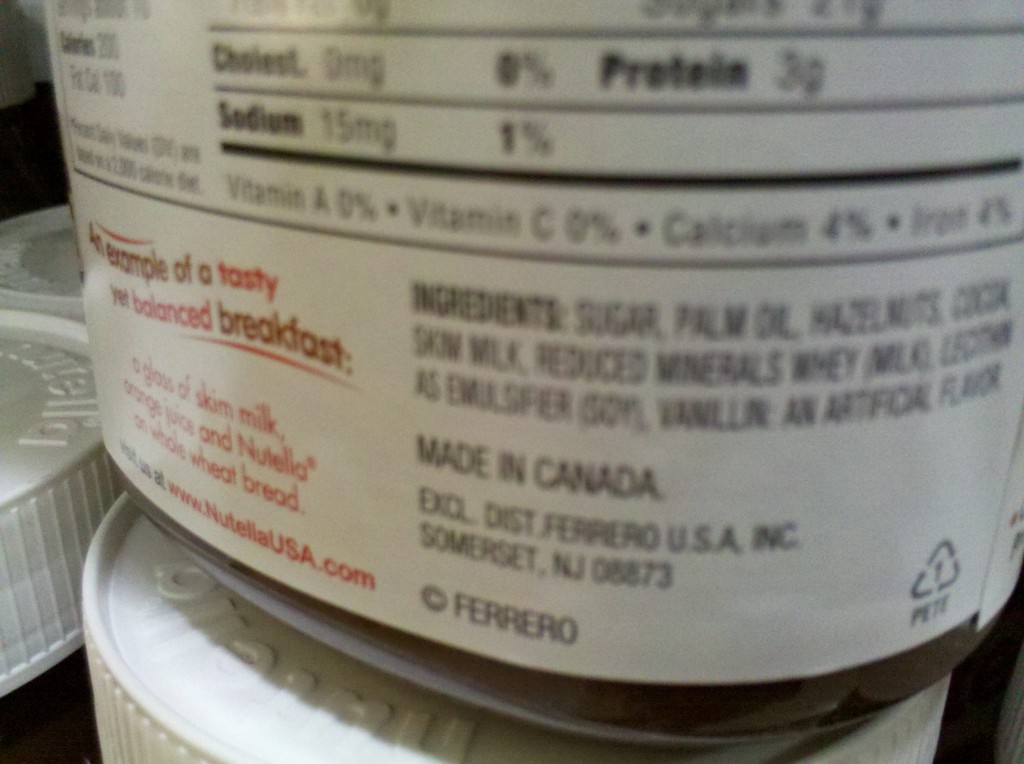
(For those of you who can’t read my jiggling-baby-on-hip-camera-phone-quality picture, the ingredients are: sugar, palm oil, hazelnuts, cocoa, skim milk, reduced minerals whey, lecithin, vanillin.)
Just as quickly I stuffed that memory down into my subconscious with miscellaneous childhood humiliations. I bought several more jars of Nutella over the next several months in this state of forced forgetfulness. Finally I had to be honest with myself; this was not the kind of food-like substance I wanted to eat.
While I’m sure if I looked hard enough I could find an artisanal chocolate hazelnut spread that some guy makes using nuts from his backyard and chocolate imported from his Swiss grandmother all packaged in a vintage heirloom glass jar, I have too strong of a DIY gene for that nonsense.
A quick check with Uncle Google revealed that homemade Nutella is nothing new. Still, none of the recipes were quite up to my real food standard. They either included massive amounts of sugar or dry milk powder, a product that gives me the heebie jeebies. Was it not possible to make a chocolate hazelnut spread that contained only whole fresh ingredients- ones that I’d eat separately anyway?
Happily, yes it most definitely is. With soaked and sprouted hazelnuts as a base, real cream, and no sugar other than what’s in the chocolate, this recipe is genuinely nourishing without sacrificing tastiness. Soaking and sprouting the nuts increases the availability of protein, vitamins, and minerals while decreasing the effects of nutrient inhibitor phytic acid. The resulting spread is not as creamy as store bought Nutella. Little nibbles of hazelnut remain, which I find quite enjoyable. If you’re seeking imitation perfection though, strain the spread through a fine mesh sieve before storing it in jars.
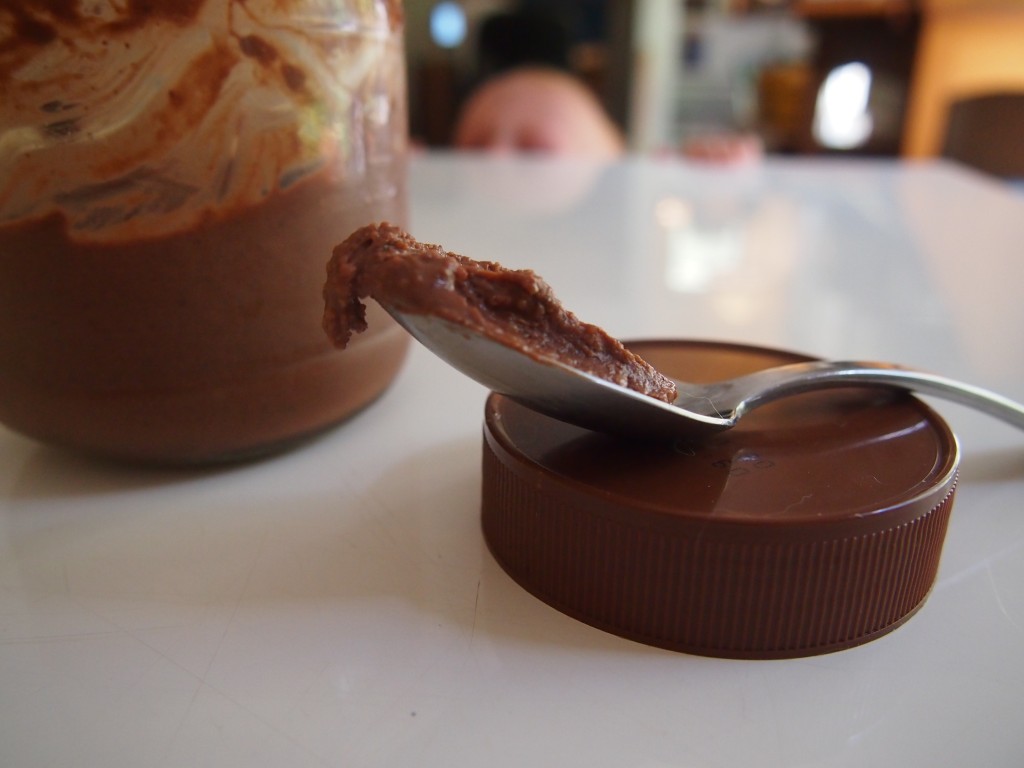
Homemade Three Ingredient “Nutella”
adapted from
David Lebovitz’s recipe
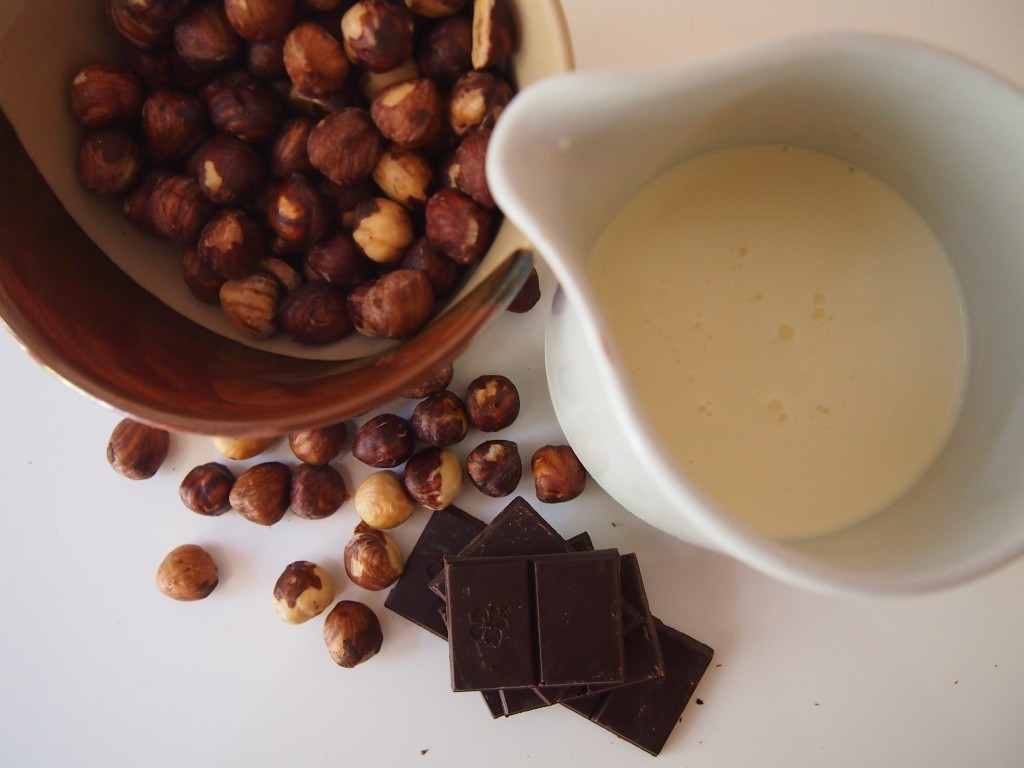
2 cups hazelnuts
12 oz of your favorite chocolate
2 cups cream (or leftover whey)
salt*
Pour hazelnuts into a large bowl and cover with warm water. Let them soak overnight in a warm place. I put it in my gas oven over the pilot light. The next morning, drain the nuts in a colander. You may stop here and proceed to roasting them, or you may choose to continue rinsing them every few hours until they just barely sprout.
Preheat your oven (or toaster oven) to 350°. Spread the nuts out in a single layer on a rimmed baking sheet. Roast for about 10-15 minutes or until toasty brown goodness wafts from your kitchen. Stir or shake the pan occasionally to make sure they are browning evenly. Take the pan out of the oven and let the nuts cool slightly.
While the nuts cool, place a heatproof bowl on top of a pot filled with a few inches of water. Or use a double boiler. Place your chocolate in a bowl and allow it to melt over medium heat, stirring occasionally, until it is smooth throughout.
Warm the milk in a small saucepan until it is just above blood temperature (about 100°). Don’t be a perfectionist; just stick your finger in there and if it feels like bath water, you’re golden.
Gather your nuts into the middle of a large tea towel or in a pillow case. Rub the towel over them vigorously until most of the skins have been removed. Don’t be a perfectionist.
Place the nuts and a two generous pinches of salt in the bowl of a food processor and whirl away until they almost become a nut butter. (Be sure to warn any toddlers in the house that there will be a loud noise.) Add the chocolate and whirl again until evenly incorporated. You might have to stop to scrape down the sides a few times. With the motor still running, slowly pour in the warm milk. (Again, stopping if necessary to scrape the sides.) Once the mixture is smooth and homogeneous, pour it into two pint jars (or two jars you’ve saved from previous Nutella indulgences). You may strain the spread through a sieve to remove the bits of hazelnut. Personally, that’s too much work and I quite like the chunkiness anyway.
Store your
Nutella chocolate hazelnut spread in the fridge for about a week to ten days. Freeze it for up to a few months.
Eat it with a spoon. Or fingers. Your prerogative. Leave the guilt in the fridge.
*So I realize that the salt technically makes it four ingredients. But let’s not quibble over details, a’right?
Posted 12 years, 10 months ago at 7:57 pm. 7 comments
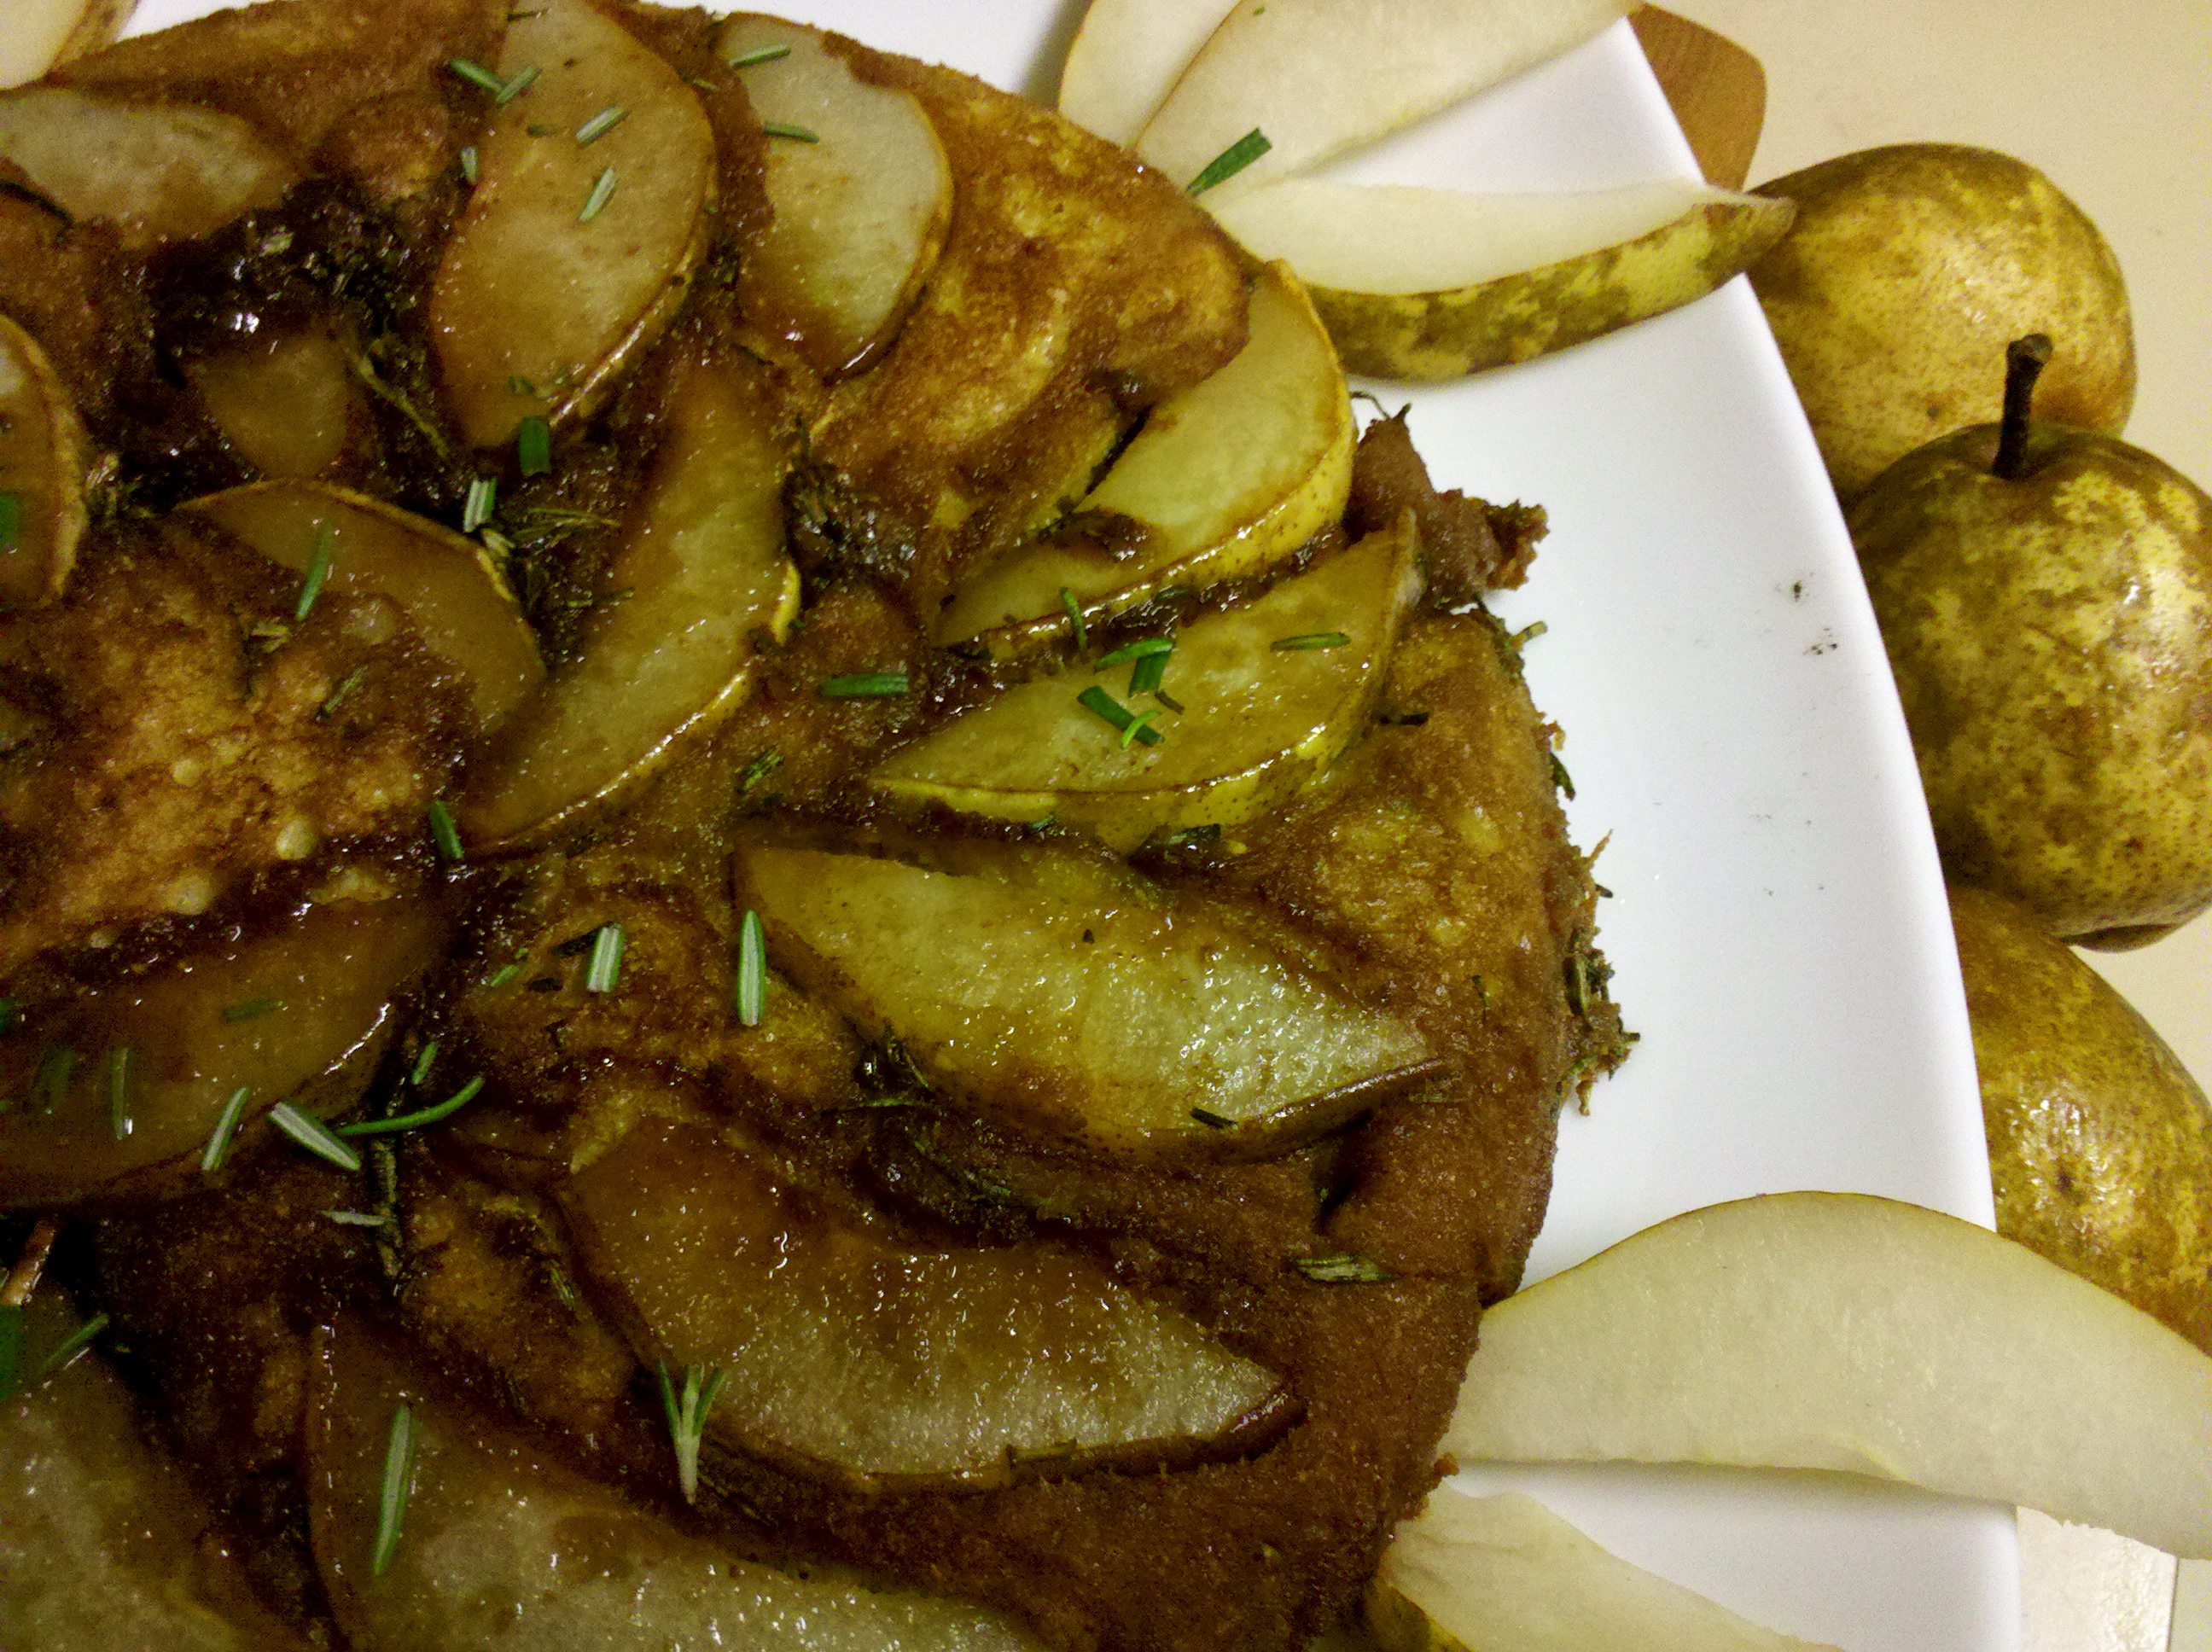 Impromptu cooking certainly has its magic, but there is something to be said for recipe sculpting. Carefully chipping away at burnt corners or smoothing out too tart flavors. I’ve made this pancake for the past month of Sunday mornings at least. Each time I chiseled into it a better form emerged.
I love pancakes. How I love them has admittedly changed through the years. As a child I remember looking forward to the chocolate chip studded ones. I’m sure my dorm mates remember my high school fascination with doughy anemic looking pancakes. There was a time when I was a purist and refused to defile my pancakes with anything but maple syrup. I’ve enjoyed them thin and stacked high with butter melting out through the layers.
The one thing I’ve never enjoyed about pancakes is actually making them. For one thing, I can never seem to get everything technically right. The batter is too thin and the pancakes run a marathon around the pan. Or the batter’s too thick and the resulting pancakes, while decent enough, are reminiscent of hamburger buns. Then there’s the whole heat issue. I get impatient waiting for the skillet to heat so my first pancakes take forever to cook, so I turn up the heat. Then the next several burn before they are done in the middle. About the last three pancakes are perfect.
But the reason I’d just about given up making pancakes was the endless standing over the stove– watching for bubbling dough, flipping, rescuing mis-flips, watching everyone else eat, and then finally just eating one straight off the skillet cause I’m too tired and hungry to sit down and enjoy it properly.
Also, I seem to be perpetually almost out of maple syrup.
While I’m not arrogant enough to call this the best pancake recipe ever, it does solve most of my pancake problems. Since it’s made all in one pan, the batter consistency is less of an issue. Baking it in the oven sidesteps the inconsistent heat hurdle. But the best part has to be that it’s all ready at the same time. Mr. Quotidian and I get to eat together and both have hot pancakes. Oh, and it doesn’t require maple syrup.

Pear and Rosemary Upside Down Pancake
Inspired by Nourished Kitchen and Epicurious
1/3 c whole wheat flour
1/3 c cornmeal
3/4 c buttermilk
1/4 cup whole cane sugar (rapadura or Succanat)
3 T chopped rosemary
1/2 tsp salt
2 tsp baking soda
2 eggs
1/2 stick butter
2 firm but ripe Bartlett pears, sliced about 1/4 thick
Use your fingers to whisk together the flour and cornmeal. Stir in the buttermilk till everything is evenly moistened. Cover with a damp tea towel or plastic wrap and let sit overnight (6-8 hours). Meanwhile, rub the chopped rosemary into the sugar.
After 6-8 hours, preheat the oven to 350°. In a small bowl mix together 1 T of the rosemary sugar mixture, the baking soda, and salt. Beat the eggs together in another small bowl. Then quickly stir together the eggs and the sugar mixture into the flour mixture. Melt the butter in a heavy 10 in skillet over low heat to avoid splattering. Tilt the skillet around so butter coats all the sides. Just as it starts to brown, arrange the sliced pears in a decorative pattern– remember this will be the top of the pancake. Then sprinkle the remaining rosemary sugar over the pears. Turn the heat up to medium high and cook until the pears are just barely tender and the sugar has begun to caramelize. Pour in the batter, being careful not to disturb the pears. Move the skillet to the oven and bake for 10 minutes, or until the pancake is golden brown and firm when tapped. Remove from the oven and run a knife around the outside. Place a plate on top of the skillet. Holding the plate and skillet together, invert them so the plate is on the bottom. Give a gentle shake and a small prayer, then remove the skillet. Replace any pears that have become dislodged from their place. If you had extra pear slices, arrange them around the outside of the plate. You can serve it with syrup if you’d like, but I prefer a sprinkling of extra rosemary.

Posted 13 years, 8 months ago at 9:09 pm. 4 comments
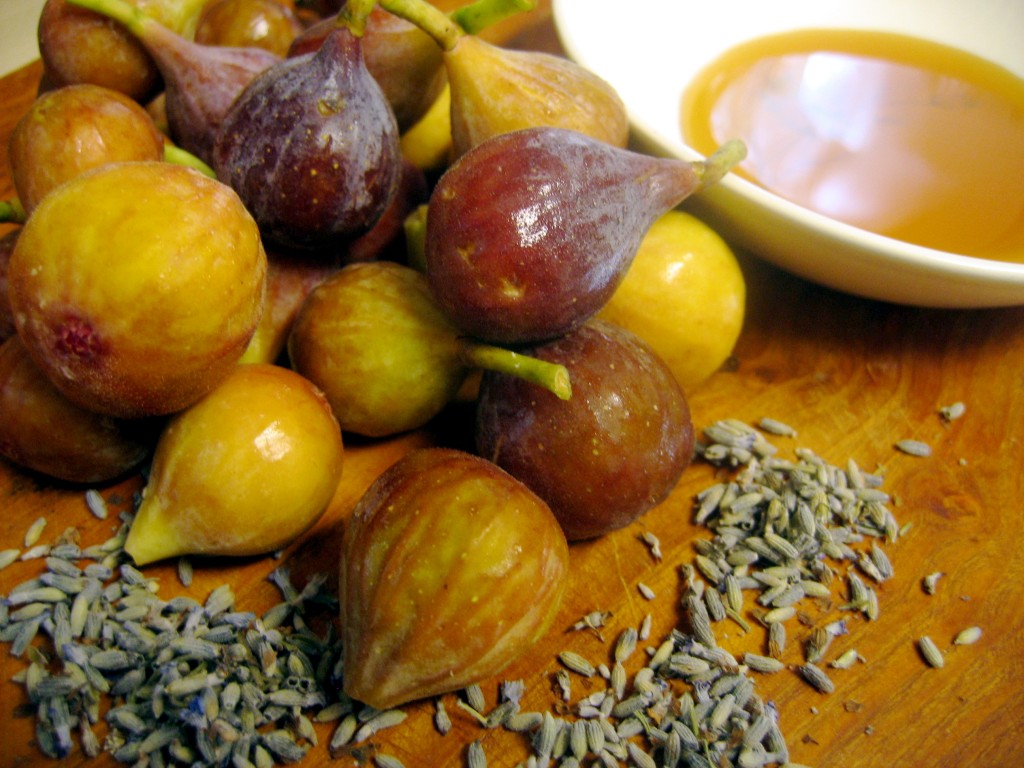
I feel like this post ought to start with some quip about the inferiority of Fig Newtons and Pop Tarts. But anything I think of either sounds lame or pretentious. “Fig Newtons are only a figment of your imagination compared to this!” or “Pop Tarts: the illegitimate child of a tart.” See? I told you– I somehow manage to be lame and pretentious (and slightly risque) at the same time. Continue Reading…
Posted 13 years, 10 months ago at 1:20 pm. 2 comments
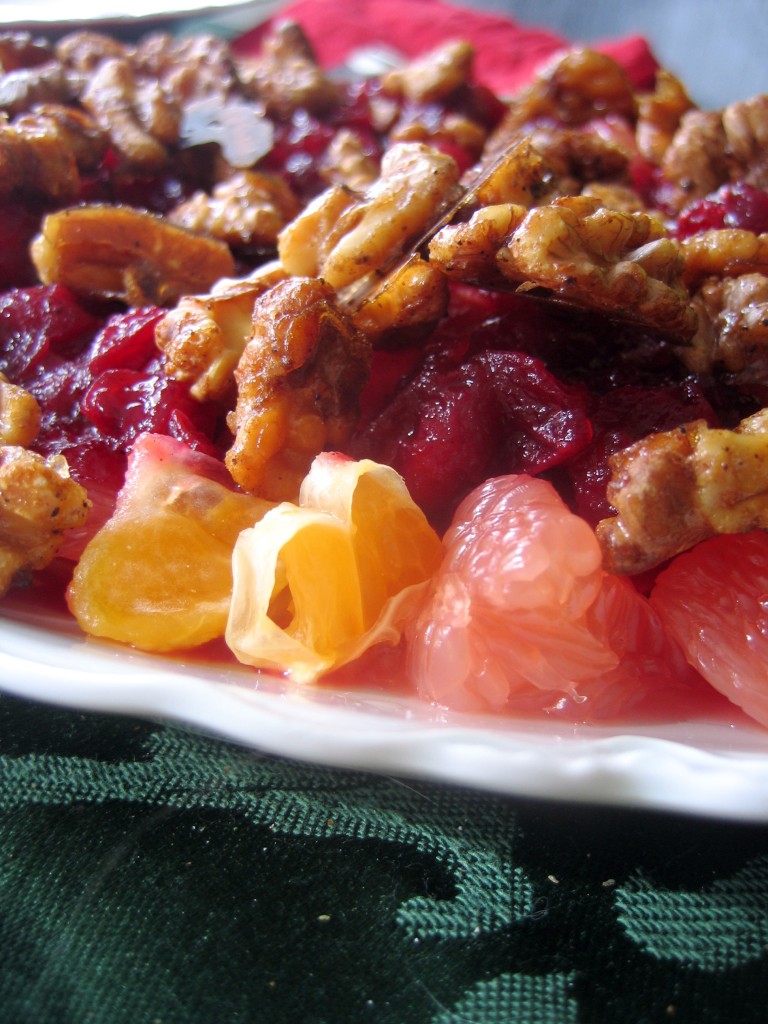 I love citrus. While most cookbooks and online recipe forums seem to think that citrus is best enjoyed in the dog days of summer, I love that it’s true season is actually the mid- winter months. Like a doting grandmother who slips you a bright little foil wrapped piece of candy in that long half hour before dinner, citrus waits till the dark days of winter to ripen.
While it’s true that citrus isn’t necessarily local, unless you happen to live in Florida, California, or parts of Texas, it is a seasonal fruit, just like anything else. So, while most of us can’t buy citrus from one of our farmer friends, it is still possible to buy it at the peak of its season when it’s freshest, imported the least number of miles, and most importantly– tastiest. For me, that means taking advantage of the natural down time that winter gives us and chowing down on all the grapefruits, tangerines, oranges, clementines, lemons, limes, pomelos, and tangelos I can eat. Peggy Bourjaily wrote an excellent piece for NPR’s Kitchen Window series about this practical locavorism.
Citrus in winter is also a nostalgic thing for me. Truth be told, I would probably eat it in the winter even if it wasn’t in season then. (Conveniently enough though, I get to keep my moral high ground.) As kids, we would always get an orange in the toe of our stocking at Christmas. I don’t know how often we actually ate the orange, but it was of utmost importance that it was there. Since starting our own Christmas traditions, Mr. Quotidian and I have dispensed with the usual stockings filled with odds and ends that end up getting lost or broken in a few weeks. Instead, we leave a pad of paper and pencil by the stockings and write down memories of the other person, then put the memory in the other’s stocking. So, by Christmas morning, we have stockings stuffed with memories. I love the tradition, but obviously an orange would feel rather out of place in such a situation. However, a Christmas without citrus seemed hollow and dull. I realized the easiest way to solve the situation was to serve citrus at one of our Christmas meals. Since citrus doesn’t do well with a cheese fondue, Christmas Eve was out. However, when I remembered a recipe for a salad using oranges and cranberries, Christmas brunch seemed the ideal way to include this jolly, festive fruit. New Year’s brunch would be delicious too…paired with a mimosa perhaps? Continue Reading…
Posted 14 years, 5 months ago at 6:52 pm. 1 comment
Recipe:
It is important to work the dough as little as possible—work quickly and knead and fold the dough only the number of times called for. The butter should be frozen solid before grating. In hot or humid environments, chill the flour mixture and work bowls before use. While the recipe calls for 2 whole sticks of butter, only 10 tablespoons are actually used (see step 1). If fresh berries are unavailable, an equal amount of frozen berries (do not defrost) can be substituted. An equal amount of raspberries, blackberries, or strawberries can be used in place of the blueberries. Cut larger berries into 1/4- to 1/2-inch pieces before incorporating. Refrigerate or freeze leftover scones, wrapped in foil, in an airtight container. To serve, remove foil and place scones on a baking sheet in a 375-degree oven. Heat until warmed through and recrisped, 8 to 10 minutes if refrigerated, 16 to 20 minutes if frozen. See final step for information on making the scone dough in advance.
Makes 8
| 16 |
tablespoons unsalted butter (2 sticks), frozen whole (see note above) |
| 1 1/2 |
cups fresh blueberries (about 7 1/2 ounces), picked over (see note) |
| 1/2 |
cup whole milk |
| 1/2 |
cup sour cream |
| 2 |
cups unbleached all-purpose flour (10 ounces), plus additional for work surface |
| 1/2 |
cup sugar (3 1/2 ounces), plus 1 tablespoon for sprinkling |
| 2 |
teaspoons baking powder |
| 1/4 |
teaspoon baking soda |
| 1/2 |
teaspoon table salt |
| 1 |
teaspoon grated lemon zest |
See Illustrations Below:
1. Adjust oven rack to middle position and heat oven to 425 degrees. Score and remove half of wrapper from each stick of frozen butter. Following photo at left, grate unwrapped ends on large holes of box grater (you should grate total of 8 tablespoons). Place grated butter in freezer until needed. Melt 2 tablespoons of remaining ungrated butter and set aside. Save remaining 6 tablespoons butter for another use. Place blueberries in freezer until needed.
2. Whisk together milk and sour cream in medium bowl; refrigerate until needed. Whisk flour, 1/2 cup sugar, baking powder, baking soda, salt, and lemon zest in medium bowl. Add frozen butter to flour mixture and toss with fingers until thoroughly coated.
3. Add milk mixture to flour mixture; fold with spatula until just combined. With rubber spatula, transfer dough to liberally floured work surface. Dust surface of dough with flour; with floured hands, knead dough 6 to 8 times, until it just holds together in ragged ball, adding flour as needed to prevent sticking.
4. Roll dough into approximate 12-inch square. Following illustrations, fold dough into thirds like a business letter, using bench scraper or metal spatula to release dough if it sticks to countertop. Lift short ends of dough and fold into thirds again to form approximate 4-inch square. Transfer dough to plate lightly dusted with flour and chill in freezer 5 minutes.
5. Transfer dough to floured work surface and roll into approximate 12-inch square again. Sprinkle blueberries evenly over surface of dough, then press down so they are slightly embedded in dough. Using bench scraper or thin metal spatula, loosen dough from work surface. Roll dough, pressing to form tight log. Lay seam-side down and press log into 12 by 4-inch rectangle. Using sharp, floured knife, cut rectangle crosswise into 4 equal rectangles. Cut each rectangle diagonally to form 2 triangles and transfer to parchment-lined baking sheet.
6. Brush tops with melted butter and sprinkle with remaining tablespoon sugar. Bake until tops and bottoms are golden brown, 18 to 25 minutes. Transfer to wire rack and let cool 10 minutes before serving.
To Make Ahead:
After placing the scones on the baking sheet, either refrigerate them overnight or freeze. When ready to bake, for refrigerated scones, heat oven to 425 degrees and follow directions in step 6. For frozen scones, heat oven to 375 degrees, follow directions in step 6, and extend cooking time to 25 to 30 minutes.
Step-by-Step: Grating Butter

Use the wrapper to hold the frozen butter while grating it on the large holes of a box grater. Grate 4 tablespoons from each stick of butter. |
Step-by-Step: Folding and Shaping the Scones
My thoughts:
How could you not love these?

Inside a crispy crust are buttery layers enfolding juicy blueberries that pop in your mouth like fireworks. I don’t think I’ve ever worked with a more helpful recipe. It felt like having a pastry chef with me in the kitchen.
Some other filings I’d like to try:
- Candied ginger
- Strawberry
- Rosemary and ham
Gary verdict: “They were all gone before I had even a tenth of what I could’ve eaten.”
Posted 16 years, 2 months ago at 1:30 pm. Add a comment


