It’s become trendy to talk about “using the whole chicken.” Tips for starting with one roast chicken and feeding yourself for a week are plastered over the internet. People are becoming aware that a chicken consists of more that just two boneless breasts. There are thighs, wings, necks, backs. Even bones to be used.
This is a good thing. If one is going to eat animals, every effort should be made to let none of it go to waste. Authors like Shannon Hayes in her book Long Way on a Little make clear the fact that thrift and ethics are bedfellows far more often than we assume.
And yet I rarely hear this same philosophy applied to other foods. While fruits and vegetables largely have the sentient suffering aspect removed, there are still costs associated with their production and distribution. For most products in the grocery store, there is the often mentioned “food miles,” the distance a particular food must travel from where it’s grown to your plate. Even the holy grail of organic, local, in season produce is hopped up on the farmer’s worry, sweat, consternation, and exhaustion. All food has cost someone something to get to you.
Maybe it’s my latent farmer resurfacing or my frugal midwestern gene, but I don’t take those sacrifices lightly. Though it may seem lip pursingly prudish, I genuinely try to use the whole of every bit of food that comes through my kitchen. I save my bacon grease in a jar in the fridge. Pickle juice hangs around in another jar long after all the pickles are eaten. Eggshells are baked and fed back to the chickens. My houseplants get regular infusions of day old herbal tea. And of course there is the alchemy of compost turning my coffee grounds into soil. I strive to make everything food for something else, whether for me or one of the dozens of other living organisms in our household.
Most of these processes happen naturally and under the radar. But there are some things that are so special that extra effort seems required to make full use of them. Winter citrus season is one of those times.
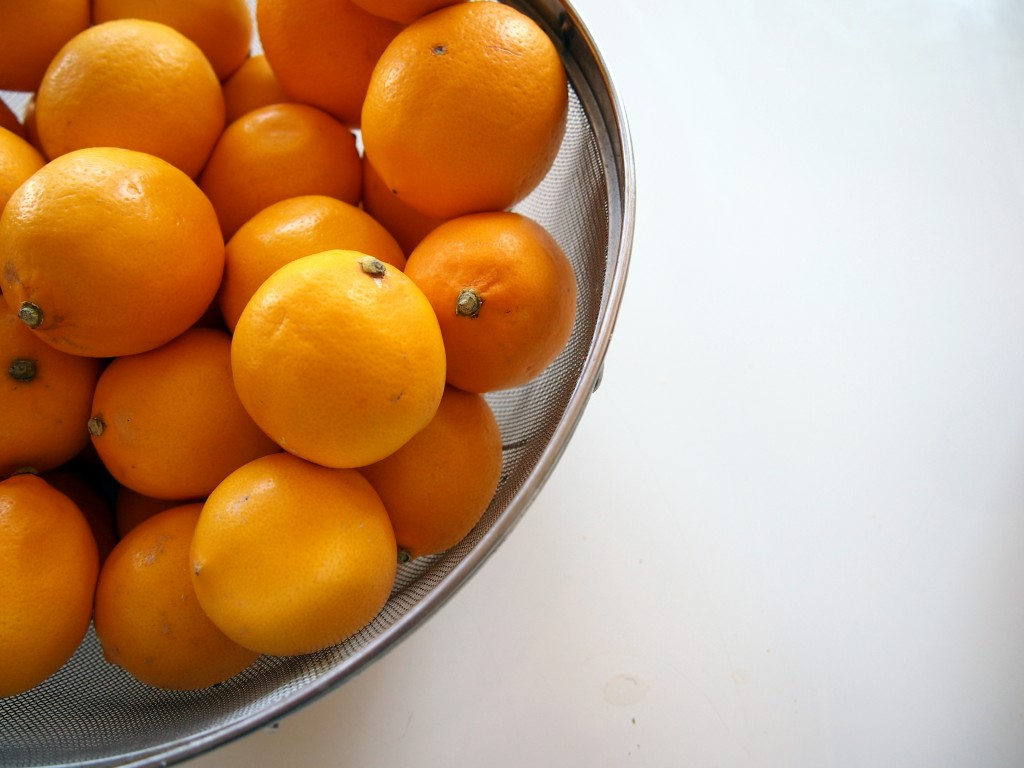
Every year during the darkest days of winter several boxes of jewel bright citrus is delivered to our doorstep. They come from Beck Grove near San Diego. Helene and Robert Beck are responsible for these spicy blood oranges and zesty meyer lemons.
These beauties are precious. They come from far away and are the result of tremendous care. And they cost a pretty penny too. It seems a waste bordering on disrespect to squeeze out their innards and toss the rest in the compost.
These fruits have so much more to offer. Just like a chicken, lemons are made up of lots of different parts, all of them useful.
The anatomy of a lemon, in brief
The zest:
This is where most of the lemony flavor and scent reside, thanks to oils trapped in the skin. The zest is just the very thin topmost layer. There are lots of tools available to help you remove the zest only. My personal favorite is a microplane grater.
The pith:
This is the white layer directly below the intensely flavored zest. While on meyer lemons, the pith is relatively thin, other citrus have a much thicker pith that must be removed before eating the fruit. While it’s not exactly true that the pith is so bitter it will ruin your dish if any gets in, it is in the very least not flavor-ful. It is bland, spongy, and as better cooks than me have said, not good eats. Unprocessed that is. The pith contains natural pectin, much like apple peels and cores.
The fruit meat/ juice:
This is the part that most people are familiar with using. I trust it needs no other explanation.
The seeds:
Like the pith, the seeds are not particularly appetizing on their own. However, they are rich in natural pectin.
The carcass:
This is my homespun term for that leftover part of a citrus fruit that’s left after zesting and squeezing. It’s generally made up of large amounts of pith and rind with fragments of the meat and juice.
So how does all this come together? How does a cook use make use of all these parts?
There’s no tidy recipe I can give you. Different applications will lend themselves to different uses for each part. The best advice I can give is to get in the habit of looking at lemons (and indeed, most produce) as having many parts rather than just a single use. See the zest, the pith, and the juice as separate entities. Once you get used to doing this mentally, it will be much easier to break them down in you kitchen.
Here are some of the ways I’ve found to use the whole lemon:
- Dry or freeze the zest for later use in recipes calling for it. I always make a habit of zesting my citrus whether or not the recipe calls for it or not. If I don’t use it in that recipe, I save it for something else. If you don’t have a lot of it, it dries quite well in a bowl on your counter. No dehydrator necessary.
- Freeze the juice in ice cube trays to make lemonade during the summer.
- Throw the carcasses in a jar and cover with white vinegar. Steep for a few weeks and strain. Dilute with water and use for cleaning. (Compost the spent carcasses!)
- Freeze the carcasses in a single layer on a baking sheet. Once they are frozen solid, transfer to a freezer bag. Keep one or two in your water pitcher in the fridge. Or use as flavorful ice cubes in your glass. Admittedly they are not as posh looking as lemon slices, but they get the job done.
- Make your own pectin from the seeds and pith.
- Make citrus candy from the peels.
- Keep a pot of water simmering on the back of your stove with the carcasses and a clove or cinnamon stick. It makes the air smell nice and also adds a much needed dose of humidity to the winter air.
- Make citrus salt by putting a few carcasses in a jar and covering with sea salt. Let it sit for a few weeks and then pull out the lemons.
How do you make the most of your precious foods? What is your favorite way to use citrus?
Posted 11 years, 5 months ago at 10:17 am. 1 comment
There are some kitchen activities that lend themselves to metaphor. Even if you are not a cook, you will likely know what I mean if I tell you about someone getting roasted at work. Or how I steep in the silence of the early morning before anyone else is up. Or how I have an idea percolating on the back burner.
But then there are other activities that only come to mean more through seemingly endless repetition. Whether specific recipes, chores, or rituals, these processes tend to become very personal symbols that are hard to communicate to anyone else. It goes beyond dog eared cookbooks and even beyond consciously recalling a recipe from memory. The process becomes some kind of psychic extension of yourself. You do them not just to have food in the fridge but because the making feeds your soul.
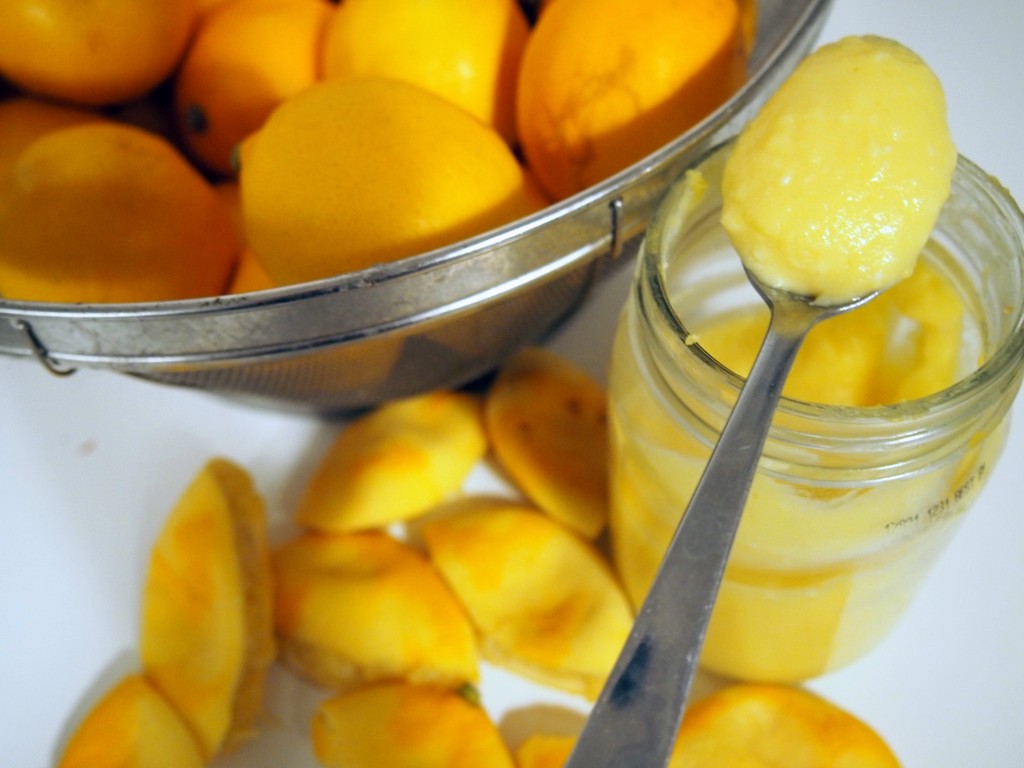
Making lemon curd is like that for me.
Every winter I not so patiently wait for the email notice from Local Harvest that meyer lemons and blood oranges are in season. I quickly order several boxes, always afraid that my favorites from Beck Grove will be sold out before I get any. It’s how I imagine the people camping in line for the newest tidbit of technology feel. About a week later, I hear the boxes thud by the door. For the next several weeks my time is spent processing 20 pounds of meyer lemons and another 25 pounds of blood oranges. Dried orange and lemon rings, citrus vinegar, “bloody” marmalade, limoncello… each year I seem to run out of fruit before I’ve finished preserving.
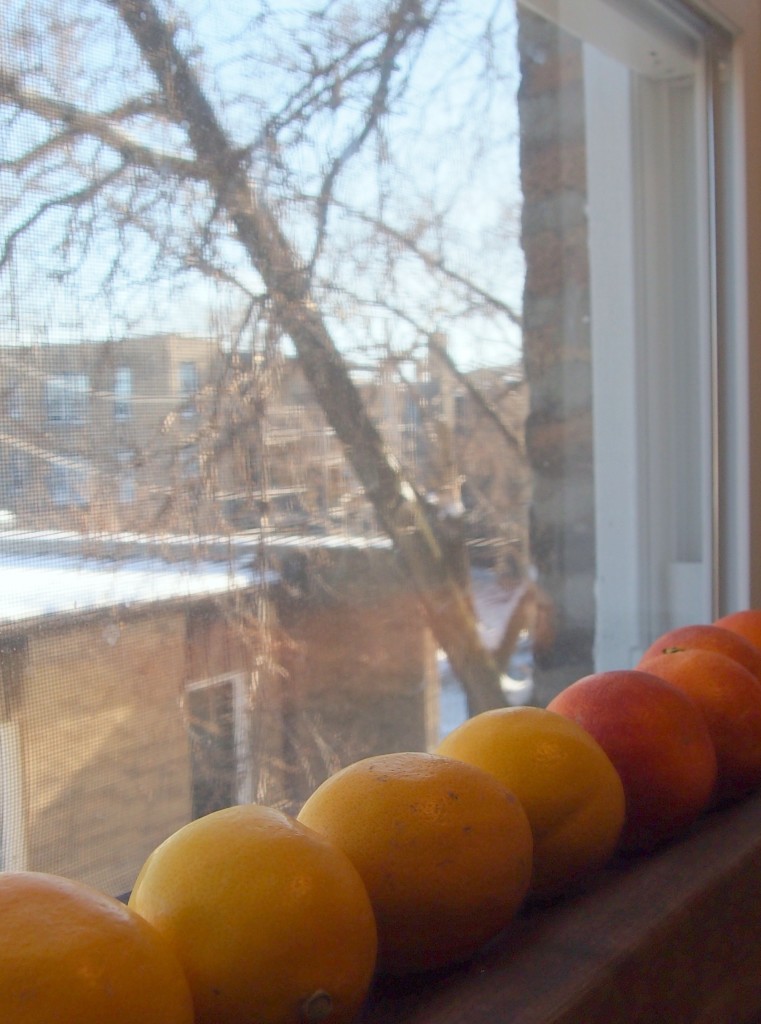
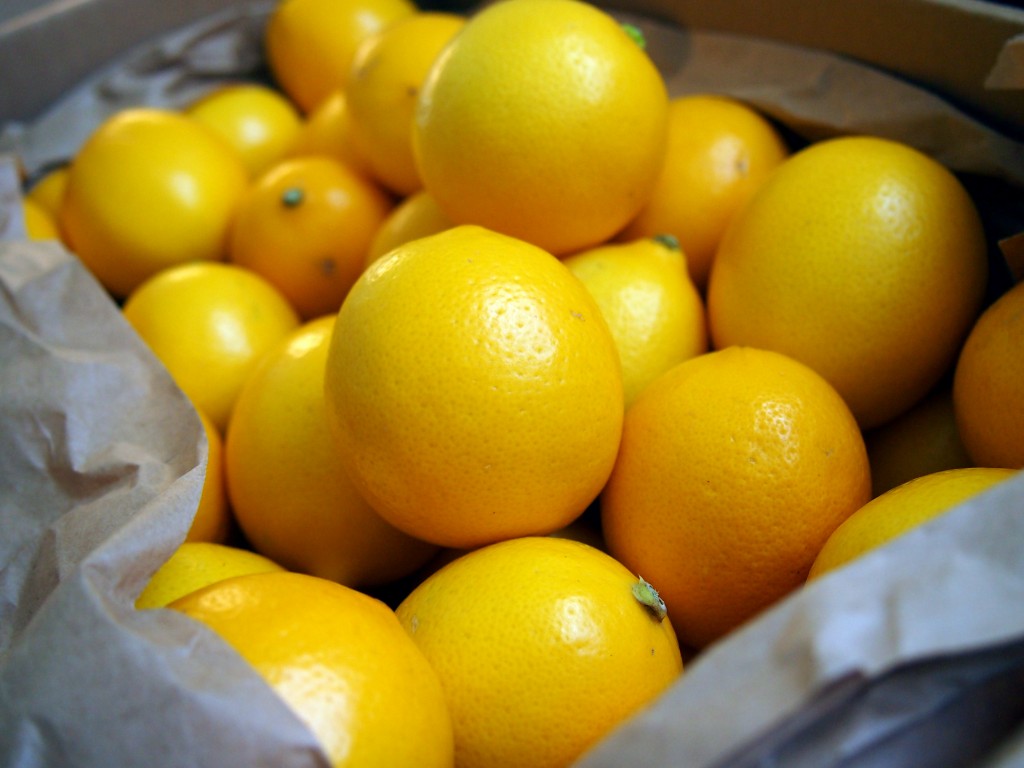
I love everything about preserving these fruits. From lining them up on my window sill against the steely winter sky to the blood red stains on my counter.This year I had the privilege of sharing that joy with one of my favorite people. Theodore helped me haul the heavy boxes up the steps and into the kitchen. He helped open the boxes and wasn’t the only one that squealed when the glowing yellows were revealed. It was with a small sense of loss that I let him carry one around the house, knowing that it wouldn’t be salvageable for any recipe after he was done with it. But the loss was recuperated as I got to watch his curiosity lead him to knead, squish, poke, roll, and taste that lemon. Now whenever he sees the lemons sitting on the counter, he insists whoever is at home come smell them, even the cats. I hope to be the kind of parent that will protect and foster that pleasure into his adulthood. Someone who sees such a gift in just the scent of a lemon would truly be a gift to the world.


But the part that speaks to my soul is making lemon curd. Somehow, I become the eggs that break. The lemons that are squeezed so hard they bleed. The butter that finds itself melting away with no way to come back. And I feel the whisking. Endless whisking. As I stand over the pot, I feel the flame a little to close to my hand, but I keep whisking. I feel the disturbance in my soul. Beaten to a froth and then beaten some more. Constant constant motion. Never reaching equilibrium. Ceaseless whirling. I begin to wonder when it will end. How long? How long? I don’t know how much more I can take.
Suddenly.
There’s a thickness that wasn’t there before. The whisk moves more slowly, disturbing less with every stroke. Things become still in the center of the pot. I can see the tracks of where I’ve been. The heat is removed. I can almost hear the curd take in its first breath. And I breathe more deeply too.
Is it any wonder that the result of this process is a food that I can’t seem to get enough of? Though it may be possible to point to all the good fats in the butter, the selenium in the pastured eggs, or the vitamin C in the lemon juice, I think there is more going on here than mere nutrition. It is soul food of a different dimension.
Meyer Lemon Curd with Cardamom
makes 2 pints
6-8 Meyer lemons
6 eggs
1/3 cup honey
1 stick butter
2 tsp ground cardamom
Zest the lemons and reserve the zest. Juice them into a measuring cup until you have one full cup. If you are on the cusp of 1 cup, go ahead and juice another lemon. It’s better to have a little too much than too little. Whisk the eggs and honey in a medium pot. Pour the lemon juice through a fine sieve into the mixture and whisk until it’s the color of the first sunny day in spring. Slice the butter into pats and drop into the mixture. Turn the heat to medium high and whisk in the melting butter. Keep whisking almost constantly to avoid the eggs cooking up into chunks. When it suddenly thickens and coats the back of a spoon, turn off the heat and stir in a generous pinch of zest and the cardamom. Pour into jars. Eat one jar straight with a spoon. Tell your family the recipe only made one pint. The curd keeps in the fridge for at least a week and freezes well, though it looses a bit of it’s satiny texture upon thawing.
Posted 11 years, 5 months ago at 10:15 am. 1 comment
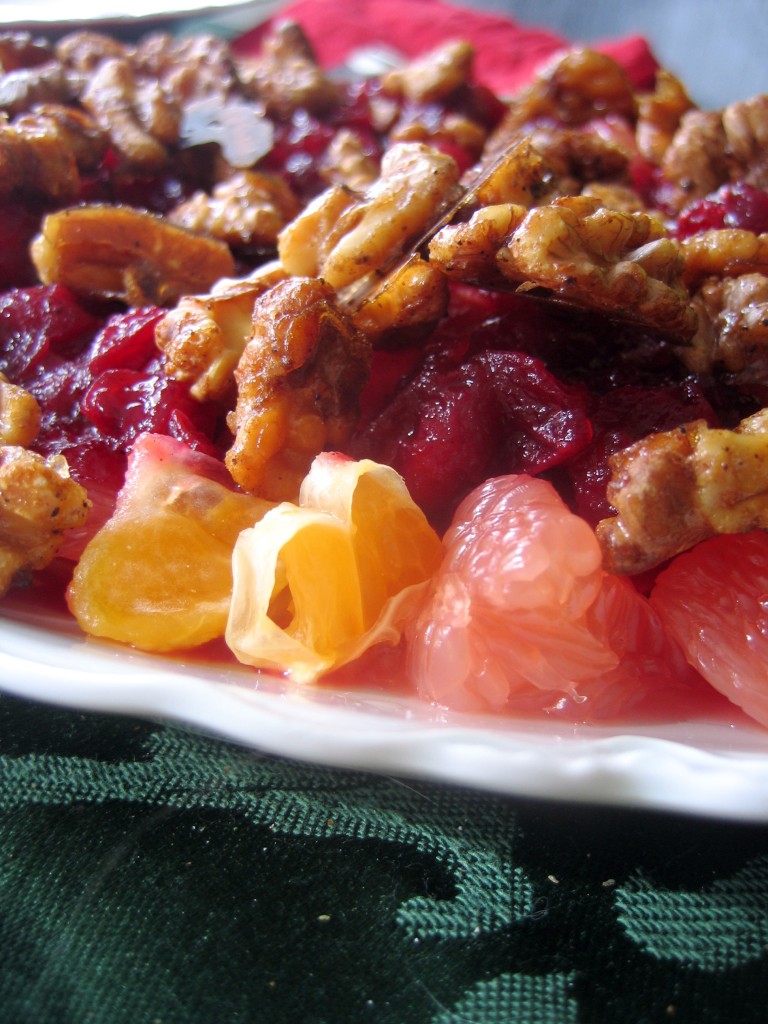 I love citrus. While most cookbooks and online recipe forums seem to think that citrus is best enjoyed in the dog days of summer, I love that it’s true season is actually the mid- winter months. Like a doting grandmother who slips you a bright little foil wrapped piece of candy in that long half hour before dinner, citrus waits till the dark days of winter to ripen.
While it’s true that citrus isn’t necessarily local, unless you happen to live in Florida, California, or parts of Texas, it is a seasonal fruit, just like anything else. So, while most of us can’t buy citrus from one of our farmer friends, it is still possible to buy it at the peak of its season when it’s freshest, imported the least number of miles, and most importantly– tastiest. For me, that means taking advantage of the natural down time that winter gives us and chowing down on all the grapefruits, tangerines, oranges, clementines, lemons, limes, pomelos, and tangelos I can eat. Peggy Bourjaily wrote an excellent piece for NPR’s Kitchen Window series about this practical locavorism.
Citrus in winter is also a nostalgic thing for me. Truth be told, I would probably eat it in the winter even if it wasn’t in season then. (Conveniently enough though, I get to keep my moral high ground.) As kids, we would always get an orange in the toe of our stocking at Christmas. I don’t know how often we actually ate the orange, but it was of utmost importance that it was there. Since starting our own Christmas traditions, Mr. Quotidian and I have dispensed with the usual stockings filled with odds and ends that end up getting lost or broken in a few weeks. Instead, we leave a pad of paper and pencil by the stockings and write down memories of the other person, then put the memory in the other’s stocking. So, by Christmas morning, we have stockings stuffed with memories. I love the tradition, but obviously an orange would feel rather out of place in such a situation. However, a Christmas without citrus seemed hollow and dull. I realized the easiest way to solve the situation was to serve citrus at one of our Christmas meals. Since citrus doesn’t do well with a cheese fondue, Christmas Eve was out. However, when I remembered a recipe for a salad using oranges and cranberries, Christmas brunch seemed the ideal way to include this jolly, festive fruit. New Year’s brunch would be delicious too…paired with a mimosa perhaps? Continue Reading…
Posted 13 years, 7 months ago at 6:52 pm. 1 comment
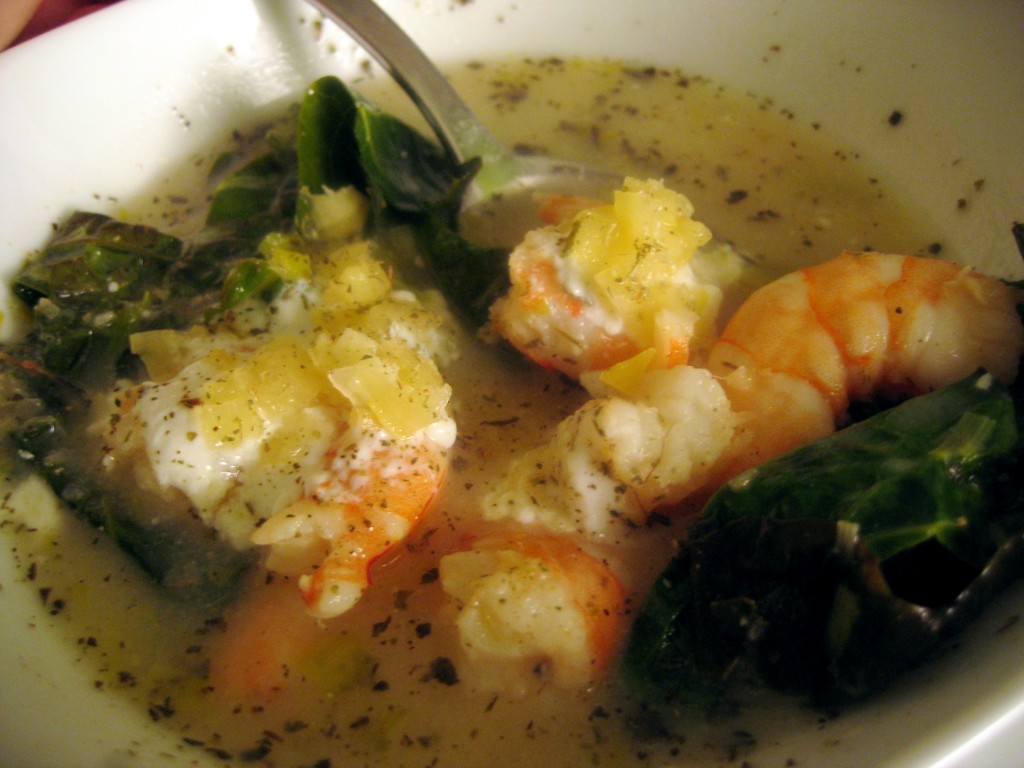 I felt like Snow White while making this soup. While I hummed about the kitchen, ingredients seemed to wing out of the fridge and into the soup as if little adorable doe eyed woodland creatures were helping them along. Before I knew it, I had a beautiful soup that seemed to have created itself.
I love those days.
Continue Reading…
Posted 14 years, 4 months ago at 7:23 am. 1 comment
For the fowl:
1 bird of your choice
1-3 oranges, limes, lemons, ect
1 stick of butter, divided
2 tbs of dried herbs (we used rosemary)
1-2 cloves of garlic
1 tbs oil
salt
For the gravy:
all the drippings from the bird
1/4-1/2 cup wine or vinegar
2-8 cups stock
1/2 cup water
1-2 tbs flour, cornstarch, or arrowroot powder
1-2 tbs herbs
salt
pepper
Preheat your oven to 400°. Melt butter and let cool slightly. Thoroughly thaw your bird and remove any giblets from the cavity. Either store the giblets in the fridge for later use or boil them in a pot of water for an hour to use in the gravy. Pat the bird dry with paper towels or a clean dish cloth. Place it on the rack of you roasting pan or use carrots and celery to build a rack in the bottom of your biggest baking pan, ideally one that can go on the stovetop as well. A big pot would work too, if you don’t have a burner safe pan.
Roll the oranges gently on the counter to release their juices. Cut them in half and place them in the cavity. Don’t stuff them too compactly though, or it will affect the cooking time of the bird.
In an small bowl or mortar grind the herbs. Add minced garlic, a pinch of salt, and a drizzle of oil. Gently loosen the bird’s skin with your fingers. Try not to tear it. Using your fingertips, rub the herb and garlic mixture under the skin as evenly as possible. Reserve any extra for the gravy. Skin is a barrier Then massage the bird all over with the melted butter. You can use your hands for this or a pastry brush. I prefer my hands for more even coverage. If you are using unsalted butter, you might want to sprinkle a little salt over the skin too.
When the bird is thoroughly greased, spread him out like he’s sunbathing; pull the wings and legs out from the body. This will give you crispy skin all over. If you have one, insert a probe thermometer into the deepest part of the breast, making sure to not hit any bones, which would give an inaccurate temperature. Set the alarm to go off at 160°. Put the bird in the oven and immediately reduce the heat to 350°. High heat at the beginning helps the fat essentially fry the skin as it renders. But having high heat for too long will leave the skin burnt and the meat raw.
When the breast has reached 160°, test the thigh meat on the opposite side. Remove the bird from the oven and place it on a pan or cookie sheet to rest. Use your roasting rack to keep the bottom from getting soggy. The resting period is essential. Do not skip it! Straight from the oven, all the yummy meat juices are loose. They would run out if you cut it, leaving you with dry meat. During the resting period, the meat reabsorbs the juices and leaves you with beautiful succulent meat. A turkey needs to rest at least 30 minutes, a chicken at least 10 minutes. If you are worried it will get too cold, loosely tent a piece of foil over it.
While the bird is resting, make the gravy. If you want to see the proper method to make gravy, go look it up on your favorite cooking site, because I cheat and don’t skim the fat off first. Straddle your pan over two burner and turn them on high. When things start to sizzle, which shouldn’t be too long, deglaze the pan by pour in the wine/vinegar. Using a wooden spoon, scrape up all the little brown bits. Not only are they not burned, they are incredibly flavorful caramelized juices from the meat. Believe me, you want them in your gravy! Once you have them all scraped up, add your stock. This is where you get the volume in the gravy. So, if you have a big crowd, at a lot of stock. If it’s just a few people, add less. A good guideline might be 3/4 to 1 cup per person, to allow for evaporation (and leftovers).
Next, mix your starch (flour, cornstarch, arrowroot powder) into about 1/4 cup of water. This mixture is referred to as a slurry. Adding the starch this way prevents it from turning lumpy in your gravy. Add the slurry to the gravy and mix thoroughly. Some starches take awhile to take effect, so let it simmer for a good 5 minutes before adding more. When your gravy is thickened to your liking, add a couple pinches of salt, a grind or two of fresh pepper, and any herbs (like the extra from the spice rub). Simmer for another minute to let the flavors meld. The key to good gravy is to taste early and often. Get used to how the flavors develop. Then remove to a gravy boat or other serving vessel (I use a cream pitcher). You can stick it in the oven to keep warm.
Now back to the bird. After it has rested, it’s time to carve. This takes practice! Don’t expect to do it at the table until you are more proficient at carving. The first several times you do it, expect it to be a hacked up job. Just focus on learning where the joints are and the overall process. Since a picture is worth a thousand words (and a video even more), here is a link to a video explaining how to carve a chicken.
If the worst should happen:
If you carve your bird and it is not cooked in the middle, do not panic. Simply finish carving the bird and put the pieces on an oven safe plate, cover in foil, and place it back in the oven until it’s done. You might end up with slightly drier meat, but that’s okay, because you have awesome gravy.
Posted 14 years, 7 months ago at 10:48 pm. Add a comment


