When Mr. Quotidian began comparing my kitchen projects to witchcraft, I thought he was on to something more than the jars bubbling and fermenting on the counter. He made me realize how we’ve let the word “craft” slip from our vocabulary. Hardly anyone now practices a craft; we now merely aspire to be experts. We cram our minds with knowledge, leaving nothing for our hands to do. To talk about craft you either have to be a preschool teacher or a Wiccan. Instead of continuing to let craft slide into the realm of Elmer’s glue and eye of newt, I want to take hold of it and pull it back to its rightful place in my vocabulary.
Foodcraft is a place where I will practice my craft. You will find recipes here, surely, but also thoughts on ingredients, health, and food applications.
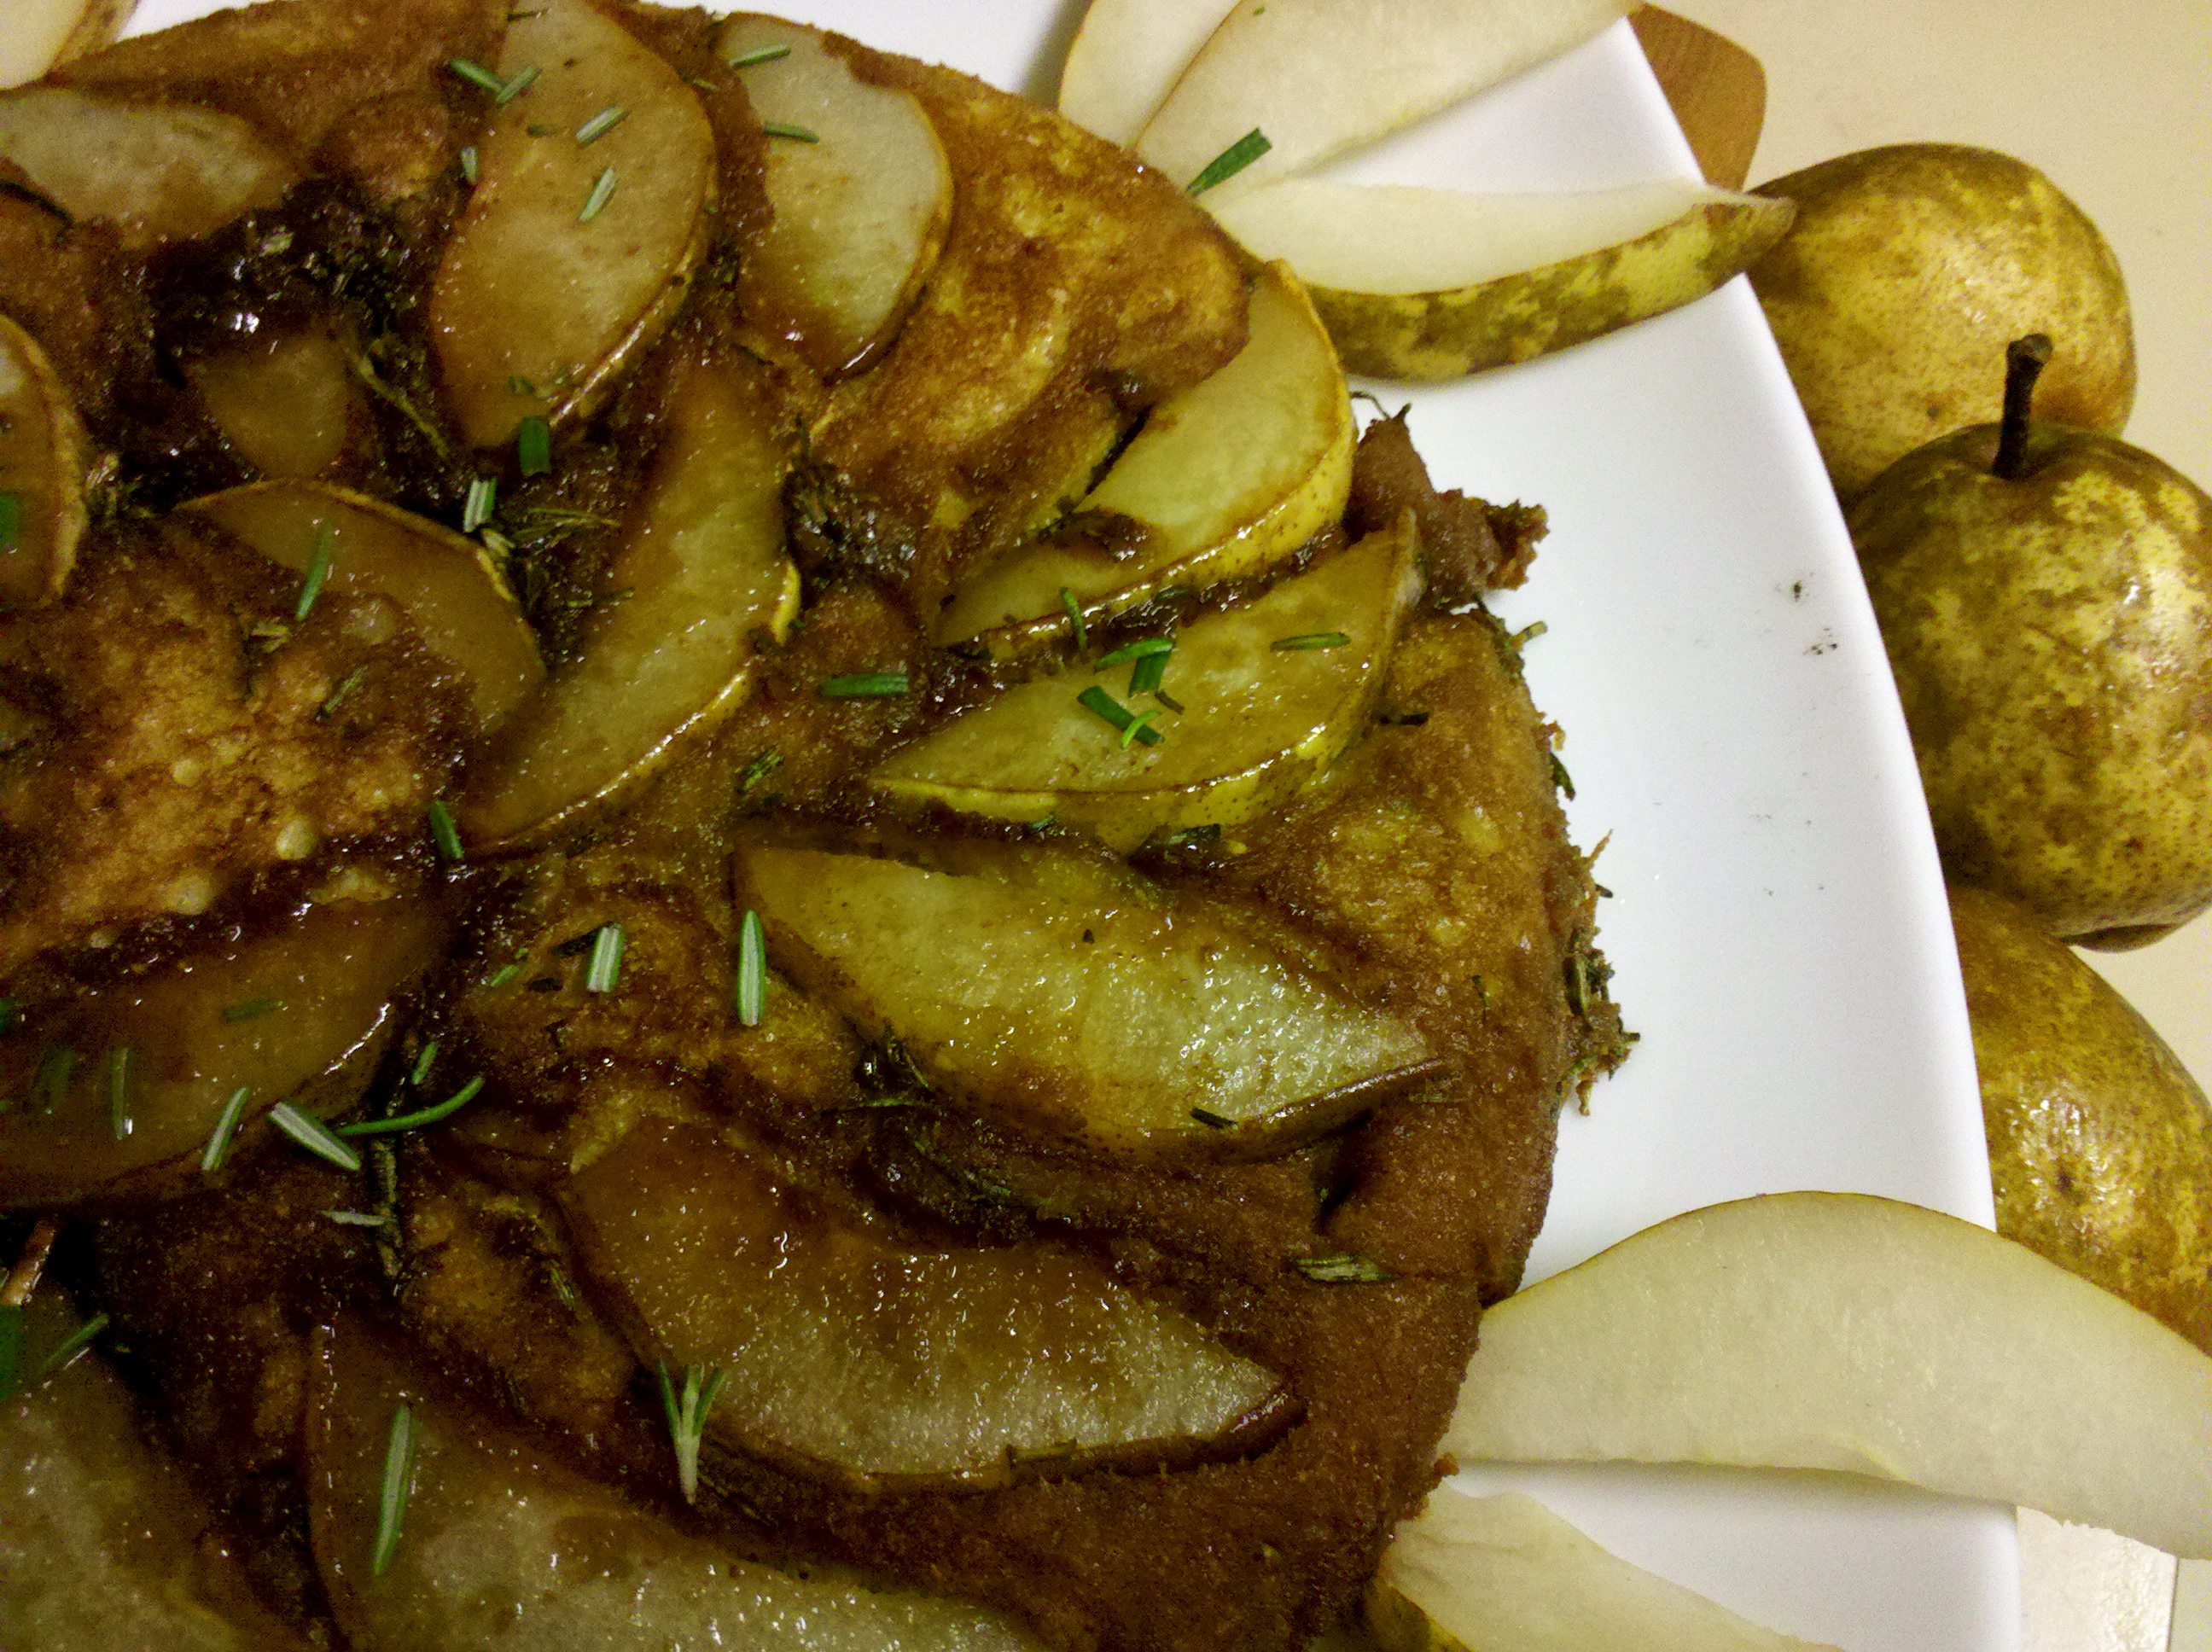 Impromptu cooking certainly has its magic, but there is something to be said for recipe sculpting. Carefully chipping away at burnt corners or smoothing out too tart flavors. I’ve made this pancake for the past month of Sunday mornings at least. Each time I chiseled into it a better form emerged.
I love pancakes. How I love them has admittedly changed through the years. As a child I remember looking forward to the chocolate chip studded ones. I’m sure my dorm mates remember my high school fascination with doughy anemic looking pancakes. There was a time when I was a purist and refused to defile my pancakes with anything but maple syrup. I’ve enjoyed them thin and stacked high with butter melting out through the layers.
The one thing I’ve never enjoyed about pancakes is actually making them. For one thing, I can never seem to get everything technically right. The batter is too thin and the pancakes run a marathon around the pan. Or the batter’s too thick and the resulting pancakes, while decent enough, are reminiscent of hamburger buns. Then there’s the whole heat issue. I get impatient waiting for the skillet to heat so my first pancakes take forever to cook, so I turn up the heat. Then the next several burn before they are done in the middle. About the last three pancakes are perfect.
But the reason I’d just about given up making pancakes was the endless standing over the stove– watching for bubbling dough, flipping, rescuing mis-flips, watching everyone else eat, and then finally just eating one straight off the skillet cause I’m too tired and hungry to sit down and enjoy it properly.
Also, I seem to be perpetually almost out of maple syrup.
While I’m not arrogant enough to call this the best pancake recipe ever, it does solve most of my pancake problems. Since it’s made all in one pan, the batter consistency is less of an issue. Baking it in the oven sidesteps the inconsistent heat hurdle. But the best part has to be that it’s all ready at the same time. Mr. Quotidian and I get to eat together and both have hot pancakes. Oh, and it doesn’t require maple syrup.

Pear and Rosemary Upside Down Pancake
Inspired by Nourished Kitchen and Epicurious
1/3 c whole wheat flour
1/3 c cornmeal
3/4 c buttermilk
1/4 cup whole cane sugar (rapadura or Succanat)
3 T chopped rosemary
1/2 tsp salt
2 tsp baking soda
2 eggs
1/2 stick butter
2 firm but ripe Bartlett pears, sliced about 1/4 thick
Use your fingers to whisk together the flour and cornmeal. Stir in the buttermilk till everything is evenly moistened. Cover with a damp tea towel or plastic wrap and let sit overnight (6-8 hours). Meanwhile, rub the chopped rosemary into the sugar.
After 6-8 hours, preheat the oven to 350°. In a small bowl mix together 1 T of the rosemary sugar mixture, the baking soda, and salt. Beat the eggs together in another small bowl. Then quickly stir together the eggs and the sugar mixture into the flour mixture. Melt the butter in a heavy 10 in skillet over low heat to avoid splattering. Tilt the skillet around so butter coats all the sides. Just as it starts to brown, arrange the sliced pears in a decorative pattern– remember this will be the top of the pancake. Then sprinkle the remaining rosemary sugar over the pears. Turn the heat up to medium high and cook until the pears are just barely tender and the sugar has begun to caramelize. Pour in the batter, being careful not to disturb the pears. Move the skillet to the oven and bake for 10 minutes, or until the pancake is golden brown and firm when tapped. Remove from the oven and run a knife around the outside. Place a plate on top of the skillet. Holding the plate and skillet together, invert them so the plate is on the bottom. Give a gentle shake and a small prayer, then remove the skillet. Replace any pears that have become dislodged from their place. If you had extra pear slices, arrange them around the outside of the plate. You can serve it with syrup if you’d like, but I prefer a sprinkling of extra rosemary.

Posted 12 years, 6 months ago at 9:09 pm. 4 comments
 I admire people who can “do” impromptu, whether acting, singing, joke telling, or speeching. For me to agree to do any of those things I would require ample amount of time to prepare. (And even then, you probably only have a hope of convincing me to speak publicly.) Thinking on my feet is not one of my stronger qualities.
In the kitchen, however, I am much more adept at improvising. I love the magic of off-the-cuff meals– when disparate ingredients come together into a delicious punchline of a dinner.
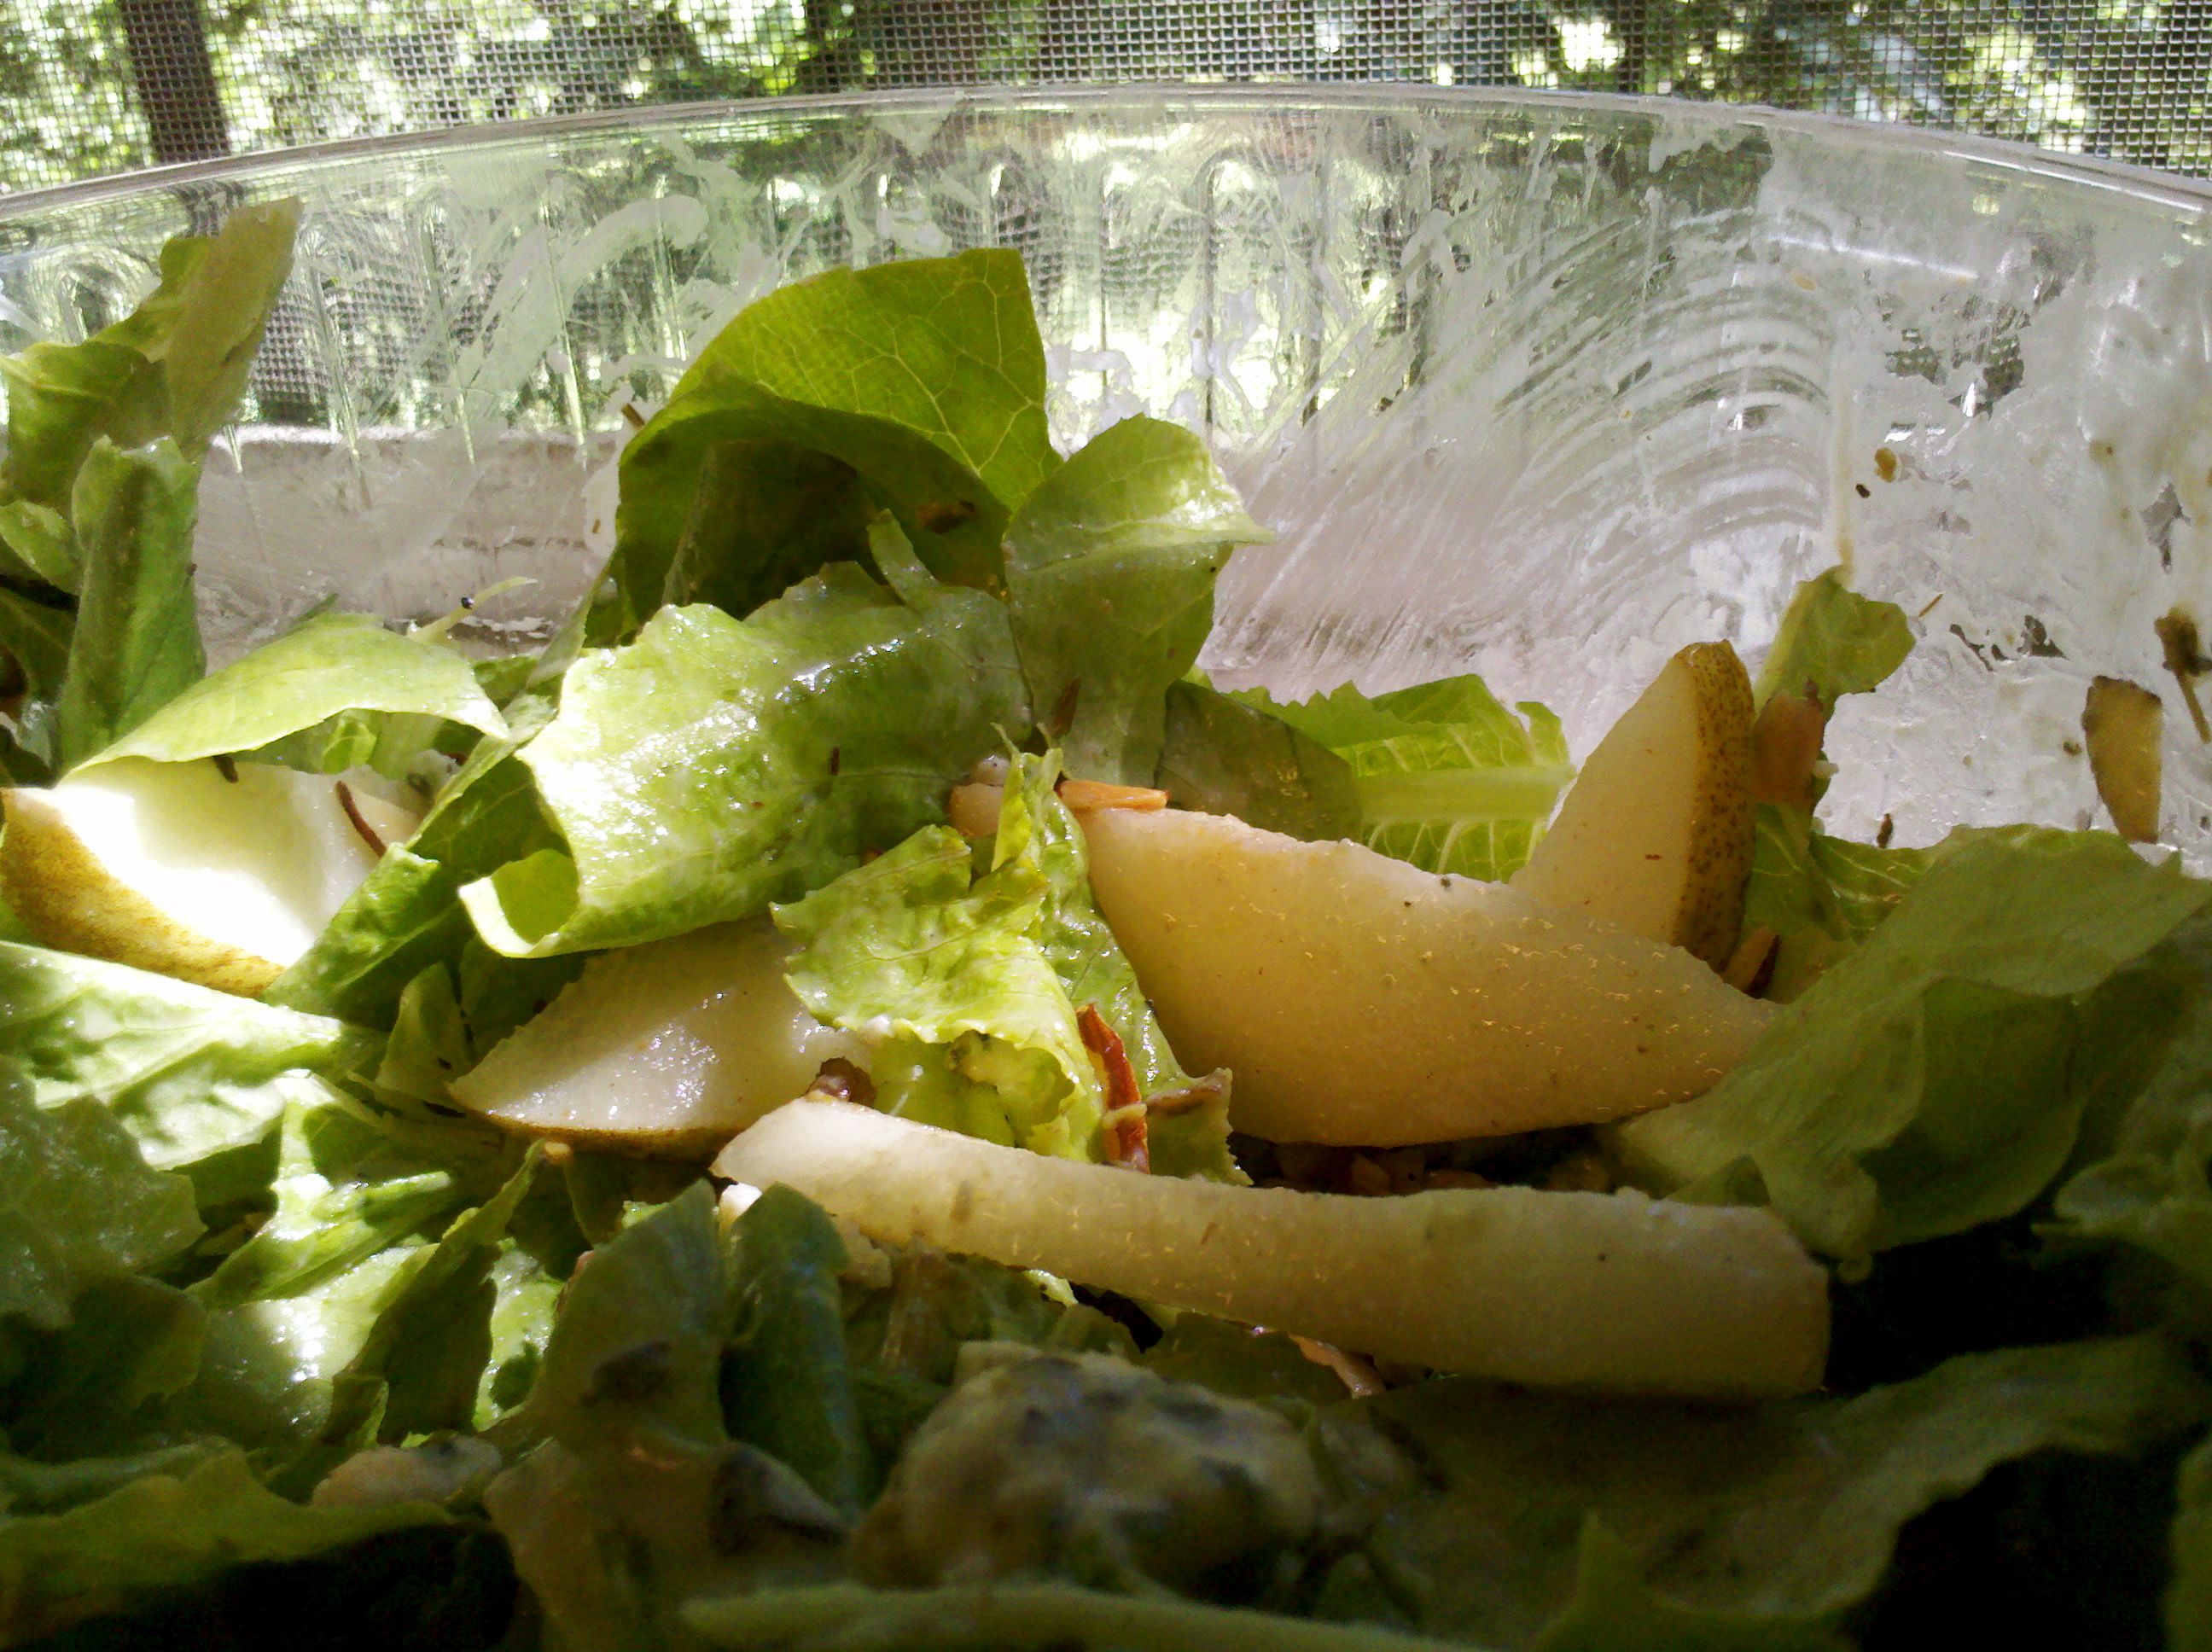
That’s what happened this past lunchtime. I gathered together what sounded good: lettuce with the crispness of fall morning air, golden raisins the color of its afternoon light, and toasted almonds smelling of its evening fire. Toothsome pears and leftover pear brandy cream sauce completed the cast.
Posted 12 years, 6 months ago at 7:35 pm. Add a comment
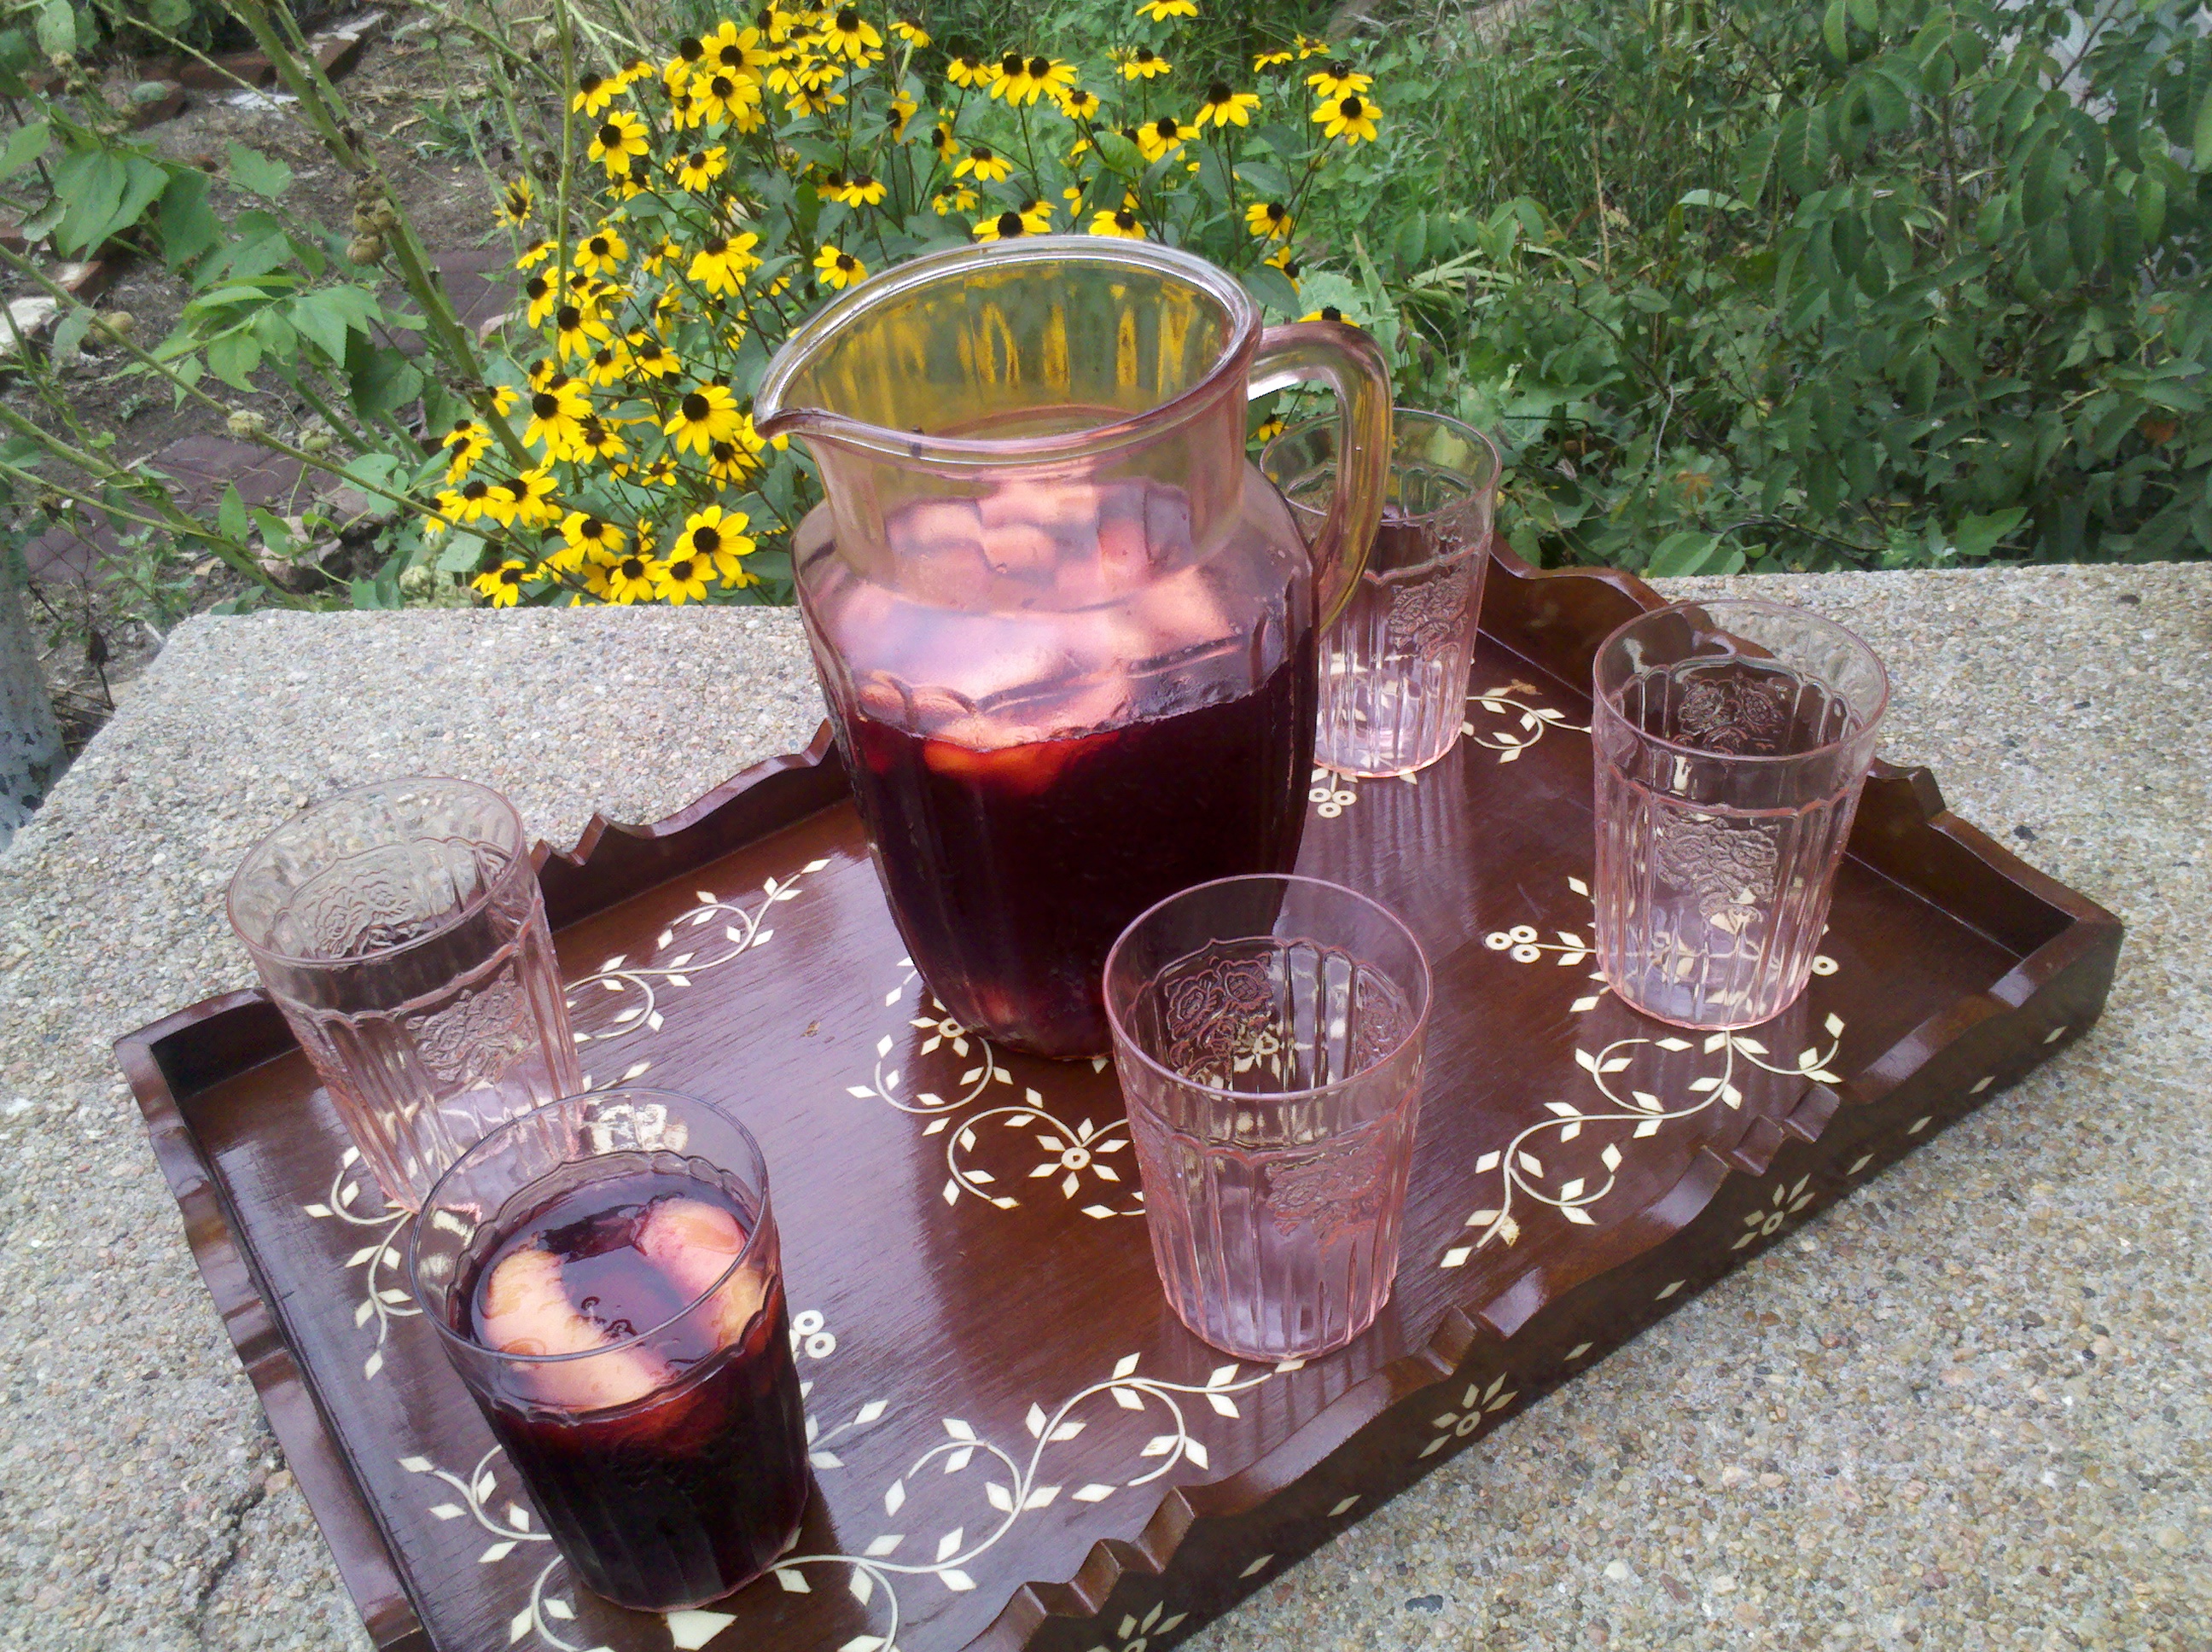 As I’ve previously waxed lyrical about, sangria is my favorite alcoholic beverage for purely sentimental reasons. Part of my attraction to it, I think, is that it’s communal. Sangria has a lot more in common with punch than it does with the solitary bottle of beer or made-to-order cocktail. Sangria is meant to be shared.
As the intense heat of summer fades and the outdoors becomes livable again, the garden seems a perfect place to linger over a pitcher of sangria. There is something… celebratory about it, but without ostentation. Perhaps it’s the bright fruit floating in a “wine dark sea.”

Sangria is also the perfect beverage for late summer as it can use up all the flotsam and jetsam of fruit hanging about. You know, that peach over there on the counter that’s bruised in a few places. That apple in the fridge that isn’t as crisp as it used to be. Those berries that got a little squished on the way home.
What follows is my basic outline for making sangria. I adjust the proportions of cranberry juice and wine based on who I’m making it for. The exact amount and type of fruit varies each time I make it. I’ve yet to use a fruit that just didn’t “fit.” Peaches, apples, berries, pineapple, orange segments– all of these make excellent sangria.
Basic Sangria
1 quart of unsweetened cranberry juice
1 bottle of your favorite red wine
juice from 1 lemon (opt)
juice from 1 orange (opt)
1-2 cups of assorted fruit
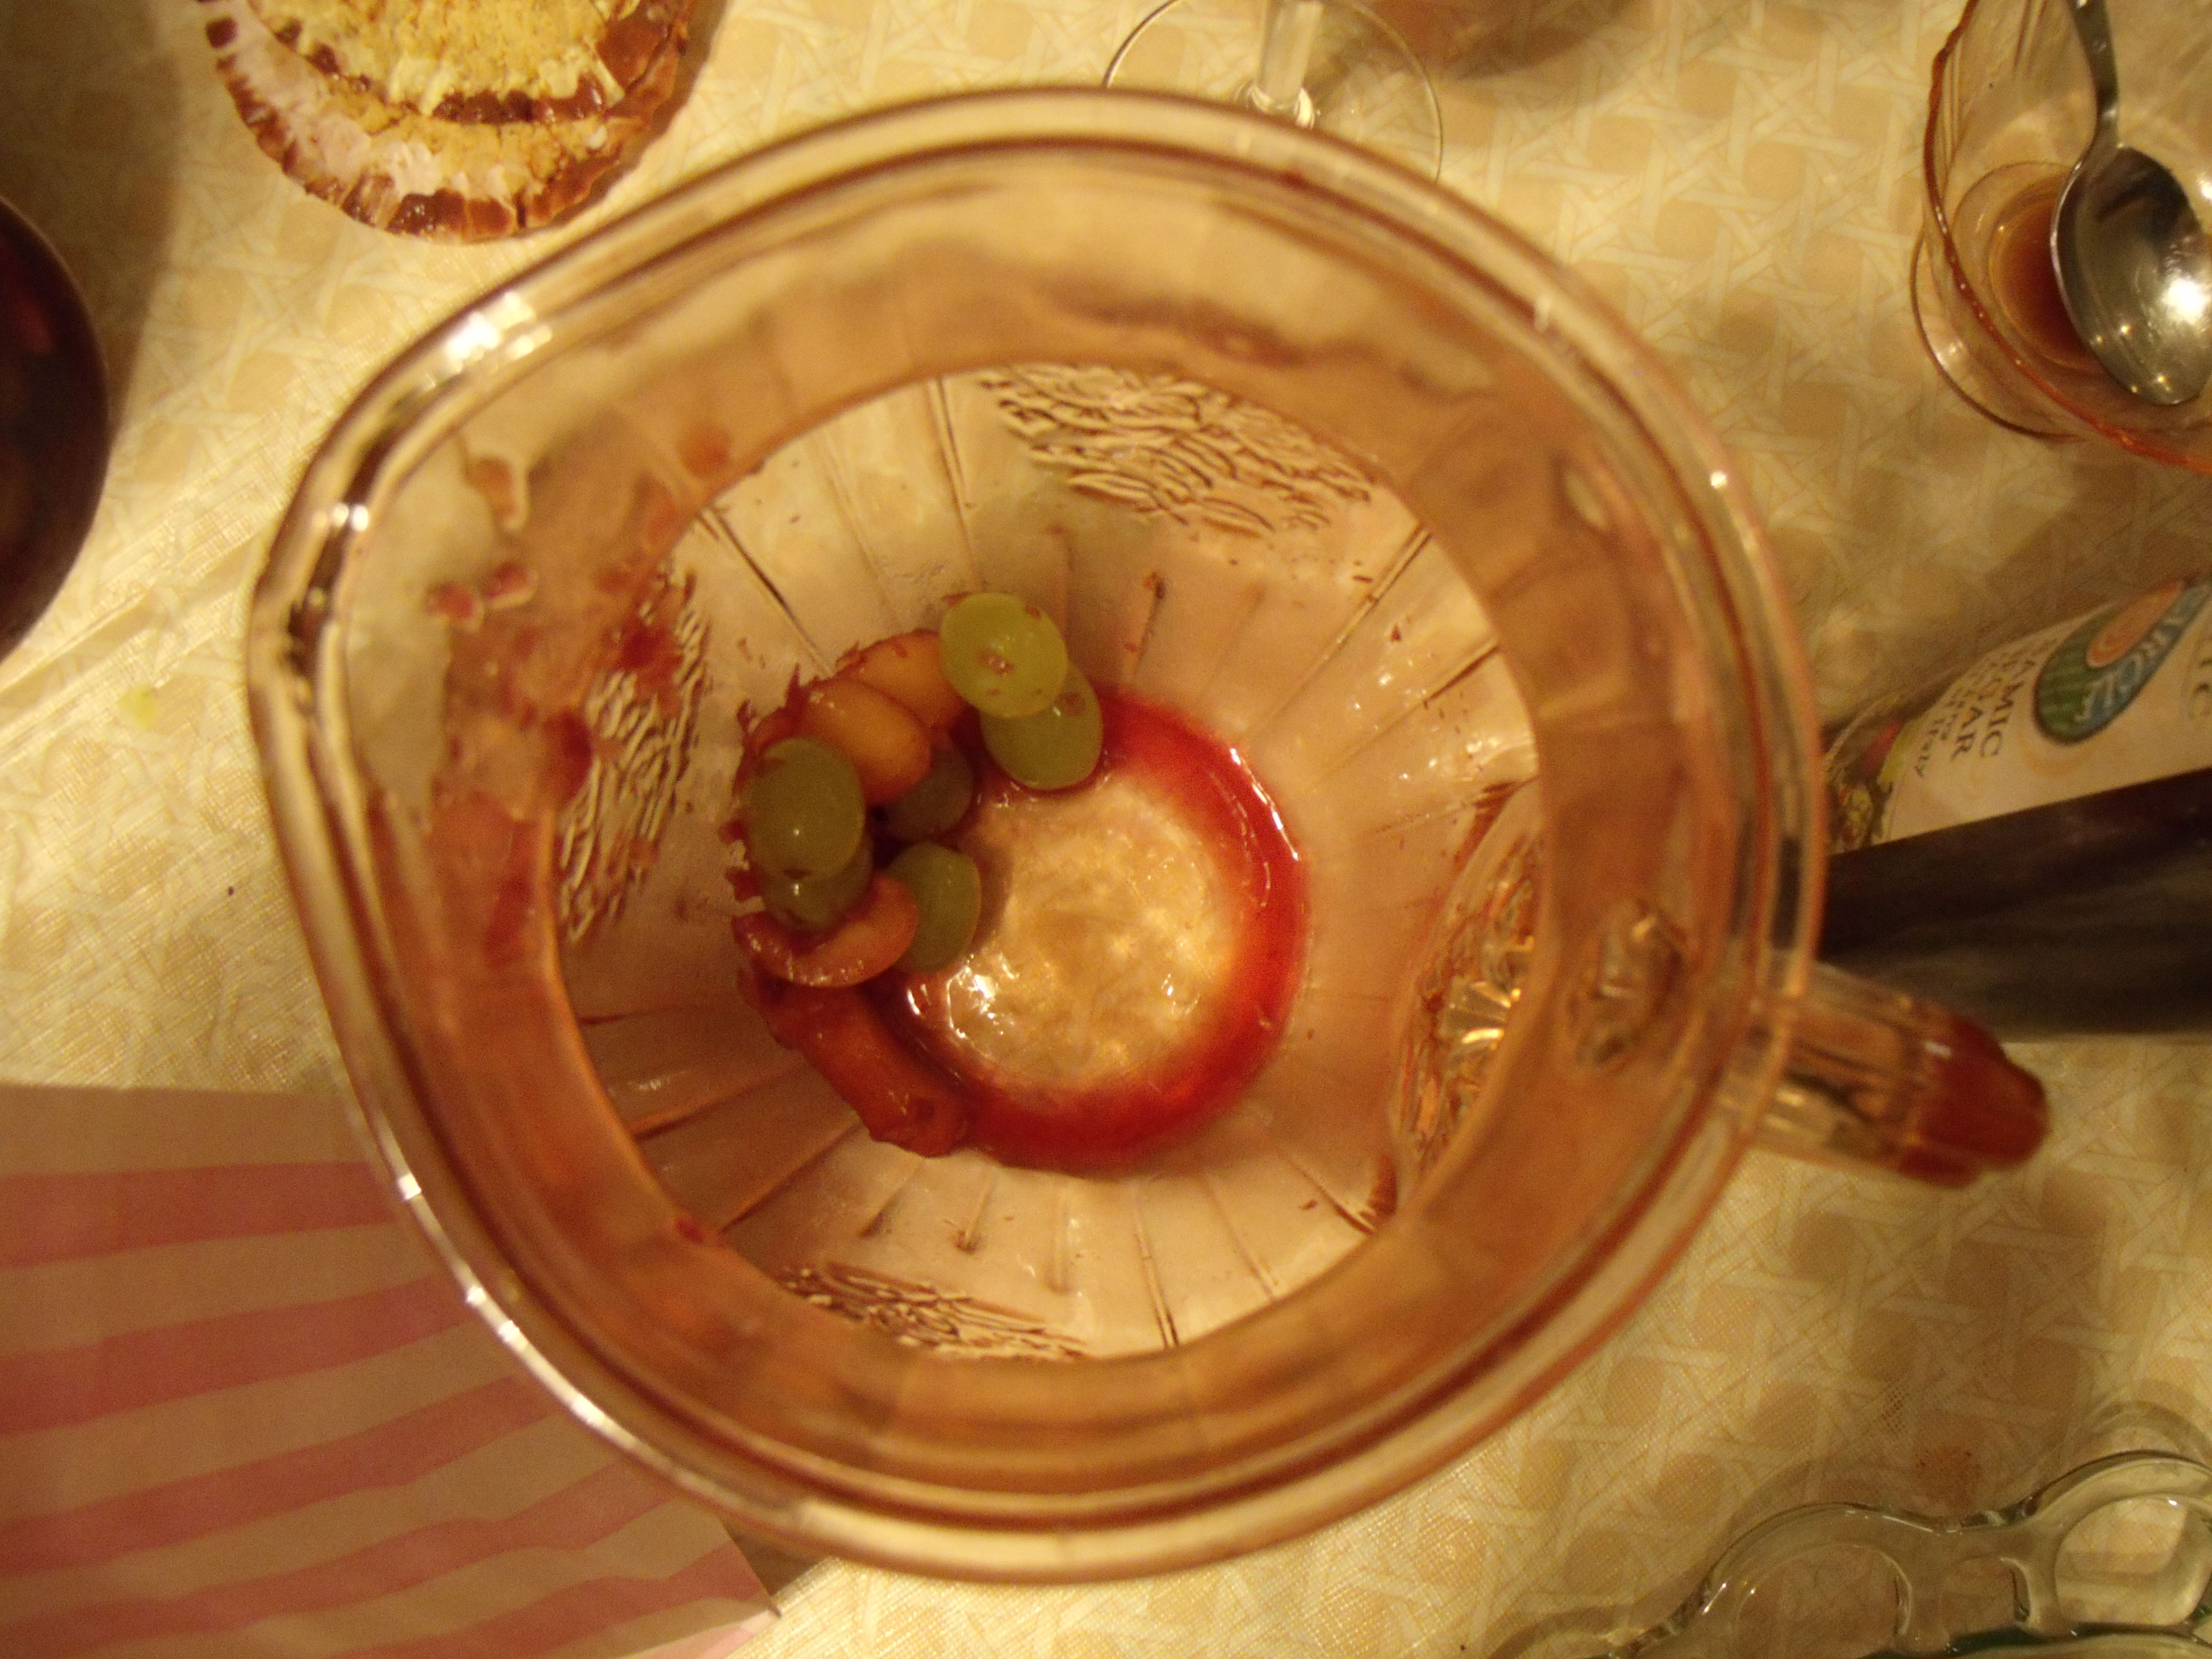
Mix together the cranberry juice, wine, lemon, and orange juice in a large pitcher. Cut the fruit into bit sized pieces and add to pitcher. Allow to steep and chill in the fridge for at least 3 hours. Gather together your favorite people and enjoy. Don’t be embarrassed to pick out the wine soaked fruit at the bottom of the glass– it’s the best part!
Posted 12 years, 7 months ago at 10:23 pm. 1 comment
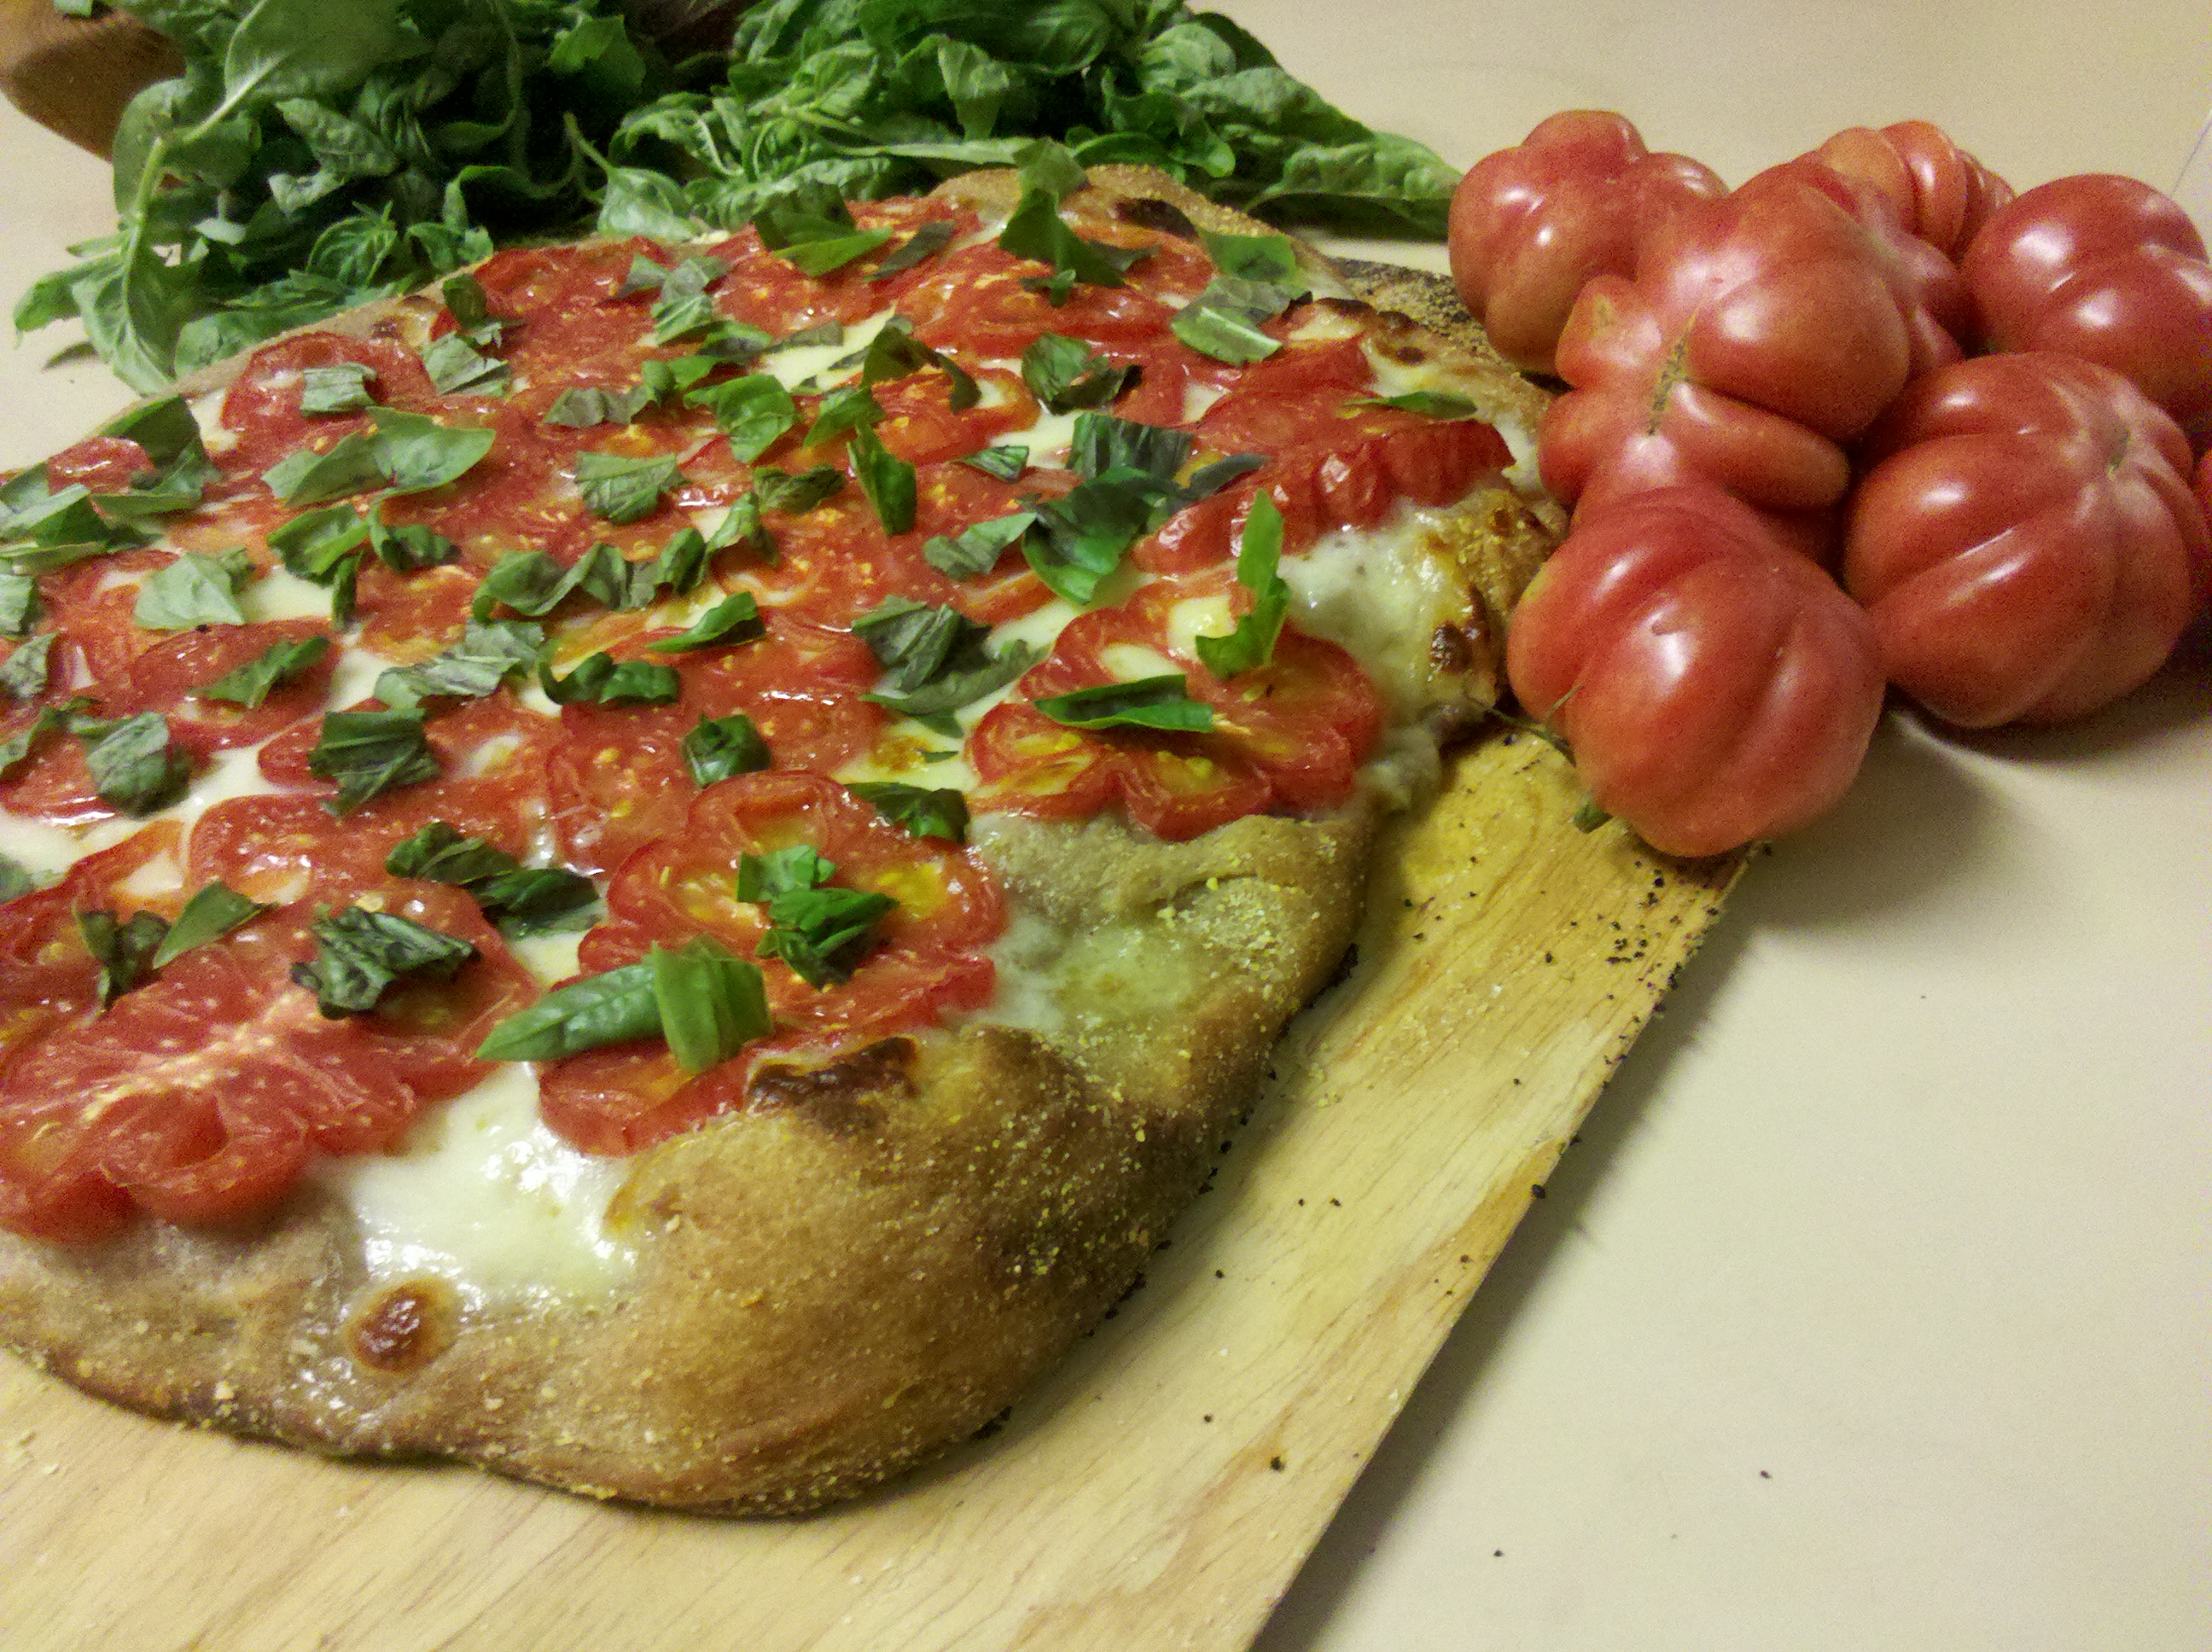 One of the regrets I have every September is that I never make enough of these pizzas. Even with a family tradition of Friday pizza and movie nights, I can never seem to get enough in. And it’s my fault. I spend the better part of spring and early summer pinning for the First Tomato, inevitably resulting in darn near deification of the first month of harvest. These tomatoes are above such things as flame and heat. They are the pure essence of summer and therefore must be eaten in their pure state, accompanied only by such acolytes as salt and olive oil.
As July meanders into August, I become less of a tomato zealot and start throwing them willy nilly into everything. After all, what dish is not made better by the addition of a tomato slice or two? This is when I seem to remember the Pizza Margherita. Not needing a recipe, making them become a kind of meditation. I am completely in the present moment as I make it. The golden olive oil pooling in the dimples of the crust. The feeling of the knife brushing my knuckles as it carves off the thin slices of tomato. The spicy green smell of snipped basil lingering on my fingertips. The sizzling of the cheese blistering in the oven. Pizza nirvana follows with the first bite.
And then September comes. Tomatoes are once again precious. Only this time I scrimp and save them up to make this pizza one last time, vowing to make better use of Tomato Time next year.
This year a new tomato wondered across my cutting board. The Zapotec. It’s an heirloom variety from the Oaxacan region of Mexico. Much like a Roma tomato, it lacks the copious amounts of jelly/guts. Its lower moisture content means it doesn’t make the pizza soggy. Unlike a Roma, however, it’s pleated shape adds visual appeal to a pizza. And it tastes good. All of which leads me to the conclusion that even though pizza might be Italian, its tomato mate speaks with a Mexican accent.
Pizza Margherita*
1 recipe of your favorite pizza crust
Olive oil
Mozzarella cheese
Zapotec or other low moisture tomatoes (peeled if you wish)
Fresh basil
Preheat oven to 500°. Stretch or roll out your dough. Drizzle olive oil over the top and brush all the way out to the edges. Shred or slice the cheese and lay it out on the pizza. Horizontally slice the tomatoes as thinly as possible. Layer them over the cheese. Slide the pizza into the oven and bake for about 9-12 minutes, until the cheese is pleasantly blistered and the crust is golden brown. While it’s baking, snip the basil into small pieces. If you’re a perfectionist, you can officially chiffonode the basil. If not, cutting it up with scissors works just as well. Once you’ve taken the pizza out of the oven, sprinkle the basil over the top like confetti. Wait about 2 minutes for everything to set, then slice it up and get on your way to pizza nirvana.
*Yes, I realize there are no amounts for the ingredients in the recipe. That’s because it all depends on how big your crust is. I’m trusting that you all are smart enough to eyeball the ingredients.
Posted 12 years, 7 months ago at 7:58 pm. Add a comment
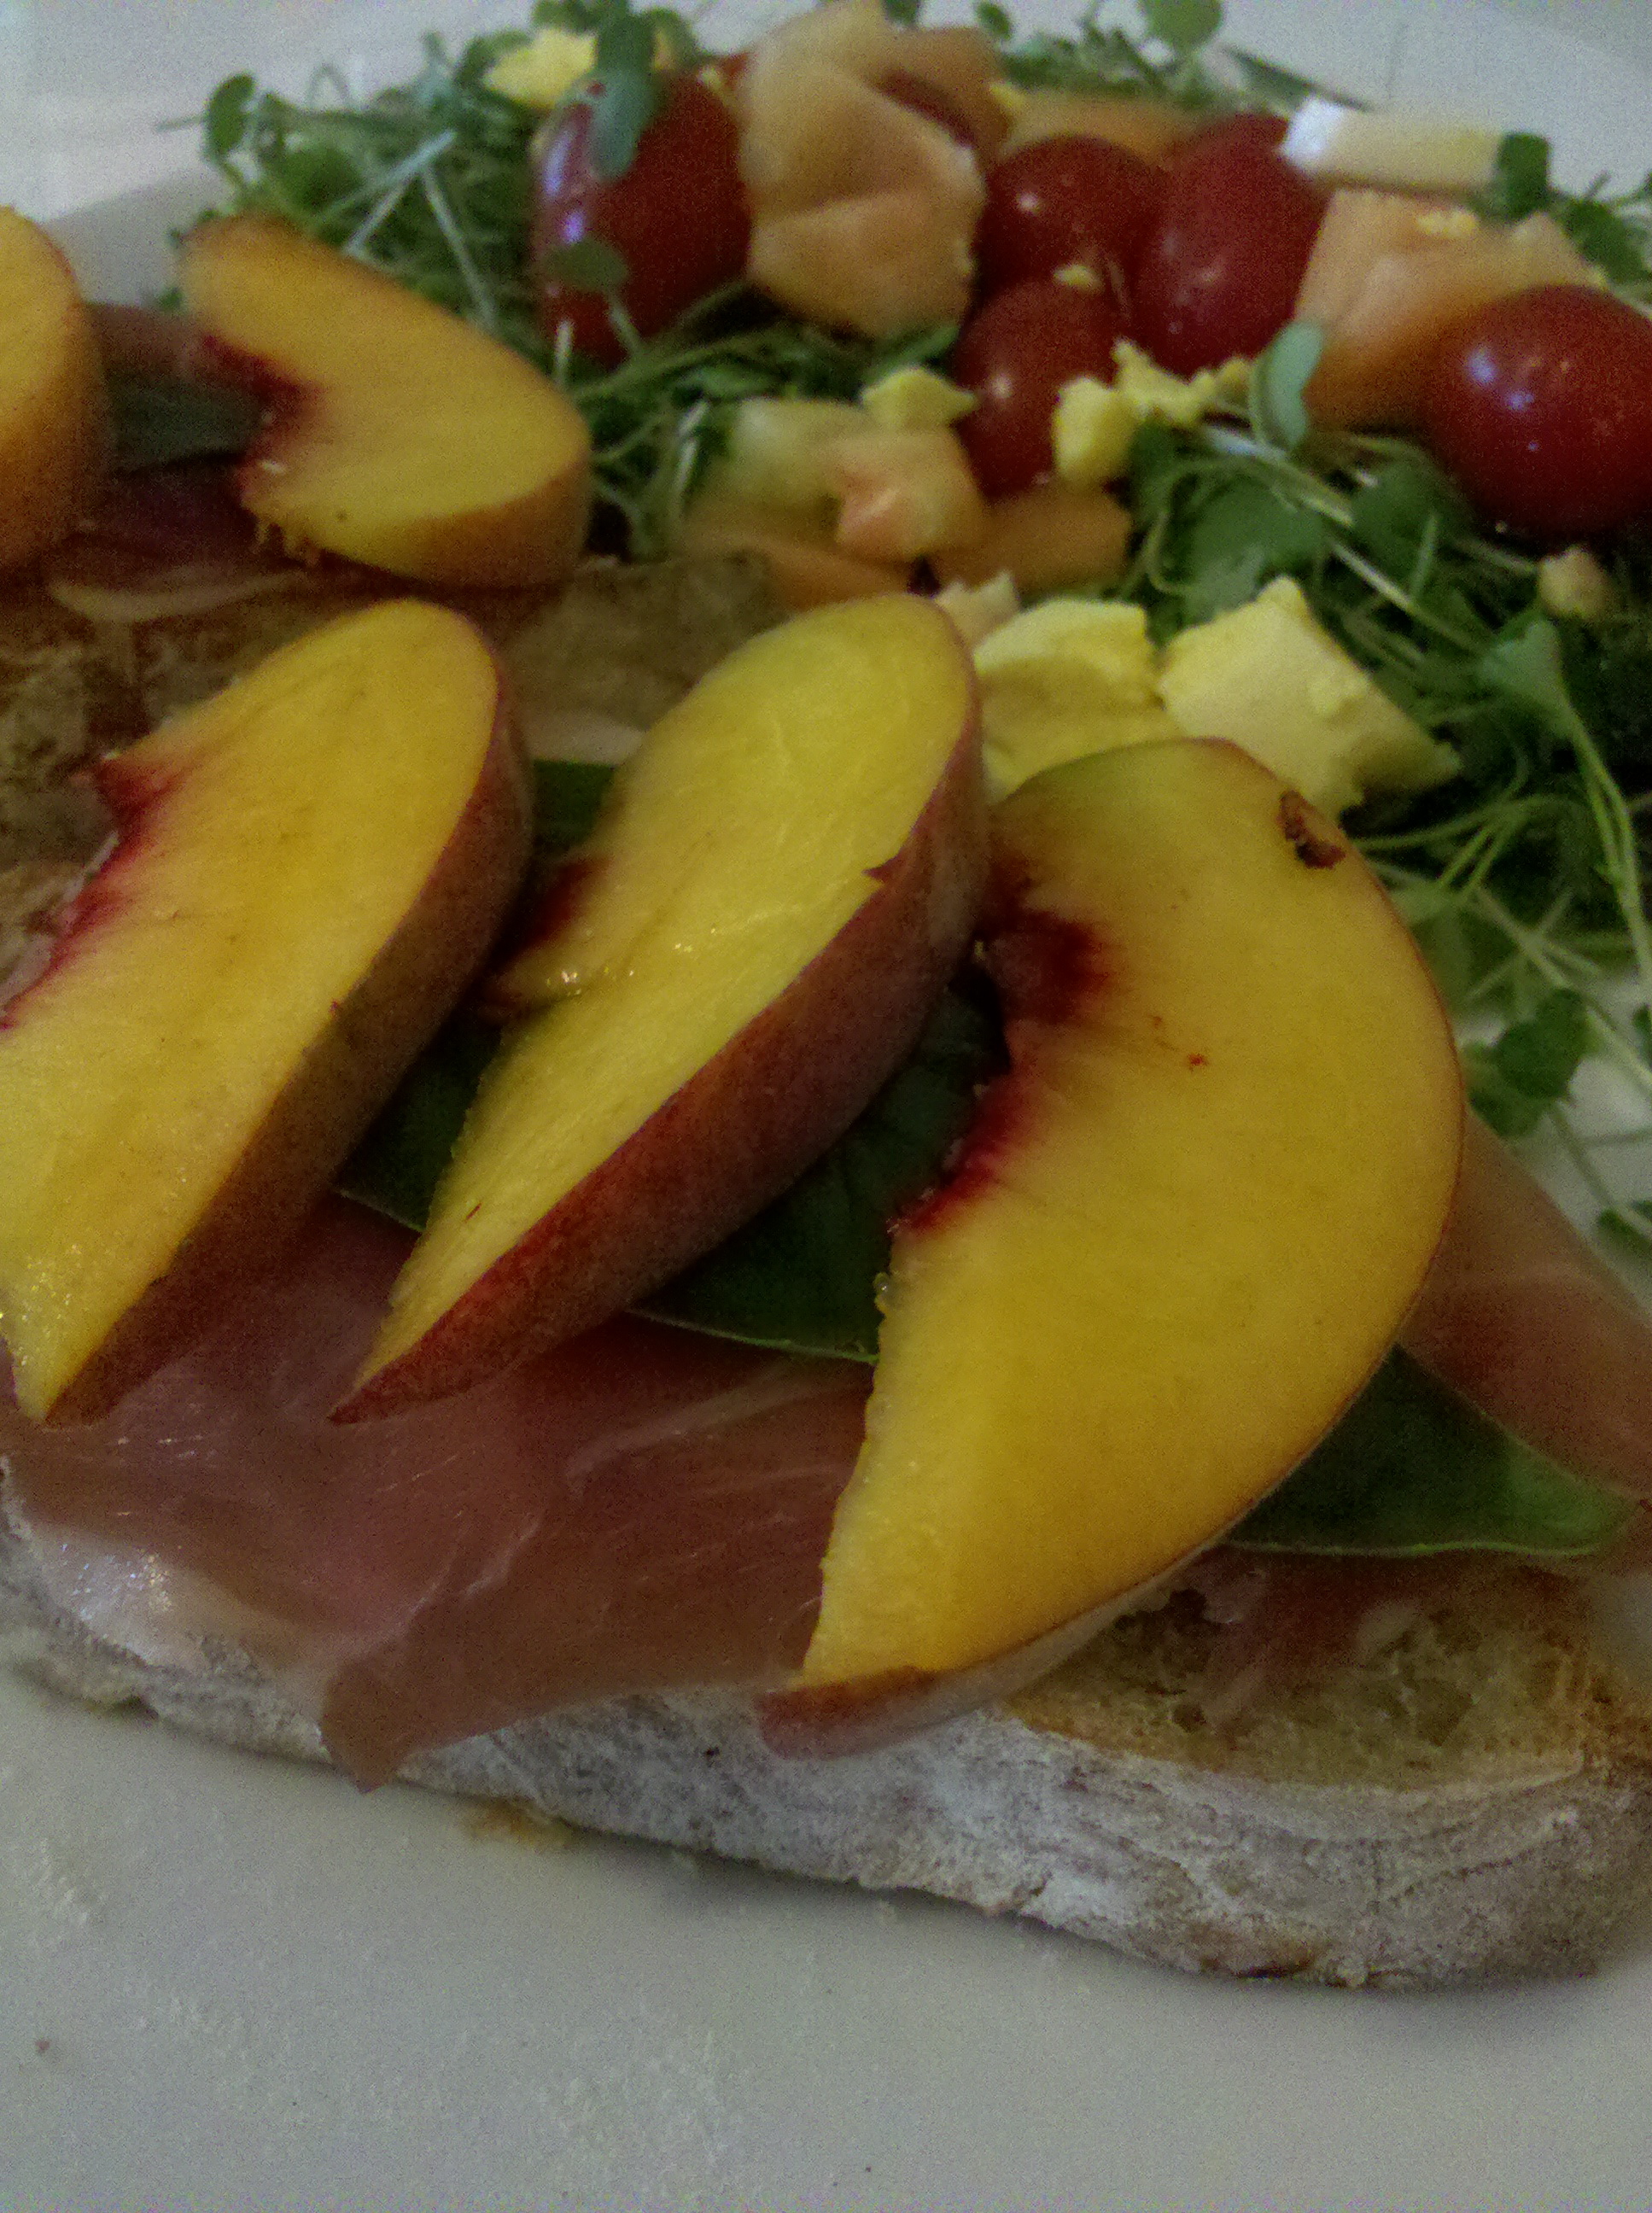
Ladies and Gentlemen, meet the BLT’s posh older sister– the PBP. I saw this on the menu at Drip in Five Points but didn’t have the moolah to order. But like an intriguing stranger, it’s been on my mind ever since.
Now that I’ve finally had the opportunity to make them, I think they will become standard summer fare for the Quotidian household. When ingredients are fresh they don’t require lots of culinary cover up to hide the under eye circles developed in red eye flights from Argentina or China. But what I love most about this recipe is the crispness of the idea. Even when the produce is spectacular, there’s only so many Caprese Salads a girl can eat. Especially in summer when there are so many other chores to be done and activities to be enjoyed, seasonal eating can get stale. Balsamic Cucumber Tomato salad again? While fast and easy are rarely the sole determinants of what I cook, it is nice to have a few of these types of recipes in my apron pockets. A side salad of arugula microgreens makes a perfect meal.
Prosciutto Basil Peach Sandwich
3 slices of a crusty bread, such as ciabatta
soft goat cheese
3 slices of prosciutto
1/2 a ripe peach, thinly sliced, peeled if you wish
3 large basil leaves
Toast the bread lightly and let it cool slightly. Spread it with the goat cheese. Fold the prosciutto slice over the cheese. Top with the basil leaves followed by the peach slices.
Posted 12 years, 8 months ago at 2:42 pm. Add a comment
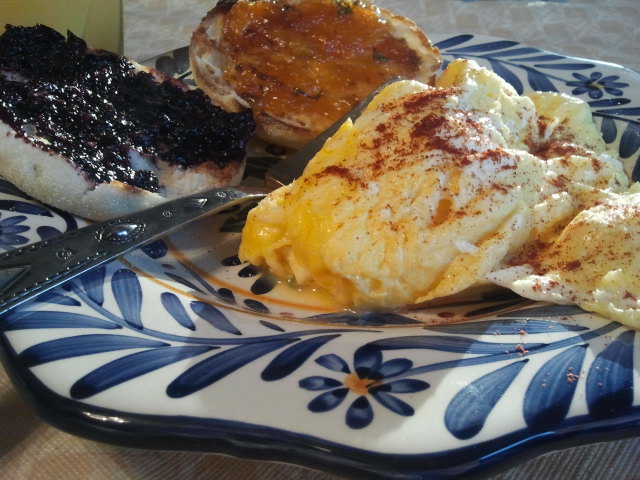
I have a confession to make.
I’ve never made scrambled eggs well.
It’s not that they’ve been inedible or even half-bad. They’ve just never been really… good. They either end up doing an overcooked backstroke* around the plate or they wallpaper the pan. Both of these problems are somewhat alleviated by adding extras like sausage or cheese or peppers. But only in the way that putting a hat on fixes a bad hair day.
In the past few weeks however, my stars have unscrambled and a series of fortunate events have pushed better egg cookery upon me. These events are fairly mundane– a dirty pan, extra bacon grease, a distracted mama– but together they produced a breakfast that was anything but a jumbled up mess.
Tips for Better Scrambled Eggs:
- Use an appropriately sized pan. I’ve found it better to do single servings (2-4 eggs) in an 8 in pan rather than large batches in a 12 in pan. Using too big of pan seems to result in overcooked watery eggs, probably because they cook too fast to manipulate them properly.
- Use enough fat. Seriously. Even I, who have no fear of fat, evidently have not been using enough. Using at least 2 Tbs per serving seems to eliminate the eggy wallpaper problem. I know non-stick pans are supposed to be the Holy Ovum, I just don’t trust them. Even if you only use plastic utensils (an issue unto itself) they still get scratched. And where does all that stuff go? I shudder to think how much Teflon I’ve ingested. Besides, fat adds flavor. Butter is a natural companion to eggs, but I typically use bacon grease that I save in jar in the fridge. Frugal and tasty– what more can a cook ask for?
- Let the pan get hot enough before adding the eggs. This is another reason to forgo the non-stick pans as it’s dangerous to heat an empty Teflon pan. The beaten eggs should sizzle as you pour them into the pan and immediately begin to cook around the edges.
- Take them out of the pan before they are completely done. Eggs continue to cook after being removed from heat. So if you “go all the way” in the pan, you’ll be left with something less than the best on the plate. This step takes practice. After all, how to you know when they are “almost done” and not just undercooked? Only in the scrambling of many eggs will you learn, young eggdi, Yoda says. (Yes, I did just do that.)
- Cheese confuses this whole processes. It’s Meltiness sticks to the pan no matter how much fat you use. I suggest staying away from it until you get your Scramble on better. If you can’t do without it, try sprinkling it over the eggs on the plate rather than in the pan.
This list is far from exhaustive, I know. Some of your technique will depend on how you like your eggs. For example, I prefer a cohesive lump rather than a thousand tiny curds. So I tend to flip my eggs rather than break them up by stirring. What about all of you? How do you like your eggs? What techniques do you use to get the perfect Scramble?
*Eggs get watery when overcooked because the proteins have contracted too much and pushed all the liquid out. Therefore, cooking the eggs more will only exacerbate the problem.
Posted 12 years, 8 months ago at 11:42 am. 4 comments
Sangria will always have a special hold on my taste buds. In my pre-married days I lived at a house where there was always a frosty pitcher of Sangria in the fridge. It was the accompaniment of many a weekend backyard cookout and afternoon share-more-than-you-meant-to conversations. To this day I cannot make Sangria without thinking of my much cherished roommates.
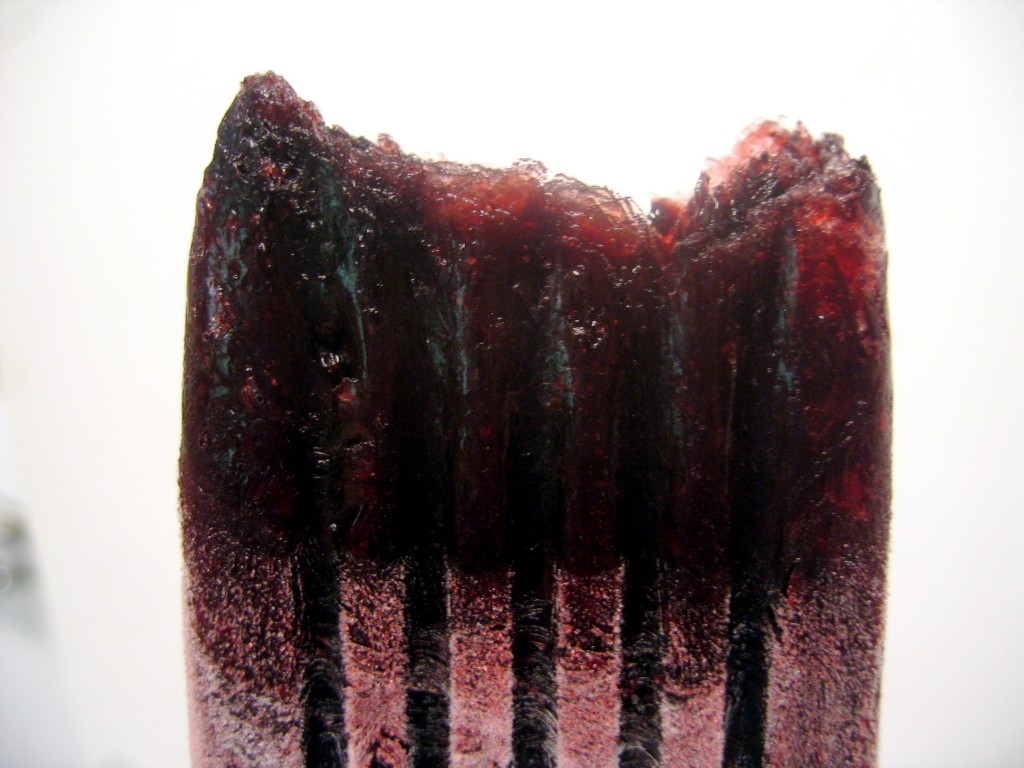
This summer, however, while a sangria pitcher is not a stranger to my fridge, I needed something different. I’d been itching to try some of Mark Bittman’s adult ice pops and given my penchant for sangria, figured that would be a good place to start.
It was.
Normally part of the appeal of sangria is the wine soaked fruit at the bottom of the glass. But I wasn’t sure that would work for an ice pop, so I blended the juice in with the wine. While I personally used blackberries for this recipe, any berries (or fruit for that matter) would probably work. Although, if it’s something like peaches, you can probably skip the straining step.
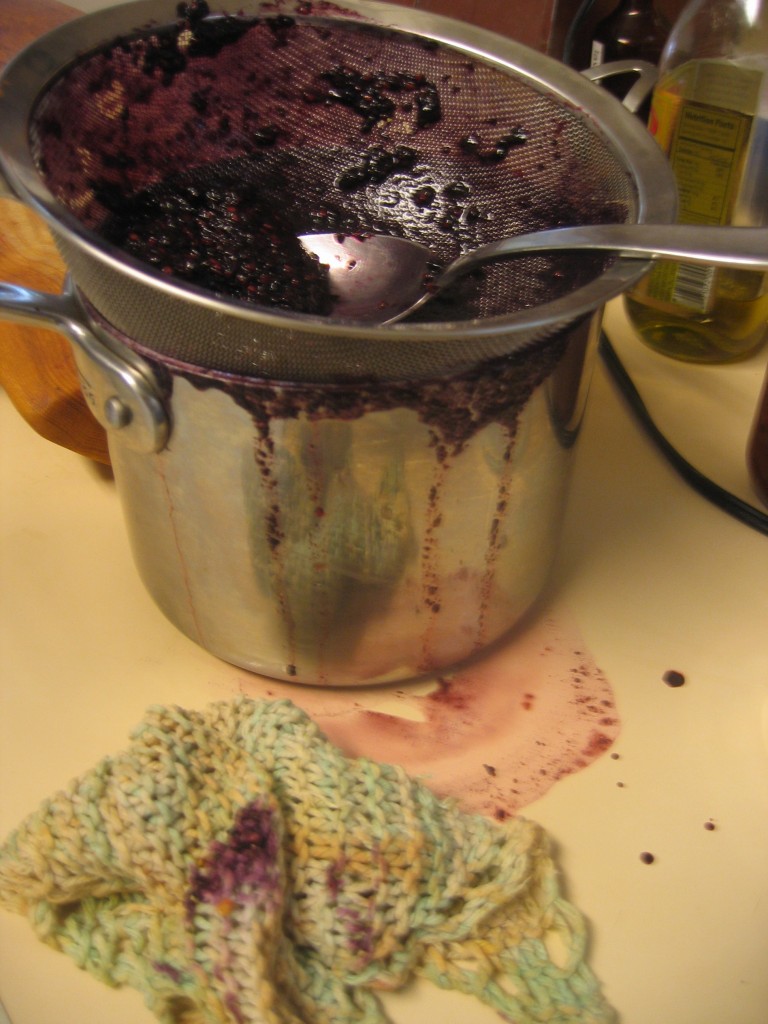
Sangria on a Stick
1 lb berries
1 cup dry red wine
a good pinch of salt
a couple swigs of brandy
Blend all the ingredients together until smooth in a blender or food processor. Press the mixture through a fine sieve, discarding the solids.(Compost or chickens!) Pour liquid into ice pop molds or paper cups. Freeze for at least 5 hours. If you are using paper cups, don’t forget to insert the stick once they thicken but before they are completely frozen. Take out of the molds as needed for summer afternoon pick me ups and incognito happy hours.
Posted 12 years, 9 months ago at 8:47 am. 1 comment
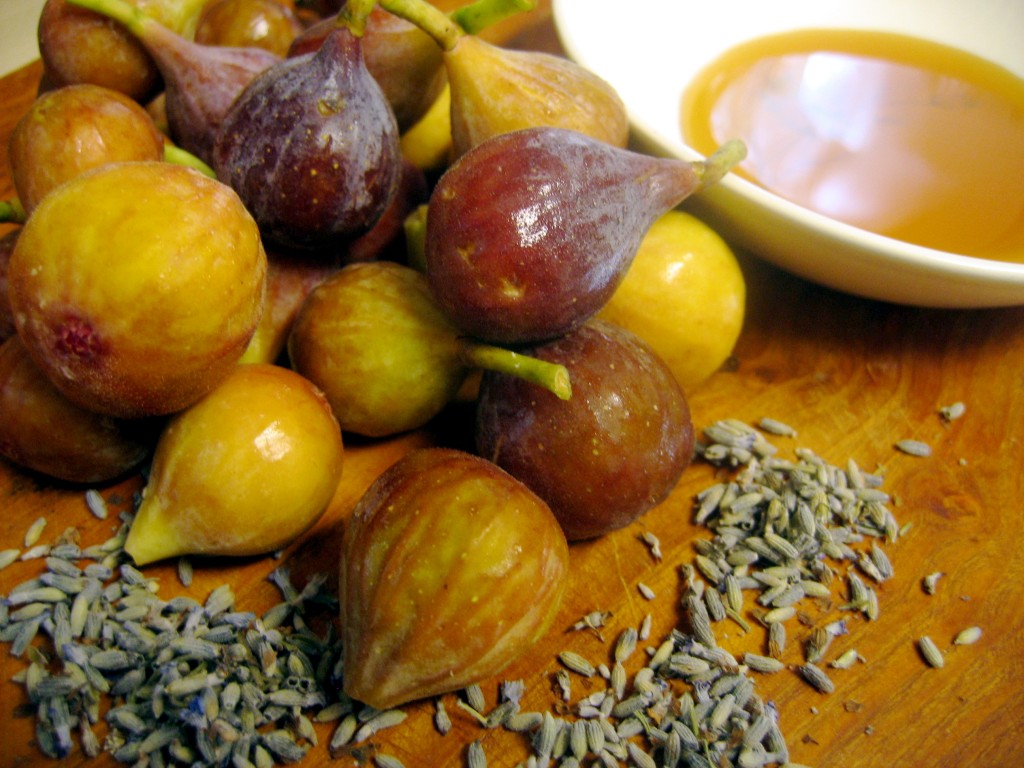
I feel like this post ought to start with some quip about the inferiority of Fig Newtons and Pop Tarts. But anything I think of either sounds lame or pretentious. “Fig Newtons are only a figment of your imagination compared to this!” or “Pop Tarts: the illegitimate child of a tart.” See? I told you– I somehow manage to be lame and pretentious (and slightly risque) at the same time. Continue Reading…
Posted 12 years, 9 months ago at 1:20 pm. 2 comments

Pie crust has always been a big deal to me. My dear sweet Grandma Rolf was a pie making goddess from crust to crumbs. A visit to her house was never complete without some sort of pie, though most commonly it was a sweet spicy-scented apple pie that came out of her oven. As a child I didn’t realize what a perfect slice of Americana I was as I sat at the table digging into my warm apple pie and melty vanilla ice cream. I only knew it was good.
She set the bar high. When my friends would scrape out the filling and leave the crust behind, I was confused. The crust was my favorite part! It wasn’t until I tasted a commercially prepared crust that I understood and empathized with their behavior. When I became my own cook there was never even the option of a store bought crust. To do such a thing felt on the order of building a cold, tough, mealy sidewalk over her grave.
While I hear tell that my grandma used lard and butter for most of her pie baking days, near the end she had switched to an oil based crust because it was “healthier.” While this is probably the crust I grew up on so I can attest to its goodness, ironically I’m too uncomfortable with the unhealthy aspects of low quality vegetable oil to make it. So I had to start from scratch finding my own recipe. Continue Reading…
Posted 12 years, 9 months ago at 8:23 pm. 4 comments
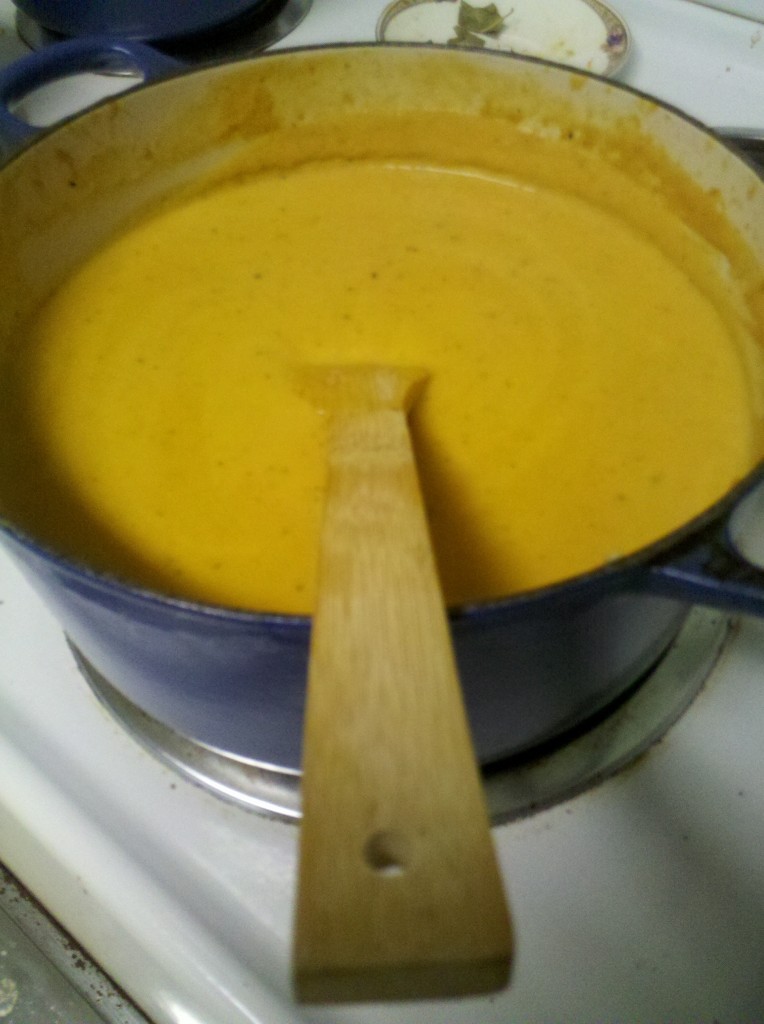 You’ll have to forgive the anachronism of this recipe. It’s been wafting around my draft folder for months, but with one baby and another, I just never got around to publishing it. So even though summer has spread its steamy cloak over all of us, I hope you’ll remember this recipe the first time you wish you had brought a sweater with you.
Spiced Butternut Squash Soup with Cardamom and Lemongrass
1 large or 2 smallish butternut squashes
2 Tbs coconut oil
1 onion, peeled and chopped
4 cloves garlic, peeled and chopped
1 tsp cardamom seeds
1 granny smith apple, cored and chopped
2 large carrots, chopped
2 Tbs apple cider vinegar
1 cinnamon stick
2 bay leaves
1 stalk of lemongrass*
1 1/2- 2 quarts chicken stock
salt and pepper
1 cup heavy cream
Greek yogurt (opt)
Dried apples (opt)
Preheat oven to 375°. Cut squash in half and scoop out the seeds. Lay the halves cut side up on a baking dish. Rub with oil and sprinkle with salt and pepper. Roast for about an hour, or until fork tender. Let cool while completing next steps. (This step can also be done up to a few days ahead of time. Just wrap the cooled squash and put it in the fridge until ready to continue.)
Melt coconut oil in a large heavy pot. Add onions and cook on medium low heat until they are translucent. Add the garlic and cardamom seeds, stirring until fragrant- about 45 seconds. Increase the heat to medium high and add the apple and carrot. Saute until they are softened and there is a nice crust on the bottom of the pan. Deglaze the pan by adding the vinegar and scraping up all the brown bits. Add 1 quart of the stock , the cinnamon, the lemongrass, and the bay leaves. While waiting for that to boil, scoop the cooled squash flesh out of the shell and add to the pot. Once boiling, reduce the heat and simmer for 10 to 15 minutes to allow the flavors to meld and vegetables to completely soften.
Remove from heat and use a stick blender to puree the soup. Take your time with this step. There’s few things as culinarily undesirable as finding chunks in your soup that look as if they’ve already been half chewed. (If you don’t have a stick blender, carefully pour the soup into a bar blender and puree in batches. Then return to the pot.) The soup will likely be very thick, about the consistency of mashed potatoes. Use the reserved stock to thin it to your desired consistency. Return the pot to the stove and reheat if necessary. Just before serving, stir in the heavy cream. Garnish with Greek yogurt and chopped dried apples.
*Look for it at Asian grocery stores. Or, if you live in Columbia, pick some up at City Roots.
Posted 12 years, 10 months ago at 10:40 am. Add a comment
 Impromptu cooking certainly has its magic, but there is something to be said for recipe sculpting. Carefully chipping away at burnt corners or smoothing out too tart flavors. I’ve made this pancake for the past month of Sunday mornings at least. Each time I chiseled into it a better form emerged.


