 Growing up, orange vegetables meant sugar. Sweet potatoes got marshmallows. Winter squash got a dusting of brown sugar. Pumpkins were made into pies. Carrots got… okay, well, carrots discredit my sweeping generalization.
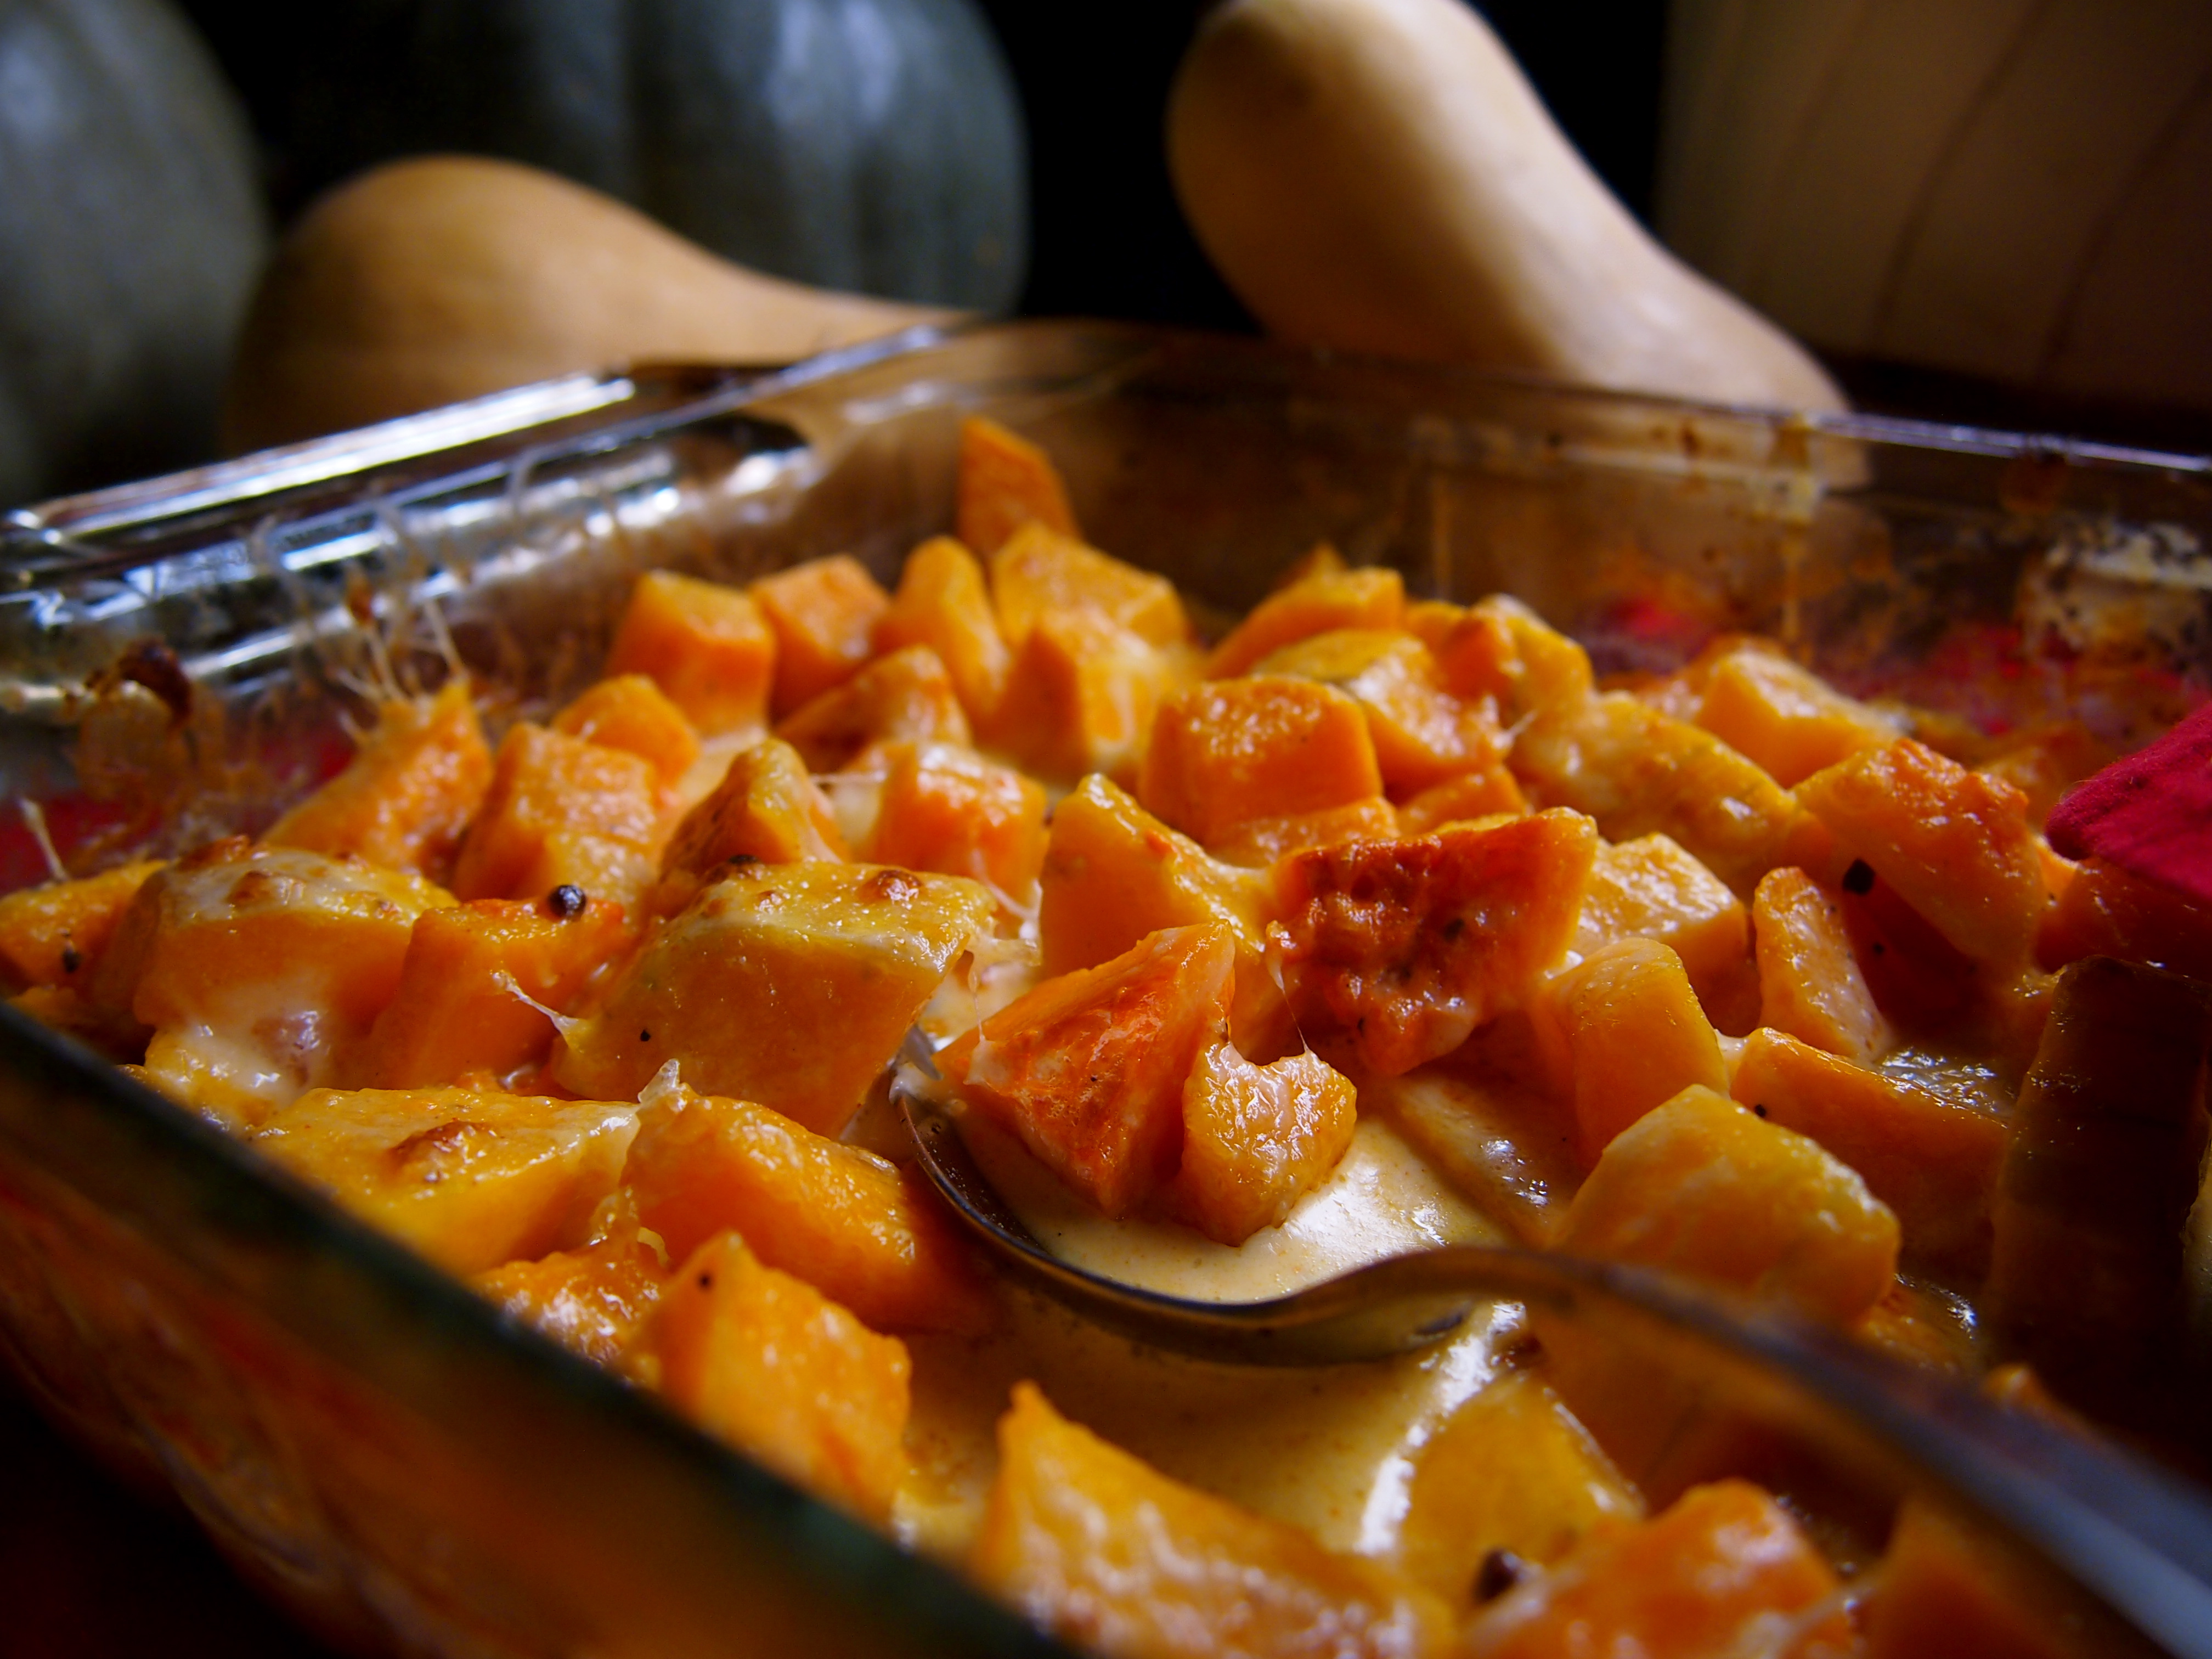
Even though I’d now be more likely to use honey or maple syrup, it’s taken me some time to crack through the caramelized bias of my youth. And oh! it’s been worth it. Like many openings of mind, there are so many more possibilities now. Winter squash, I’ve come to understand, are quiet about their sweetness. It’s easily upstaged by the more boisterous sugar. Next to the spice of cayenne though, the squash’s sweetness can be appreciated.
Spicy Butternut Squash with Parmesan
~inspired by
this recipe from Gourmet Magazine, as seen on
Epicurious
2 1/2 lbs butternut squash, peeled and cubed
3/4 cup heavy cream
1/tsp cayenne pepper (more or less to taste)
1 cup grated Parmesan cheese
salt and pepper to taste
Preheat the oven to 400°. Place the squash cubes in a small baking dish or skillet. In a glass measuring cup, measure out the cream then stir in the cayenne, salt, and pepper. Pour the cream mixture over the squash. Cover with foil or a lid and bake for 25-30 minutes, until the squash is tender. Stir in half the cheese, and sprinkle the rest on top of the squash. Bake (uncovered) for another 7-10 minutes. Then turn the broiler on until the cheese is bubbly, brown, and beautiful. Remove the the oven and let stand for at least 5 minutes to thicken.
Posted 13 years, 6 months ago at 2:00 pm. 1 comment
 Focaccia is another of those recipes that is redolent with memories. I was introduced to this Italian snack in its simplest form, topped with olive oil and salt during college. The humanities department would have semi-regular meetings where all the professors and students would gather together. (It was a small school, so this wasn’t as big an ordeal as it may seem.)
While we heard tell that other departments had the usual spread of chips, cookies, and soda, we were favored with homemade focaccia baked by our beloved secretary Elizabeth Davis. While she usually tried to keep a low profile in meetings, there was no disguising the warm yeasty smell that accompanied her through the door. She and her bread were the center of everyone’s attention. Even if we tried to politely finish listening to whomever was speaking, our minds and hearts were with her and the bread she was slicing.
Her focaccia stands in my memory as a culinary beacon of hope in an otherwise dreary foodscape of cafeteria food and boxed cereal. It was beguiling in its simplicity, managing to be both fluffy and crisp at the same time. The olive oil, warmed by the bread, pooled in the fingertip deep wells, dribbling over the sides when it was cut. The more refined among us ate with a napkin in hand to dab at the drips. Call me rustic, but I could never resist licking my fingers clean of the buttery oil mingled with the sharp bite of salt.
While plain and simple focaccia still heats my oven, I have recently been enamored with recipes using seasonal fruits, like this Grape and Rosemary Focaccia from Nourished Kitchen. Living in the South, I made it with muscadines rather than concord grapes, but the combination of peppery olive oil, sticky sweet grapes, and salty herbs worked its way into my blood. Sadly, muscadine season is painfully short. Nowhere near long enough to satisfy my craving. When cranberries started poking around the produce, I saw my way clear.
While this recipe is obviously evocative of Thanksgiving, I won’t lie and say I’m not stashing a few bags of cranberries in my freezer so I can enjoy this a few months down the line.
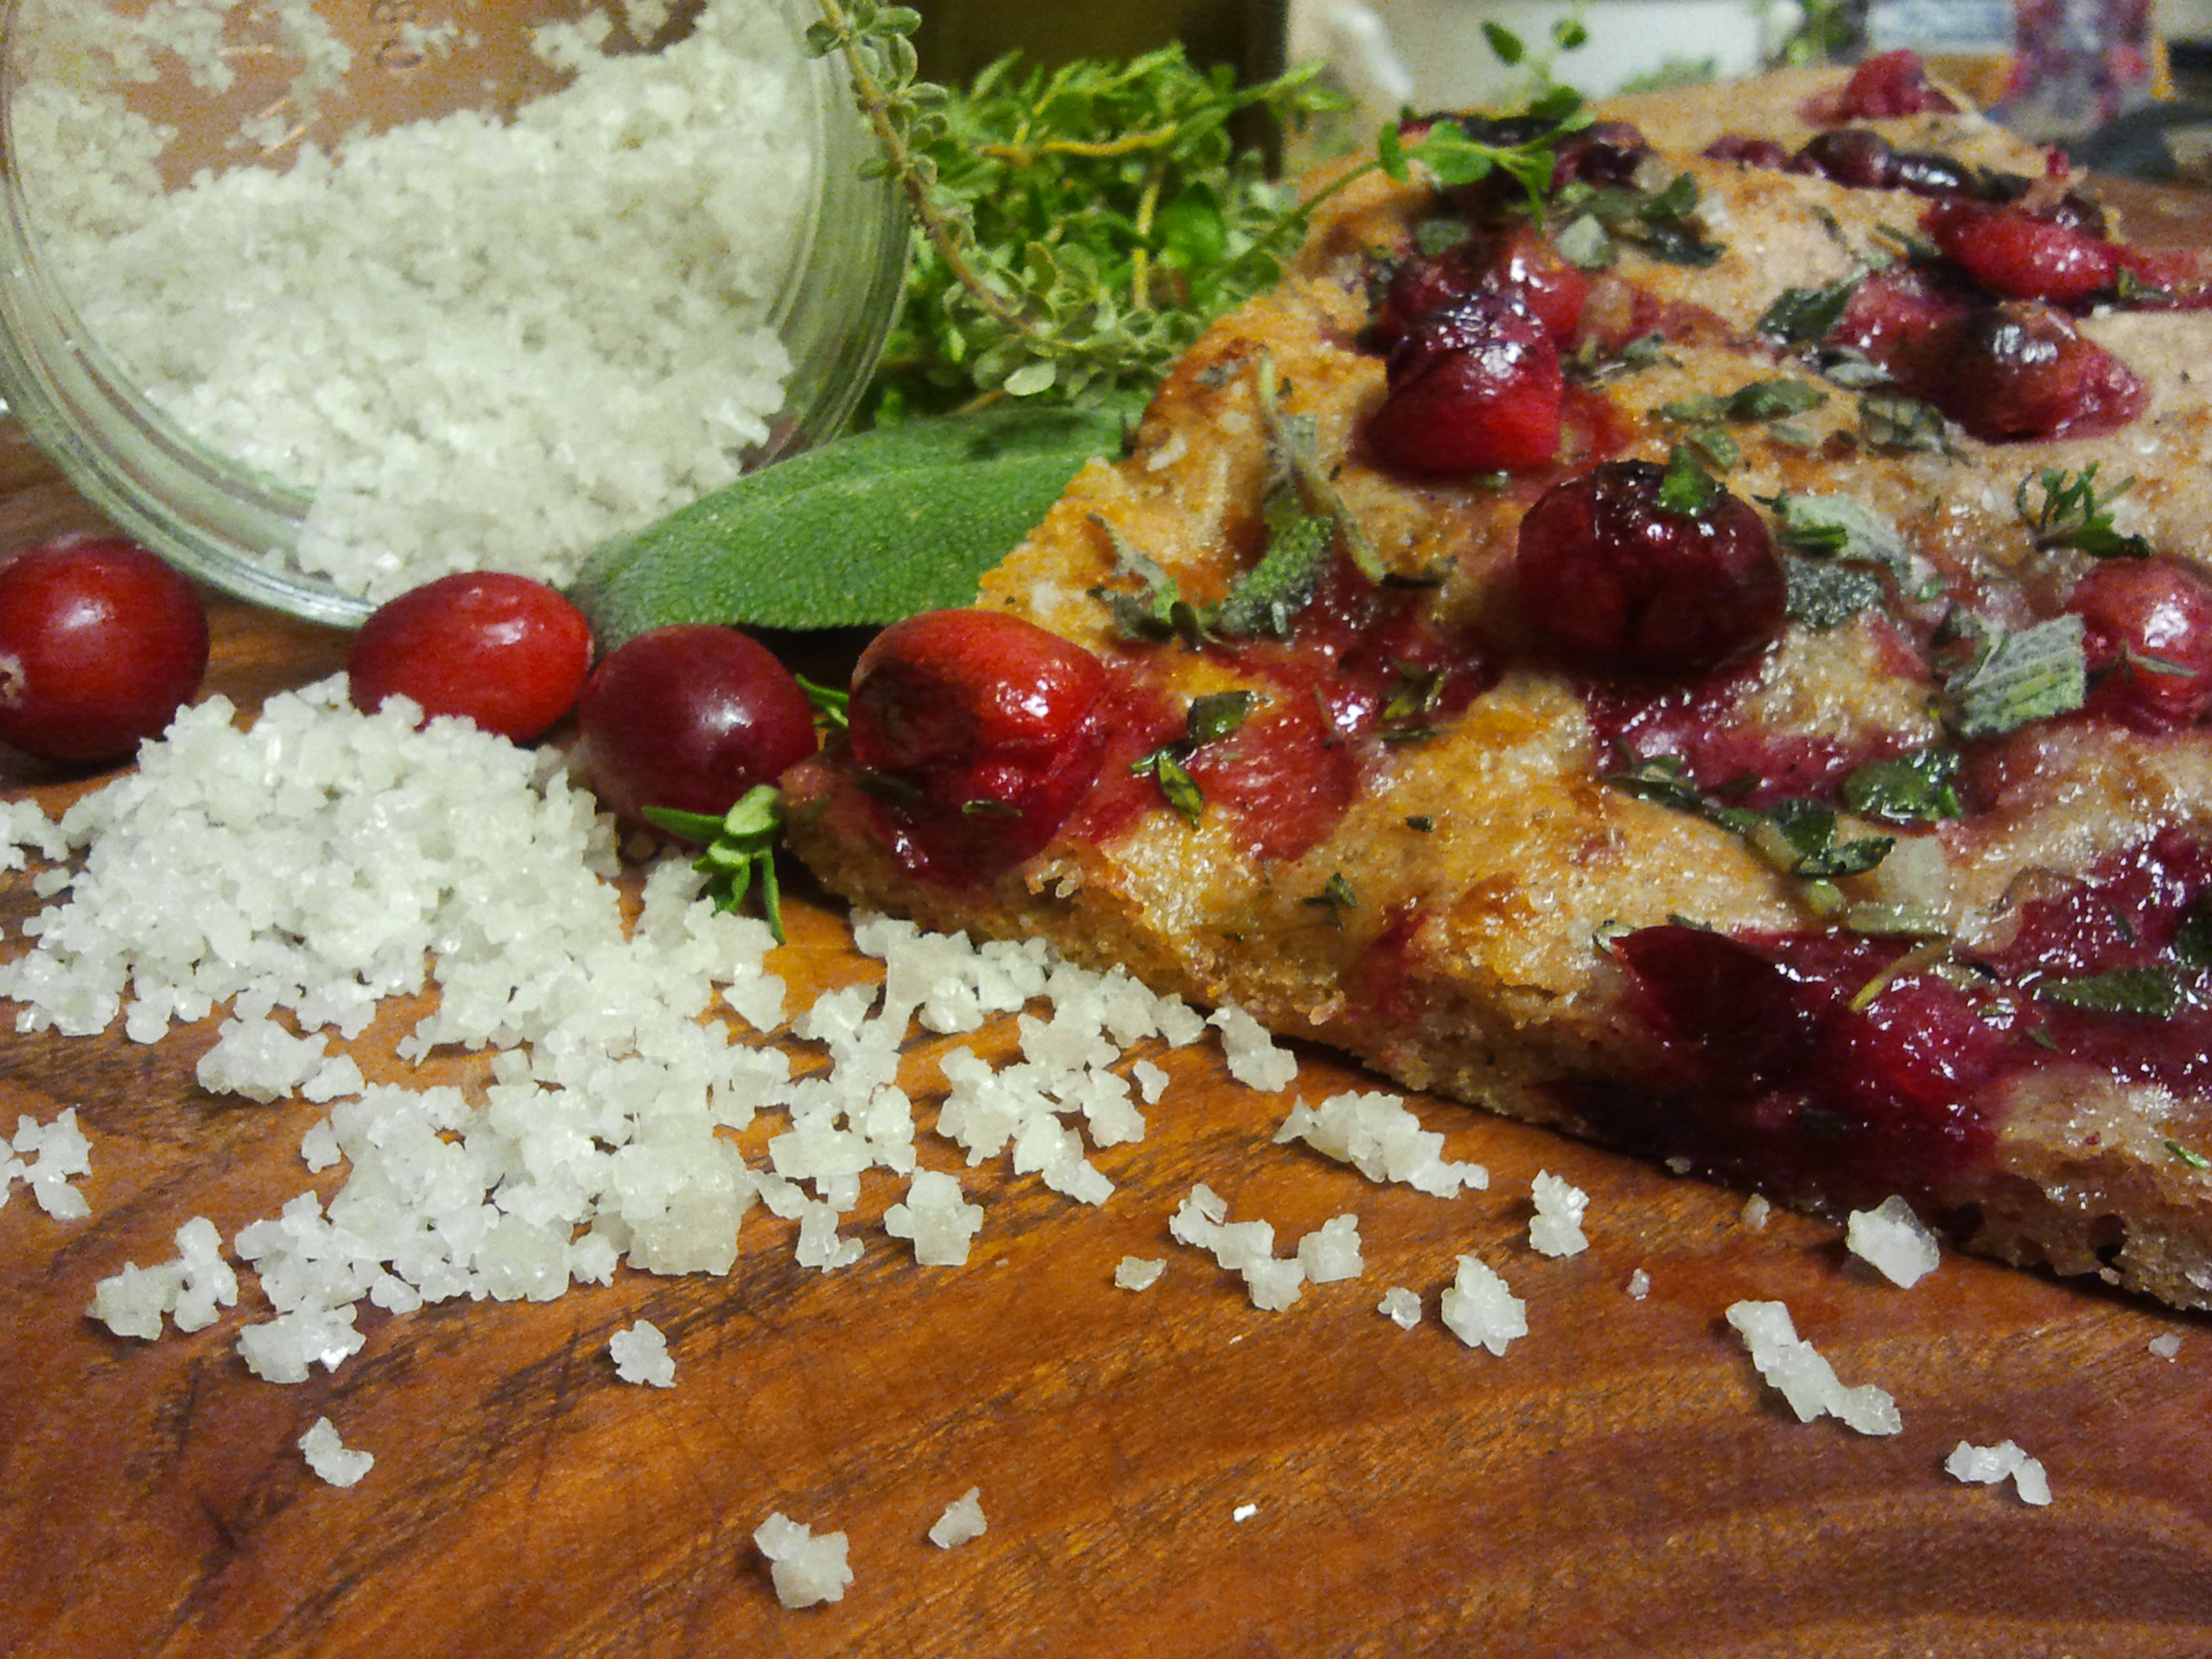
Sourdough Focaccia with Cranberries, Sage, and Thyme
Inspired by recipes at Nourished Kitchen and The Fresh Loaf
1 cup frothy 100% hydration sourdough starter
1 cup tepid water
1 cup extra virgin olive oil, divided
2 cups whole wheat flour
2 cups white whole wheat flour
3 tsp salt
~ 1/2 a bag of cranberries
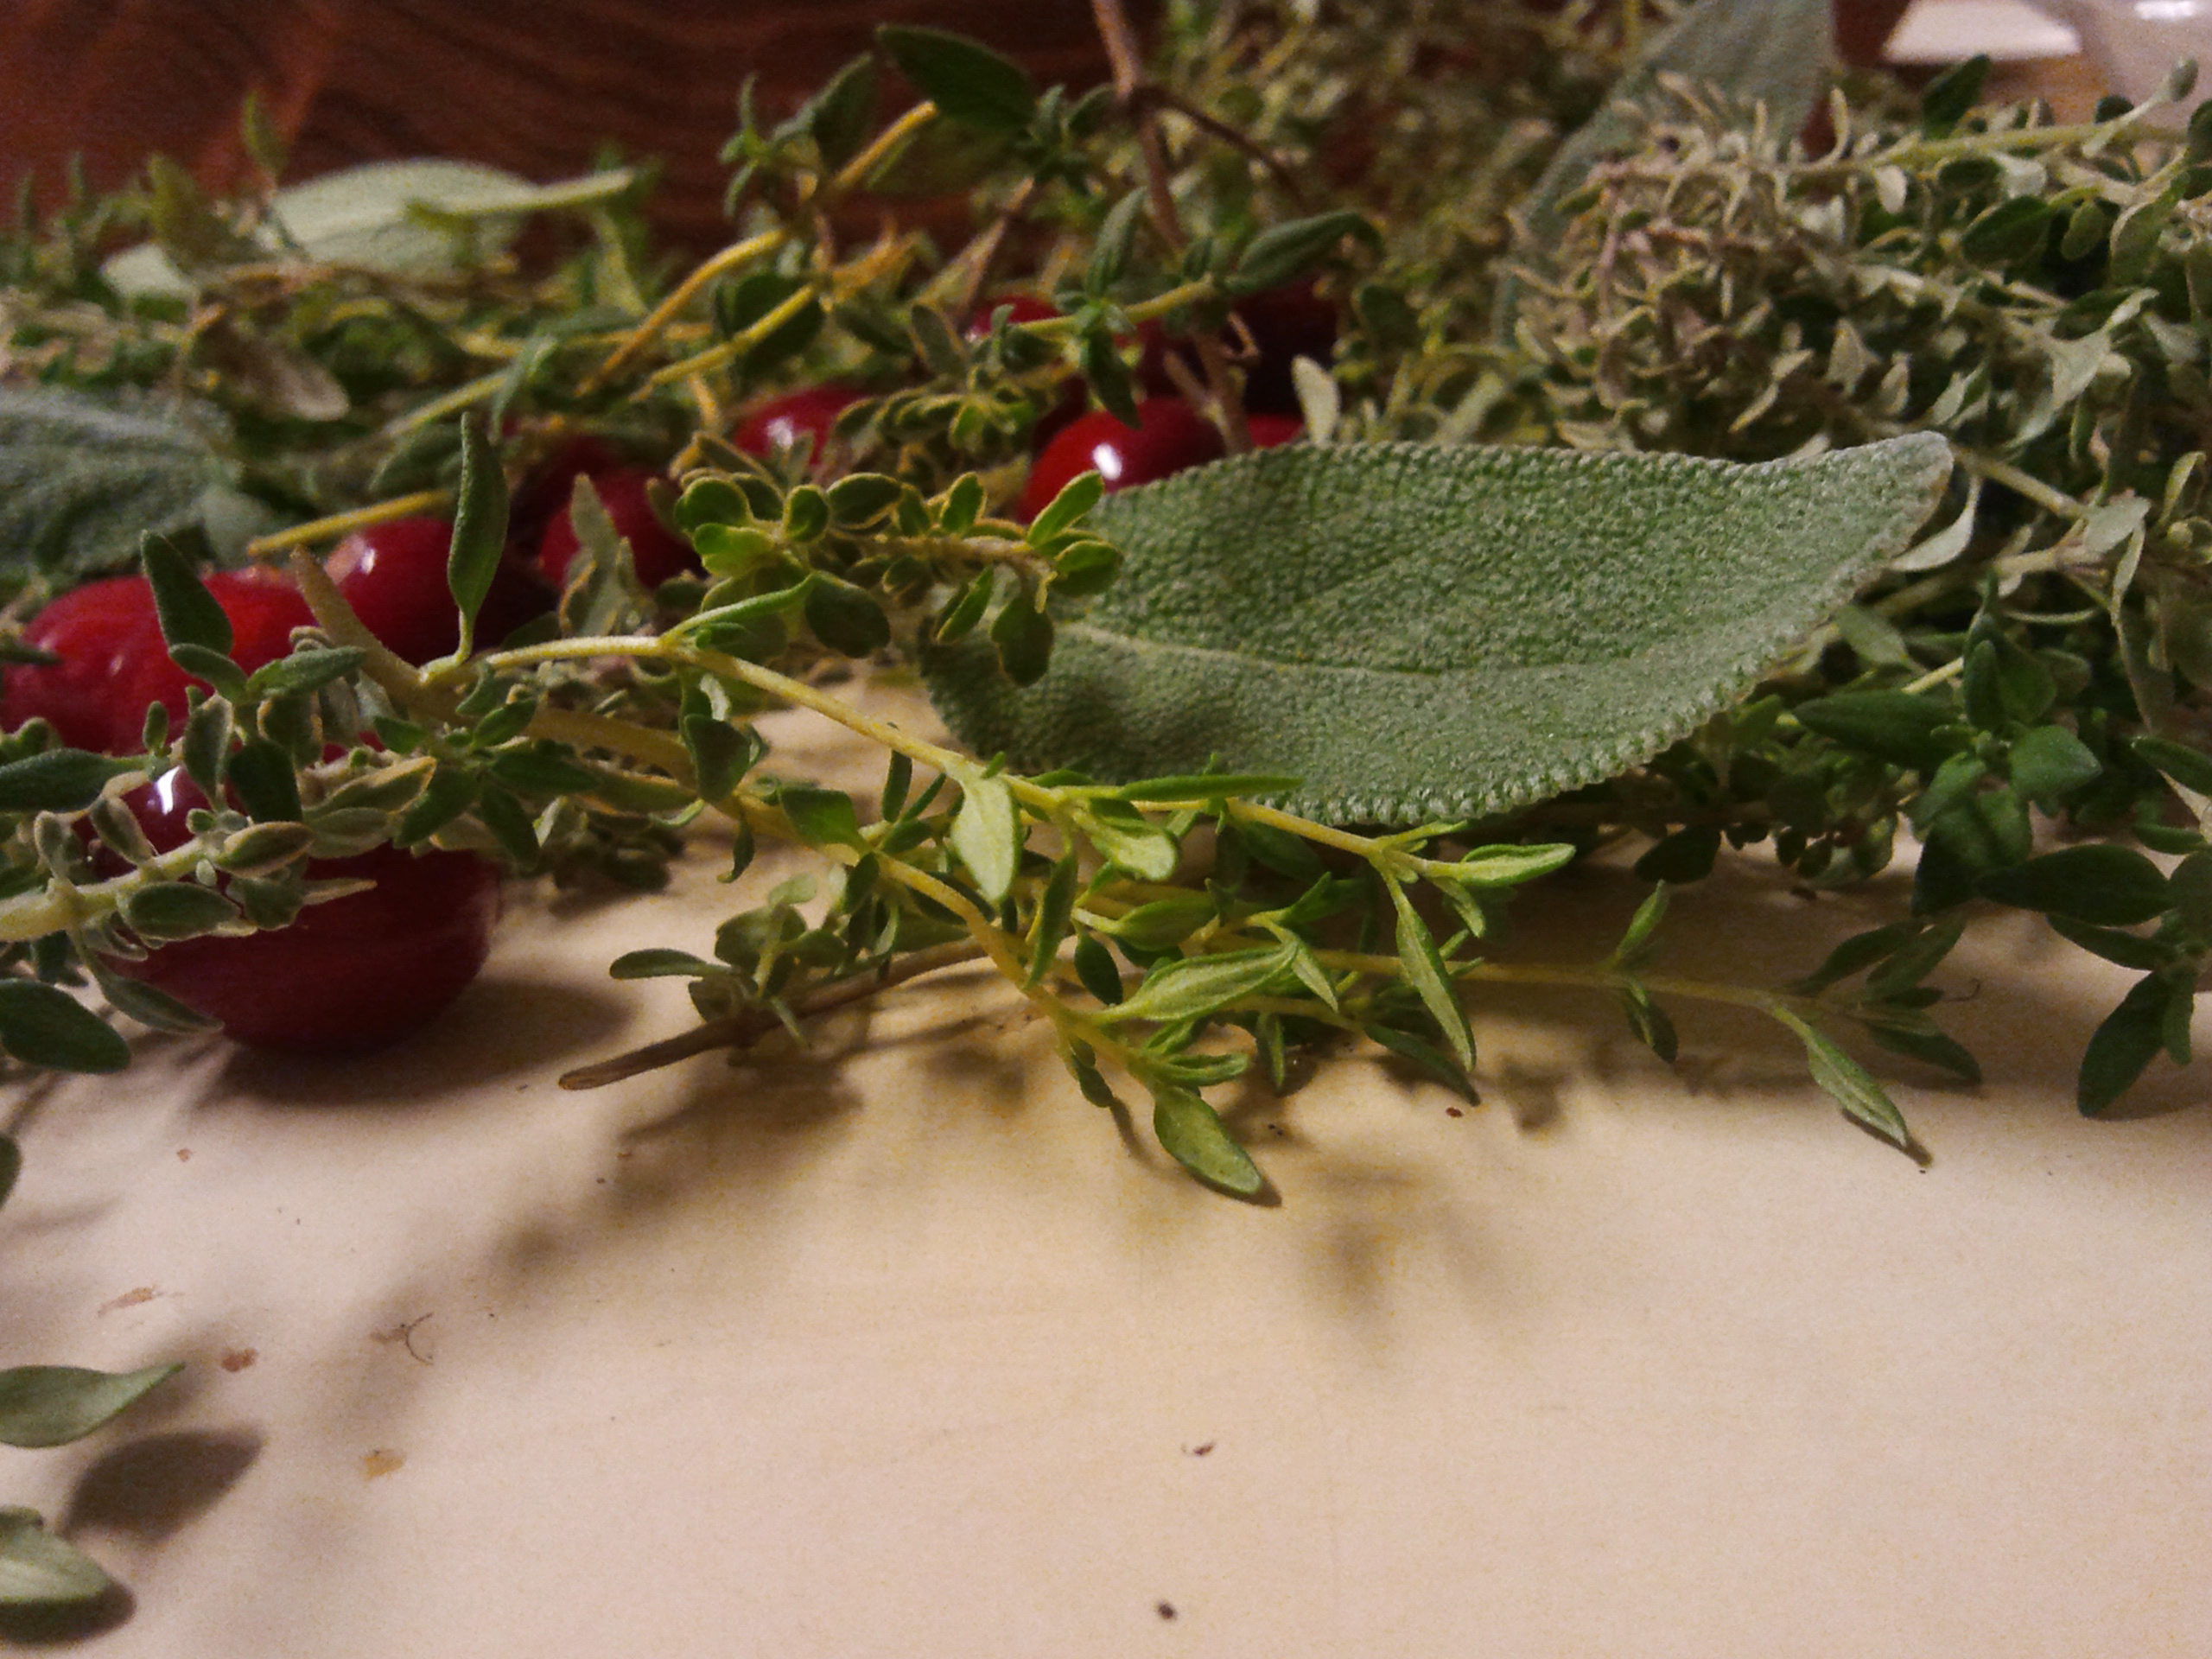
2 T chopped fresh sage
1 T chopped fresh thyme
2-3 T unrefined coarse sea salt
In the bowl of a stand mixer, combine the starter and water. Mix briefly to break up the starter. Add 1/4 cup olive oil, one cup each of the flours, and the salt. With a dough hook, mix the dough until it comes together. If it’s still excessively sticky, add more flour until it becomes more manageable– it can stick to your fingers, but it shouldn’t coat your hand like a glove if you try to knead it. Let the mixer knead it until you can stretch a piece paper thin, about 10 minutes. Roll it into a ball, drizzle the bowl with olive oil and turn the dough to coat. Cover with plastic wrap and place in the fridge over night.
The next day, let the dough come up to room temperature, about 60-90 minutes. Rub olive oil onto a 9×13 baking sheet. Pat the dough out to fit the baking sheet and let it rise, covered, in a warm place for 2-3 hours, until it looks puffy and doubled. Meanwhile, preheat the oven to 475°. After the dough has risen, use your finger tips to make several indentations in the dough. Not holes, just dips. Drizzle an ample amount of olive oil over the dough and down its sides. The bread is essentially going to fry on top, so do be generous. Sprinkle the coarse salt and then spread the cranberries out. They might roll into great cranberry canyons, so you might need to press them gently into place.
Bake in the oven for 20-30 minutes, until the top is golden and crisp. Take it out of the oven and drizzle some more olive oil and scatter the herbs over the top. Using a pizza cuter, cut the focaccia into squares. Serve hot or a room temperature. If you happen to have leftovers, it makes a fabulous breakfast reheated in a toaster oven for about 5 minutes.
This post is participating in YeastSpotting, a “weekly showcase of yeasted baked goods and dishes with bread as a main ingredient” hosted by Wild Yeast, though guest hosted this week by Hefe und mehr.
Posted 13 years, 6 months ago at 9:59 pm. 3 comments
 I am sadly less than proficient when it comes to Asian vegetables. You’d think all the time I spent in Asia would have up-ed my skill level (or at least awareness) a bit, wouldn’t you? But alas, during my years there if I thought about food at all, it had to do with how many “weird” things I could eat in order to impress people back in the States. Therefore, while I certainly ate my fair share of traditional Filipino food, I missed out on the finer points of what the vegetables actually were and how they were prepared.
Today, my co-farmer, Ben, alerted me to the fact that we will be harvesting baby bok choi on Friday. As far as Asian vegetables go, I know bok choi is pretty mundane, but even so I wasn’t familiar with it. Like most brassicas, bok choi gets sweeter with the colder weather. Because of all the frosts (not to mention snows) we’ve had this winter, the bok choi leaf I sampled was as sweet as any summer corn I’ve tasted. Sweet and almost lemony but with a definite cabbage-y twang, like a farm girl who can’t quite banish the drawl from her voice. As delicious as it was raw, Ben counseled that they are even better cooked– but not too much. Bok choi, also like other brassicas, gets extremely bitter when over-cooked.
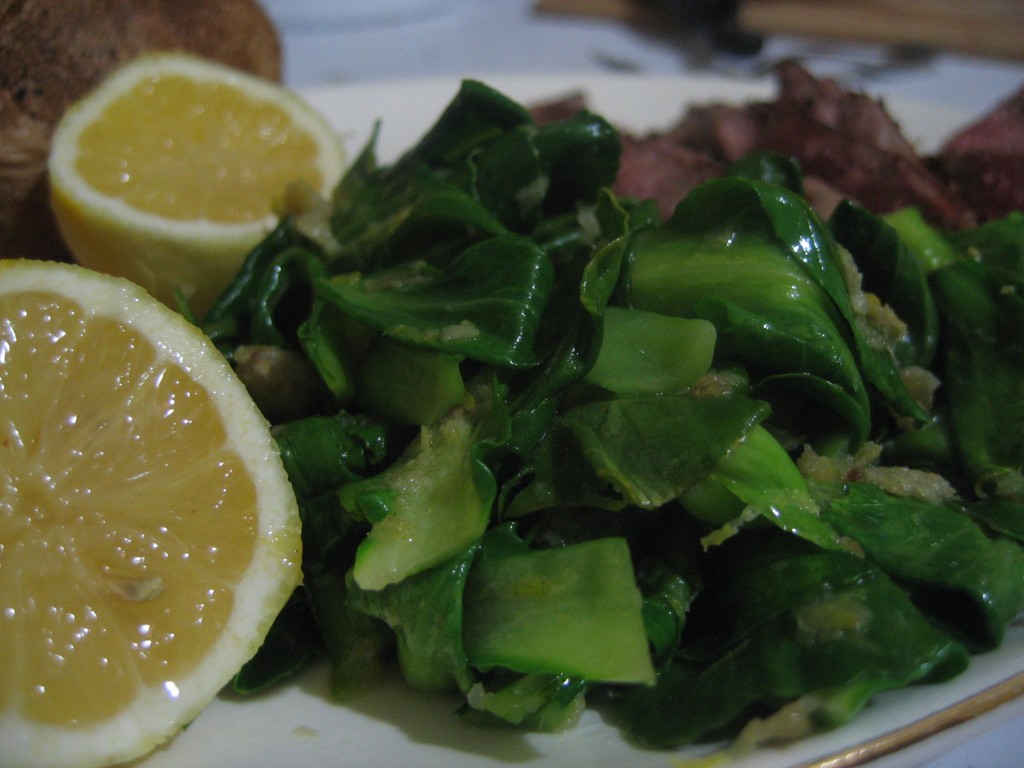
After doing my “new vegetable encounter” Wikipedia search, I learned that in traditional Chinese thought bok choi is a cool vegetable. In order to counter balance the coolness, a warming ingredient is added, such as garlic or ginger. I figured that was as good a place to start as any. That, combined with my first impressions of the raw leaf as having distinct lemony undertones, gave birth to this dish. While I served it with beef, I think it would make a fantastic bed for some fresh fish from the farmer’s market.
Bok Choi with Ginger and Lemon
1 bag bok choi (about 1/3 lb.)
1 TBS butter
1 in piece of ginger, peeled
zest from one lemon
salt
Using a fine grater, grate the ginger and lemon zest; set aside. Cut the ends off the bok choi, wash in cold water, and dry well. In a medium sized pan, heat the butter over medium-low heat. When it just barely sizzzles, add the ginger. After a few seconds (when the gingery aroma reaches your nose), add the bok choi and lemon zest. Stir with tongs until its evenly coated in butter, ginger, and zest. Cook until mostly wilted (about a minute). Turn off the heat when most of the leaves are wilted. Continue stirring as the residual heat cooks the rest of the leaves.
Posted 14 years, 4 months ago at 9:23 pm. Add a comment
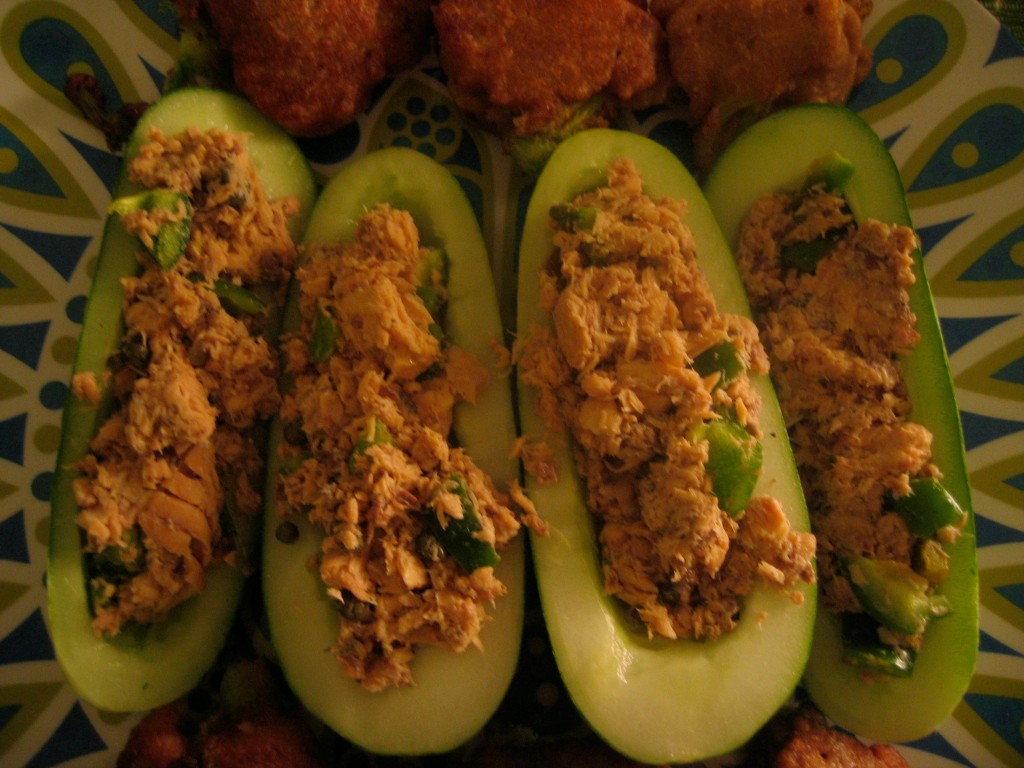 Like a delusional castaway on a deserted island, I’ve been seeing boats everywhere. Ever since writing about Zucchini Boats, my mind seems to have been opened to all the possibilities. Bananas, melons, bell peppers, mushrooms, tomatoes. It seems almost anything can become a “boat.”
Cucumbers seem especially suited to boat-ness. Many people already make them without knowing it by scraping out the seeds. What’s left behind is the perfect cavity to fill with something delicious. In this recipe, I chose to fill it with a salmon salad. A nice addition to my recipe would be some grated Parmesan cheese. I didn’t add it this time because we were also having goat cheese stuffed squash blossoms, and I didn’t want a cheese overload.
I think I like these better than the zucchini boats. They are crisp, fresh, and easy. Perfect for summer because they require no oven. I suppose they are raw? If you consider canned salmon raw, I suppose . . . ? I’m not up on the rule book for Raw Foods. At the very least, these boats don’t require any actual cooking, only assembly.
And the best part? They are best eaten like a hot dog.
Cucumber Boats
2 cucumbers
1 can salmon, sustainably harvested if you can find it
1 lemon
2 Tbs capers
1-2 small bell peppers, any color
1/4 cup grated Parmesan cheese (opt.)
salt and pepper
Put the salmon in a medium bowl and break it into pieces. You can pick out the bones if you want. Zest the lemon over the bowl. Then roll it under you palm a few times to release the juices. Cut it in half and squeeze the juice into the bowl, straining the seeds through your fingers. Add the capers. Chop the peppers into small pieces and add them the to bowl too. If you’re using cheese, add it now too. Cover the bowl and set it in the fridge to chill for a bit. Cut the cucumbers in half lengthwise. Use a spoon to scrape out the seeds. Fill the cavity with the salmon salad. Eat with your hands, like a hot dog.
Posted 14 years, 9 months ago at 6:34 am. 3 comments
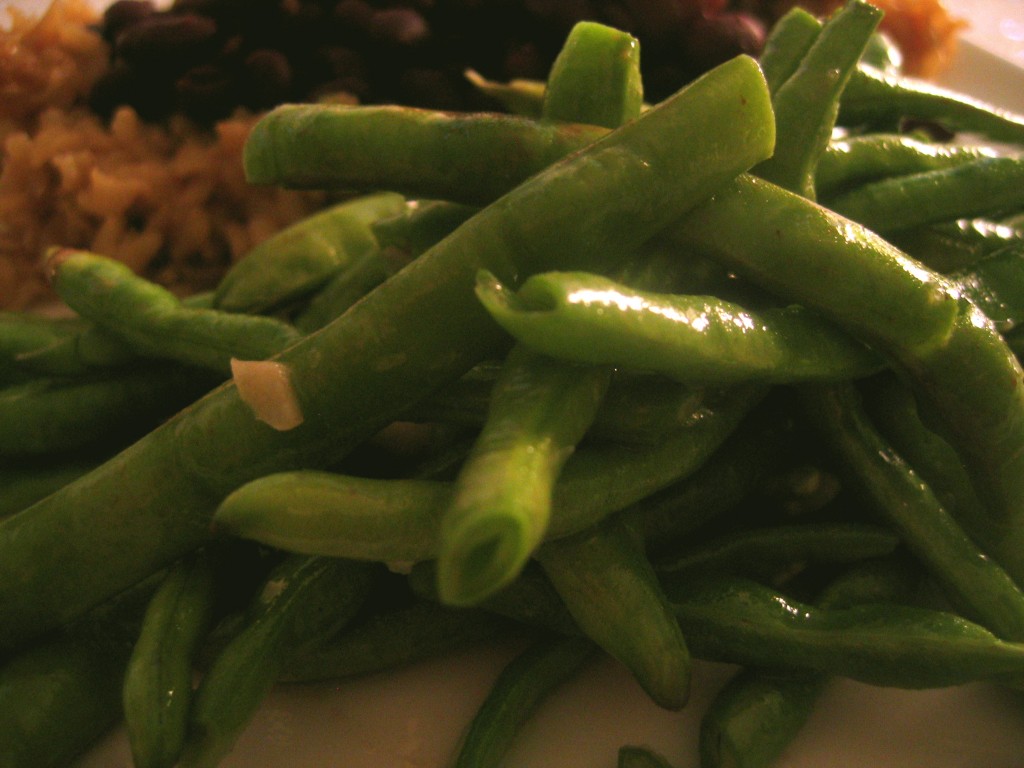 This is just a quick post about a recipe Mr. Quotidian and I have been enjoying the past several weeks. Yard Long Green Beans, although they look like field peas that must be shelled, are best used like pole or snap beans. (Except for eating raw. They are bitter and chewy before they are cooked.) For any gardeners reading, these beans should be classified under Foods to Grow for Survival. The plants are magnificently prolific. At City Roots, we harvest bushels every few days.
And they are quite tasty too. I could eat a whole recipe by myself. But then there wouldn’t be any leftovers to used in the Bevy and Beans and Basil dish (recipe to come soon!). It’s such a quandary.
Yard Long Bean Sauté
2 bunches of Yard Long Green Beans
2 Tbs butter, lard, or olive oil
2 anchovy fillets
4 cloves of garlic
sea salt
Bring a large pot of salted water to a boil. Meanwhile, rinse your beans and snap them to a size you like. You could also peel and chop your garlic now. I like big chunks of garlic in my beans, but if you prefer a more refined mince, go for it. When the water boils, add the beans and blanch them for 45-60 seconds, just enough for them to turn bright green and cook slightly. This step evens out the cooking times, as some beans are larger than others. Strain them out and drain in a colander. Heat a large skillet over medium high heat and melt your fat. When it looks shimmery on the surface, add the anchovies and use a wooden spoon to smoosh them into the oil. They should completely disintegrate. Then add the beans and mix until they are evenly coated. I find tongs to be helpful here. Add the garlic and mix again. Cook the beans to your desired doneness – crunchy, al dente, or mushy. Turn off the heat and salt them to taste.
Posted 14 years, 9 months ago at 6:53 am. 1 comment
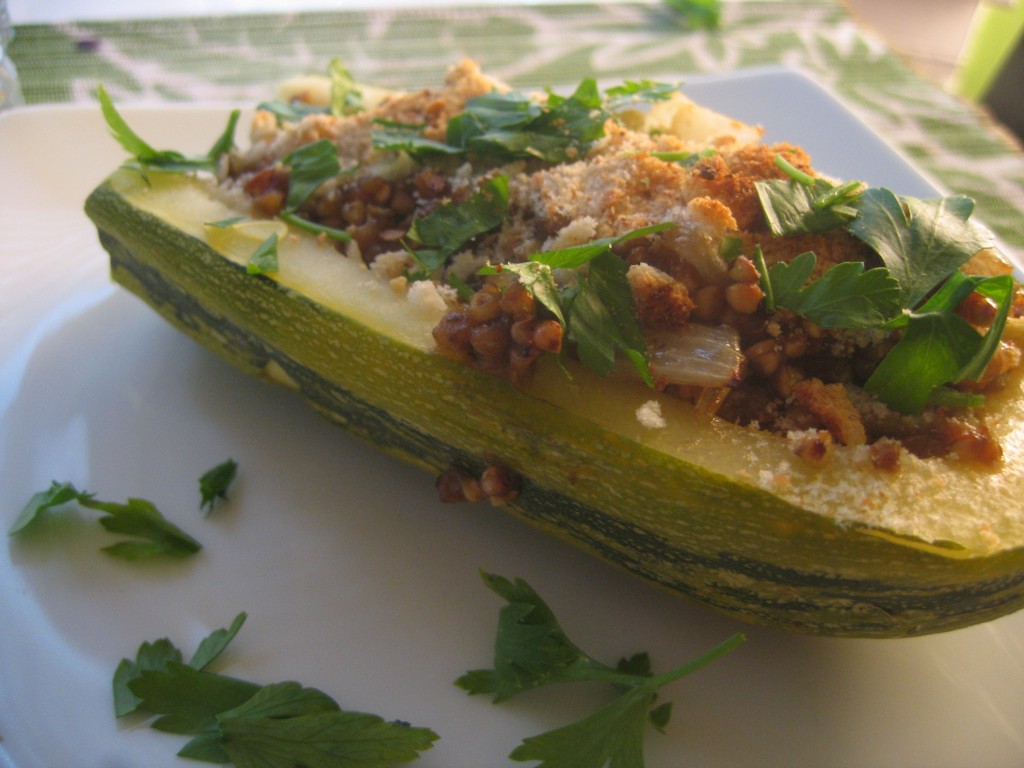 Recipe names like this always make me think of the book Cloudy With a Chance of Meatballs. I bet somewhere in the town of Chewandswallow, amidst all the chaos, was a perceptive mother. She saw the signs of an impending Act of Food and so decided to just let that zucchini in her garden keep growing. While the rest of the townspeople eyed her strangely as they indulged in falling pie and fried chicken, she ignored them, confident in her knowledge of what was coming. Soon, it all changed. Pea soup engulfed the town. Stale bread filled the ocean. Meatballs fell from the sky. The rest of the town cobbled together peanut butter sandwich rafts that were doomed to water log. Meanwhile, this clever mother harvested her zucchini and herded her family inside, including the pet cat and Little Daughter’s fireflies. They were warm, dry, and well fed as their zucchini ark was tossed about the ocean. Having grown her family to safety, this woman now lives among us, smiling politely at our weak jokes about zucchini boats.
Continue Reading…
Posted 14 years, 9 months ago at 6:15 am. 1 comment
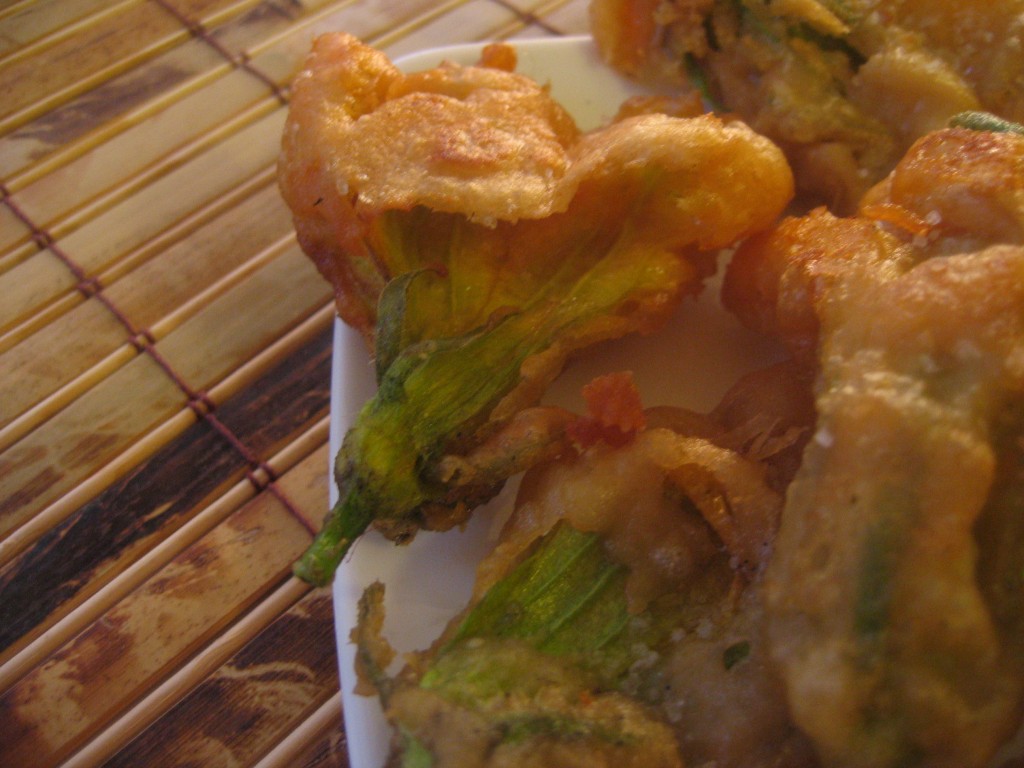
Oh. My. Goodness.
Now I understand.
People always get this crazy glint in their eyes when they talk about squash blossoms. And then they shake their heads sadly at me when they realize I am one of the uninitiated squash blossom eaters. Feeling like I was either missing out on a great snack or a great opportunity to make fun of foodies crazier than myself, I fried up some squash blossoms last night. And . . .
Oh. My. Goodness. Gracious.
What, you mean you’ve never eaten squash blossoms before? (Eyes widen in surprise while shaking head.)
Continue Reading…
Posted 14 years, 9 months ago at 10:21 pm. 1 comment
I just have one word of advise for this recipe: More. Always make more mashed potatoes than you think you’ll need. Not only are they a tasty (and thrifty) meal stretcher, but leftover potatoes can be turned into fried potato patties which are quite possibly the mother of all comfort food. Continue Reading…
Posted 15 years, 5 months ago at 12:57 pm. Add a comment
 Growing up, orange vegetables meant sugar. Sweet potatoes got marshmallows. Winter squash got a dusting of brown sugar. Pumpkins were made into pies. Carrots got… okay, well, carrots discredit my sweeping generalization.


