
While the quality of the picture is anything but encouraging, this use of space certainly gives me cause for hope. Someone refused to let their lack of outdoor space deter them from having a garden. It’s encouraging because it proves there are people out there who are thinking creatively and willing to put in some work (even if unconventional) to grow a bit of their own food.
What things have you seen recently that have been encouraging?
Posted 12 years, 5 months ago at 9:08 pm. Add a comment
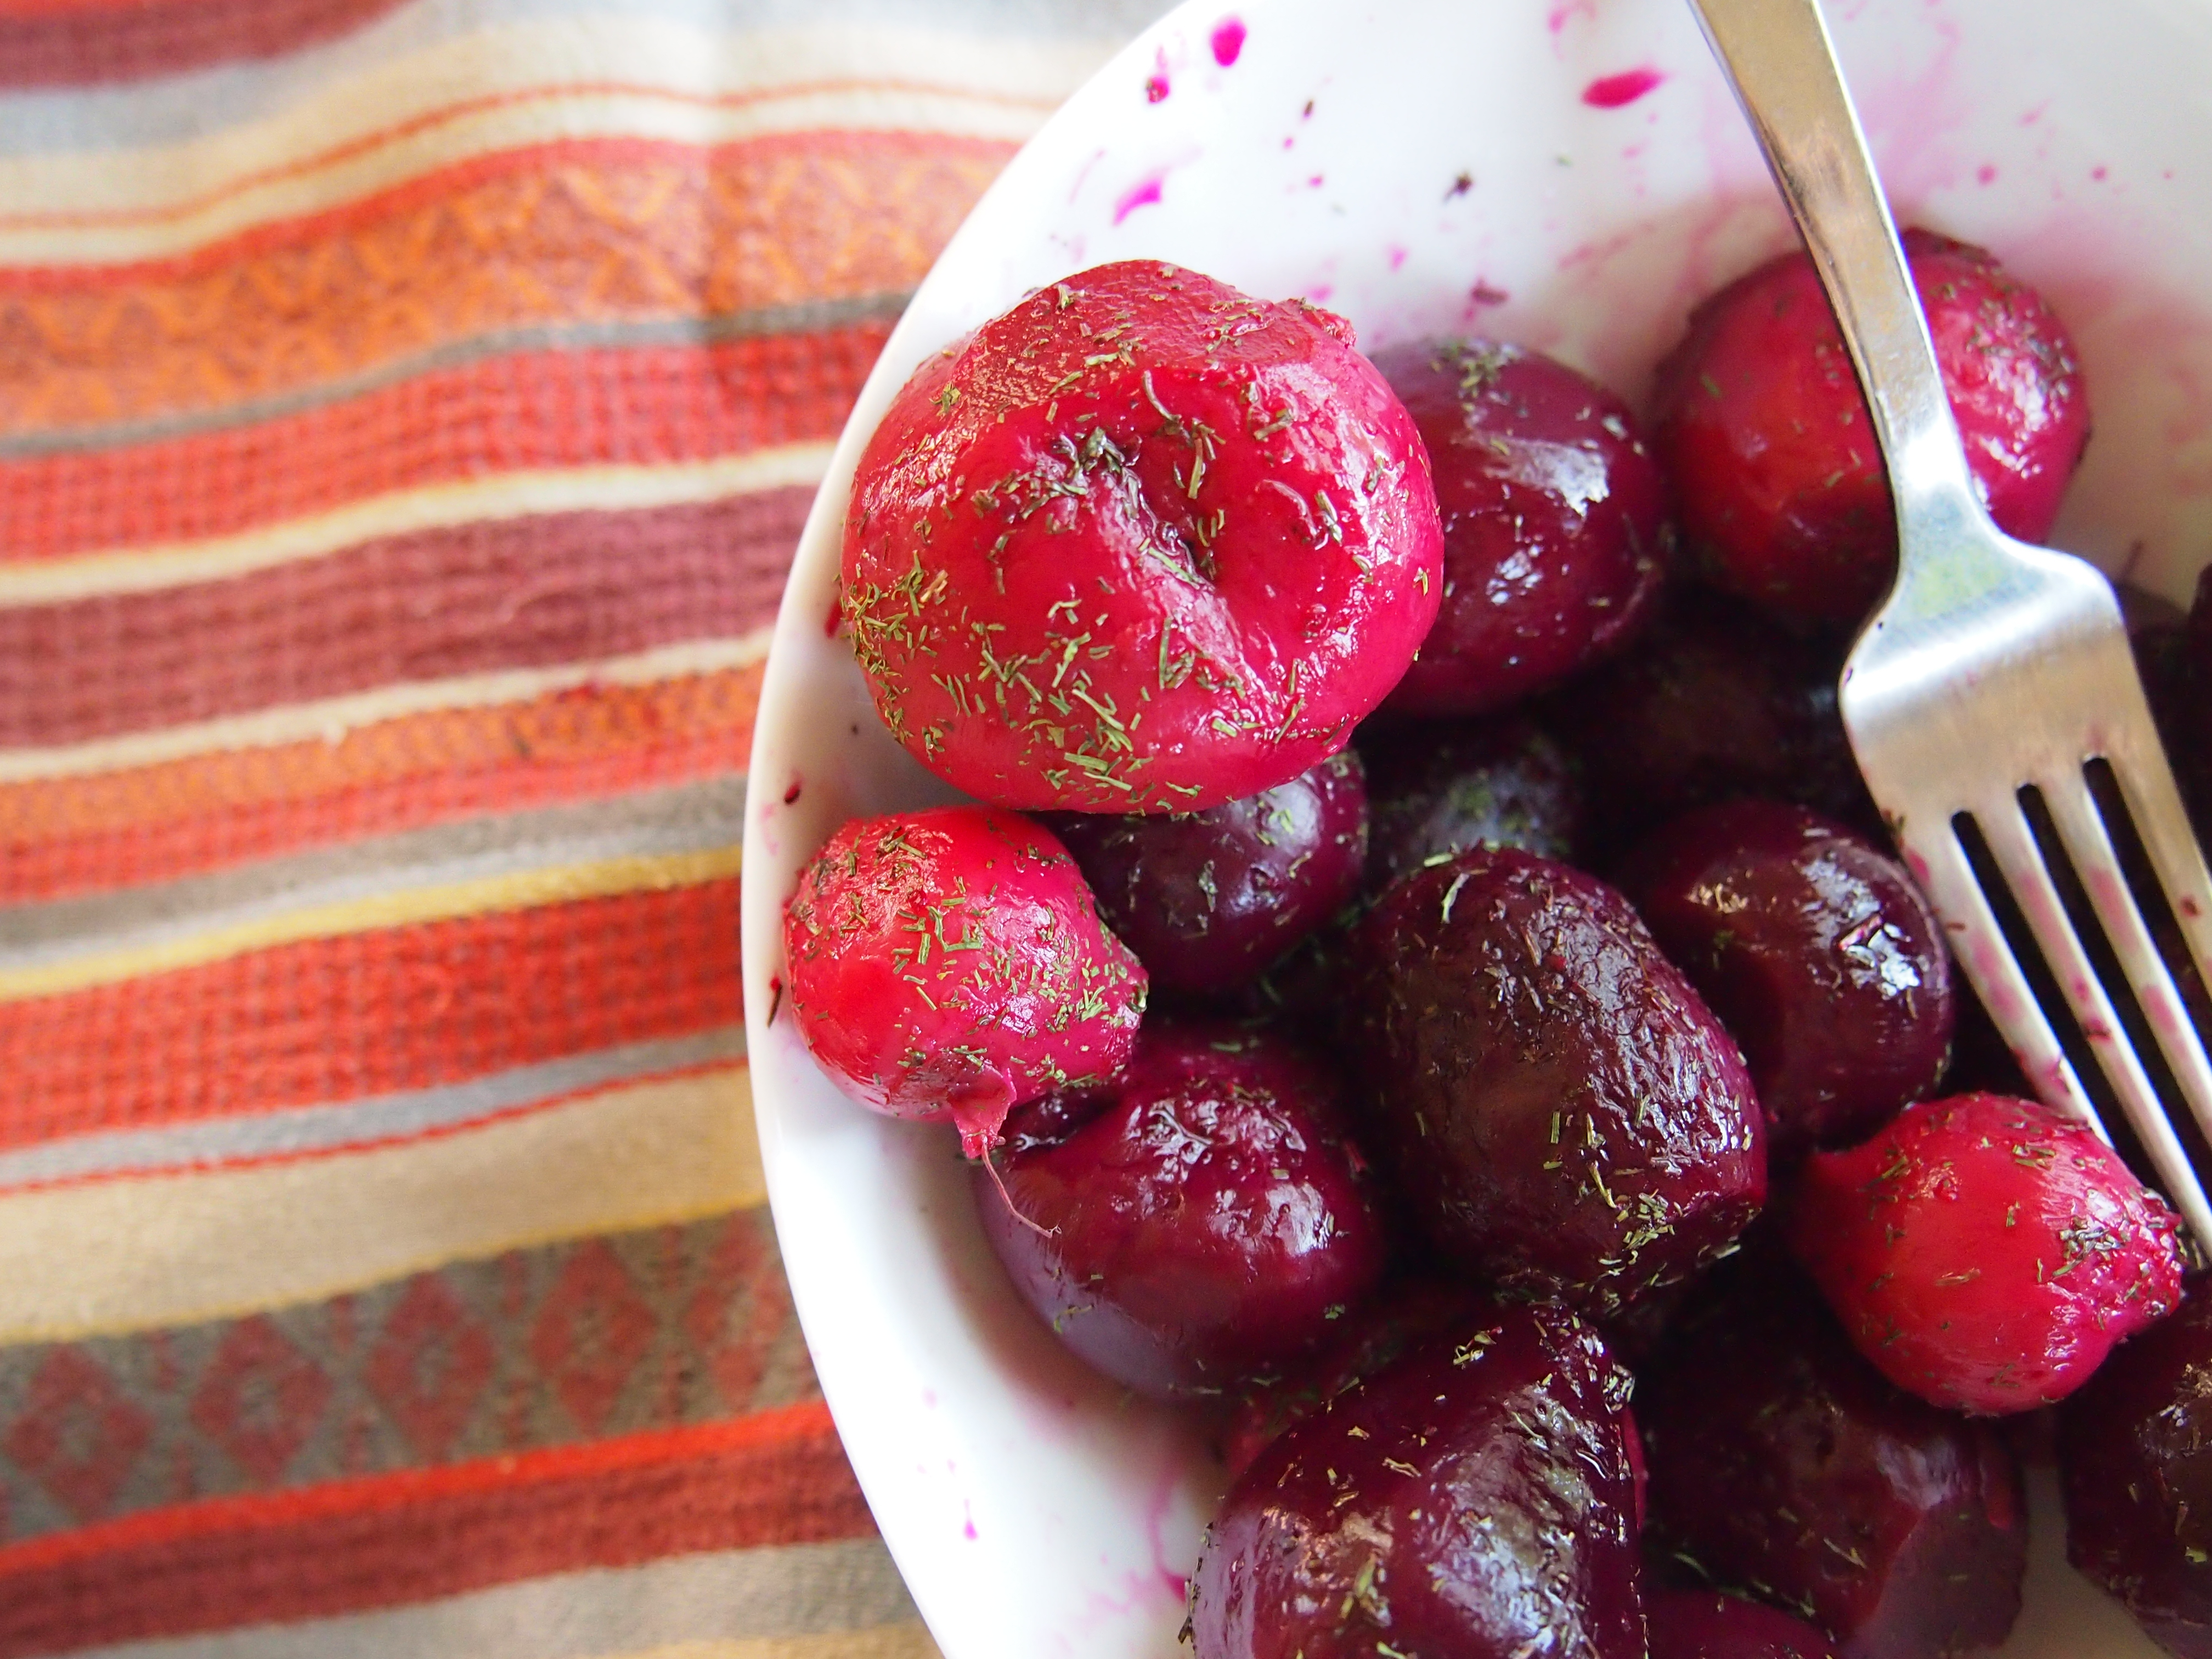
I almost feel unethical posting this as a “recipe.” It’s so simple– a boil, a sprinkle, and done. It came about mostly in an effort to clean out my fridge and spice cupboard. And yet, the result of said kitchen tidying had the added bonus of this stunning salad. (Is it a salad all on it’s own? Or would one need to add lettuce for that? I never know.) The delicate dill rounds off the somewhat bawdy beets. The resulting dish encompasses the best aspects of farm-to-plate eating– earthy richness and heavenly crispness.
Because beets are the main ingredient here, make sure you use the freshest beets you can find. Old ones that have been lolling around shelves for a few weeks tend to be woody at best and bitter at worst. A good beet should be as sweet and firm as a good kiss. To assess the freshness of your beets, squeeze them. They should not be in any way squishy. You can also make sure the greens are crisp and lively, not wilted and listless. Like most vegetables, your best bet is to buy your beets from the person who grew them.
A bonus of finding a local source of beets is that you’re more likely to encounter different varieties. I used the two kinds that City Roots is growing: Bull’s Blood, a deeply red beet, and Chioggia, an heirloom beet with beautiful fuchsia and white rings. (Tragically, these fade when cooked.) While I can’t say they taste much different, they do vary dramatically in color and make a very pretty salad when tossed together.
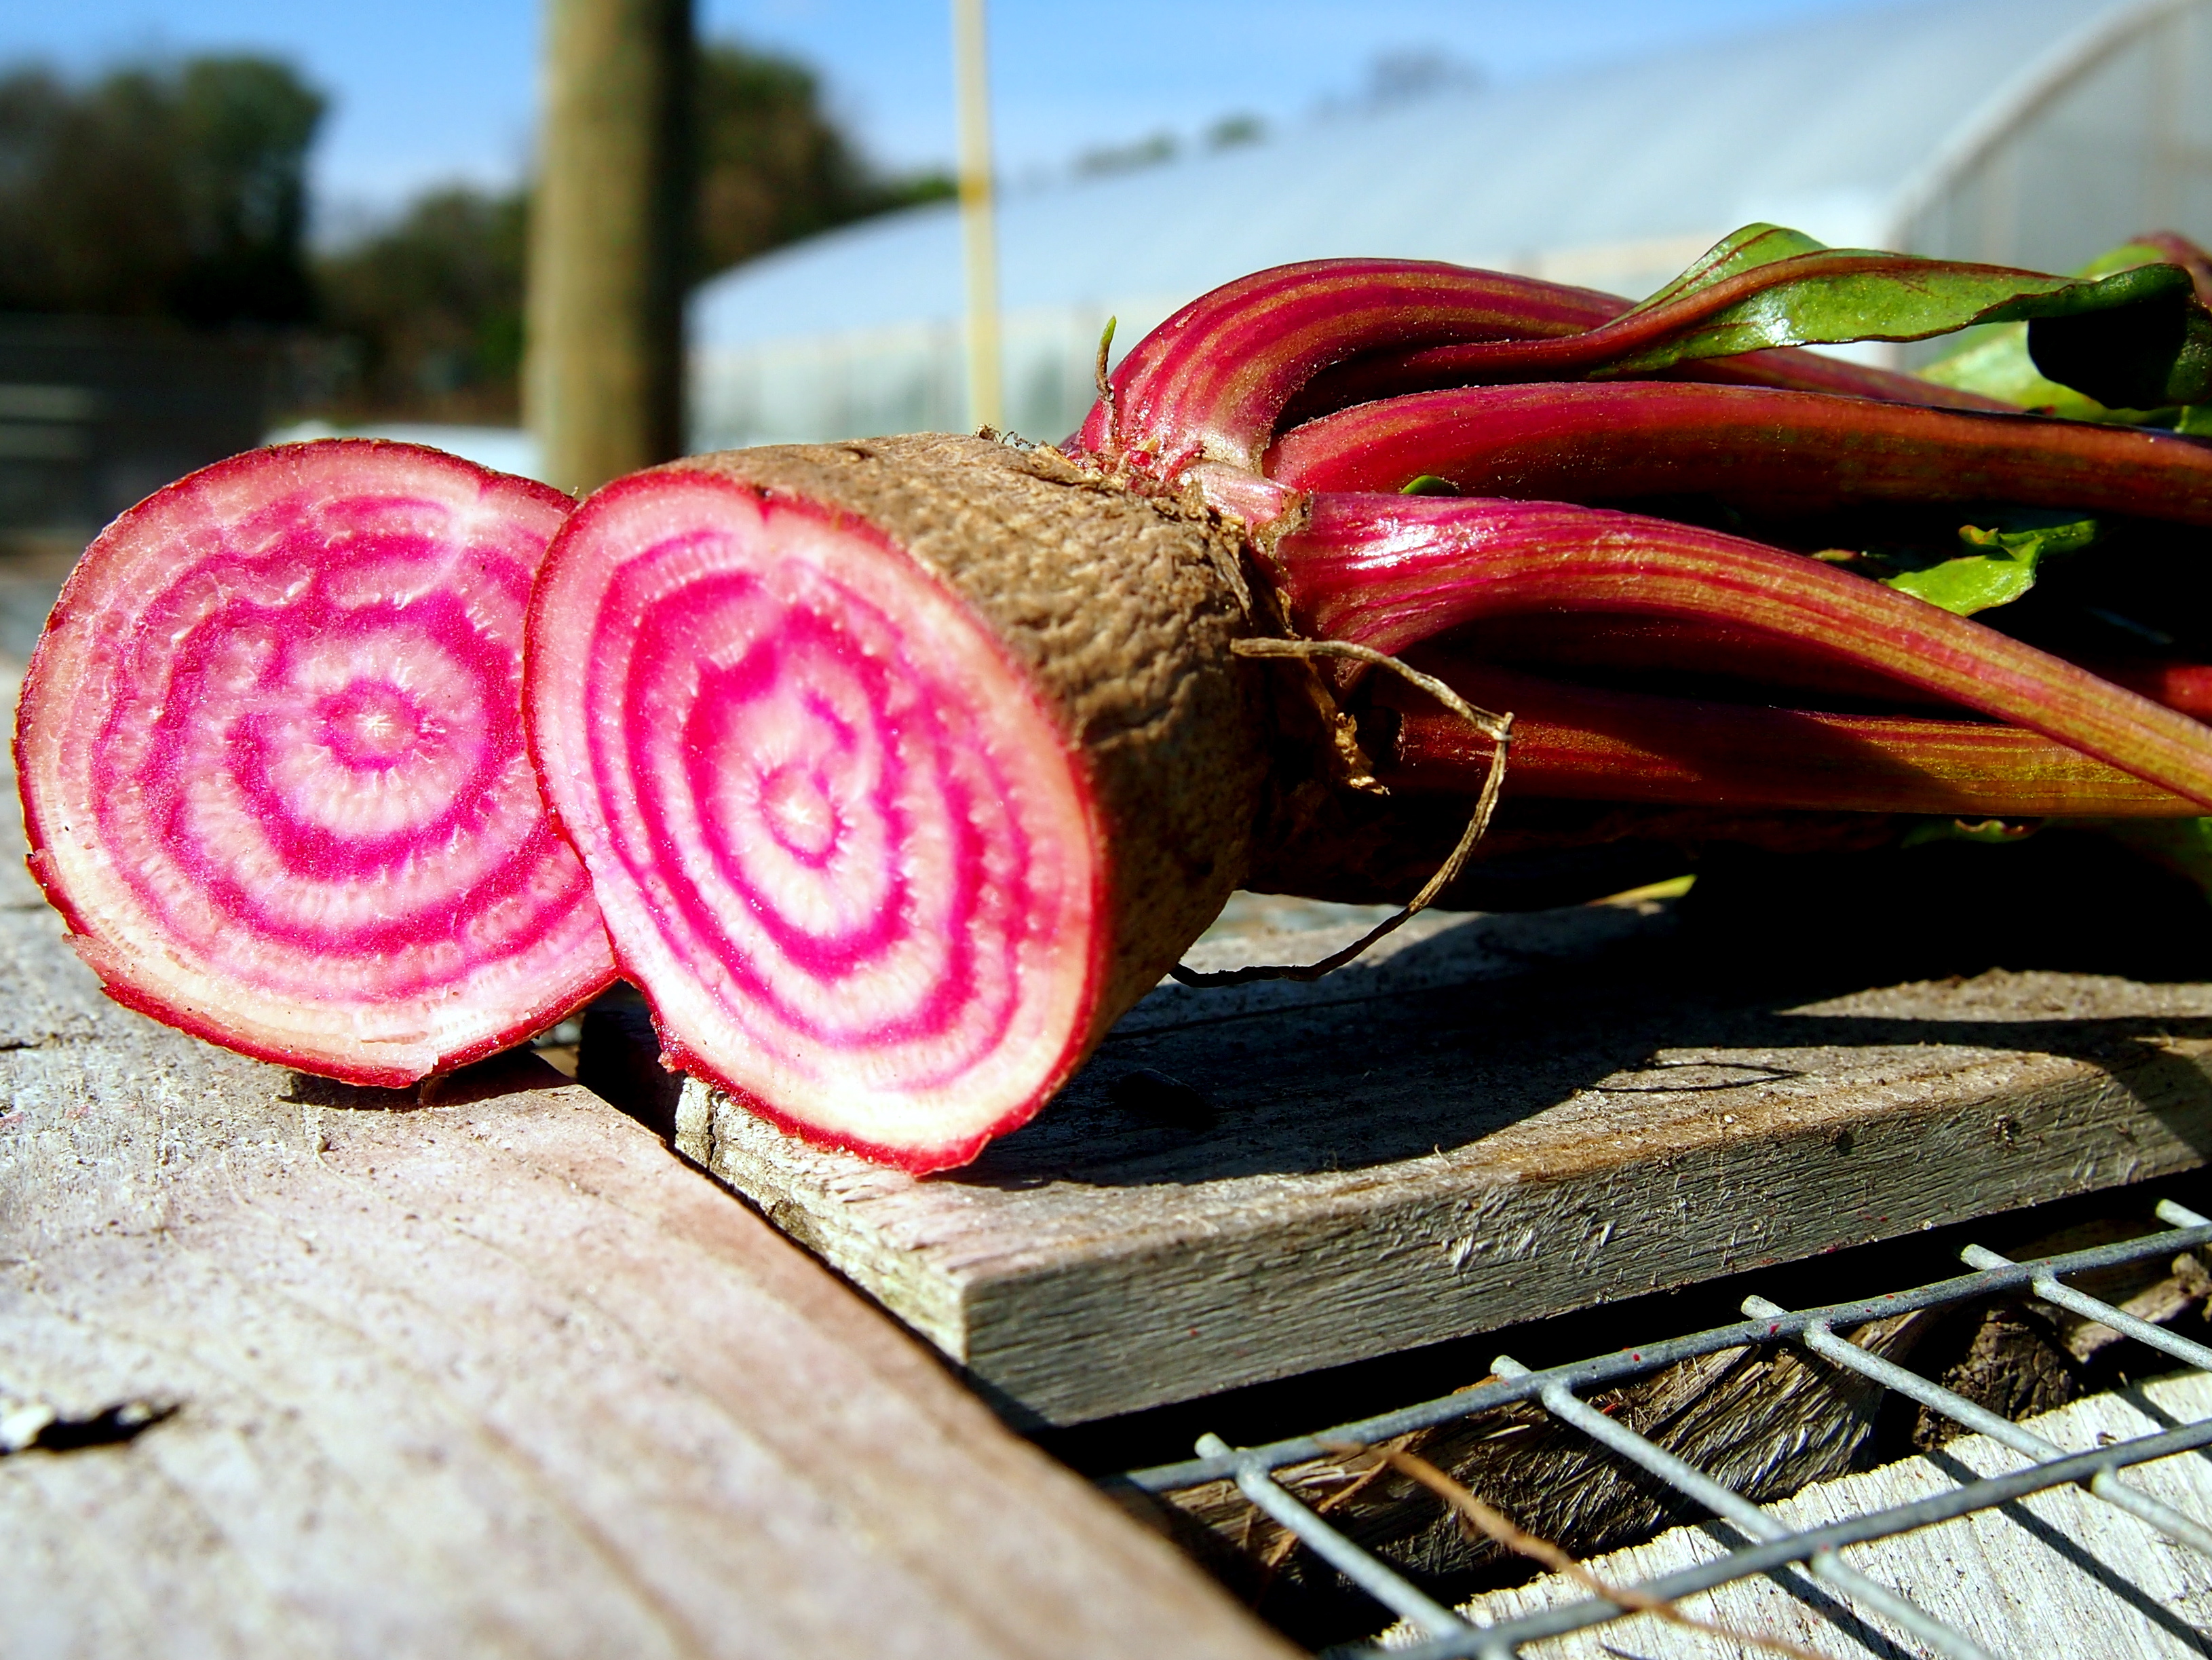
Wherever you get your beets from, make sure you store them properly once you get them home. (Hint: cut those tops off!)
And, out of neighborly concern, I do feel the need to assure you that, the morning after eating this, don’t worry. You’re not dying. You know how people used to dye things with beet juice? Yeah, that’s what happened to your insides. All’s well.
Beets with Dill and Sea Salt
10-12 small (golf ball size) or 2-4 large beets (baseball size)
2 Tbs extra virgin olive oil
2 Tbs fresh or 1 Tbs dried dill
1 tsp sea salt (this is a nice time to break out any special culinary salts you might be harboring)
Rinse off any dirt from your beets, then cut the tops and tails off. If you are using small beets, you may leave them whole. If you are using large beets, cut them into quarters. Put them in a small pot and cover with water. Bring to a boil and simmer for 10 minutes. Let cool. Dump them in a colander and rub off their skins under warm water. Place the beets in a bowl, toss with olive oil and stir in dill and salt. Serve cold or at room temperature; alone or on a bed of greens.

Posted 12 years, 11 months ago at 9:03 pm. Add a comment
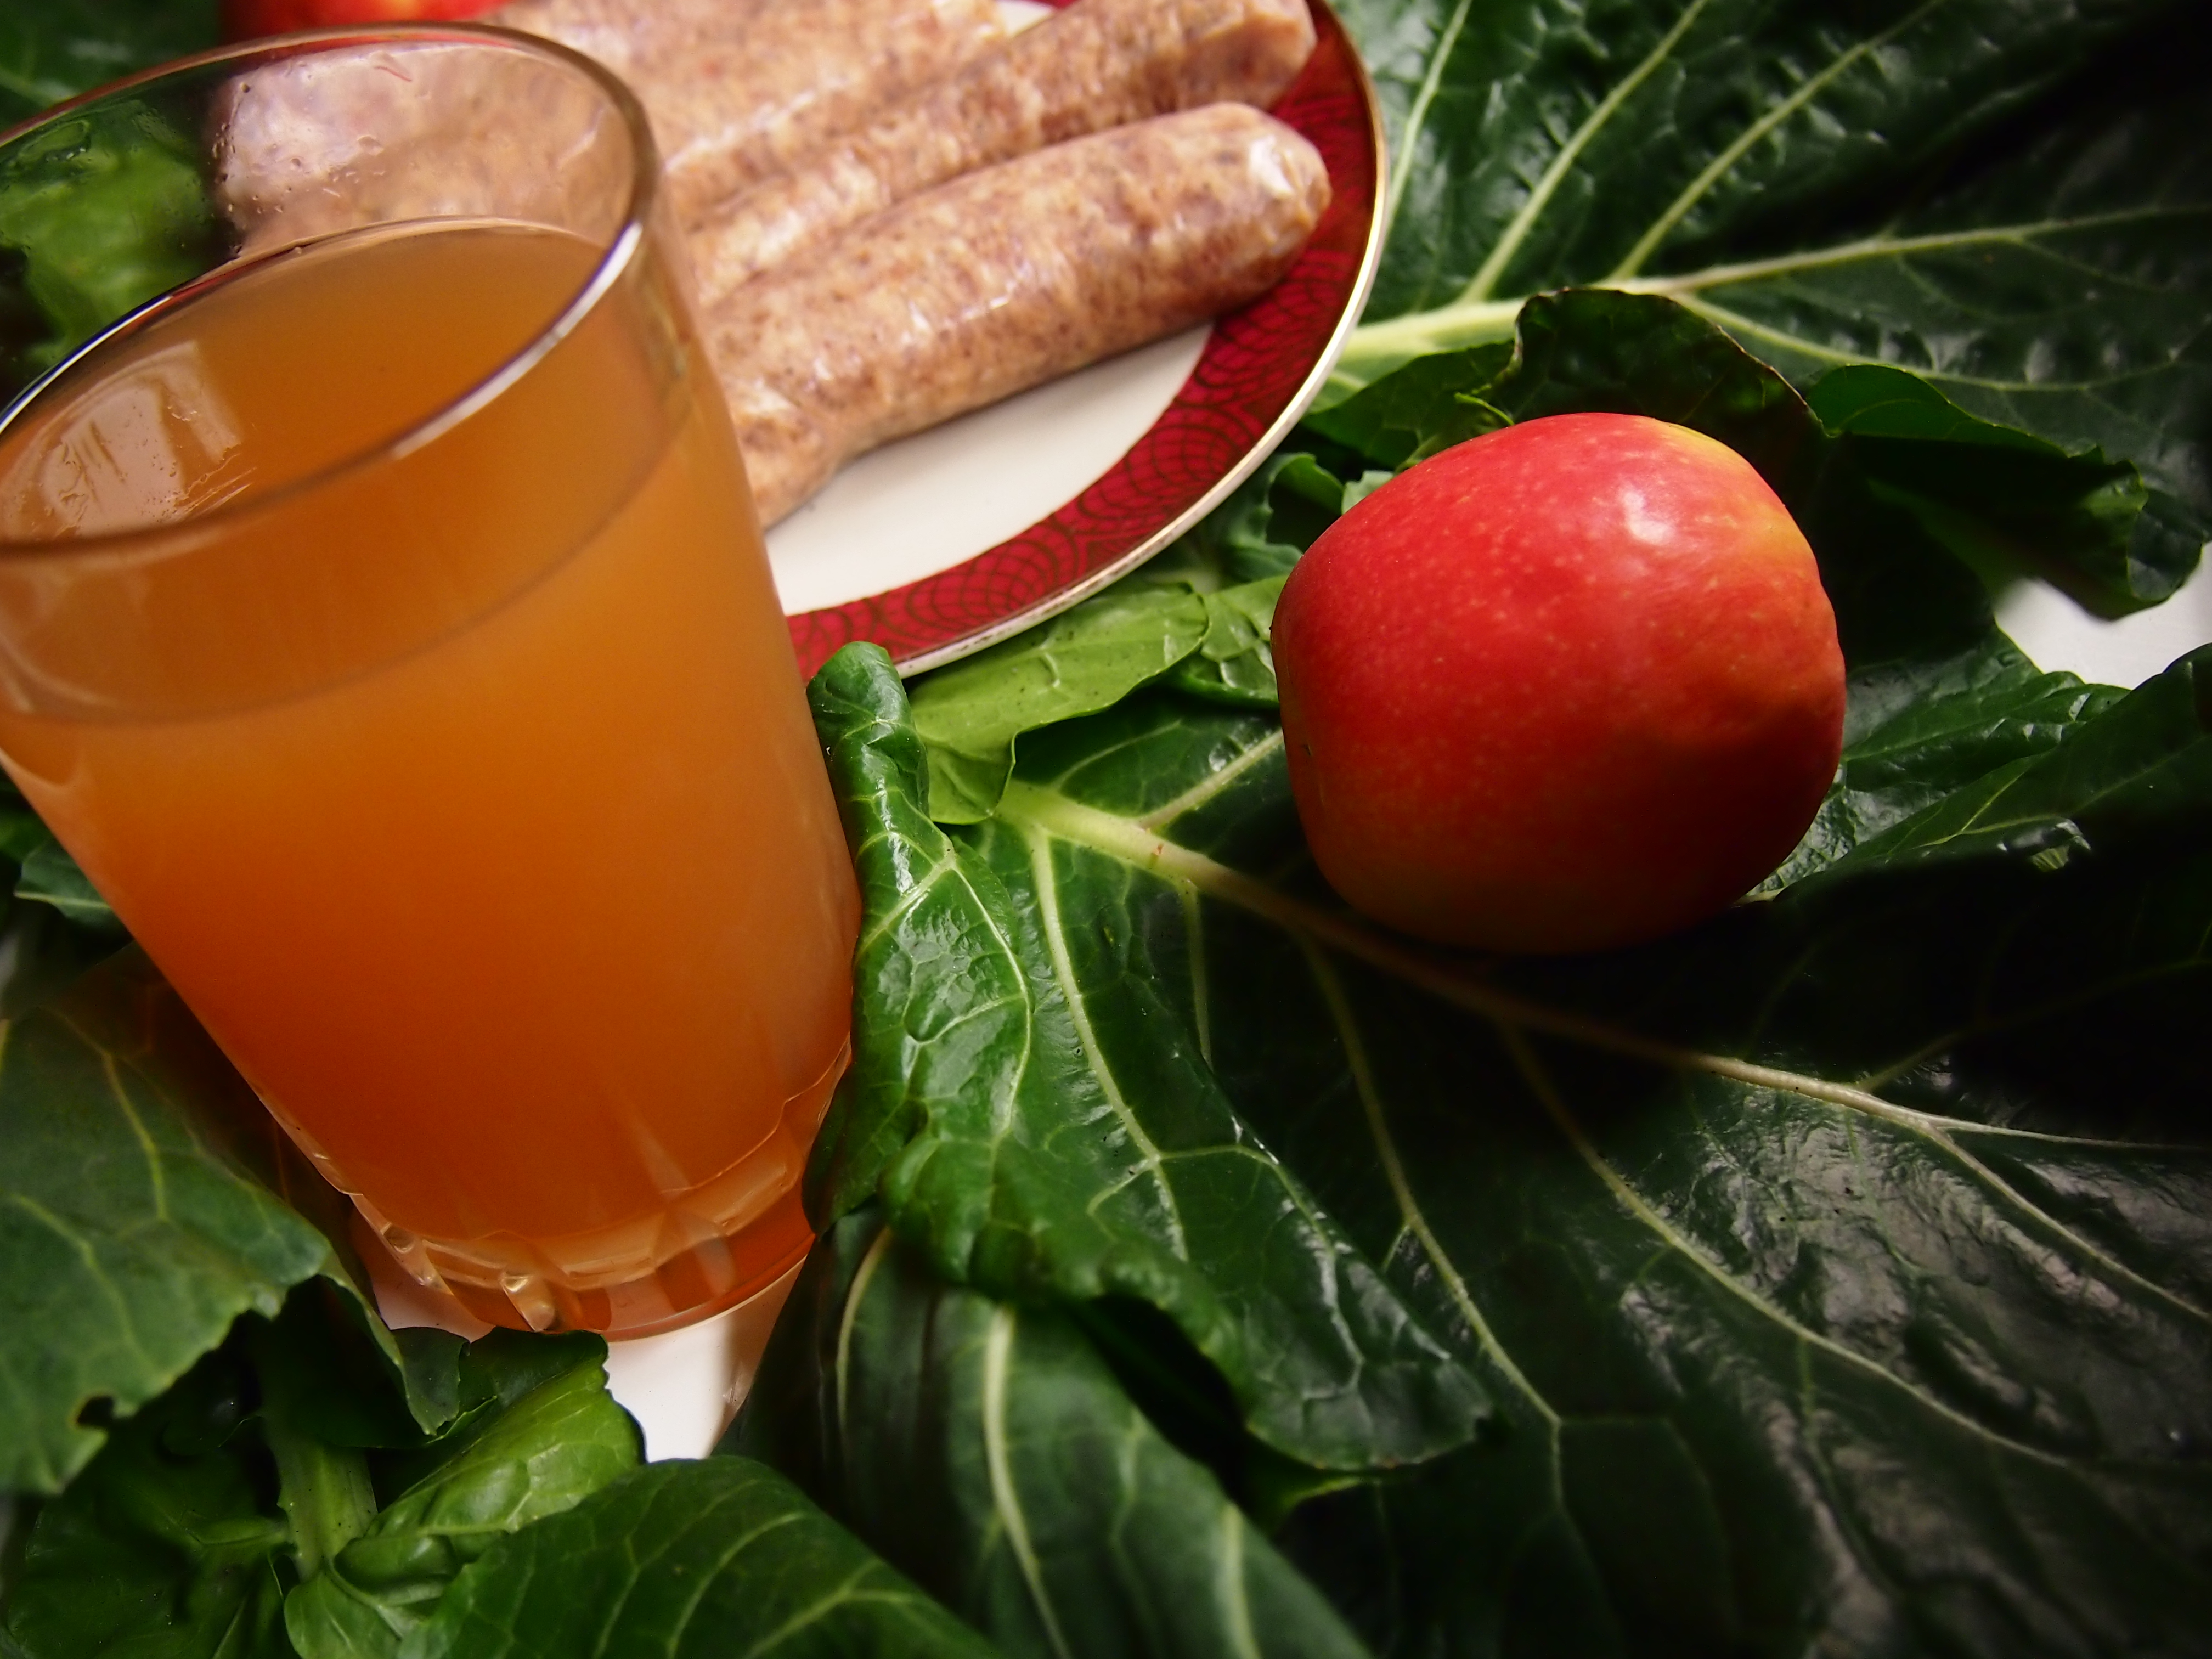 Pork and apples… mmmmm….
Pork and apples might’ve been my first foray into the world of food pairings. I’m not sure what prompted me to ladle apple sauce over my leathery pork chop that day in my college cafeteria. But I thought I was a genius. It wasn’t till later that I realized pork and apples is a tried and true culinary couplet.
Cider Braised Sausages with Apples and Collards
inspired by
America’s Test Kitchen and
Epicurious
1-2 T bacon grease, lard, ghee, coconut oil, as you wish
4 medium or spicy sausages, as you wish
1 large onion
2 cloves garlic, minced
1 firm baking apple such as granny smith, cored and chopped
1 cup apple cider*
1 bunch collards, washed
1/4 cup apple or pear butter
3T apple cider vinegar
a pinch of red pepper flakes
1/2 cup heavy cream
salt and pepper
Remove the large ribs from the collards by holding them by the stem and stripping them up the stem, much as you would a stalk of rosemary. Gather the leaves together and chop roughly. Set aside. Bring a large skillet over medium high heat and melt1 T of the fat. When it sputters, add the sausages, leaving space in between each one so that they don’t steam. Let them sizzle without moving until a good crust is formed, about 1 minute. Then use tongs to flip them and brown another minute. Remove to a plate. Add the onions and garlic, if necessary add the rest of the fat. Sprinkle with a pinch of salt and let them saute for about a minute, until the onions are slightly translucent and the garlic begins to color. Pour in the cider and scrape the bottom to remove the flavorful fond. Stir in the vinegar and red pepper flakes and bring to a simmer. Add the apples and another pinch of salt. Replace the sausages and add the collards and stir until they cook down a bit. Put a lid on the skillet and reduce heat to low. Braise for about 10 minutes. Remove sausages again (sorry…) and keep warm. Add cream and apple butter. Stir until it thickens into a lovely silky sauce. Replace the sausages and rewarm if necessary. Serve with cornbread to mop up the sauce.
* I used leftover spiced cider I made for a party. However, you could use a favorite hard cider or even apple juice. Though if you do use juice, make sure to get a good quality one, preferably unfiltered, for the most apple-y taste.
Posted 13 years, 1 month ago at 6:10 pm. 4 comments
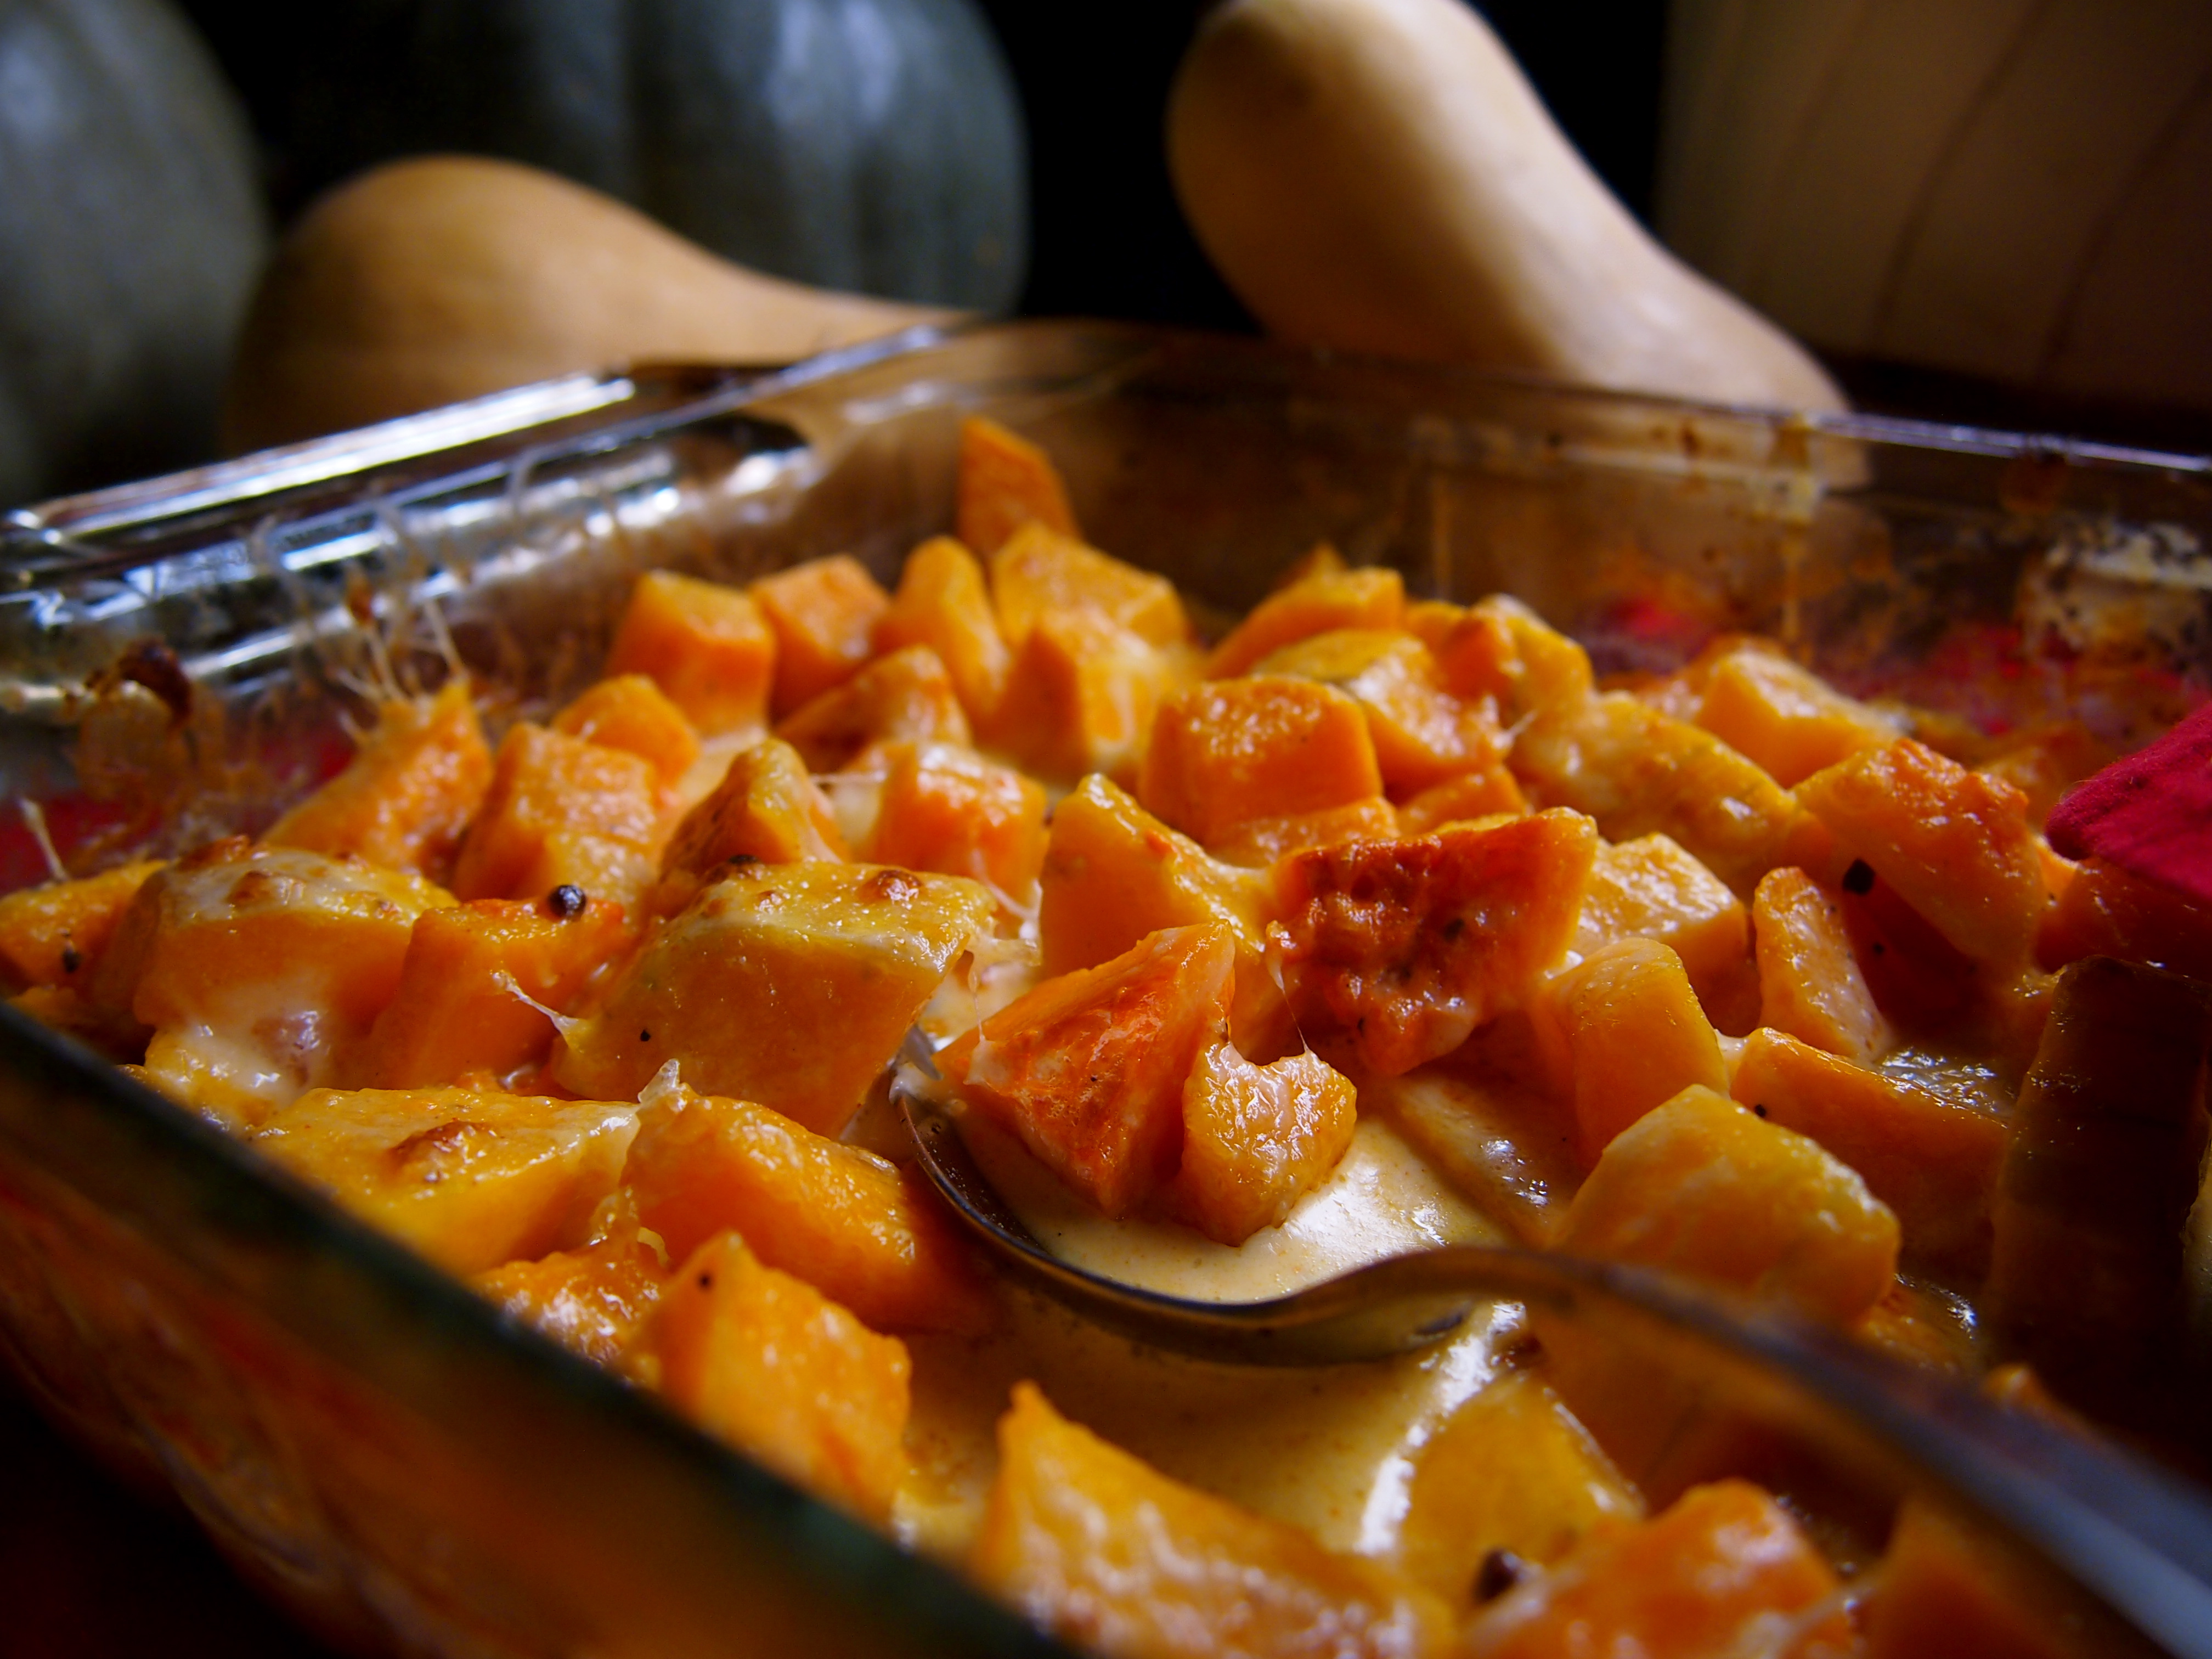 Growing up, orange vegetables meant sugar. Sweet potatoes got marshmallows. Winter squash got a dusting of brown sugar. Pumpkins were made into pies. Carrots got… okay, well, carrots discredit my sweeping generalization.
Even though I’d now be more likely to use honey or maple syrup, it’s taken me some time to crack through the caramelized bias of my youth. And oh! it’s been worth it. Like many openings of mind, there are so many more possibilities now. Winter squash, I’ve come to understand, are quiet about their sweetness. It’s easily upstaged by the more boisterous sugar. Next to the spice of cayenne though, the squash’s sweetness can be appreciated.
Spicy Butternut Squash with Parmesan
~inspired by
this recipe from Gourmet Magazine, as seen on
Epicurious
2 1/2 lbs butternut squash, peeled and cubed
3/4 cup heavy cream
1/tsp cayenne pepper (more or less to taste)
1 cup grated Parmesan cheese
salt and pepper to taste
Preheat the oven to 400°. Place the squash cubes in a small baking dish or skillet. In a glass measuring cup, measure out the cream then stir in the cayenne, salt, and pepper. Pour the cream mixture over the squash. Cover with foil or a lid and bake for 25-30 minutes, until the squash is tender. Stir in half the cheese, and sprinkle the rest on top of the squash. Bake (uncovered) for another 7-10 minutes. Then turn the broiler on until the cheese is bubbly, brown, and beautiful. Remove the the oven and let stand for at least 5 minutes to thicken.
Posted 13 years, 1 month ago at 2:00 pm. 1 comment
 One of the regrets I have every September is that I never make enough of these pizzas. Even with a family tradition of Friday pizza and movie nights, I can never seem to get enough in. And it’s my fault. I spend the better part of spring and early summer pinning for the First Tomato, inevitably resulting in darn near deification of the first month of harvest. These tomatoes are above such things as flame and heat. They are the pure essence of summer and therefore must be eaten in their pure state, accompanied only by such acolytes as salt and olive oil.
As July meanders into August, I become less of a tomato zealot and start throwing them willy nilly into everything. After all, what dish is not made better by the addition of a tomato slice or two? This is when I seem to remember the Pizza Margherita. Not needing a recipe, making them become a kind of meditation. I am completely in the present moment as I make it. The golden olive oil pooling in the dimples of the crust. The feeling of the knife brushing my knuckles as it carves off the thin slices of tomato. The spicy green smell of snipped basil lingering on my fingertips. The sizzling of the cheese blistering in the oven. Pizza nirvana follows with the first bite.
And then September comes. Tomatoes are once again precious. Only this time I scrimp and save them up to make this pizza one last time, vowing to make better use of Tomato Time next year.
This year a new tomato wondered across my cutting board. The Zapotec. It’s an heirloom variety from the Oaxacan region of Mexico. Much like a Roma tomato, it lacks the copious amounts of jelly/guts. Its lower moisture content means it doesn’t make the pizza soggy. Unlike a Roma, however, it’s pleated shape adds visual appeal to a pizza. And it tastes good. All of which leads me to the conclusion that even though pizza might be Italian, its tomato mate speaks with a Mexican accent.
Pizza Margherita*
1 recipe of your favorite pizza crust
Olive oil
Mozzarella cheese
Zapotec or other low moisture tomatoes (peeled if you wish)
Fresh basil
Preheat oven to 500°. Stretch or roll out your dough. Drizzle olive oil over the top and brush all the way out to the edges. Shred or slice the cheese and lay it out on the pizza. Horizontally slice the tomatoes as thinly as possible. Layer them over the cheese. Slide the pizza into the oven and bake for about 9-12 minutes, until the cheese is pleasantly blistered and the crust is golden brown. While it’s baking, snip the basil into small pieces. If you’re a perfectionist, you can officially chiffonode the basil. If not, cutting it up with scissors works just as well. Once you’ve taken the pizza out of the oven, sprinkle the basil over the top like confetti. Wait about 2 minutes for everything to set, then slice it up and get on your way to pizza nirvana.
*Yes, I realize there are no amounts for the ingredients in the recipe. That’s because it all depends on how big your crust is. I’m trusting that you all are smart enough to eyeball the ingredients.
Posted 13 years, 4 months ago at 7:58 pm. Add a comment
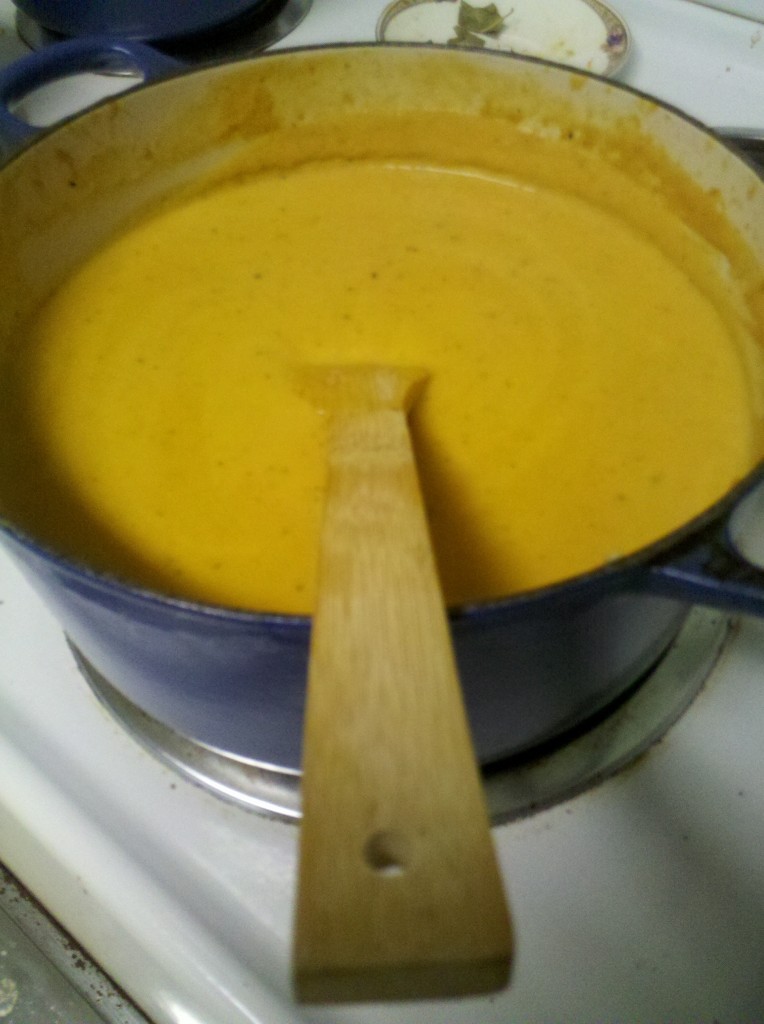 You’ll have to forgive the anachronism of this recipe. It’s been wafting around my draft folder for months, but with one baby and another, I just never got around to publishing it. So even though summer has spread its steamy cloak over all of us, I hope you’ll remember this recipe the first time you wish you had brought a sweater with you.
Spiced Butternut Squash Soup with Cardamom and Lemongrass
1 large or 2 smallish butternut squashes
2 Tbs coconut oil
1 onion, peeled and chopped
4 cloves garlic, peeled and chopped
1 tsp cardamom seeds
1 granny smith apple, cored and chopped
2 large carrots, chopped
2 Tbs apple cider vinegar
1 cinnamon stick
2 bay leaves
1 stalk of lemongrass*
1 1/2- 2 quarts chicken stock
salt and pepper
1 cup heavy cream
Greek yogurt (opt)
Dried apples (opt)
Preheat oven to 375°. Cut squash in half and scoop out the seeds. Lay the halves cut side up on a baking dish. Rub with oil and sprinkle with salt and pepper. Roast for about an hour, or until fork tender. Let cool while completing next steps. (This step can also be done up to a few days ahead of time. Just wrap the cooled squash and put it in the fridge until ready to continue.)
Melt coconut oil in a large heavy pot. Add onions and cook on medium low heat until they are translucent. Add the garlic and cardamom seeds, stirring until fragrant- about 45 seconds. Increase the heat to medium high and add the apple and carrot. Saute until they are softened and there is a nice crust on the bottom of the pan. Deglaze the pan by adding the vinegar and scraping up all the brown bits. Add 1 quart of the stock , the cinnamon, the lemongrass, and the bay leaves. While waiting for that to boil, scoop the cooled squash flesh out of the shell and add to the pot. Once boiling, reduce the heat and simmer for 10 to 15 minutes to allow the flavors to meld and vegetables to completely soften.
Remove from heat and use a stick blender to puree the soup. Take your time with this step. There’s few things as culinarily undesirable as finding chunks in your soup that look as if they’ve already been half chewed. (If you don’t have a stick blender, carefully pour the soup into a bar blender and puree in batches. Then return to the pot.) The soup will likely be very thick, about the consistency of mashed potatoes. Use the reserved stock to thin it to your desired consistency. Return the pot to the stove and reheat if necessary. Just before serving, stir in the heavy cream. Garnish with Greek yogurt and chopped dried apples.
*Look for it at Asian grocery stores. Or, if you live in Columbia, pick some up at City Roots.
Posted 13 years, 7 months ago at 10:40 am. Add a comment
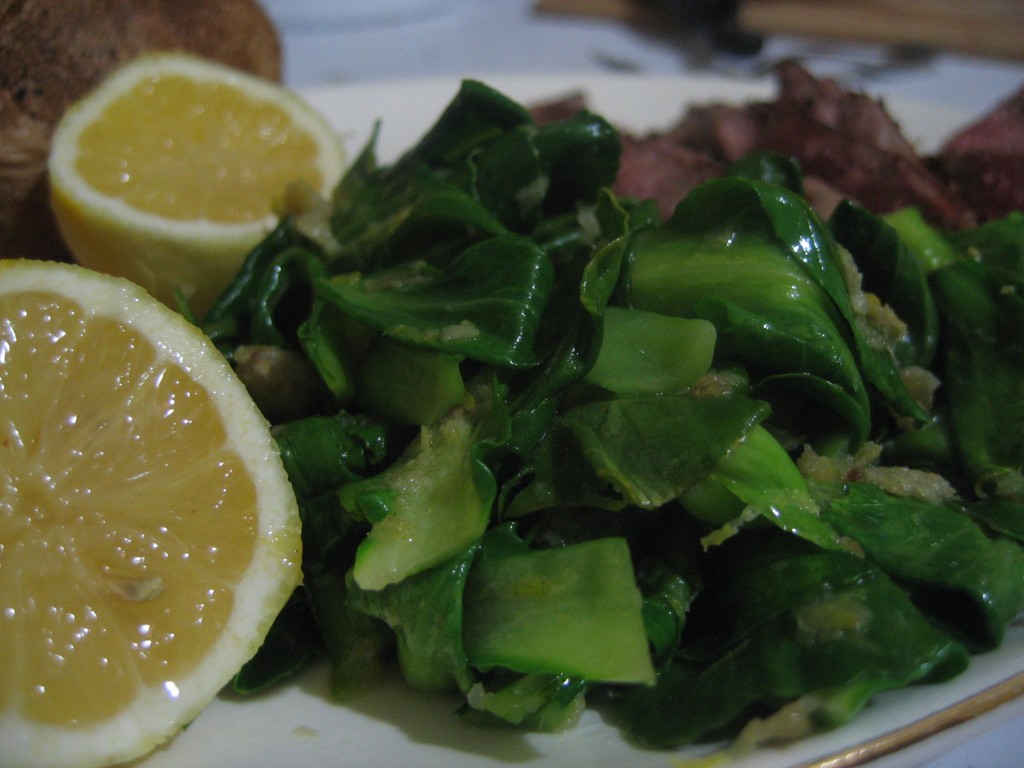 I am sadly less than proficient when it comes to Asian vegetables. You’d think all the time I spent in Asia would have up-ed my skill level (or at least awareness) a bit, wouldn’t you? But alas, during my years there if I thought about food at all, it had to do with how many “weird” things I could eat in order to impress people back in the States. Therefore, while I certainly ate my fair share of traditional Filipino food, I missed out on the finer points of what the vegetables actually were and how they were prepared.
Today, my co-farmer, Ben, alerted me to the fact that we will be harvesting baby bok choi on Friday. As far as Asian vegetables go, I know bok choi is pretty mundane, but even so I wasn’t familiar with it. Like most brassicas, bok choi gets sweeter with the colder weather. Because of all the frosts (not to mention snows) we’ve had this winter, the bok choi leaf I sampled was as sweet as any summer corn I’ve tasted. Sweet and almost lemony but with a definite cabbage-y twang, like a farm girl who can’t quite banish the drawl from her voice. As delicious as it was raw, Ben counseled that they are even better cooked– but not too much. Bok choi, also like other brassicas, gets extremely bitter when over-cooked.
After doing my “new vegetable encounter” Wikipedia search, I learned that in traditional Chinese thought bok choi is a cool vegetable. In order to counter balance the coolness, a warming ingredient is added, such as garlic or ginger. I figured that was as good a place to start as any. That, combined with my first impressions of the raw leaf as having distinct lemony undertones, gave birth to this dish. While I served it with beef, I think it would make a fantastic bed for some fresh fish from the farmer’s market.
Bok Choi with Ginger and Lemon
1 bag bok choi (about 1/3 lb.)
1 TBS butter
1 in piece of ginger, peeled
zest from one lemon
salt
Using a fine grater, grate the ginger and lemon zest; set aside. Cut the ends off the bok choi, wash in cold water, and dry well. In a medium sized pan, heat the butter over medium-low heat. When it just barely sizzzles, add the ginger. After a few seconds (when the gingery aroma reaches your nose), add the bok choi and lemon zest. Stir with tongs until its evenly coated in butter, ginger, and zest. Cook until mostly wilted (about a minute). Turn off the heat when most of the leaves are wilted. Continue stirring as the residual heat cooks the rest of the leaves.
Posted 13 years, 11 months ago at 9:23 pm. Add a comment
 Technically, winter squash season started several weeks ago when we harvested our first batch of butternuts. It was one of those winsome moments in farming; so picturesque that it doesn’t seem possible that it’s real. A garden cart brimming with rosy-golden squash.
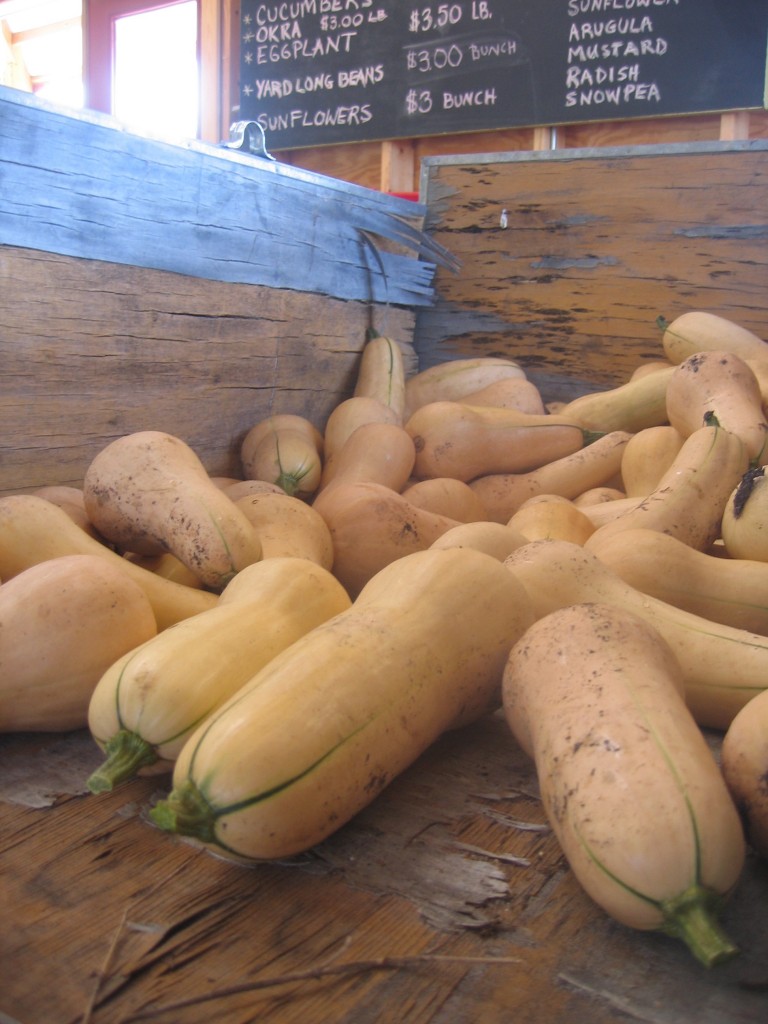
Even though we harvested the butternut squash several weeks ago, I’ve been waiting to use them until Autumn finally revealed herself. So it’s lucky that winter squash like these keep perfectly on the counter for several months because Autumn seemed to be even more of a procrastinator than usual this year.
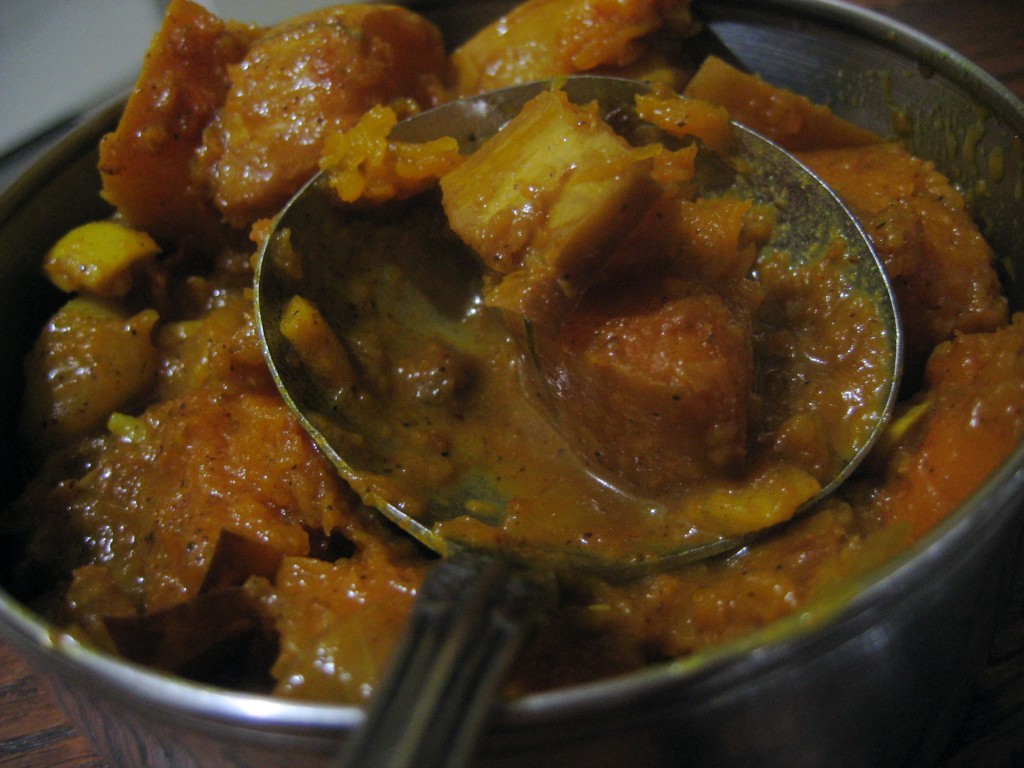
In my family, winter squash were generally sweet things–dusted with brown sugar and dotted with raisins. However, inspired by my friend Kristen’s savory submission to a recent potluck, I decided to try a curry. The spices serve as a counterpoint to the squash’s natural sweetness. It seemed a mantle to grace Autumn’s sunburnt shoulders.
Continue Reading…
Posted 14 years, 3 months ago at 8:47 pm. Add a comment
 Like a delusional castaway on a deserted island, I’ve been seeing boats everywhere. Ever since writing about Zucchini Boats, my mind seems to have been opened to all the possibilities. Bananas, melons, bell peppers, mushrooms, tomatoes. It seems almost anything can become a “boat.”
Cucumbers seem especially suited to boat-ness. Many people already make them without knowing it by scraping out the seeds. What’s left behind is the perfect cavity to fill with something delicious. In this recipe, I chose to fill it with a salmon salad. A nice addition to my recipe would be some grated Parmesan cheese. I didn’t add it this time because we were also having goat cheese stuffed squash blossoms, and I didn’t want a cheese overload.
I think I like these better than the zucchini boats. They are crisp, fresh, and easy. Perfect for summer because they require no oven. I suppose they are raw? If you consider canned salmon raw, I suppose . . . ? I’m not up on the rule book for Raw Foods. At the very least, these boats don’t require any actual cooking, only assembly.
And the best part? They are best eaten like a hot dog.
Cucumber Boats
2 cucumbers
1 can salmon, sustainably harvested if you can find it
1 lemon
2 Tbs capers
1-2 small bell peppers, any color
1/4 cup grated Parmesan cheese (opt.)
salt and pepper
Put the salmon in a medium bowl and break it into pieces. You can pick out the bones if you want. Zest the lemon over the bowl. Then roll it under you palm a few times to release the juices. Cut it in half and squeeze the juice into the bowl, straining the seeds through your fingers. Add the capers. Chop the peppers into small pieces and add them the to bowl too. If you’re using cheese, add it now too. Cover the bowl and set it in the fridge to chill for a bit. Cut the cucumbers in half lengthwise. Use a spoon to scrape out the seeds. Fill the cavity with the salmon salad. Eat with your hands, like a hot dog.
Posted 14 years, 4 months ago at 6:34 am. 3 comments
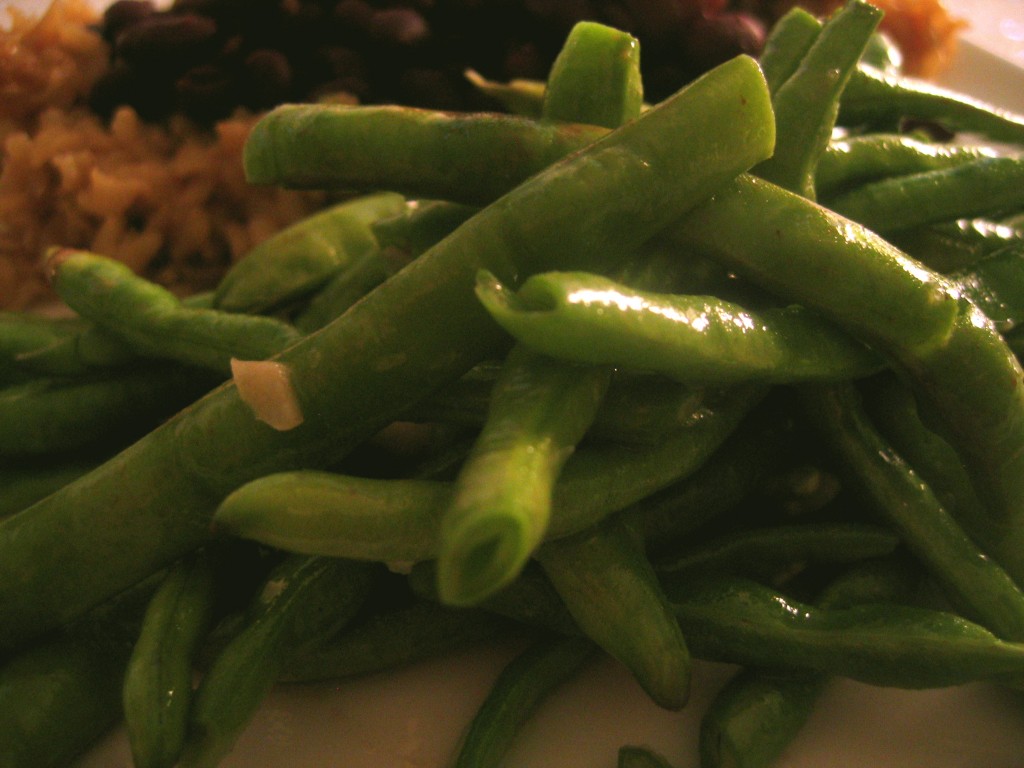 This is just a quick post about a recipe Mr. Quotidian and I have been enjoying the past several weeks. Yard Long Green Beans, although they look like field peas that must be shelled, are best used like pole or snap beans. (Except for eating raw. They are bitter and chewy before they are cooked.) For any gardeners reading, these beans should be classified under Foods to Grow for Survival. The plants are magnificently prolific. At City Roots, we harvest bushels every few days.
And they are quite tasty too. I could eat a whole recipe by myself. But then there wouldn’t be any leftovers to used in the Bevy and Beans and Basil dish (recipe to come soon!). It’s such a quandary.
Yard Long Bean Sauté
2 bunches of Yard Long Green Beans
2 Tbs butter, lard, or olive oil
2 anchovy fillets
4 cloves of garlic
sea salt
Bring a large pot of salted water to a boil. Meanwhile, rinse your beans and snap them to a size you like. You could also peel and chop your garlic now. I like big chunks of garlic in my beans, but if you prefer a more refined mince, go for it. When the water boils, add the beans and blanch them for 45-60 seconds, just enough for them to turn bright green and cook slightly. This step evens out the cooking times, as some beans are larger than others. Strain them out and drain in a colander. Heat a large skillet over medium high heat and melt your fat. When it looks shimmery on the surface, add the anchovies and use a wooden spoon to smoosh them into the oil. They should completely disintegrate. Then add the beans and mix until they are evenly coated. I find tongs to be helpful here. Add the garlic and mix again. Cook the beans to your desired doneness – crunchy, al dente, or mushy. Turn off the heat and salt them to taste.
Posted 14 years, 4 months ago at 6:53 am. 1 comment


